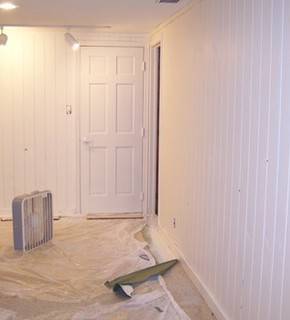
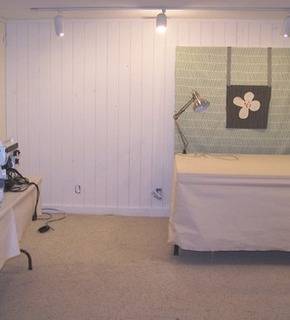
Here’s a sneak peak of the Knotty Pine re-do. Cleanup and reorganization is so tedious until you get immersed in feeling all smug and self-righteous with your tidiness and order. There was much to be learned from this DIY undertaking. Complete planning instead of impulsive diving in was the best move I made. Perseverence using new equipment (the spray painter) was well worth it in time saved. Not quite perfectionism, but pretty darn close to it, helped me feel really proud of the job I did and that unbeatable feeling of accomplishment.
If I were to do it again, I would fill all the holes in the paneling with wood filler or spackling and I would have put up a larger sample area of the paint color I was testing. Overall, it turned out with just a hint of a green undertone, no one else will likely notice. My next step is to get this sewing studio set up and ready for business. A few photos of the project follow:
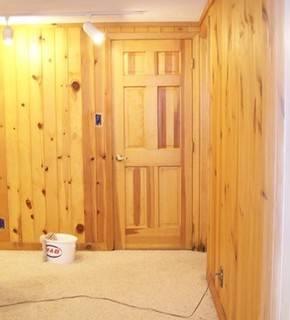
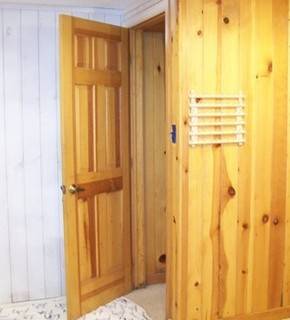
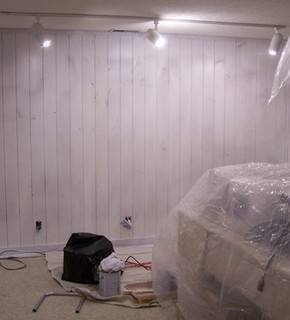
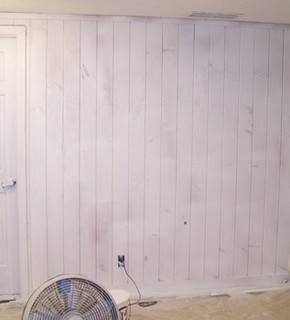
Above is the primed paneling, below is the final coat.
Here is the link to a little YouTube video I watched prior to buying my sprayer. I bought this very model, Wagner PaintCrew Model 770. This video says it all, baby.
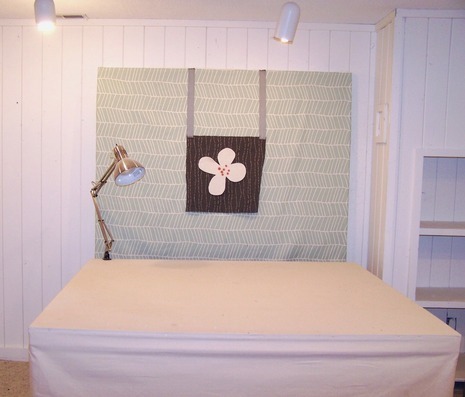
I painted my knotty pine v-groove walls white, looked great! Until…..the wood expanded, now, the pine wood shows up in the grooves and paint in grooves doesn’t look pretty. Anyone have a fix?