This Easter season, head to the produce aisle and dye your eggs with nature.
Materials
- Free-range eggs
- Alum powder (available at the supermarket in the spice aisle)
- White Vinegar
- Vegetables and spices, see step one
- Cooktop
- Saucepan
- Measuring spoons
- Wooden spoon and slotted spoon
- Vegetable oil, wax, electrical tape, leaves, stickers, etc (optional)
Step
Choose which colors you’d like to dye your eggs.
- For blue, use red cabbage
- For red, try whole beets (not canned), cherries, or cranberries
- For light green, use spinach or fresh green herbs
- For tan, brew some strong coffee, tea, or a handful of cumin seeds
- For yellow, try turmeric (a spice) and yellow onion skins
- For olive green, use red onion skins (the color is produced by a reaction with the vinegar)
- For purple, grape juice or frozen blueberries
Step
For each color, fill a saucepan with at least three inches of water. Add in your vegetables or spices. It’ll take a lot…around two cups, packed.
Step
Bring the water to a boil, and add two teaspoons of alum powder – UNLESS you’re using onion skins, as it creates a funky reaction. Boil for 30 minutes.
Step
Remove the pan from heat and allow it to cool slightly. You don’t want to add the eggs to boiling water, because the shells will likely crack.
Step
Return to heat, and stir in two tablespoons of white vinegar. Add the eggs, and bring the mixture back to a full boil. Reduce the heat slightly, and cook for 10-12 minutes. Take the pan off the heat, and let the eggs cool in the dye.
Step
Remove the eggs from the dye. If you’re satisfied with the color, then allow them to dry. For deeper, richer colors, strain the liquid, and allow the egg to continue to soak for up to eight hours. (Any longer, and the vinegar will start to disintegrate the shell.) If you plan to eat the eggs, put them into the refrigerator.
Other Ideas
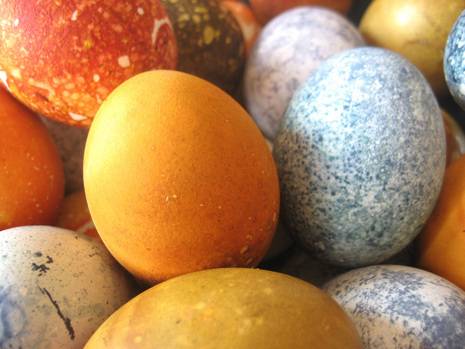
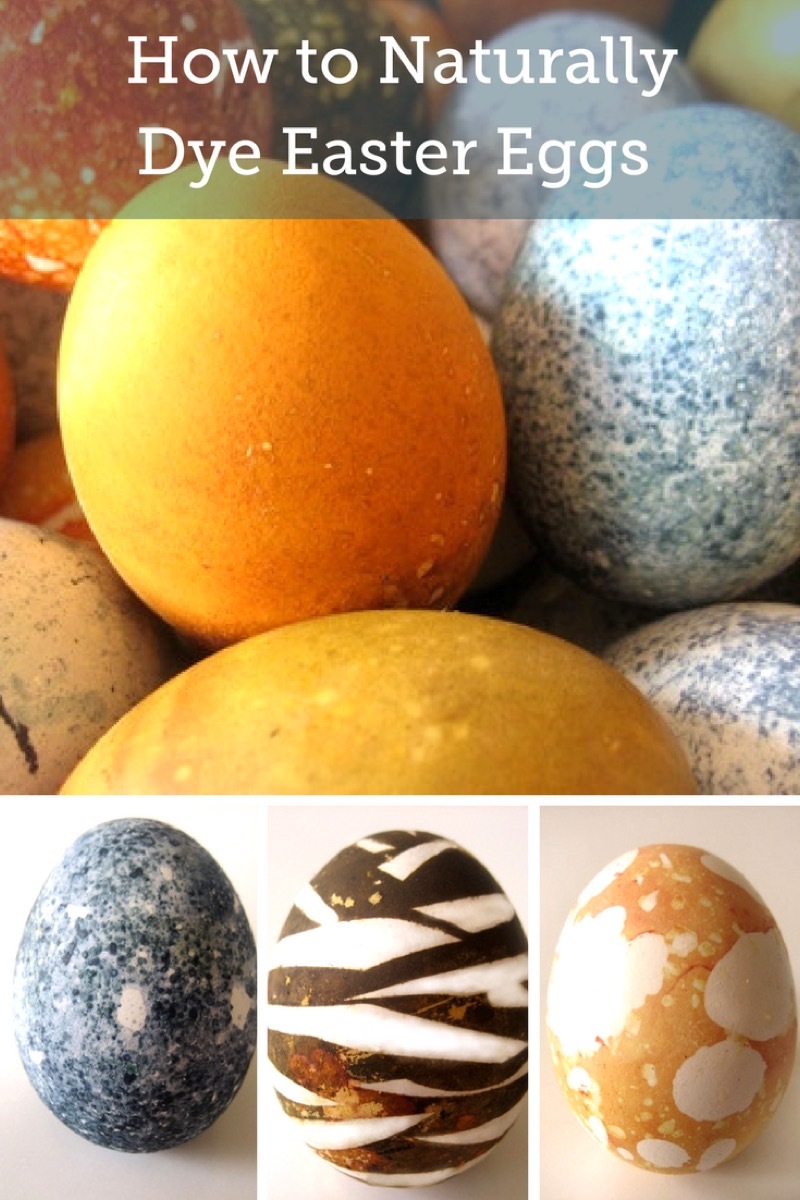
To add this marbleized effect, stir in a few teaspoons of vegetable oil into the cooled, strained dye. The oil will stick to the shell in certain places, preventing the dye from continuing to color the shell in certain spots.

Try dripping wax on the shell, or color them with crayons. Dye as above, and then stick them in a 200° oven for 8-10 minutes to melt the wax.
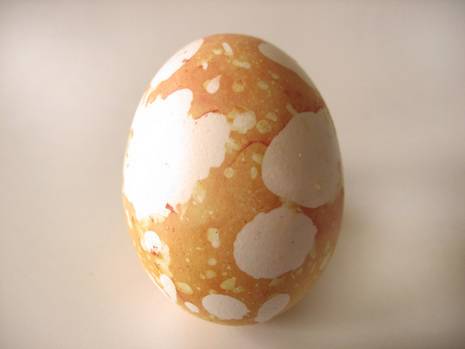
For a relief technique, cover the shell with stickers, tape, stencils, leafs, flowers, etc before dying them. On this egg, I added shards of electrical (PVC) tape.
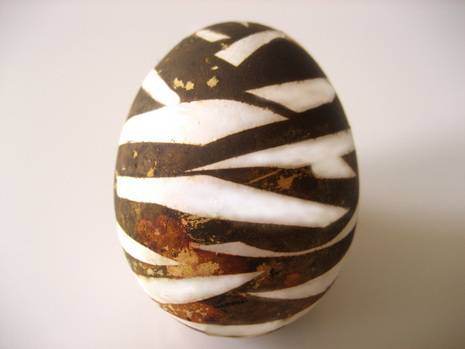
Lastly, if you want your eggs to sparkle, polish them with a bit of vegetable oil.
Happy Easter!
My colleague, Dail Dixon, and I were amazed to see that not only did you copy our Richard Modern Birdhouse design, but you then write an article as if you came up with the idea and design based on “iconic Case Study Houses.” So you steal other people’s designs, make your off knock off version of it, then write articles about it with no reference to the original design and try to make it seem like it was your idea and design, while literally plagiarizing content from the website of the original design?
We would appreciate you removing this article and photography from your website.