We are always on the hunt for new and interesting ways to display all our leafy friends over at the Curbly office. With spring finally showing up this past weekend (Midwesterners rejoice!), all our office plants are looking more alive than they have in almost 8 months. We think they deserve a new look. Want to take your houseplants to the another level (no pun intended) too, but you’re short on time? This DIY plant stand can be completed in roughly thirty minutes.
Watch a quick video to see how it’s done, and keep reading for all the details.
Materials
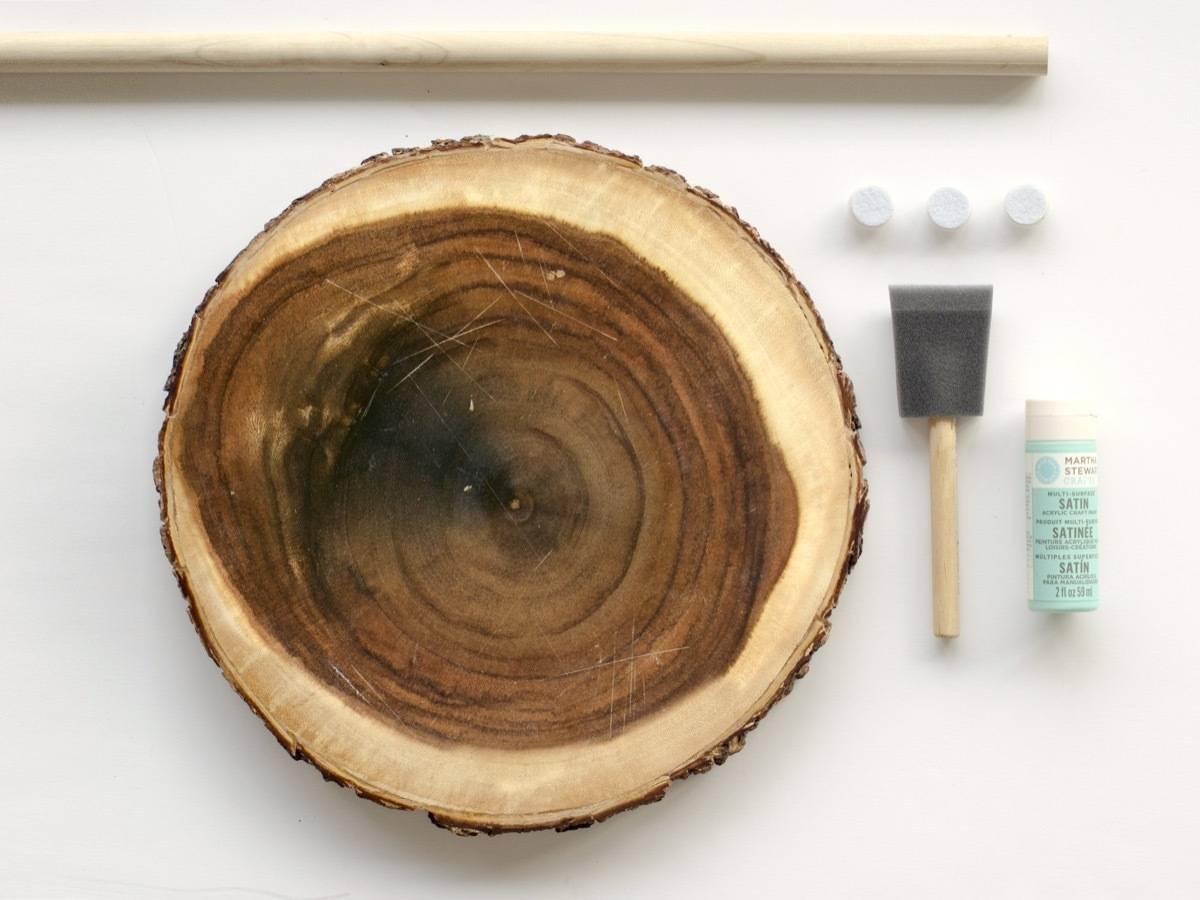
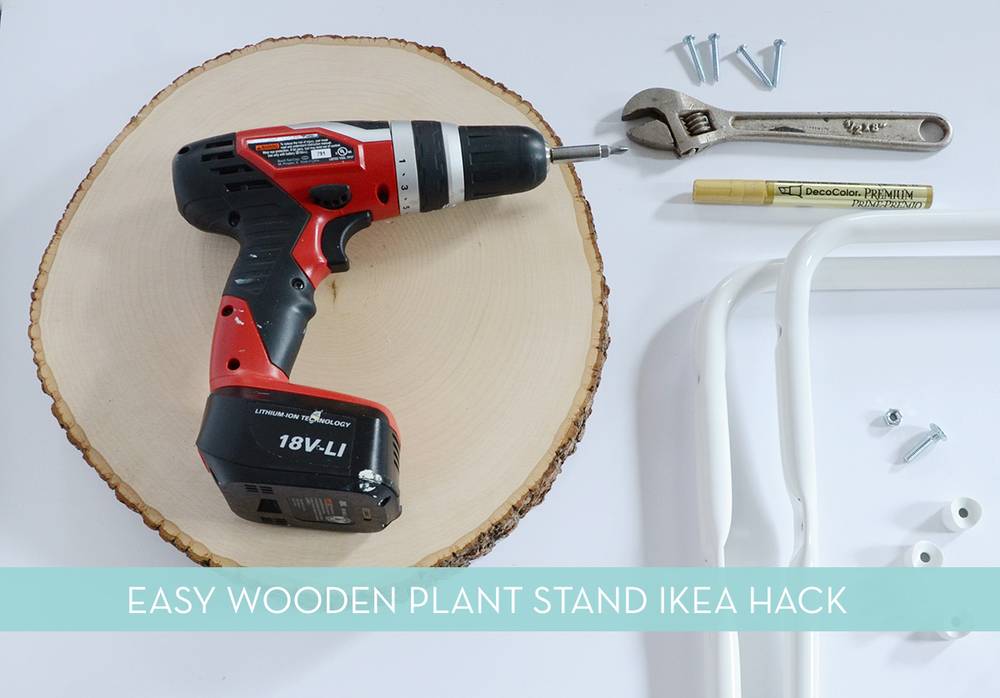
- Wood round
- 3/4″ dowel
- Acrylic paint and foam brush
- Power drill and 5/8″ Forstner bit
- Small screws
- Felt pads
- Handsaw or other cutting tool
Step

To start, drill three holes in the wood round. Before you start drilling, you’ll need to divide the wood round into thirds. Check out this graph from our tree stump side table project for help on the math. If thirds seems too daunting, create a plant stand with four legs.
Once you’ve divided the wood into thirds, measure 1.25″ in from the edges of the round, and mark the drill points. Clamp the wood round to a sturdy surface. Using a 5/8ths forstner bit, create three holes in the wood round.
This Dewalt 20-volt MAX drill made quick work of these holes! And that was after we had run the battery on another project for almost 10 minutes of drill time.
Step
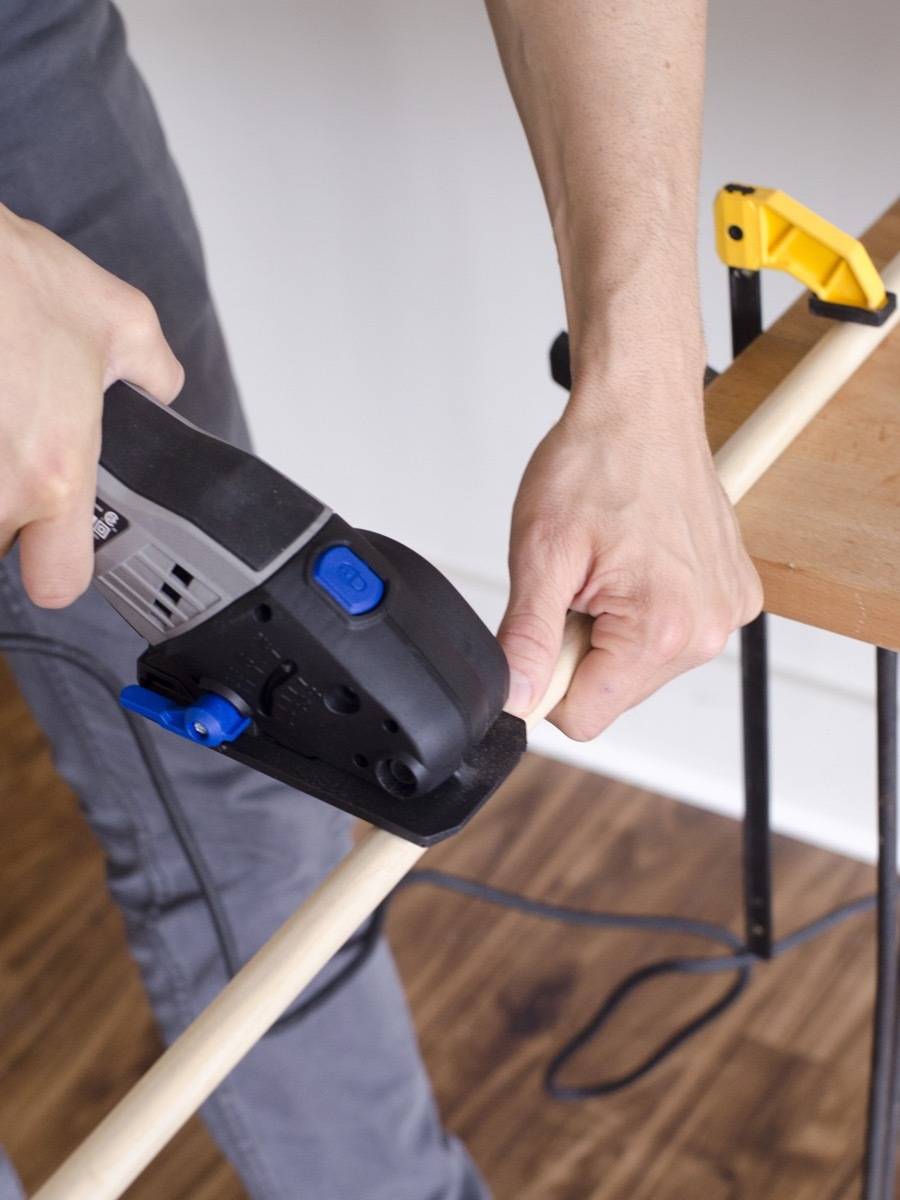
Next, clamp the 3/4″ dowel to a sturdy surface, and cut into thirds (unless you’re creating a plant stand with four legs, then cut into fourths). Sand any rough edges.
Step
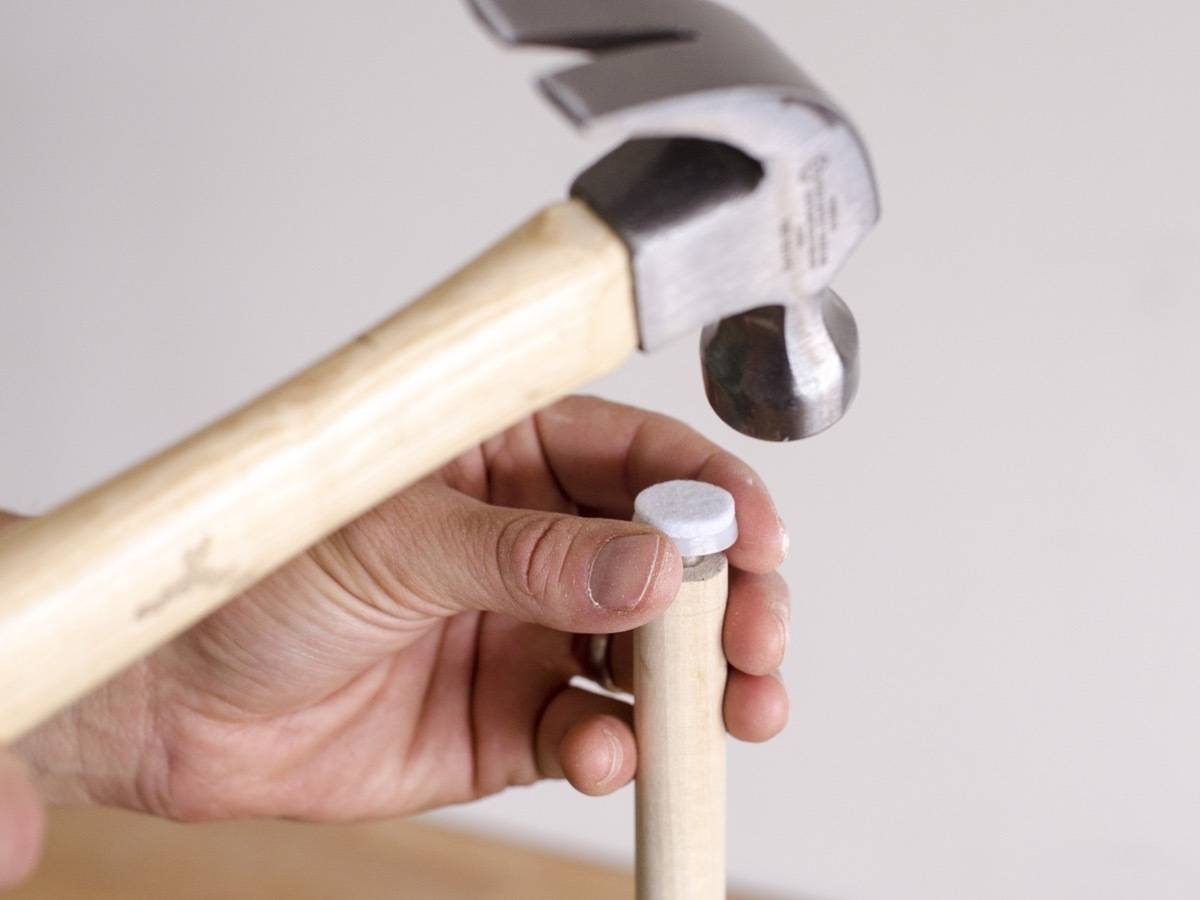
Attach felt pads to the bottom of each dowel.
Step
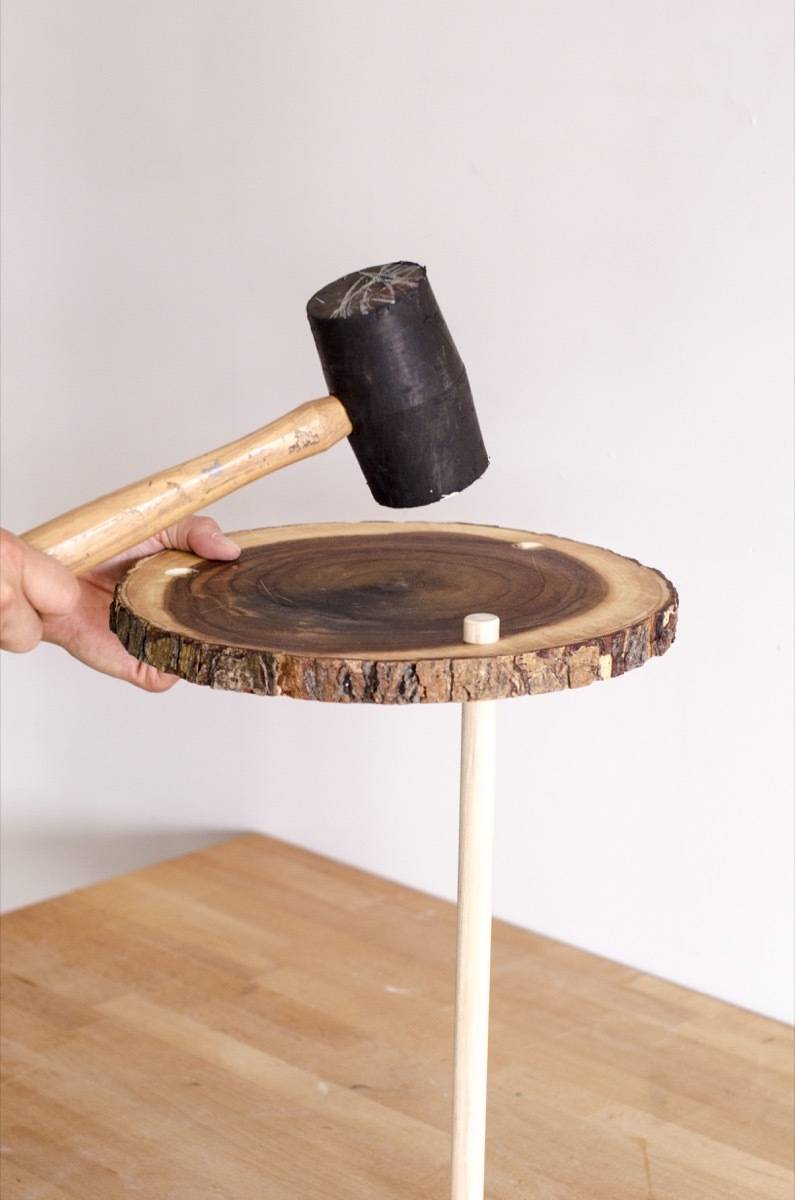
Feed each dowel through drilled holes of the wood round. If they stick on the way down, use a soft mallet to hammer the wood slab down.
Step
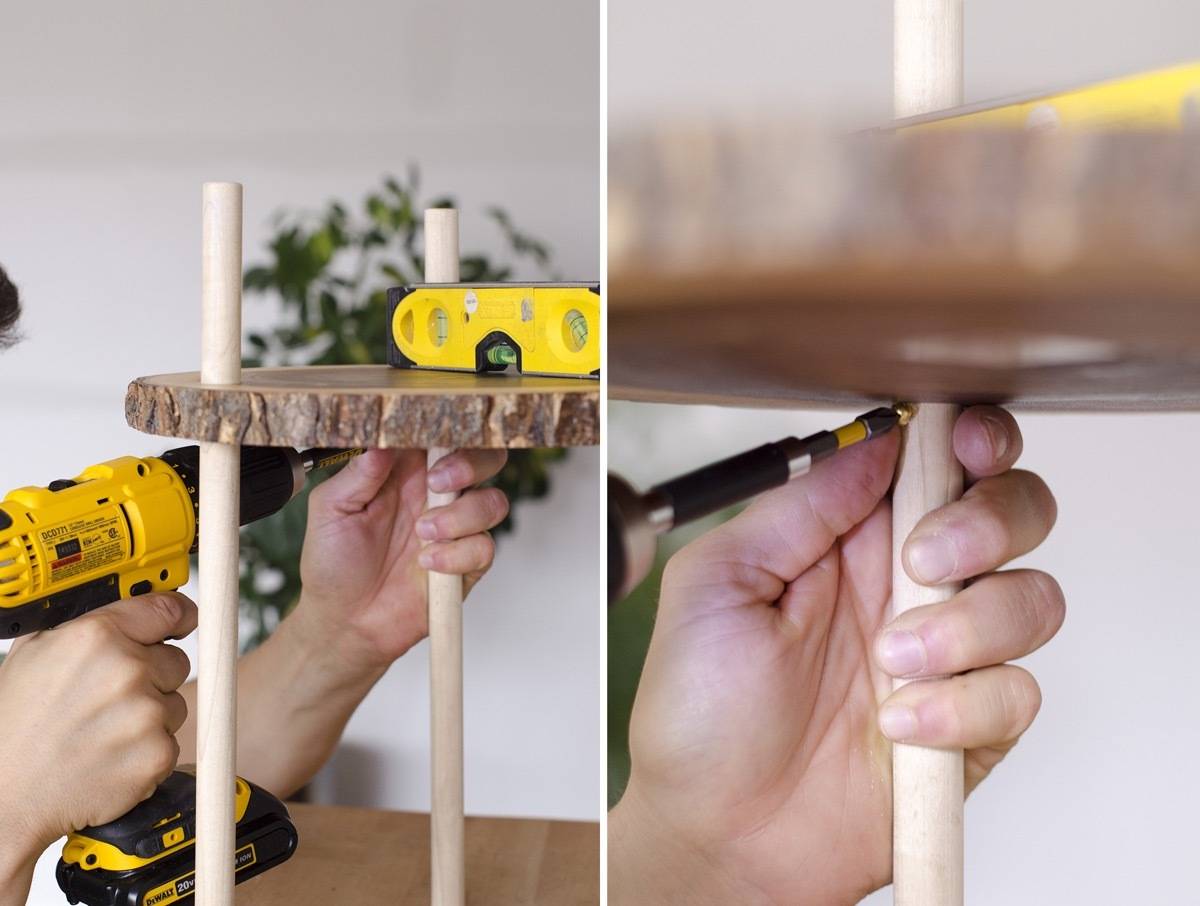
Use a level to ensure each leg is sitting at an equal place in the wood round. To keep the dowels from slipping out of the wood round, drill a small screw under each leg. These screws will act as a stop.
Step
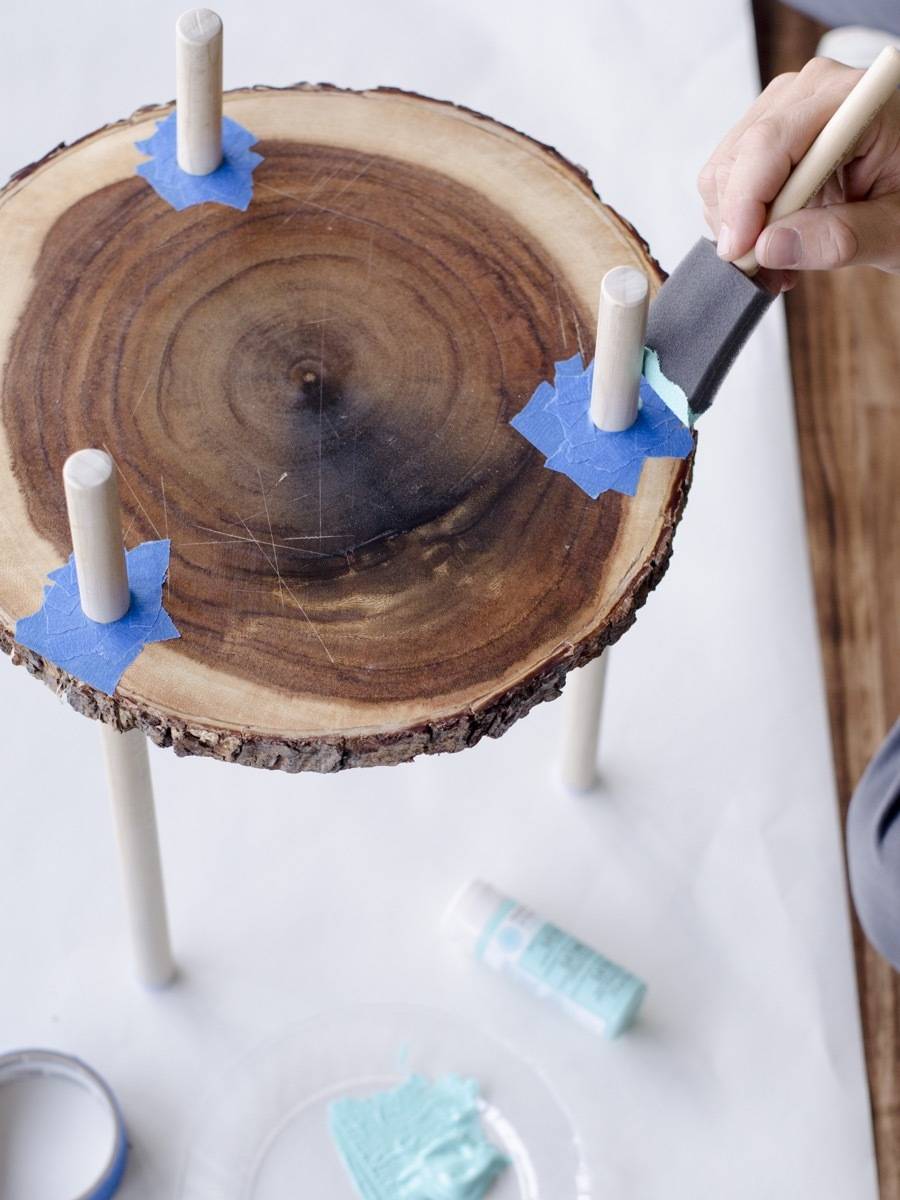
Tape the wood round to protect it, then paint! While it may seem like painting the legs first would’ve been easier, we didn’t want to scratch the paint feeding it through the wood round.
Let the paint dry completely, then your 30-minute plant stand is ready to use!
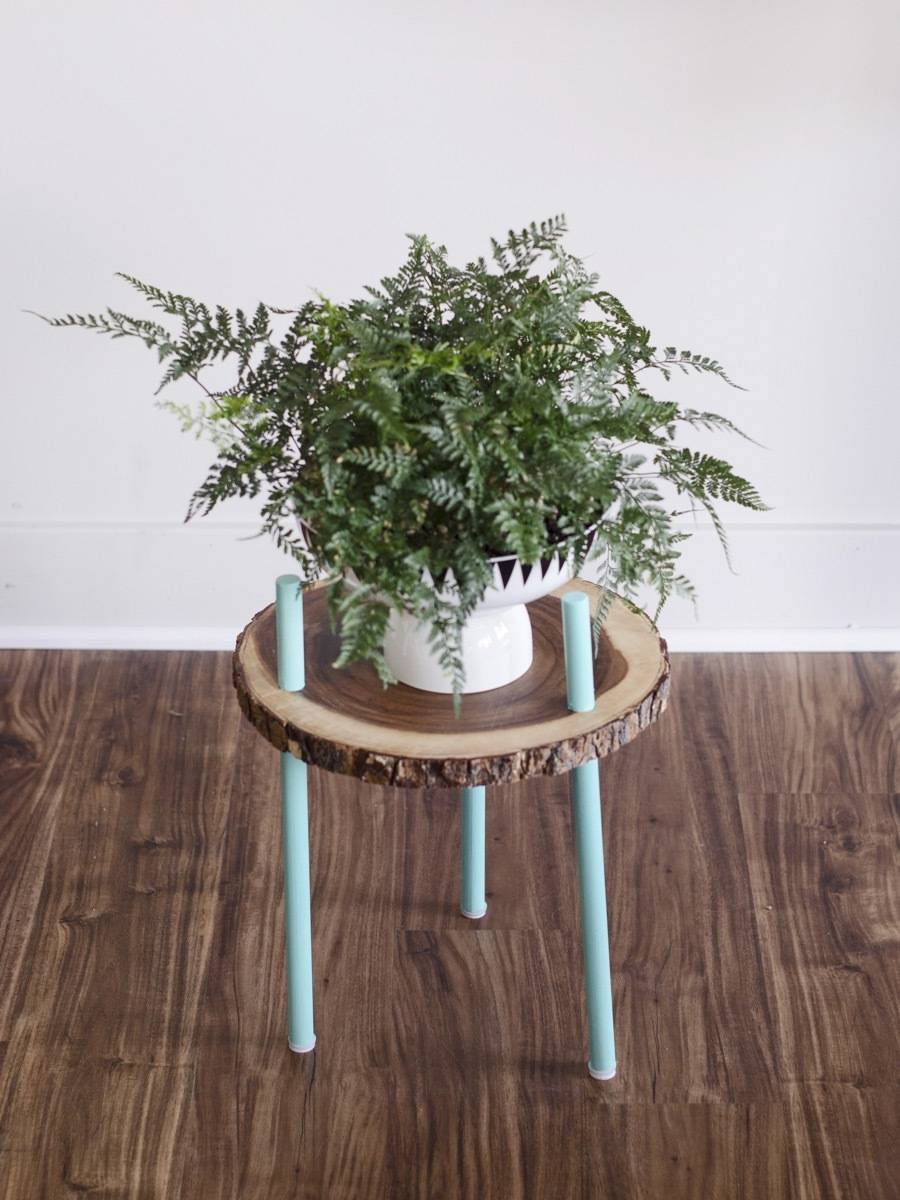

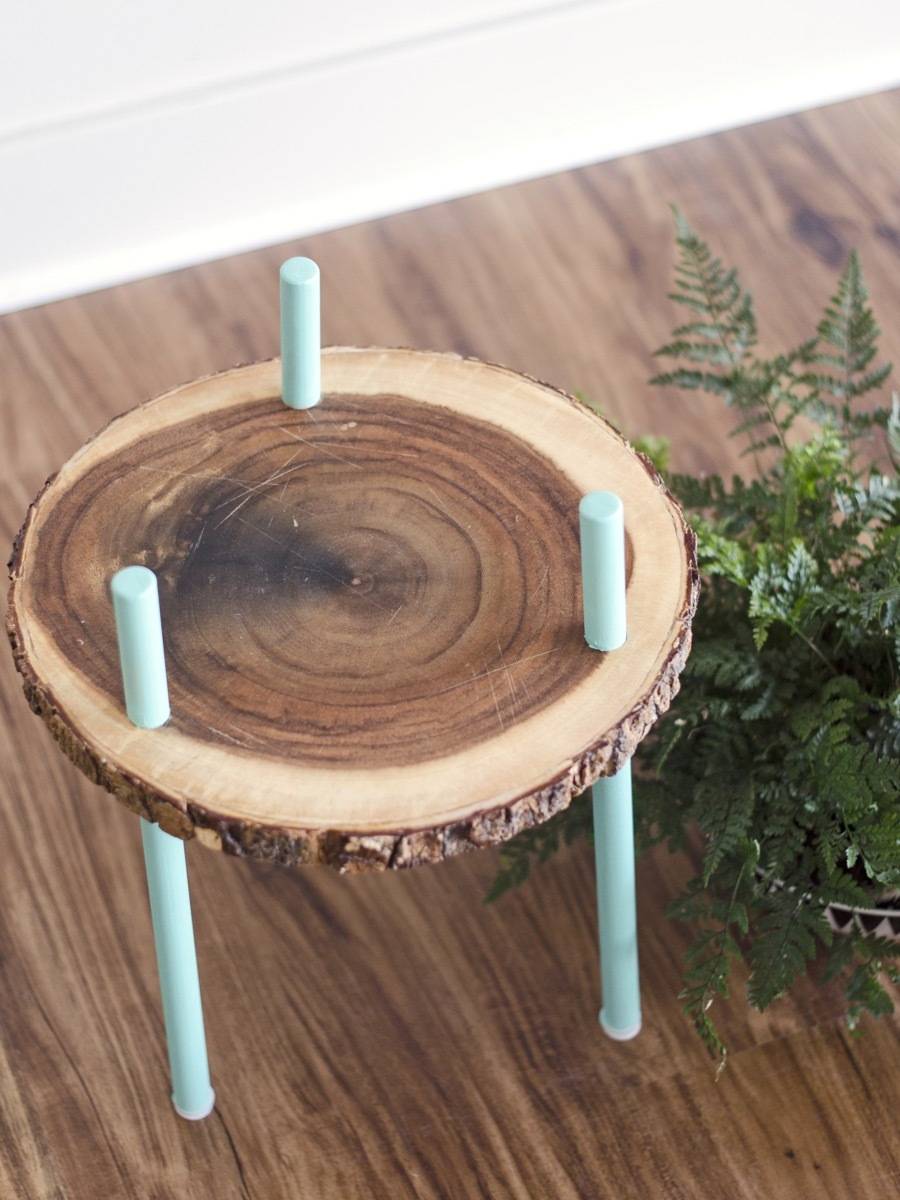
I’m so happy spring is back. With the warmer weather moving in, it’s time all the office plants get their yearly shakeup. Overgrown ones will get moved to bigger pots, dead leaves will get snipped, and everyone will get a new round of dirt and fertilizer. Happy spring!
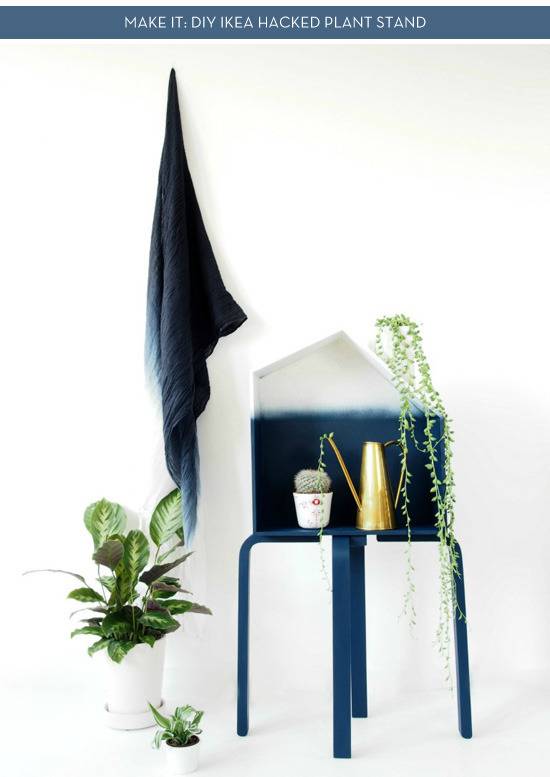
Two more simple IKEA-hack indoor plant stands you can try
I acknowledge that The Home Depot is partnering with me to participate in the ProSpective2018Campaign. As a part of the Program, I am receiving compensation in the form of products and services, for the purpose of promoting The Home Depot. All expressed opinions and experiences are my own words. My post complies with the Word Of Mouth Marketing Association (WOMMA) Ethics Code and applicable Federal Trade Commission guidelines.
Thanks for supporting the brands that make Curbly possible!

Excellent idea! I loved it. Another great read thanks to you!
@Julie Thanks!