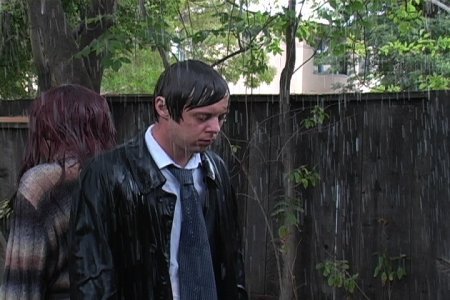
How do you add instant drama to your scenes? Rain and sappy music of course. Using some wood, rope and a garden hose Erik shows you how to make a “Hollywood rain machine” for less then $50 bucks. Be sure to send in your Indie Filmmaking projects to Indy Mogul, and subscribe to our podcast on iTunes!
How to make a rain machine
by Erik Beck
Hey everyone and welcome to the technical blog for Episode#13 (rain machine). All you people who wanted a cheap way to recreate good looking “movie rain” read below. The coolest thing about this project is you probably have a lot of the parts laying around the house. Remember you can submit your project ideas here!
Warning: I’m using power tools to build this project. Always have adult supervision when using power tools if you are under 18. Seriously people be careful.
Shopping List
- 25-50ft garden hose.
(I bought a 50ft one, but the water only came out about half way. I’d try a 25 footer) - Some cheap wood.
(I got about 20ft of 1″x2″ beams. If you have some old 2″X4″s laying around just use those.) - Cable ties.
(I used these to fasten the hose to the frame. You could use duct tape in a pinch.) - Plastic Hose cap.
(This was like a dollar and screws on to the end of a hose to cap it off.) - Female to male hose adapter.
(This is a simple piece that allows you to screw the end of one hose to the beginning of another. Mine came with a nifty valve.) - 4 eye bolts.
(To provide a good place to hang ropes.) - Rope.
(I used some left over nylon rope I had from the samurai armor, but whatever you get make sure it is strong enough to support the rig. You don’t want this thing falling on your actors.) - Some screw, nuts and bolts.
(Basically something to hold the frame together. I used wood screws.)
The frame
This can really be made out of anything that is reasonably light and will hold our hose in place. I chose to build a simple wood frame and would suggest you do the same. Start with two beams that are 5-6ft long. Using some wood screws, or even better a bolt, nuts and a few washers, secure the two beams in the middle. You should end up with a big “X”.
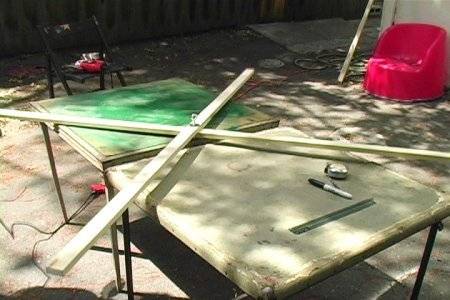
Now add some cross bracing using more wood and wood screws.
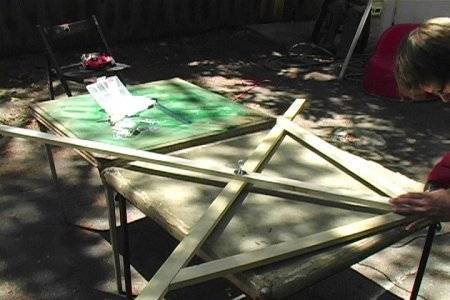
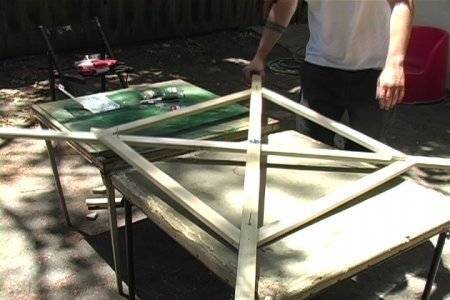
Now add some eye bolts where the cross braces meet the “X”. Four in total. It should look like this when done.
The hose
So instead of using PVC, I decided to try a flexible hose. Rain is a part of nature so it should come from a natural occurring shape, like a spiral. Ok, I just made that part up. Anyways, spread your garden hose in an even spiral across the surface area of the frame. Start from the outside.
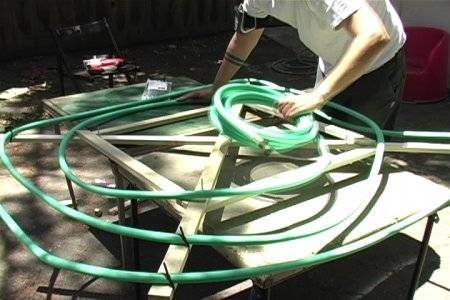
Once you have it evenly spread out use the cable ties to secure the hose to the frame.
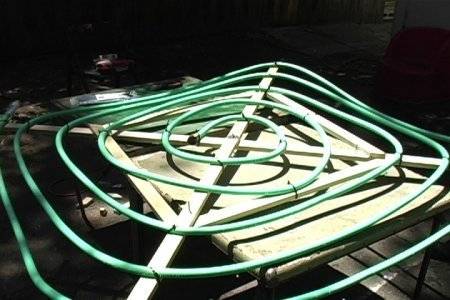
Right now you have a giant dream catcher. So you need to drill some holes in it to make it a rain machine. Using a very small drill bit, drill holes in the top side of the hose every 4-6 inches. Make sure not to make these holes too big. You’d be surprised how much water will spray out of even a tiny hole. You can always drill them bigger later if you need to. So start small.
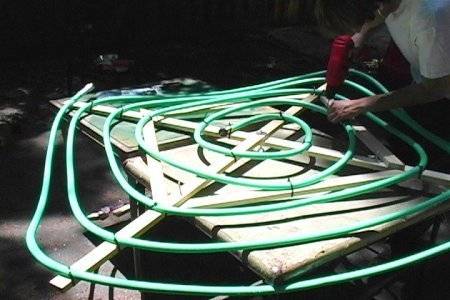
Lastly screw on a the plastic cap to the end of your hose (should be in the center of our rain machine), and the valve adapter to the beginning.
The set up
So unless you have a crane, you’ll need to hang this rig from a tree. Using the four eye bolts and some rope, hang the rain machine like a chandeleer. I figure the higer you can get it the better, but for our test film we had it about 8-9 ft up and the rain looked fine.Now just connect a second hose to the adapter at the side of the rig and go.
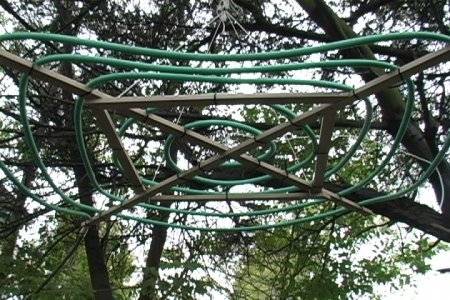

When you hang this thing you want the holes in the hose to point up. This will make the water spray up and then fall down with gravity. This provides a much better spread and droplet size. The first time we set it up we had the holes pointed down and it just looked like a big shower head coming out.
Conclusion
This rig provided at least 50 square feet of quality rain. Roughly a 5′ by 5′ space to shoot in. This is perfect for dramatic scenes between 2 or 3 characters. You could always built a few and create a bigger rain area.
