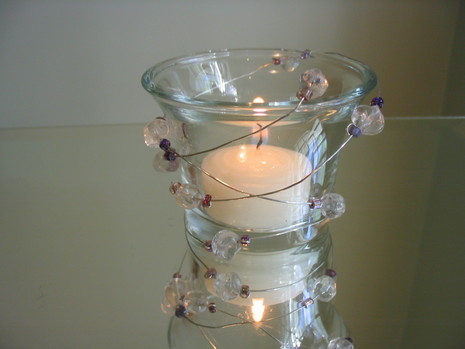
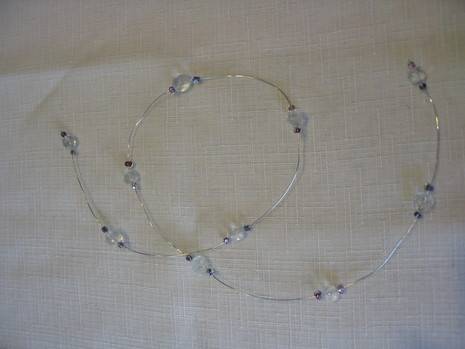
Garland isn’t just for holidays anymore. Here’s a very easy, fast and economical way to make custom-made decorative garland.
What I used.
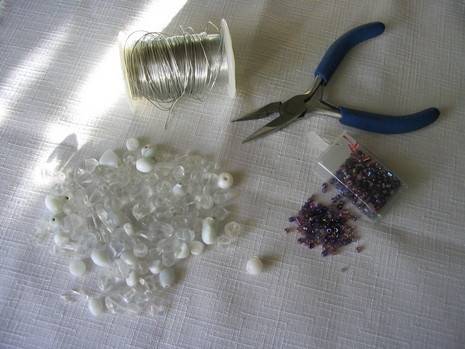
24 gauge beading wire
Wire cutter
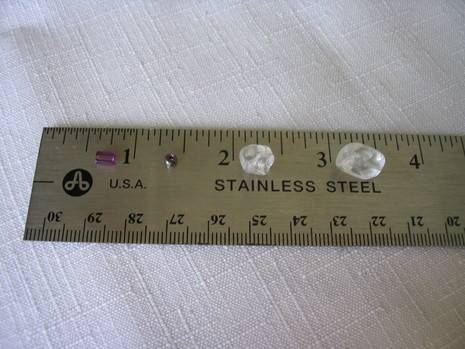
Large and small glass beads (The thing to keep in mind for this project is that the holes in your beads have to be large enough to accommodate TWO widths of your wire.)
What I did.
1. Using my wire cutter, I cut a length of wire–about 2 feet long, in this case.
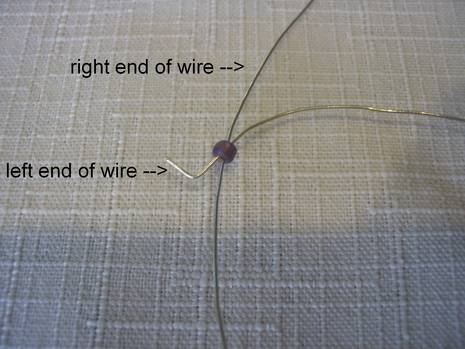
2. I threaded a smaller bead on the wire, placing the bead near the left end of the wire. (I’m working left to right as I’m a righty. I expect lefties would work this right to left.)
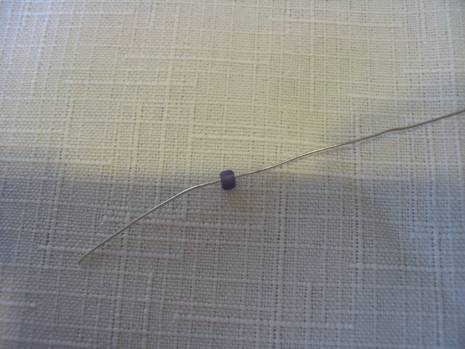
3. Then I looped the right end of the wire through the bead, pulling the wire snugly.
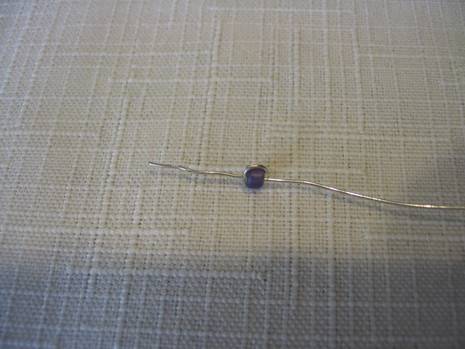
4. I slipped on a larger bead on the right end of the wire….
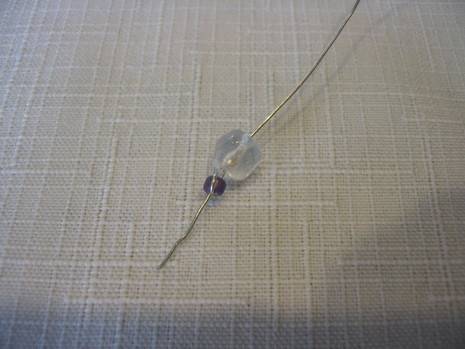
5. and then threaded on another smaller bead.
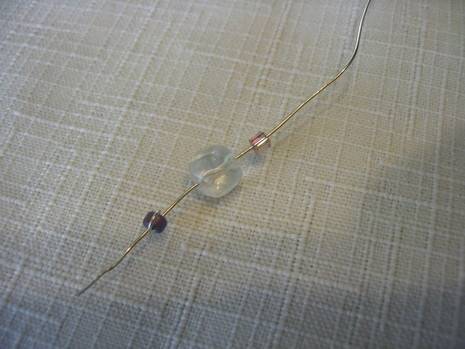
6. I looped the right end of the wire through this bead as well (like in step 3). I pulled the wire securely as I held it as close as possible to the previous bead. If I couldn’t pull the wire tightly with my fingers, I used the plier part of my wire cutter to get a better grip on the wire.
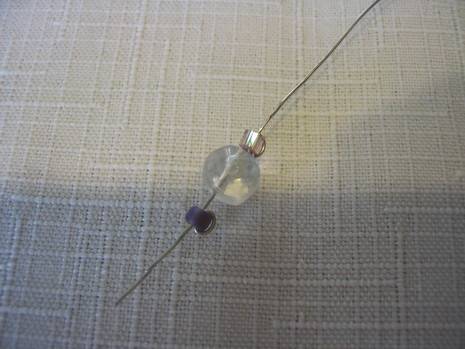
I placed the next bead about 3 inches from the last grouping and proceeded with steps 2-6 until I reached the end of the wire. I finished up by cutting the excess wire from both ends.
What I might do differently next time.
I might use slightly finer gauge wire, as it would be a bit easier to work with; however, the 24 gauge keeps its shape nicely when you manipulate it.
