I’ve eliminated wasteful use of paper towels in nearly every aspect of my life- except in a few instances when working on projects…if anyone has a better way to clean up oil-based stains or epoxy spills, please let me know.
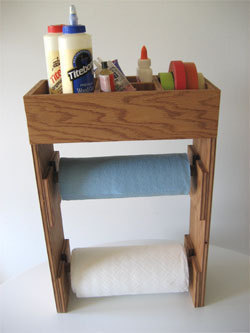
So, one the rare occassions that they’re necessary, they might as well look sharp and be available, so I built this paper towel dispenser. I used wood from my scrap bin, so it didn’t cost me anything, but it could definately be built for under $12.

Materials
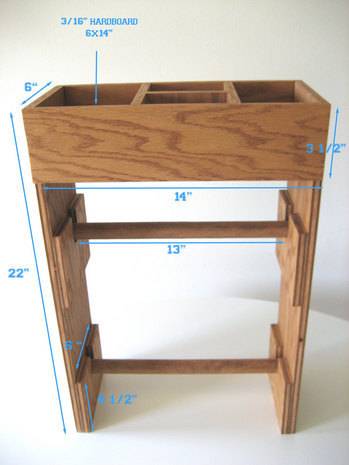
1/2” plywood (2’x4’ is more than enough)
3/16” hardboard 6”x14”
1” dowel, at least 27” in length
Wood glue
Several bar clamps
8 3/4” screws
1” Spade bit
Jigsaw or bandsaw
Electric drill
Sandpaper or electric sander
Table saw or circular saw (optional)
Dado blade or router and 1/2” strait bit (optional)
1. Cut, or have cut, your plywood to the following sizes. Save excess to make dividers, if desired. I used a scrap piece of white oak, which is a total mystery to me, because oak doesn’t particularly suit my tastes, and I have no idea how it ended up in my sheetgoods storage.
6×22” (x2)
4 1/2 x 6” (x4)
1/2 x 14” (x2)

2. Optional steps:
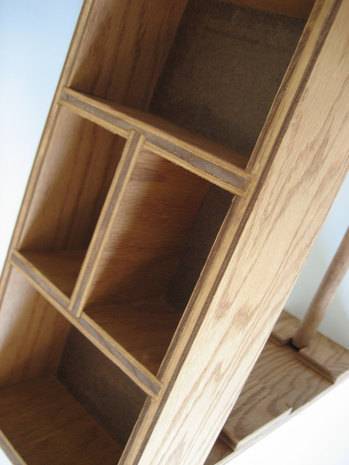
A. If you have the capability and the desire, run a 1/2” rabbet, 1/4” deep, on the short sides of the face pieces, those 3 1/2” x 14”. If you’d like to make divider shelves, cut a 1/2” dado at equal intervals for the joint (mine were 5 and 4” from the ends).
B. If you want to recess the hardboard shelf, cut a 3/16” groove (two passes with the table saw (well, a pass and a half-kerf pass) 3 1/2” down on the back of all the face pieces. You’ll then make the hardboard 6” x 13 1/2” to compensate.
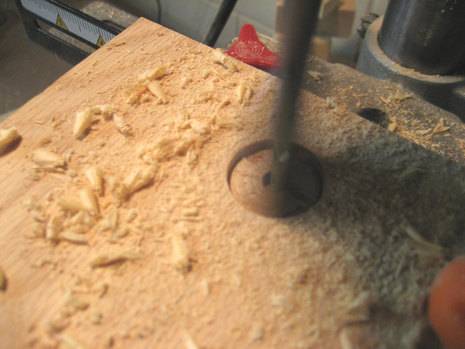
3. To make the dowel brackets, drill a 1” hole with it’s center 1 1/4” from the top. Mark cut lines on the outside edge to the top edge of the bracket. Use a jigsaw or bandsaw (or even a handsaw) to cut along the lines.
4. Assembly. Glue the four dowel brackets to the inside of the long pieces (see photo). Attach with (2) 3/4” screws. Attach the shelf 3 1/2” from the top, and glue on the face pieces. Insert any dividers, glue, clamp, and allow to dry.
5. Cut the 1” dowel to (2) 13” lengths.
6. Sand the edges to a fine grit, and stain as you please. Be sure to stain the dowels as well.
7. Add the paper towel rolls (which you’ll use sparingly) and fill the top caddy.
8. To hang from the wall, use some heavy duty picture hangers or a cleat system for portability.
**Note: My amiga built a similar project, from which I was inspired. She said she built it a few years ago with plans from a magazine, but no longer has the information. If anyone has a reference, please let me know so I can cite it. Cheers.

