Back in junior high, my friends and I used to fold gum wrapper chains. By the end of the school year we had may feet assembled. The same technique we used to waste time in study hall can be applied to just about any kind of paper with some really cool results. Here’s a how-to to get you started making these simple chains.
Supplies
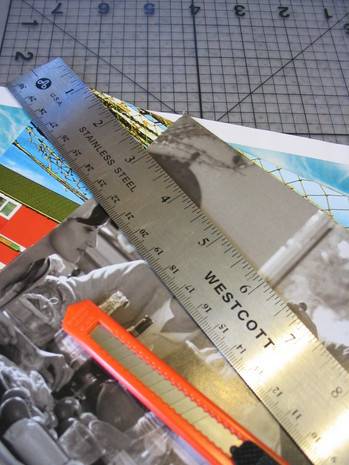
Paper of your choosing (I used colorful interior pages from a magazine)
A cutting tool (I used a small utility blade and cutting mat, but a paper trimmer/cutter of the office variety would be optimal)
A ruler
Preparing the Paper to Weave
This project is all about ratio. In my case, I cut my magazine pages into 3″ by 5/8″ strips. You’ll want to cut a bunch of these to get started.

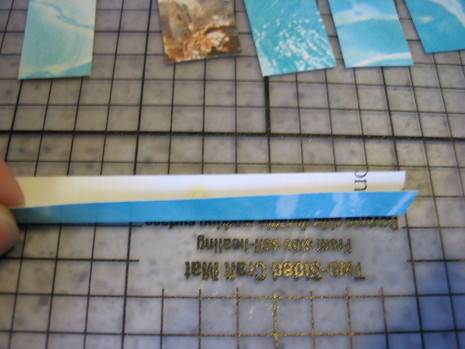
Take one of your paper strips and fold it in half the long way. The side you want showing should face out. In this case, the blue side.
Next, fold in half in the center as shown.
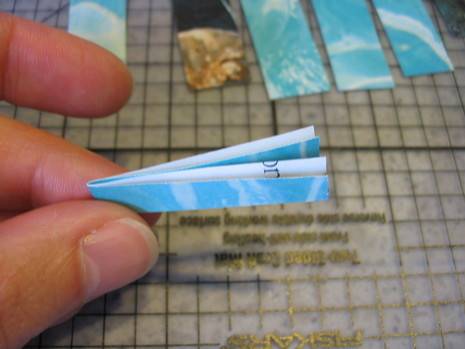
Fold down both sides to the middle of the paper.
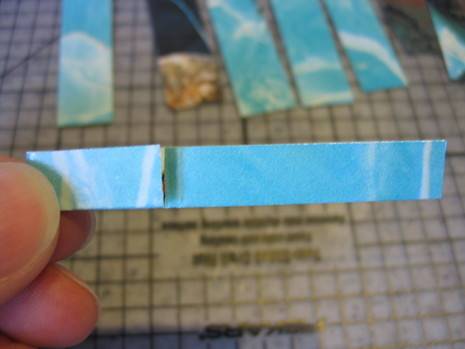
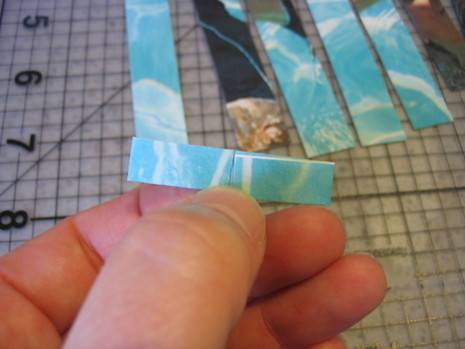
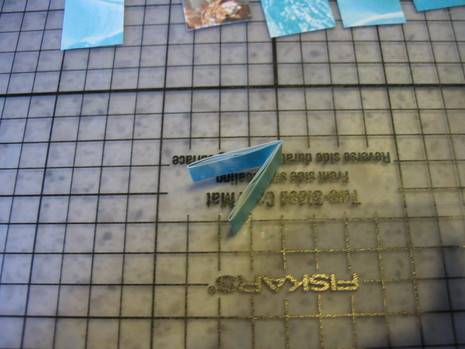
Repeat this procedure using your remaining paper strips.
Weaving the paper
Slip one of your folded papers inside the other as shown. If you keep the cut edges up, it will make things easier.
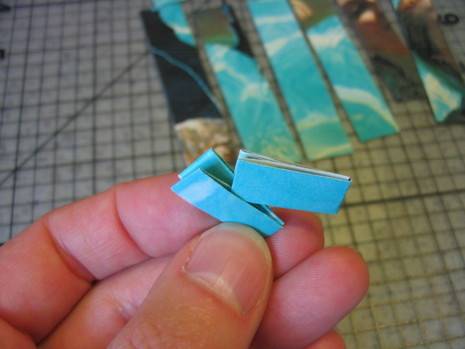
Tuck them snugly together.
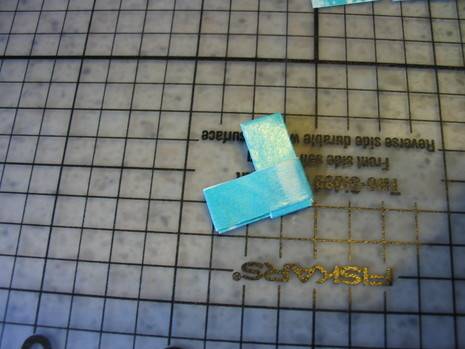
Turn piece over (left to right if you’re a righty and right to left if you’re a lefty); continue weaving folded paper to desired length, turning over after every new ‘link’.
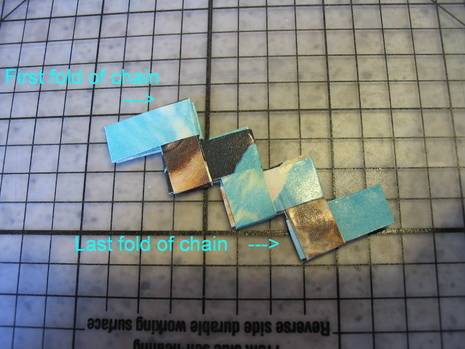
What to do with them
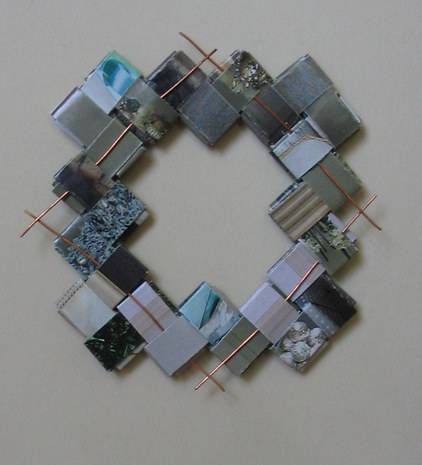
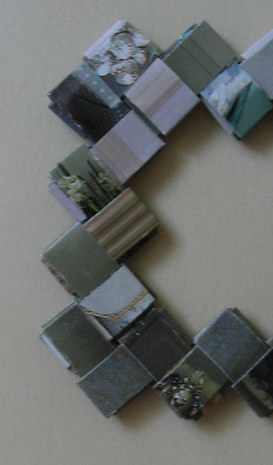
Well, that’s entirely up to you, but here’s what I did. With a few not-so-tricky folds, you can make shapes like these. Add a few embellishments (chrome brads and copper wire) and voila, little art pieces.
