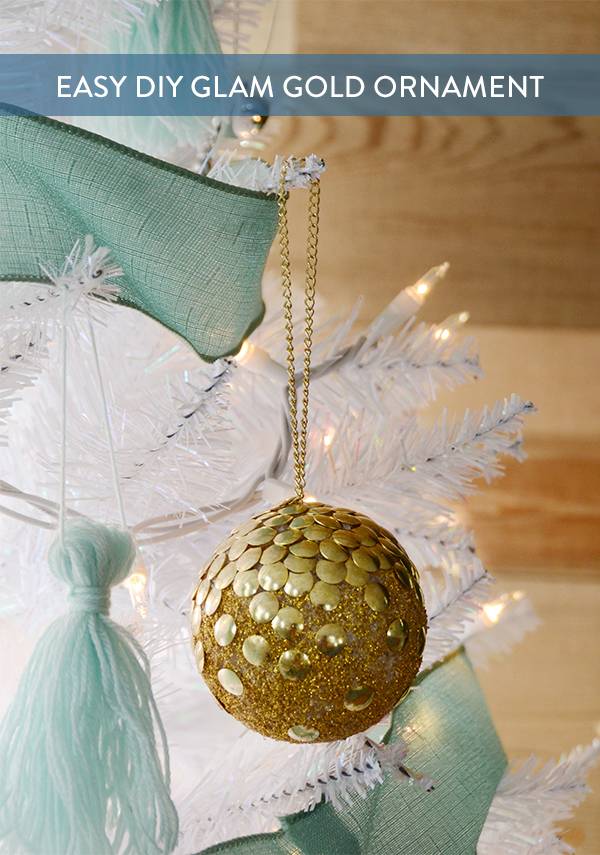
This holiday season, a group of the Curbly writers decided to team up and each of us created a simple and stylish new Christmas ornament. We’re calling it the “Curbly Ornament Challenge” but there’s not much competition involved…just a lot of fun, seasonal crafting. See all of the ornaments here.
During the busy holiday season there’s always less time for complicated DIYs, so simple down-and-dirty projects are much more feasible. In that vein, today we’re sharing a fun tutorial which will show you how to create a gold Christmas ornament using thumb tacks! Click through to check it out.
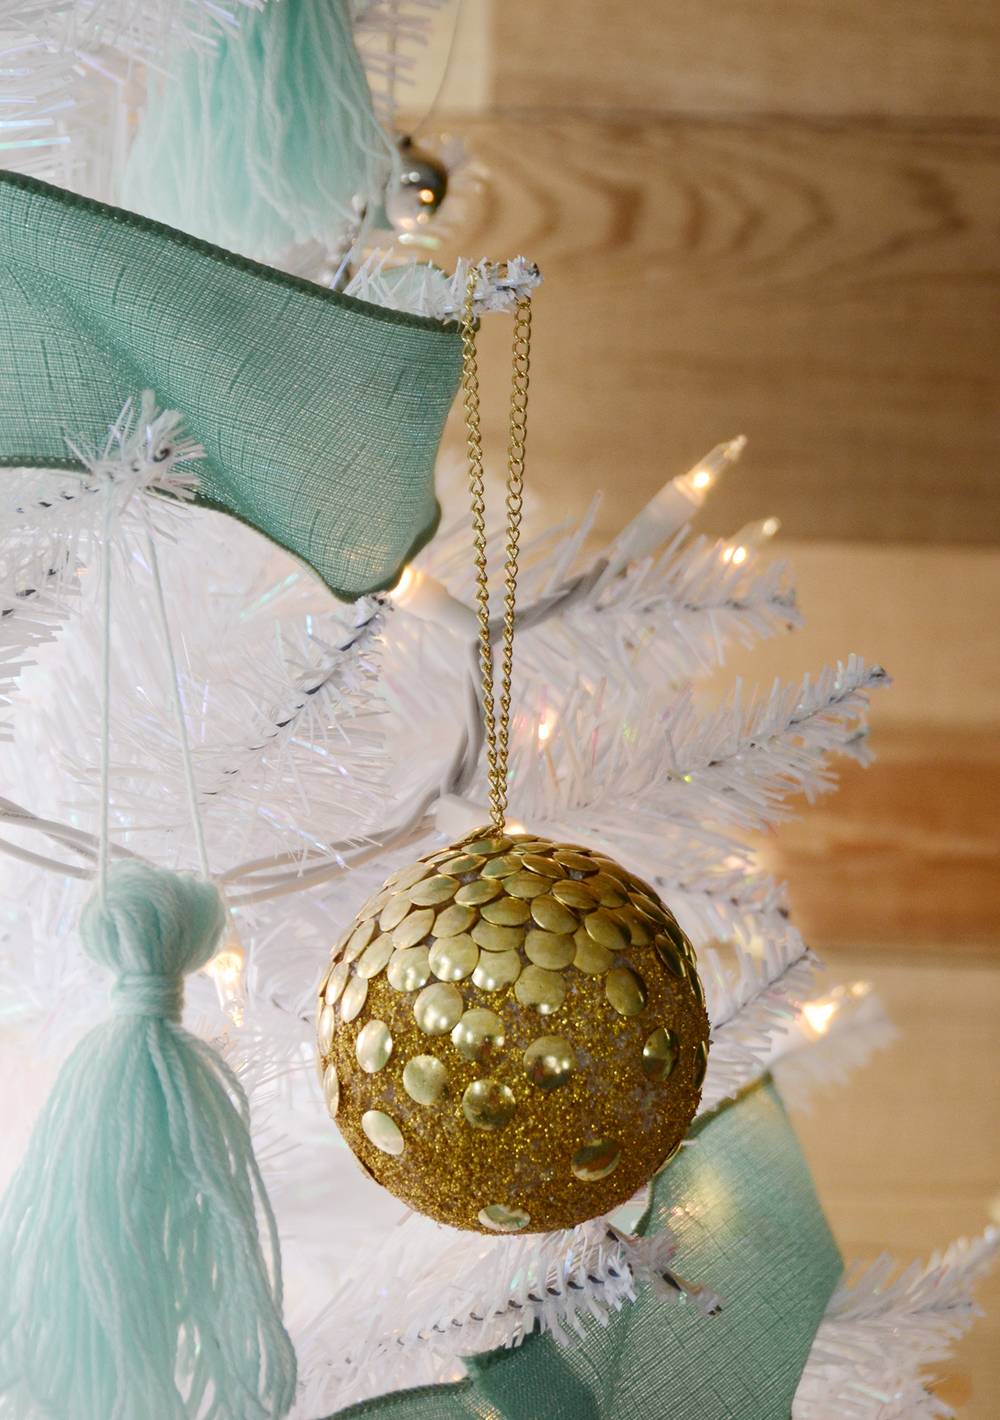
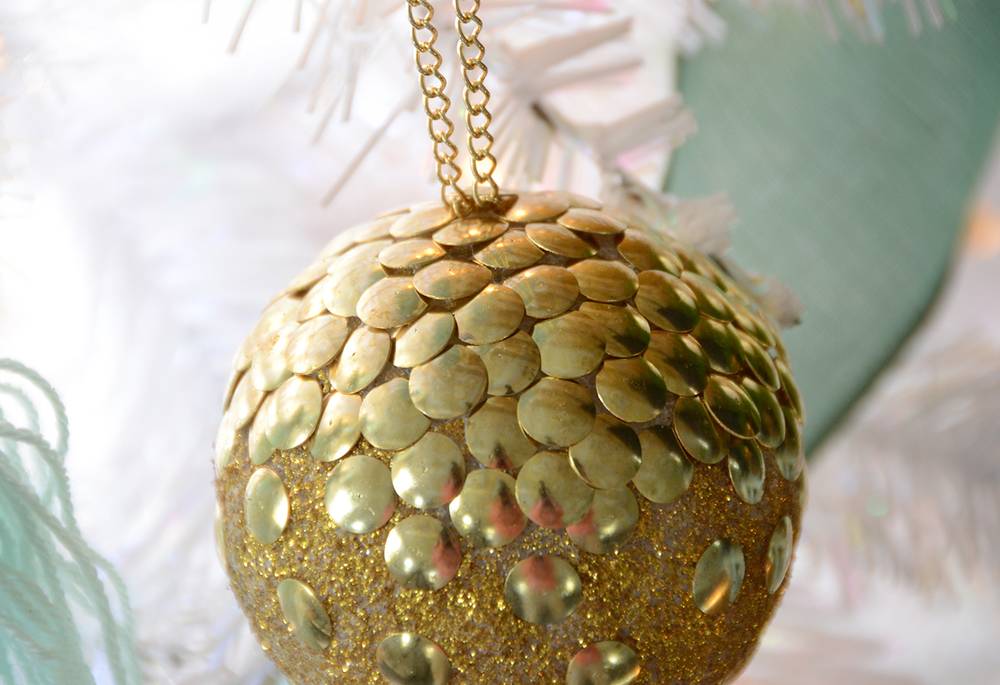
The tacks only cover the top portion of the sphere, revealing more and more gold glitter as they go down. So let’s get started. (And be sure to check out the video tutorial at the bottom of this post!)
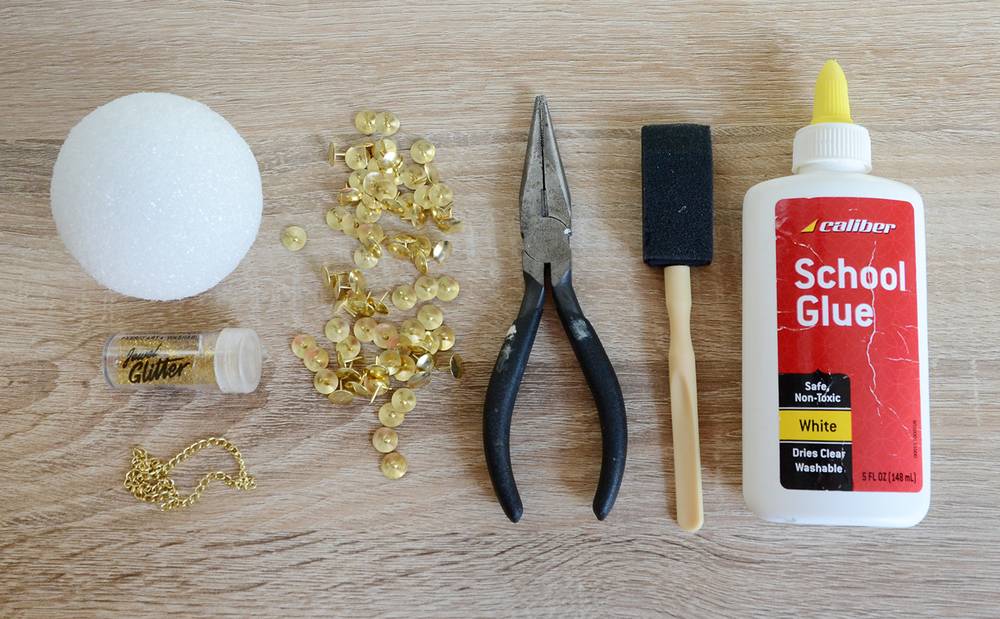
Here’s what you’ll need for this project:
- Styrofoam ball
- Gold glitter
- 6 inches of gold chain
- 1 package of gold thumb tacks (200 ct)
- Wire Cutters
- Foam brush
- White school glue
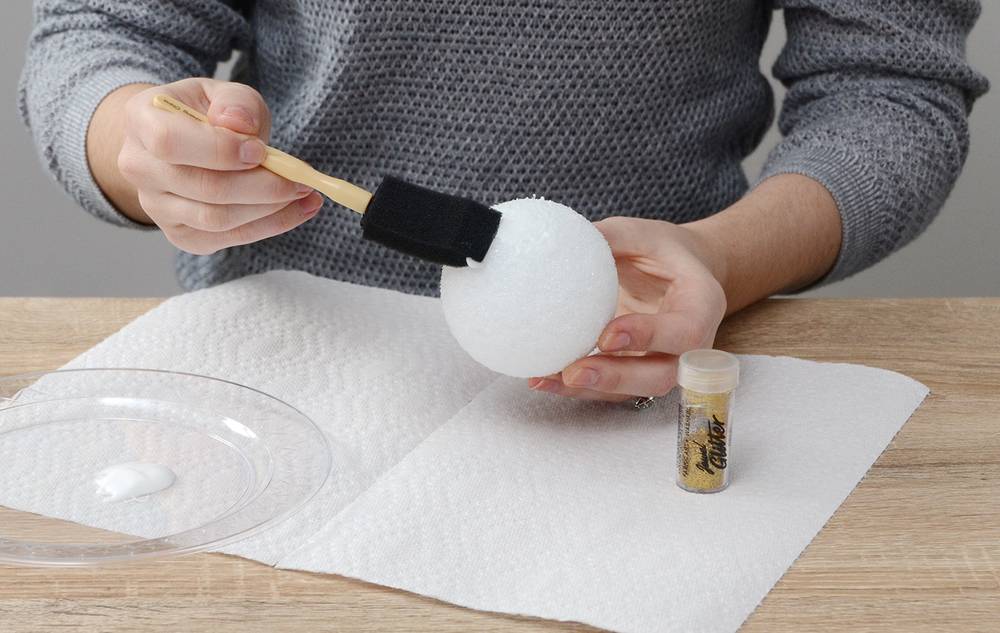
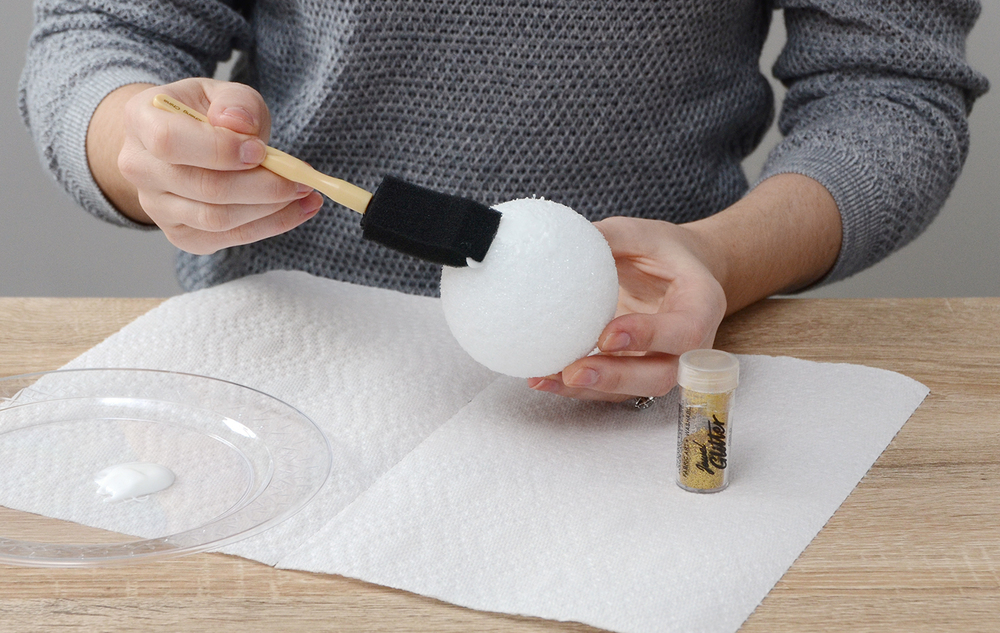
Begin by covering the top two thirds of the styrofoam ball with school glue using a foam brush. Make sure it is well-coated, otherwise the glitter won’t stay put.
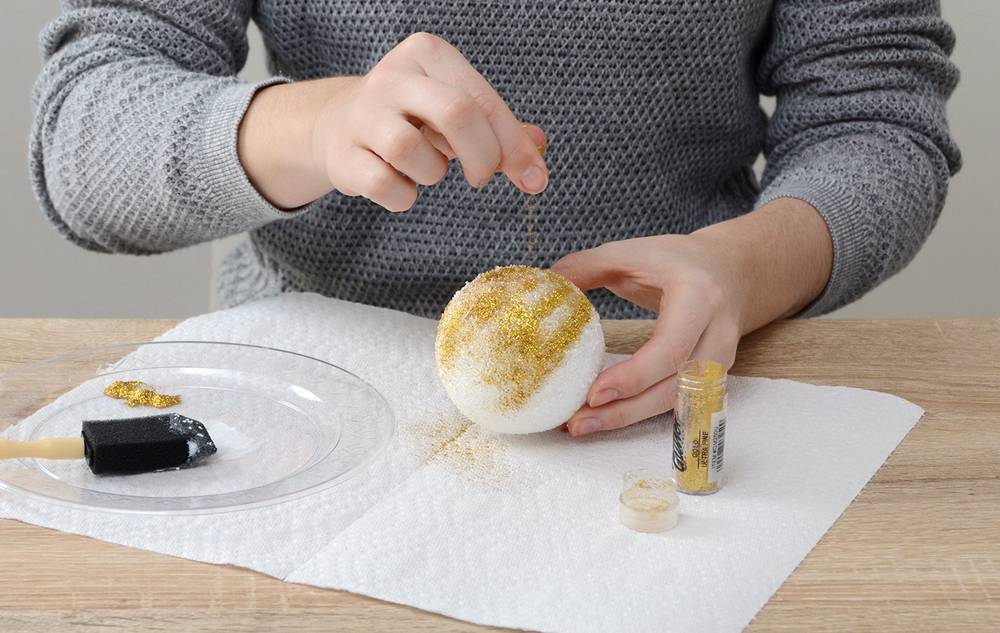
Next, use your fingers to coat the entire area with gold glitter. Continue adding more and more until there are no bare spots (aside from the bottom third of the ball which will be covered in thumb tacks). Let the glue dry completely.

Begin inserting thumb tacks about halfway down, spreading them out and then adding more and more as you go toward the bare part of the styrofoam ball. Make sure the tacks start to overlap each other once you get to the bare section.
Continue on until the entire top of the ball is covered in thumb tacks, and the lower section has a smattering of them. The point is to achieve a gradation of tacks, as you can see in the photo below.
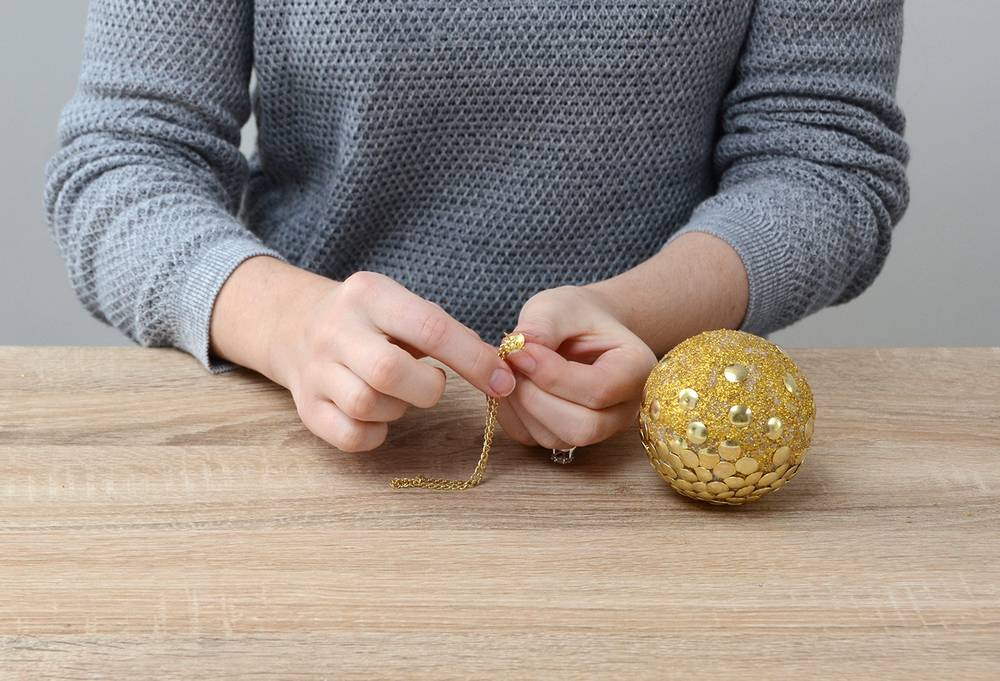
Cut the chain to 6 inches with your wire cutters. Hook the end links onto the tack, creating a loop in the chain.
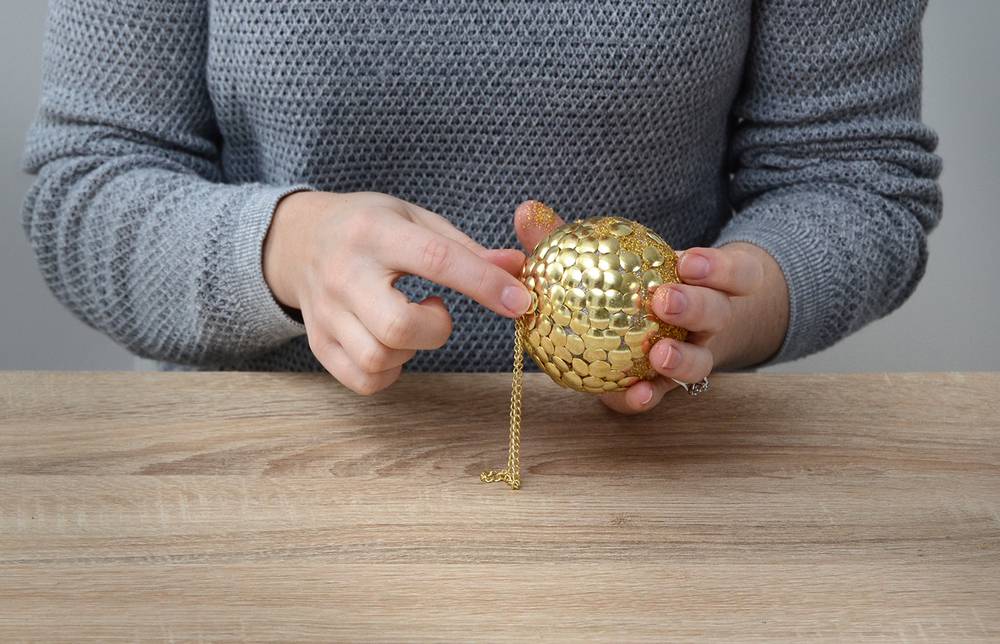
Put a dab of glue on the tack to make sure it stays secure and insert it into the very top of the ornament. And that’s all there is to it!
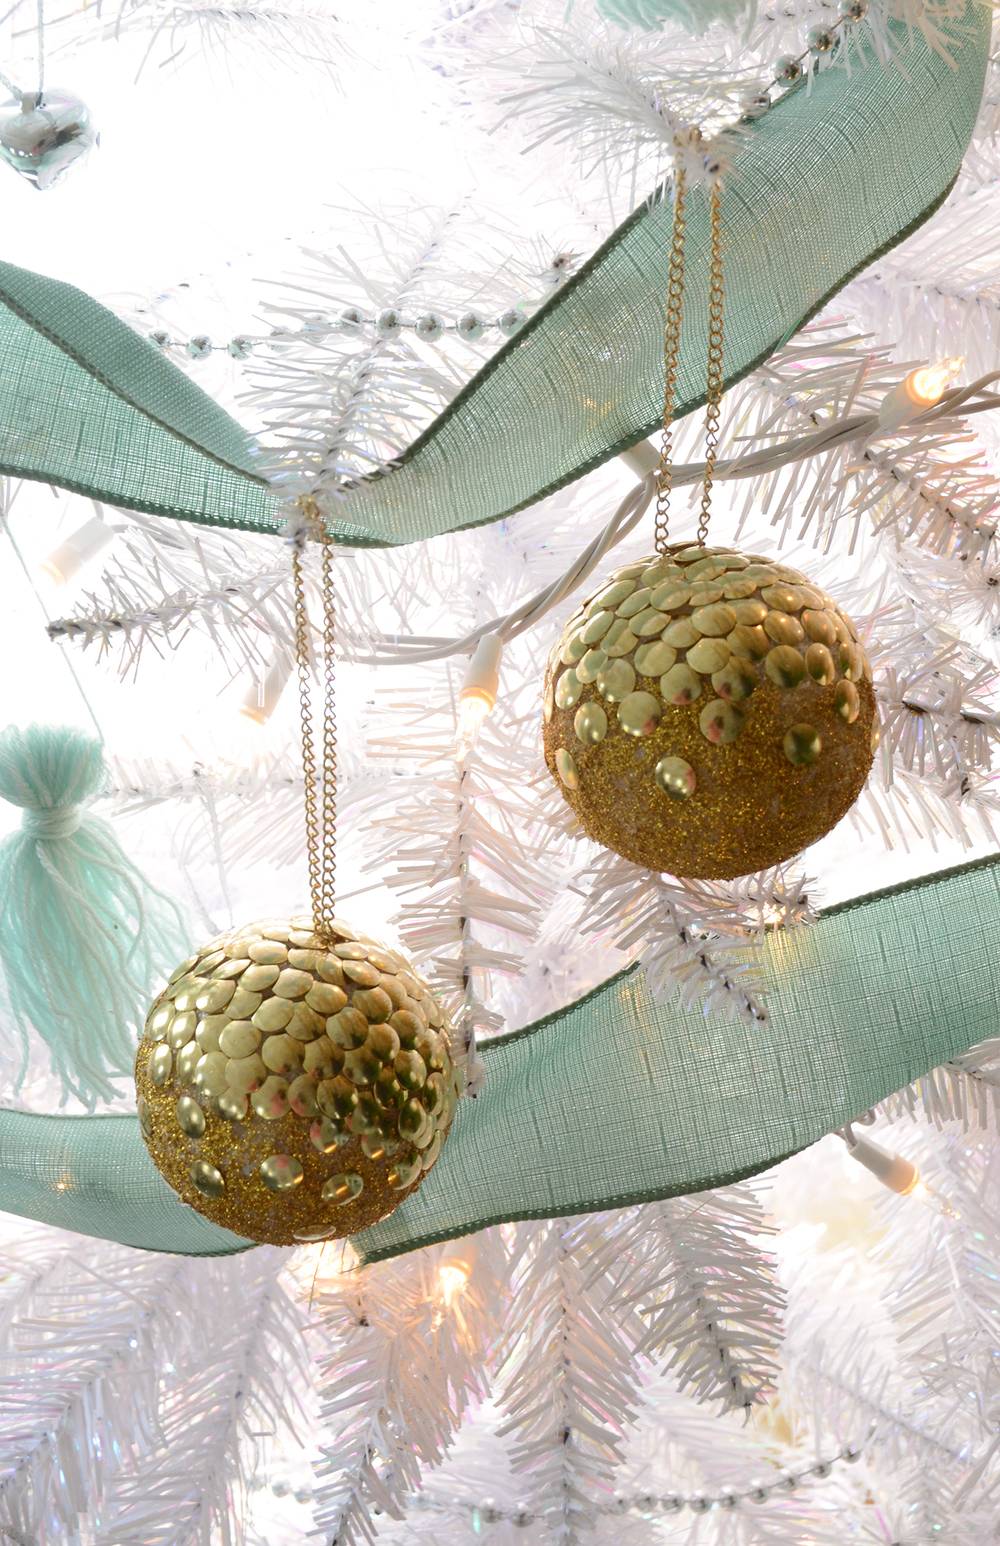
These golden spheres are sure to add some glamour to your tree this holiday season!
Here’s a quick video tutorial:
