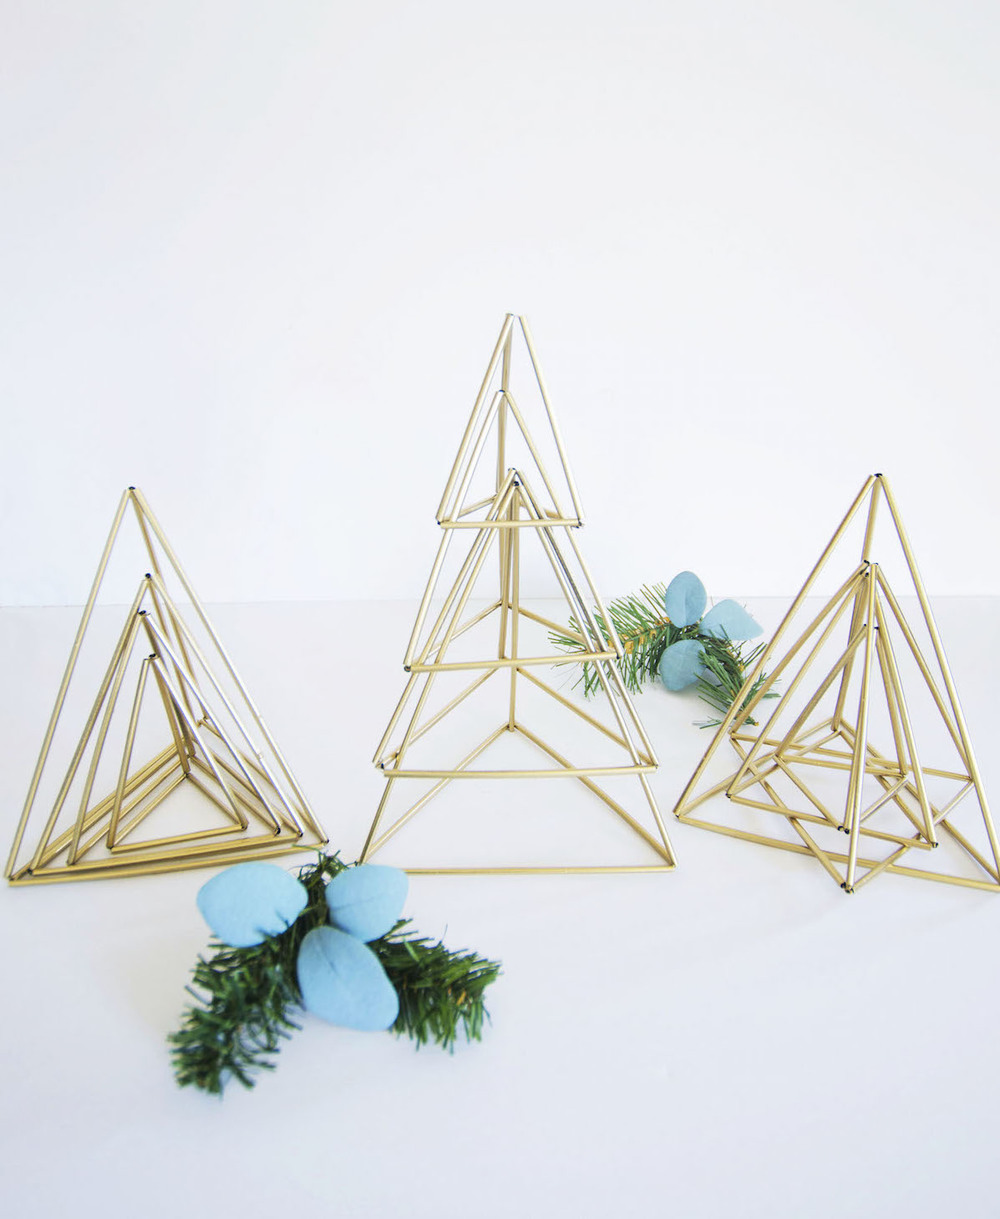
When it comes to stylish Christmas decor, I always love the classic and elegant look of Scandinavian simplicity. I’m especially into the Finnish Himmeli craft, and dig all the ornaments, stars, and wreathes made from them. So, I wanted to add to that trend by making a Himmeli tabletop Christmas tree design to use as decor around my house and in my Christmas tablescapes.
Sometimes, Himmeli projects are known for getting a little complicated. Believe me, I know. I have tried and failed at many. So, I made these Himmeli trees to be easy, modern, and adaptable to create a variety of tree designs. To pull off the look, you only need to know how to make one simple Himmeli triangle.
Here is what you need:
Materials

- Coffee Stirrers (any grocery store has these)
- jewelry wire or light weight floral wire
- scissors (for cutting the straws)
- jewelry wire cutters (if you only have the heavy duty those will work too)
- spray paint
- ruler
The foundation for all the trees is the Himmeli triangle. The Himmeli triangle is often the foundation for other Himmeli projects. Below, I will share how to make the simple triangle. To make one triangle you will need 6 coffee stirrers.
Step
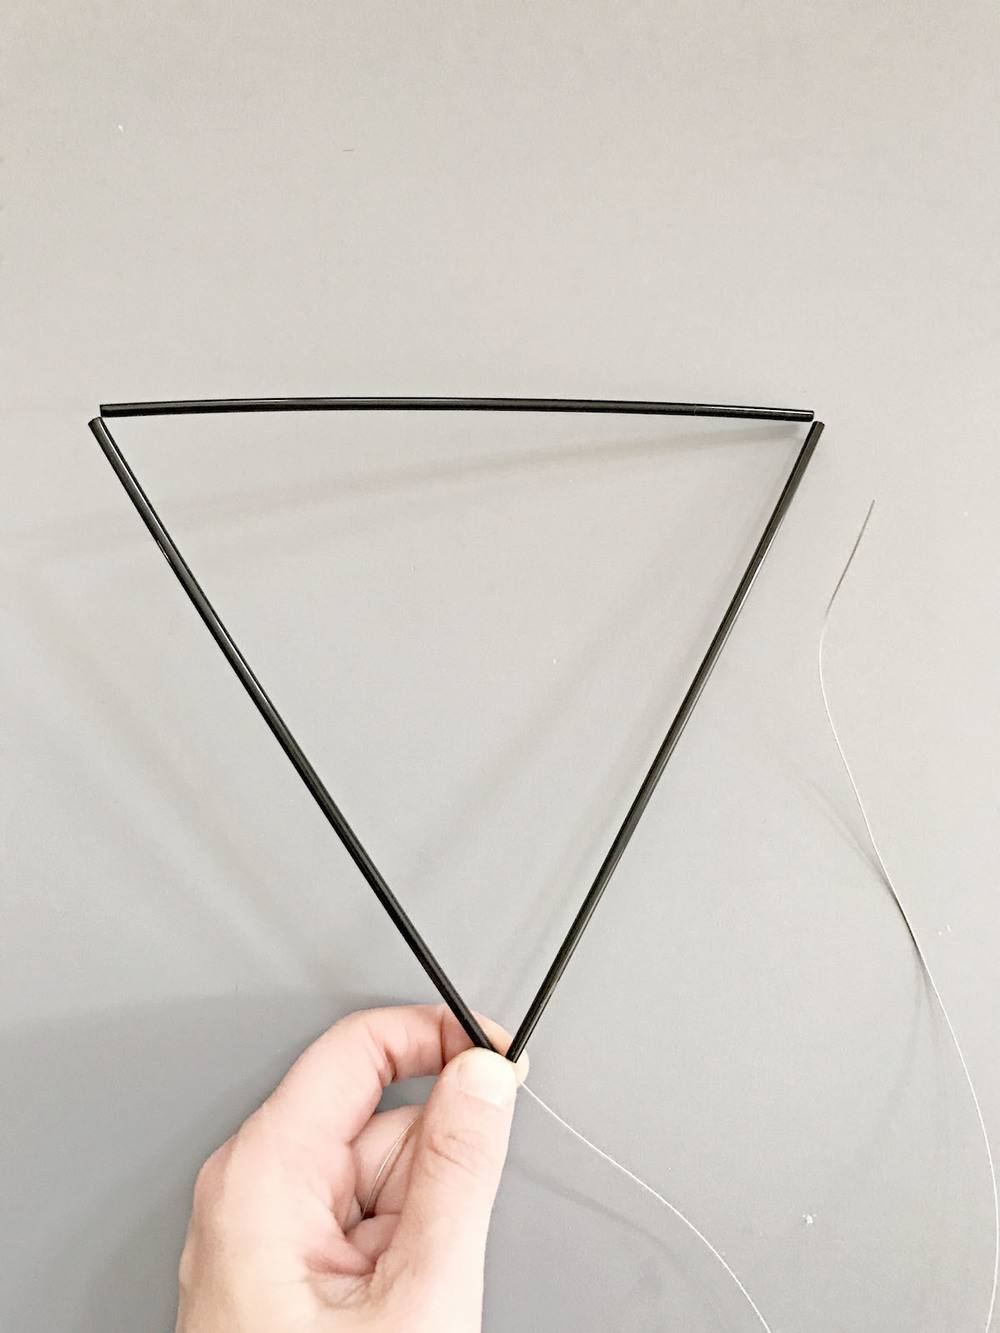
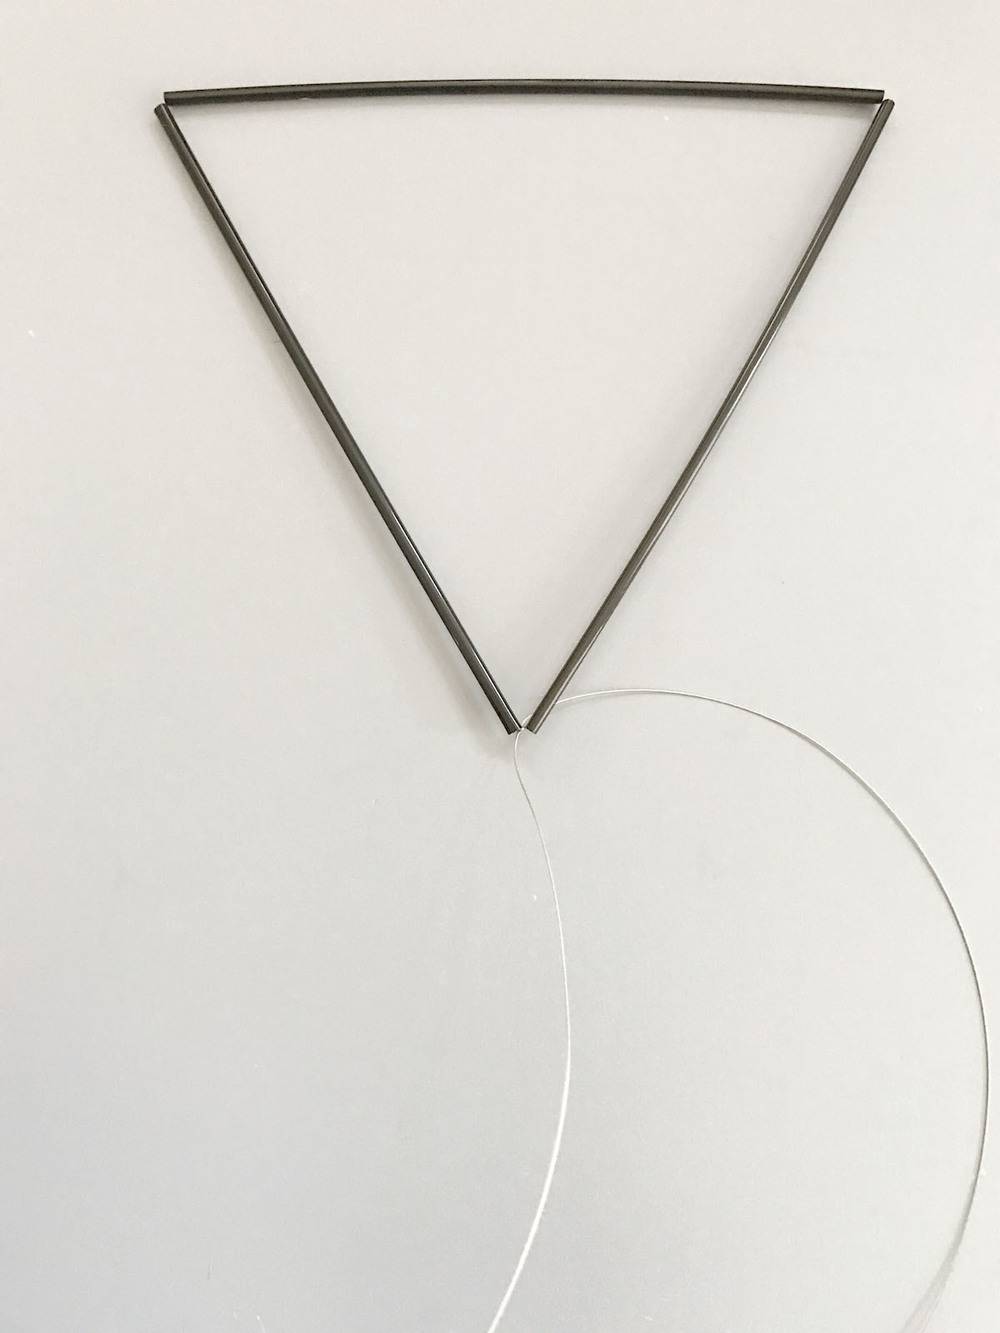
Take a long strand of your wire, place three coffee stirrers on the wire, and bend them into a triangle. Secure the triangle by tying a knot or bending the wire.
Step
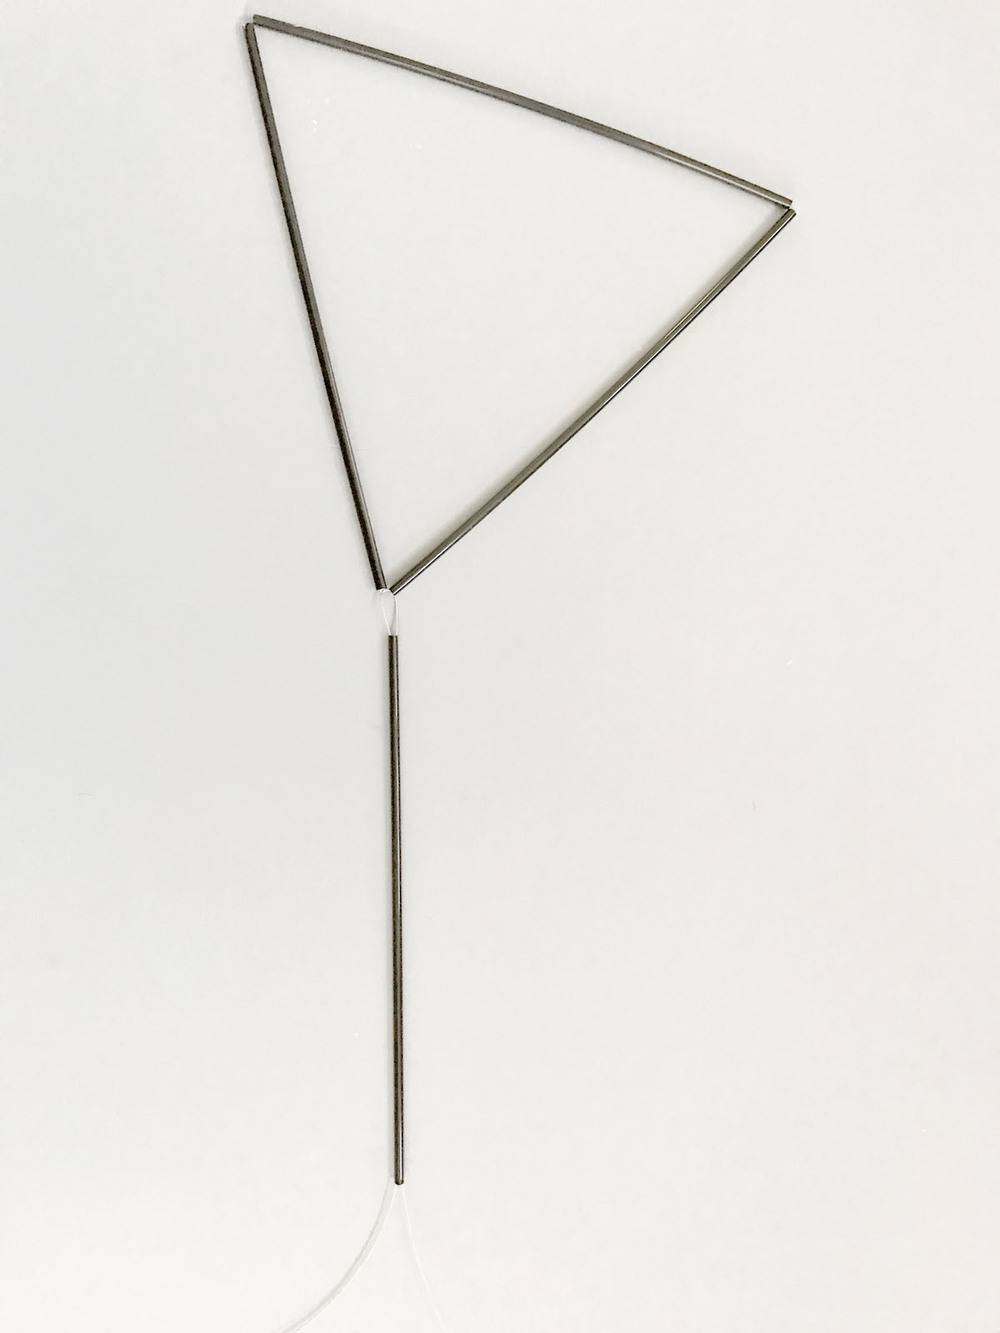
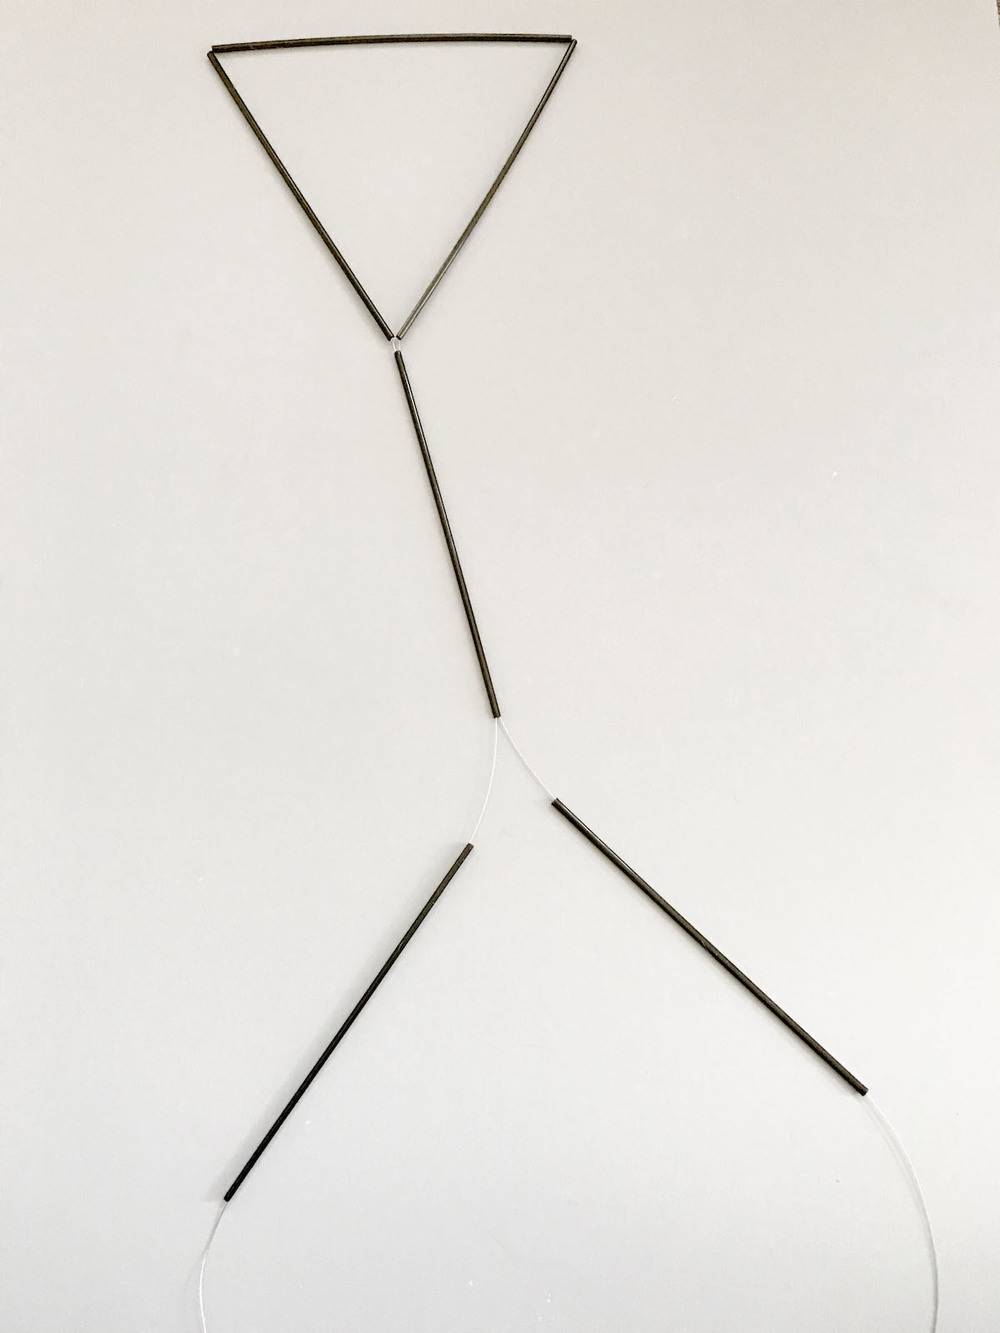
Place one coffee stirrer on both wires. Then, place a coffee stirrer on each of the wires that comes out of the single coffee stirrer.
Step
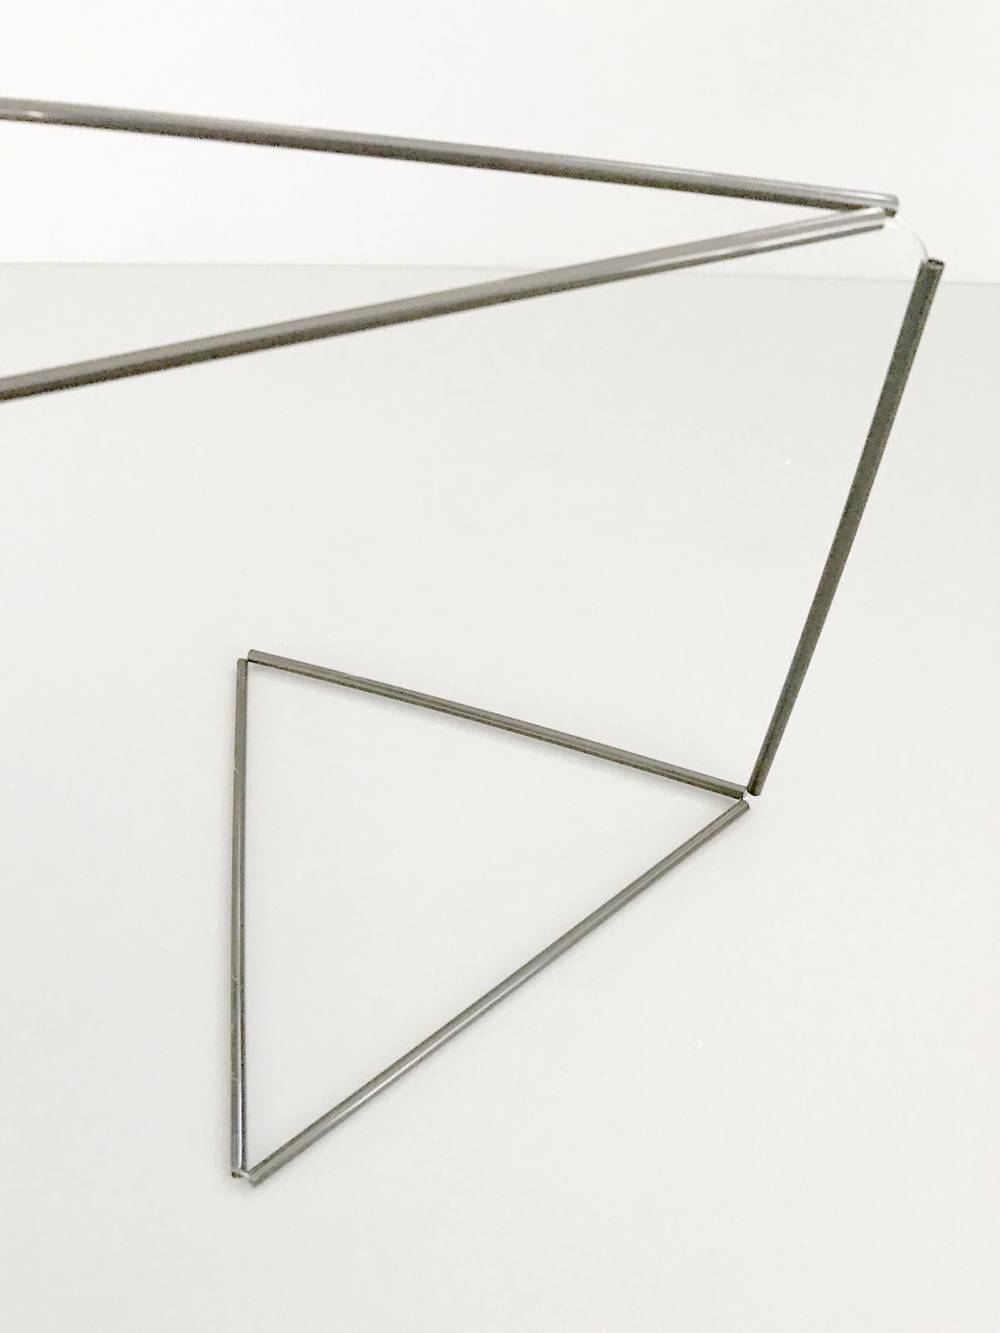
Fold the added straws over. Each straw will connect with one corner of the triangle. You will start to see how the triangle will form.
Step

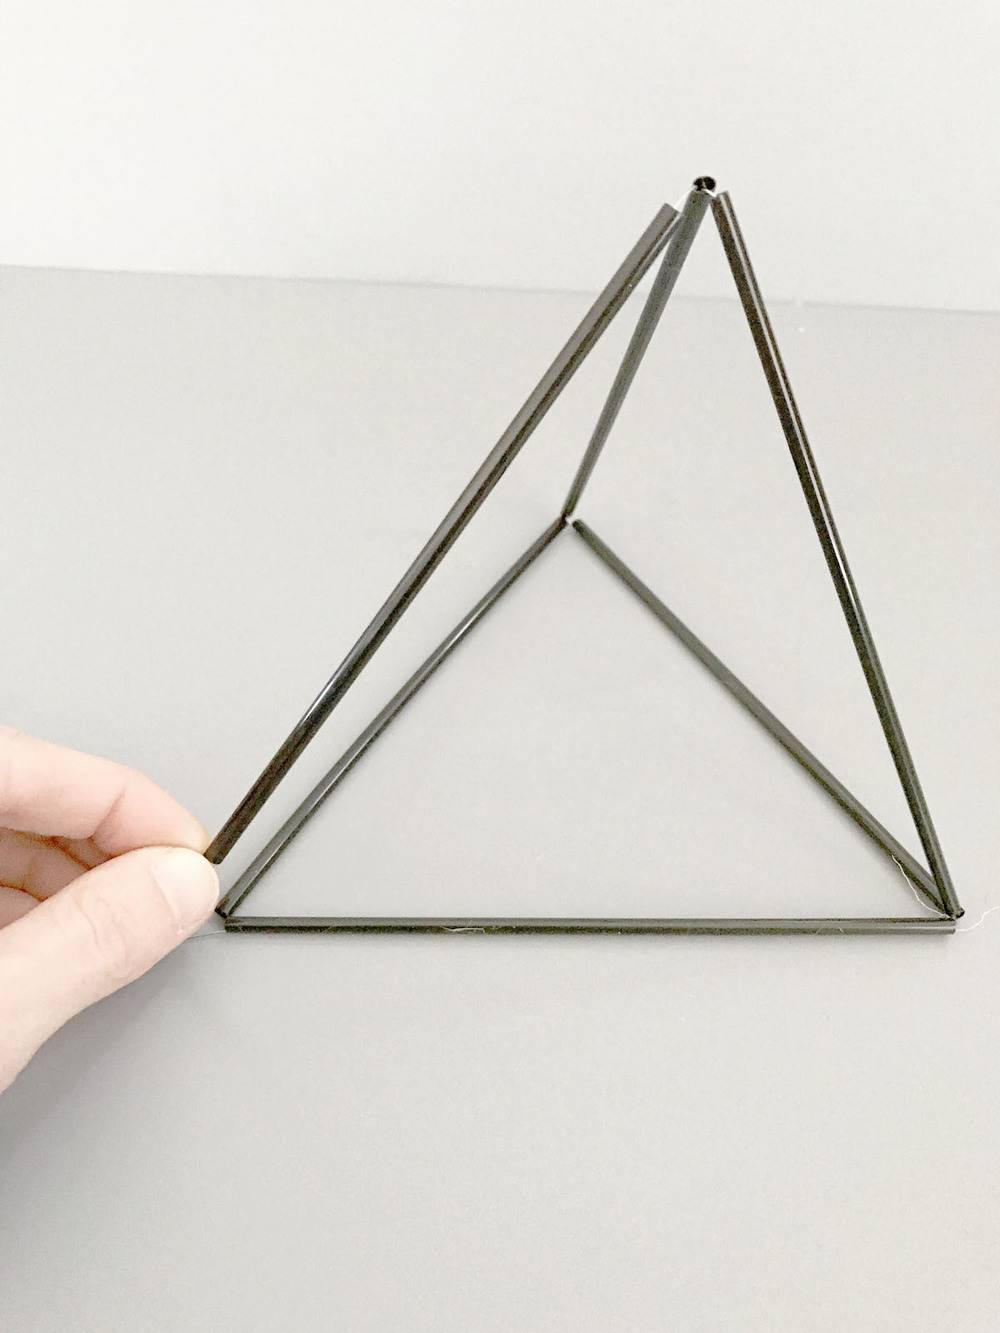
Connect the left and the right side to the corners of the triangle by twisting or tying the wire. Cut the excess wire and tuck it into the straw to hide it.
Step
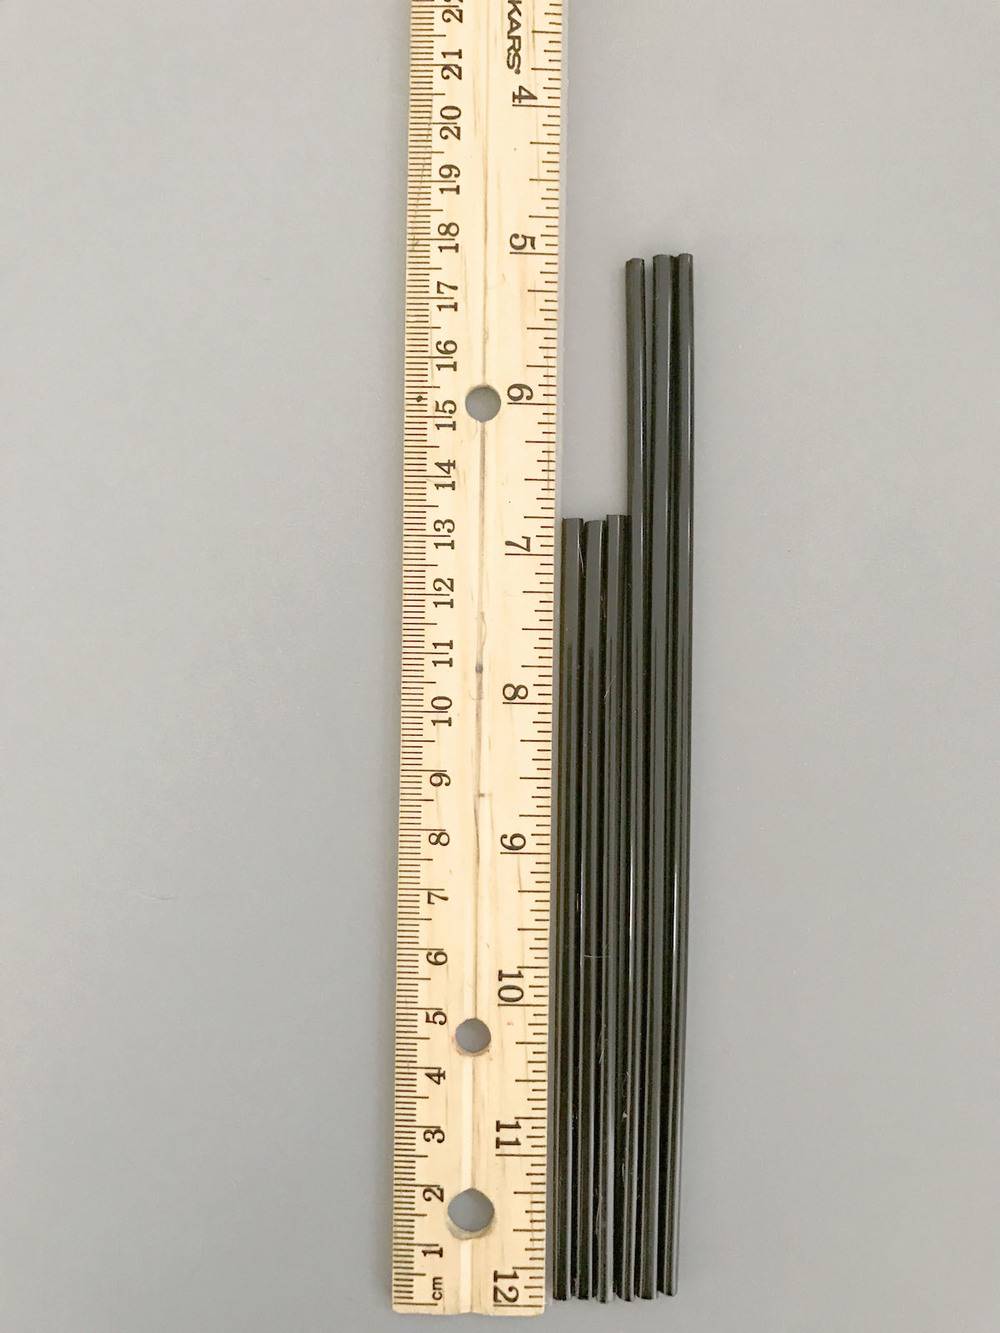
To make the taller skinnier trees the straws, for base of the triangle (step 1), the straws must be shorter than the straws for the 3D part of the triangle (steps 2-4). You can see the three straws for the base of my triangle was 1 3/4 inches shorter than the straws used for the 3D part.
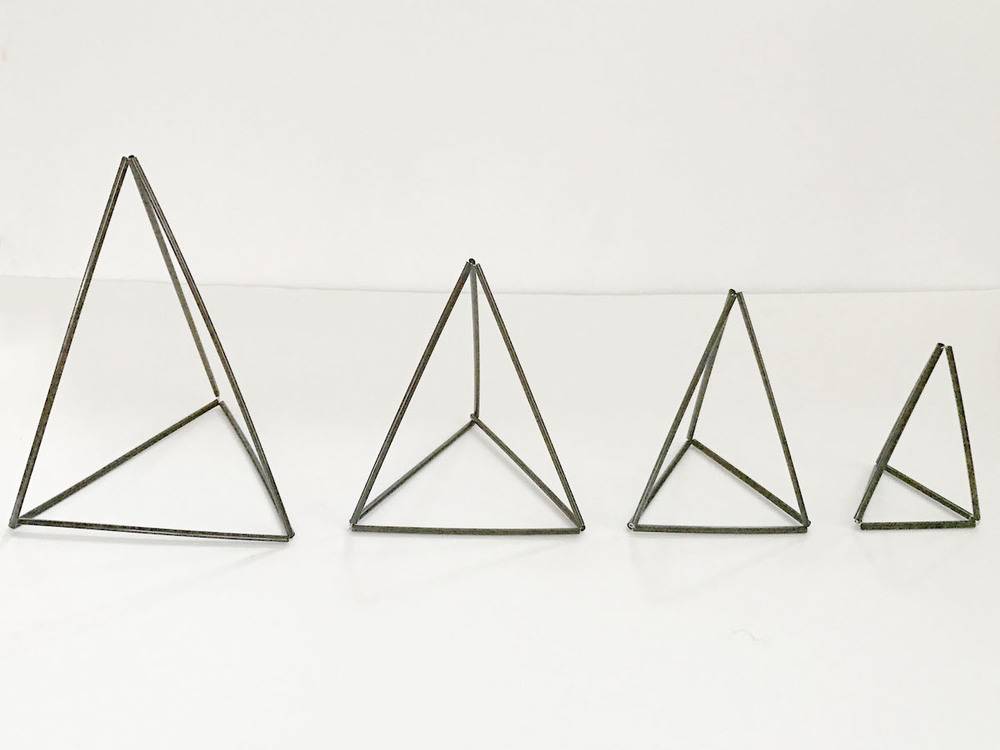
Make the largest triangle first. Whatever the measurements are for your first triangle, cut 1/4 inch off for the next triangle. Even if you have two different sizes of straws for one triangle, take 1/4 inch off each size. Repeat this for the third and fourth triangle. This will allow the triangles to be smaller but have the same shape.
Step
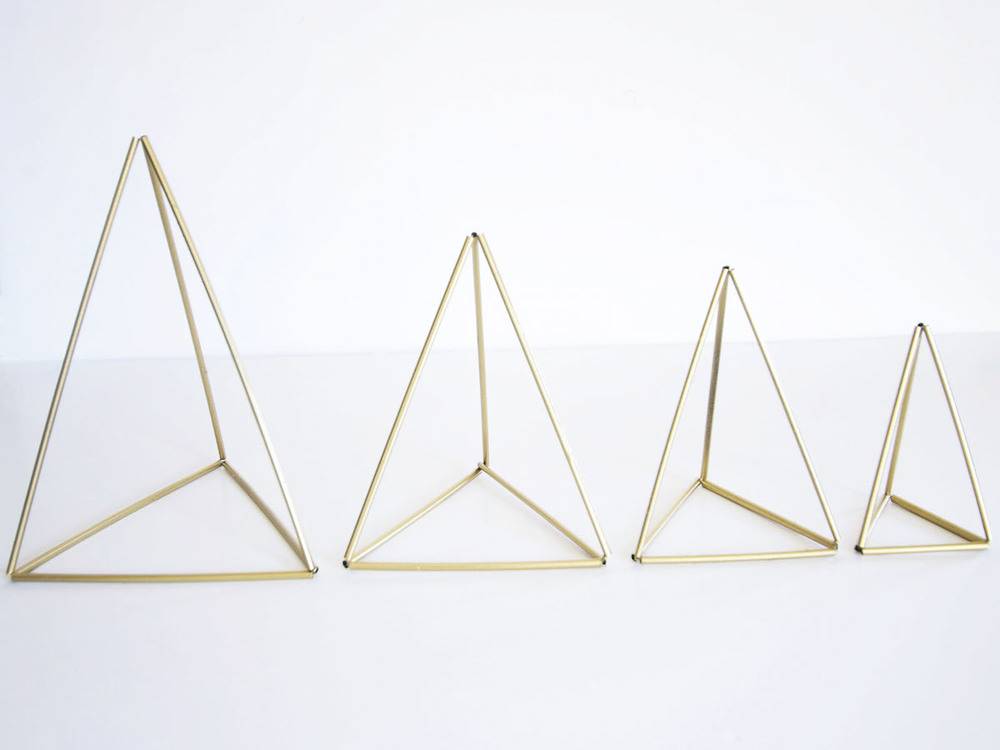
Spray paint the trees.
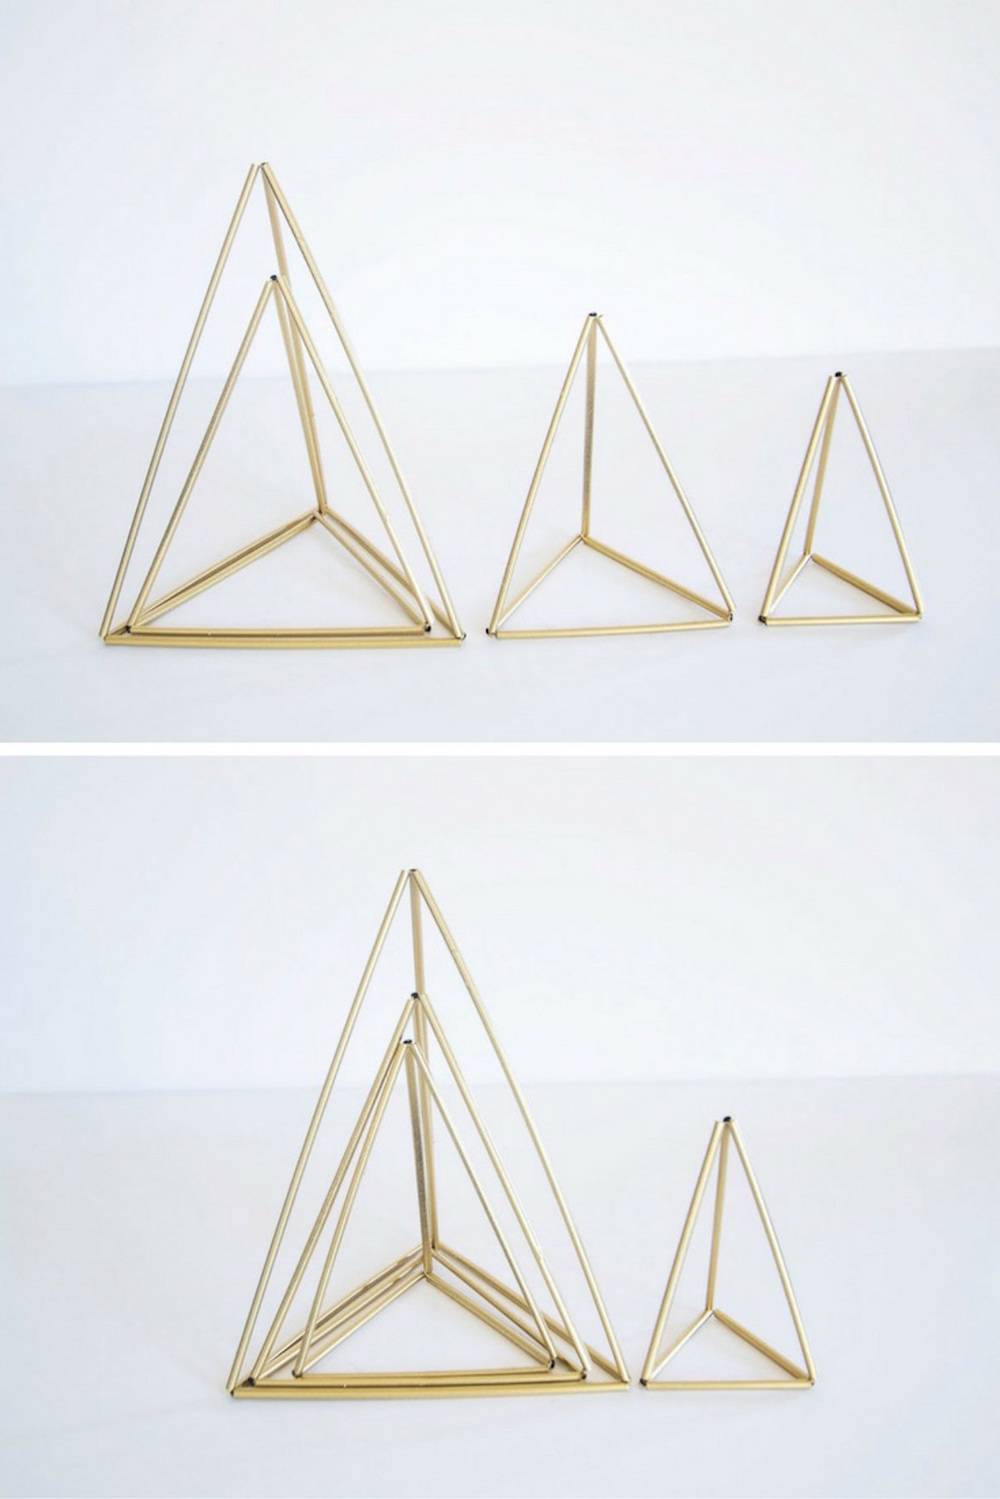
Now the fun begins. You can style these trees in so many different ways. Here are my favorite ways to style them…
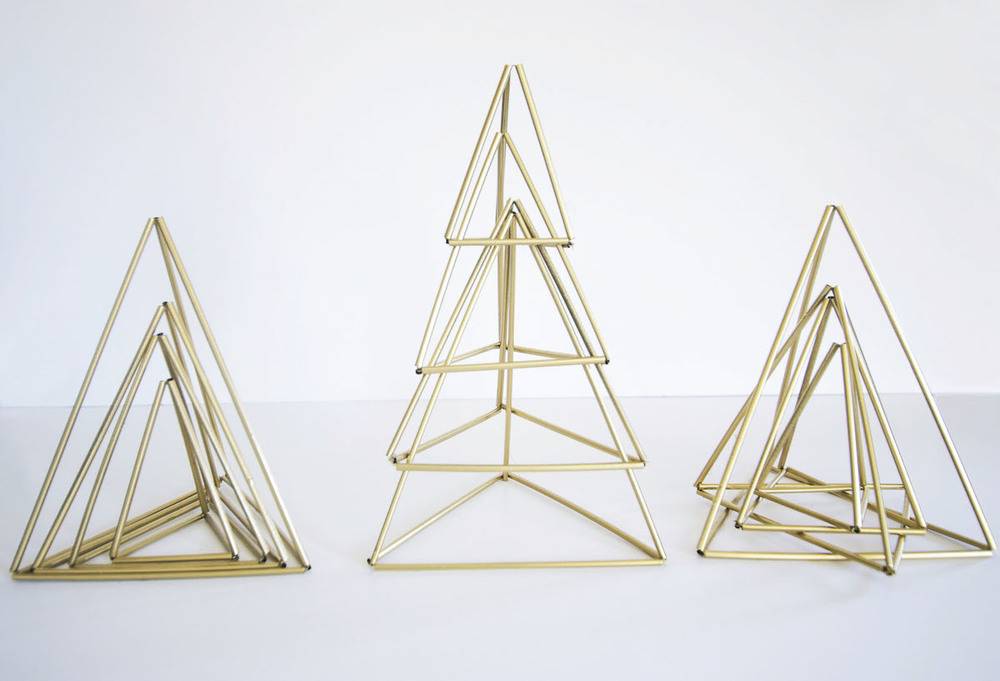
The Stacking Tree
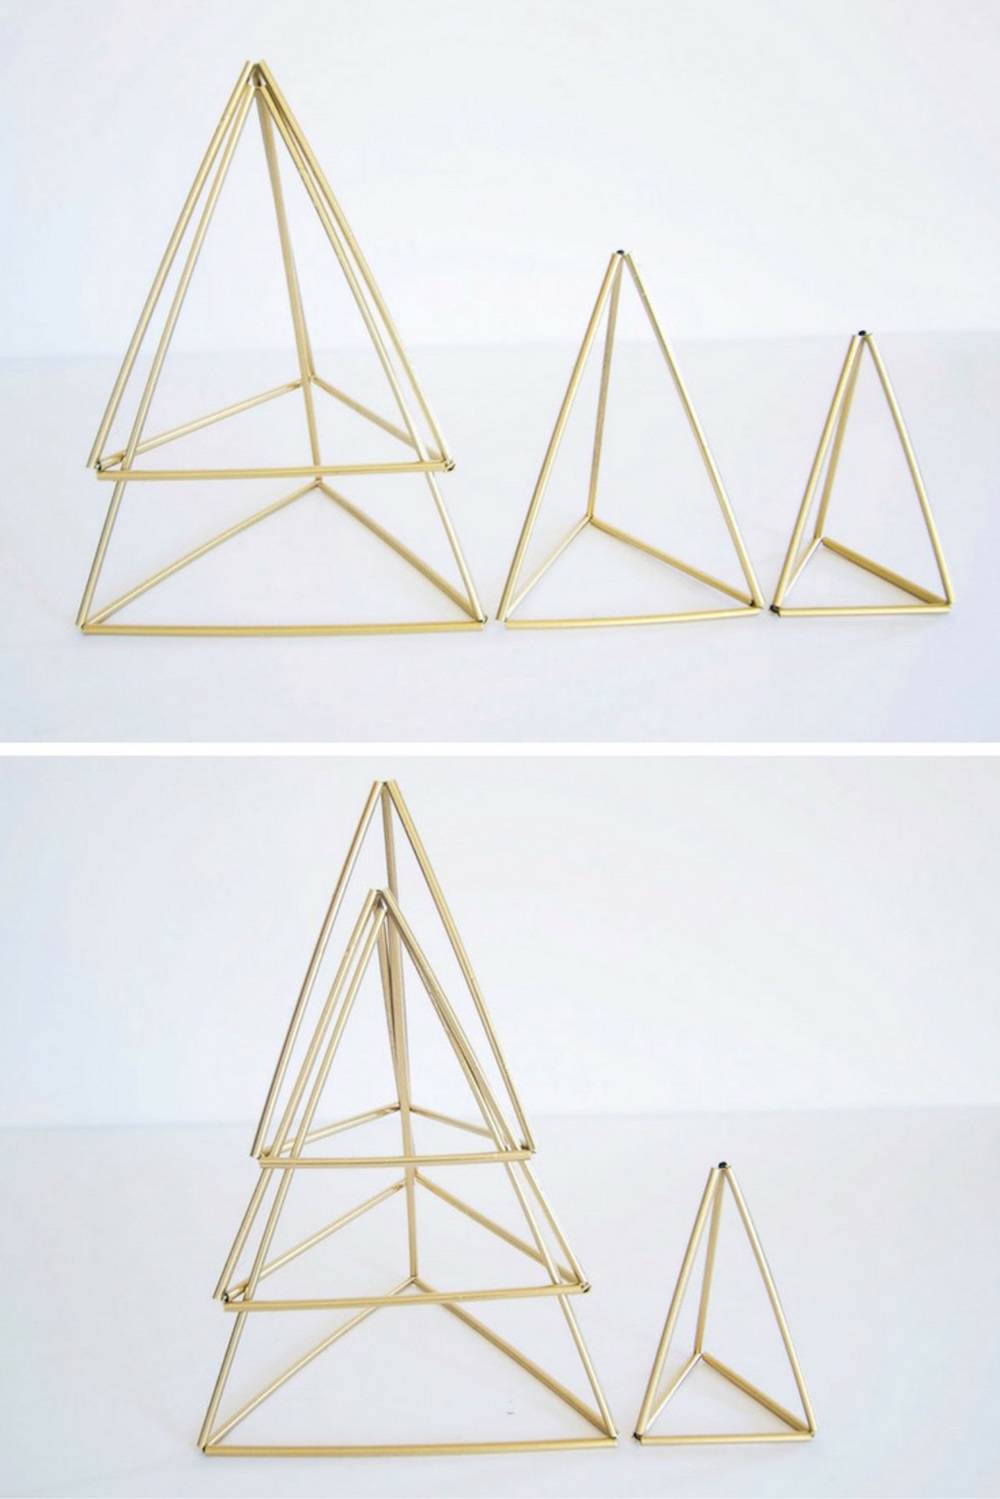
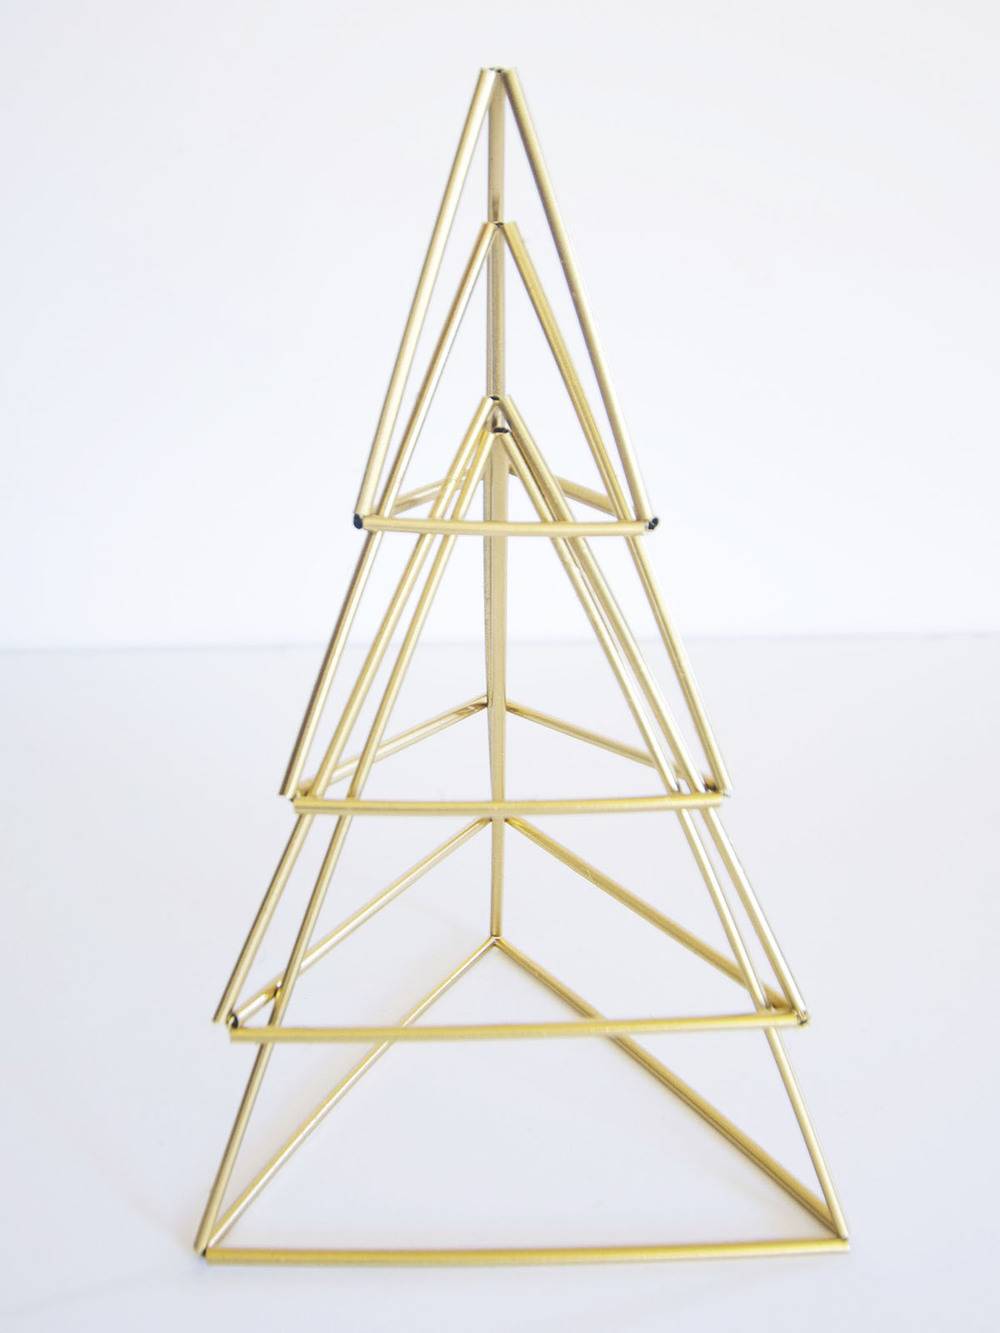
The Nesting Tree
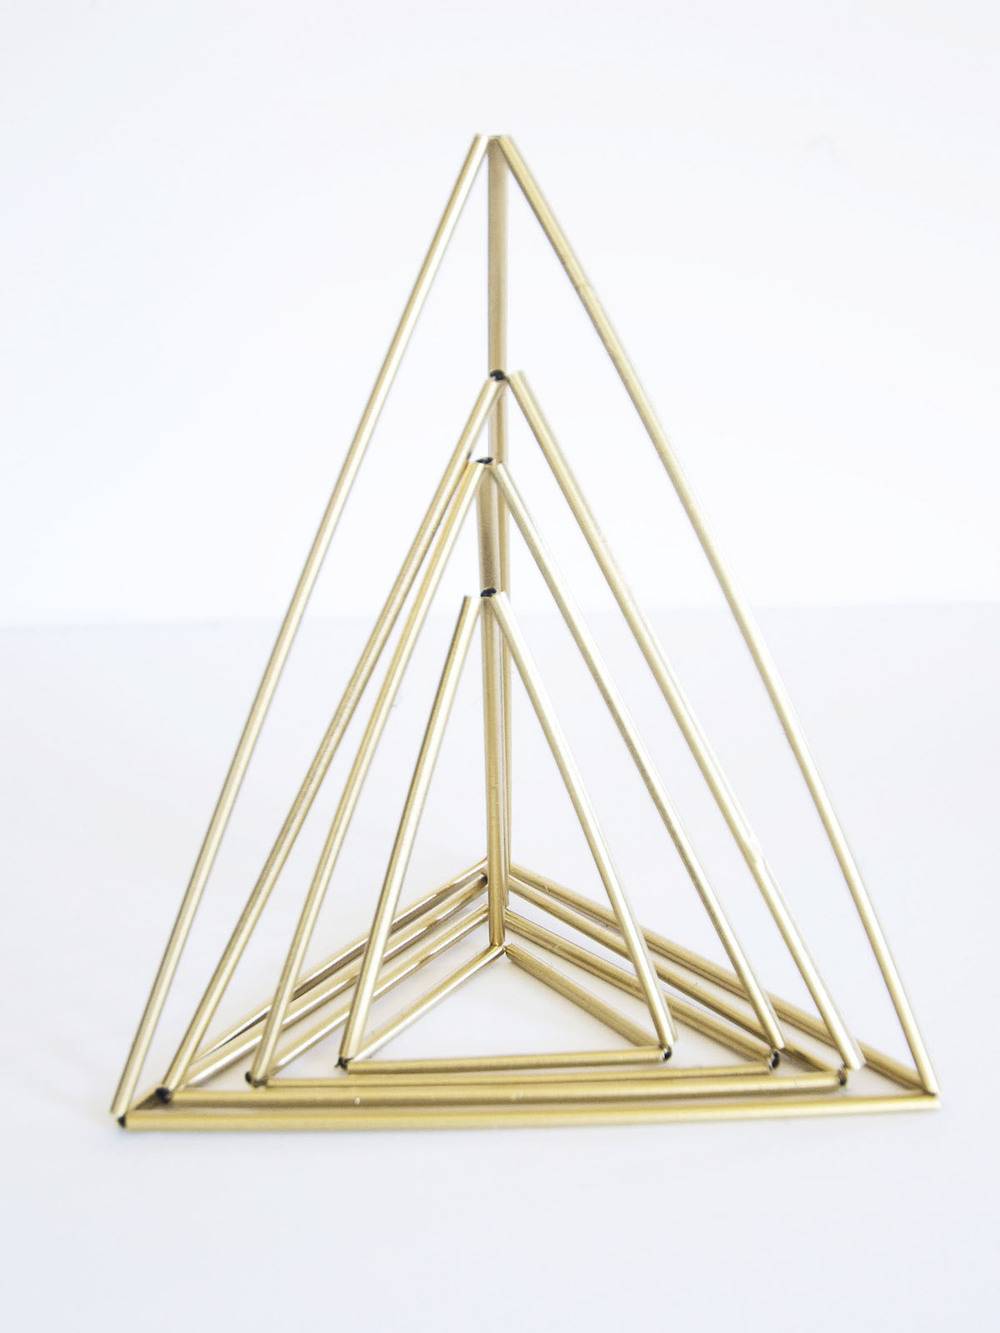
The Nesting Tree with a Turn
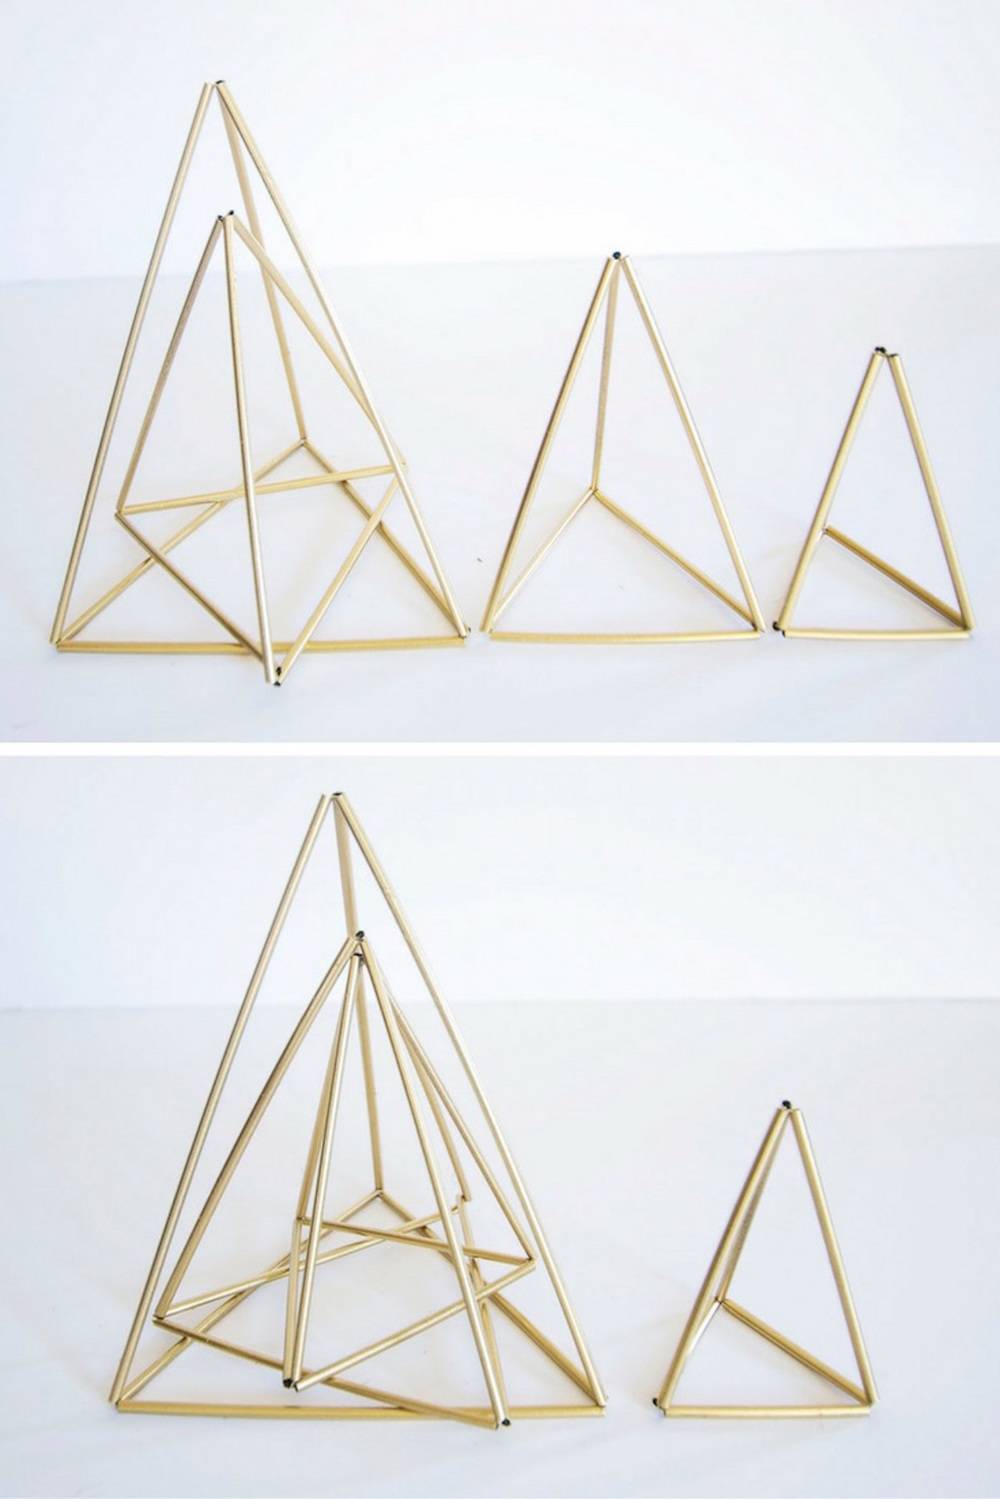
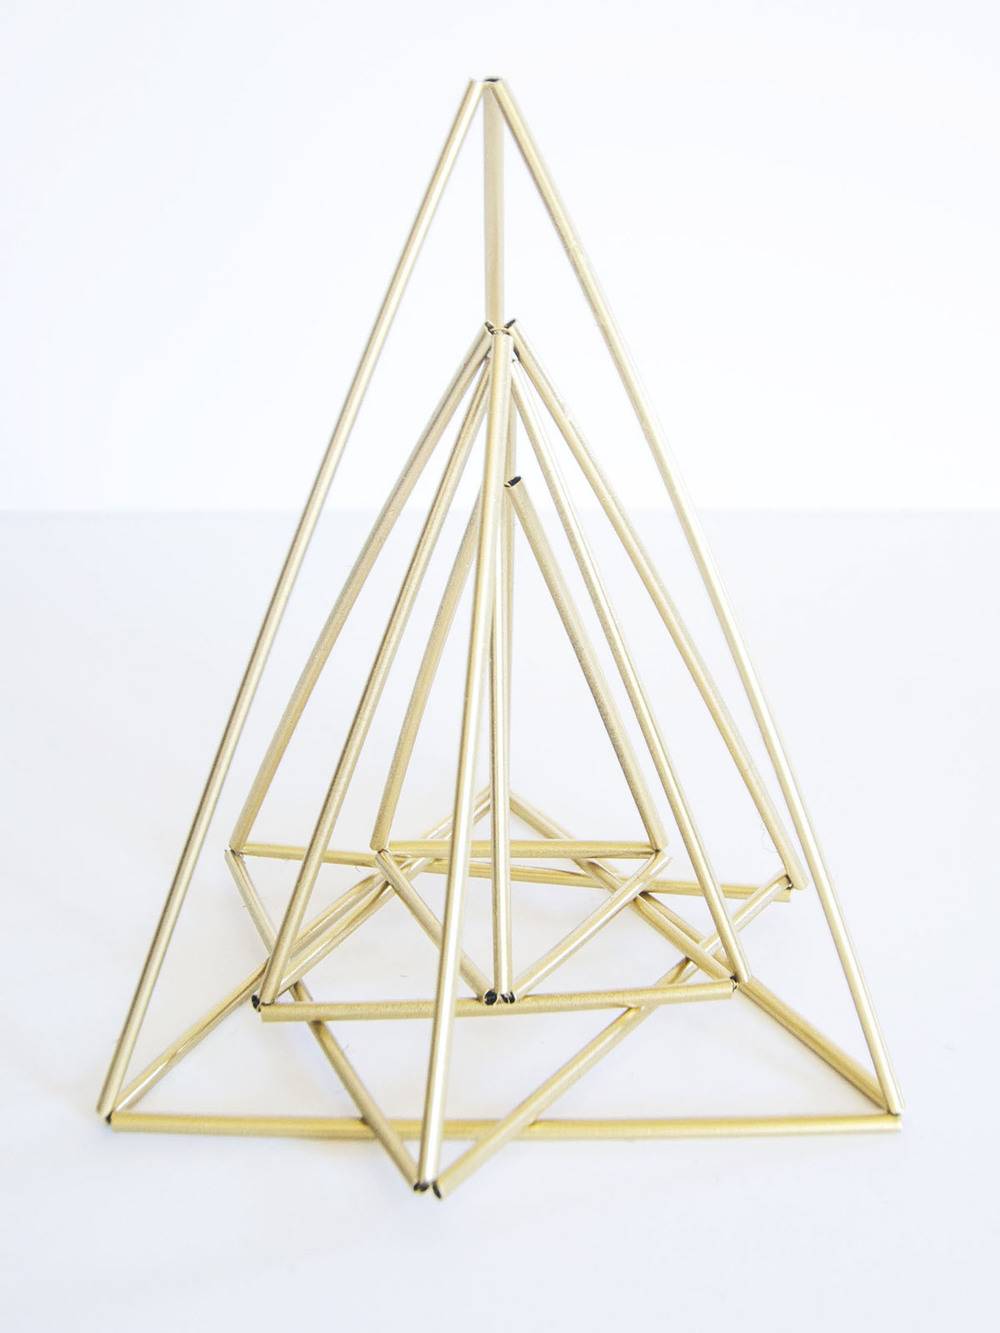
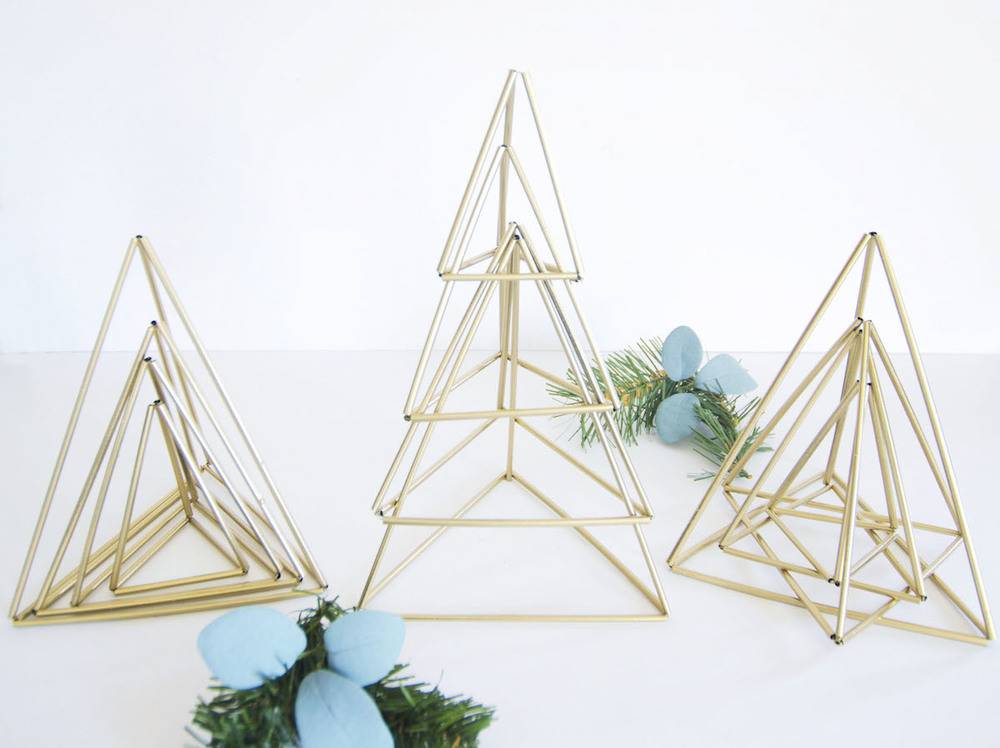
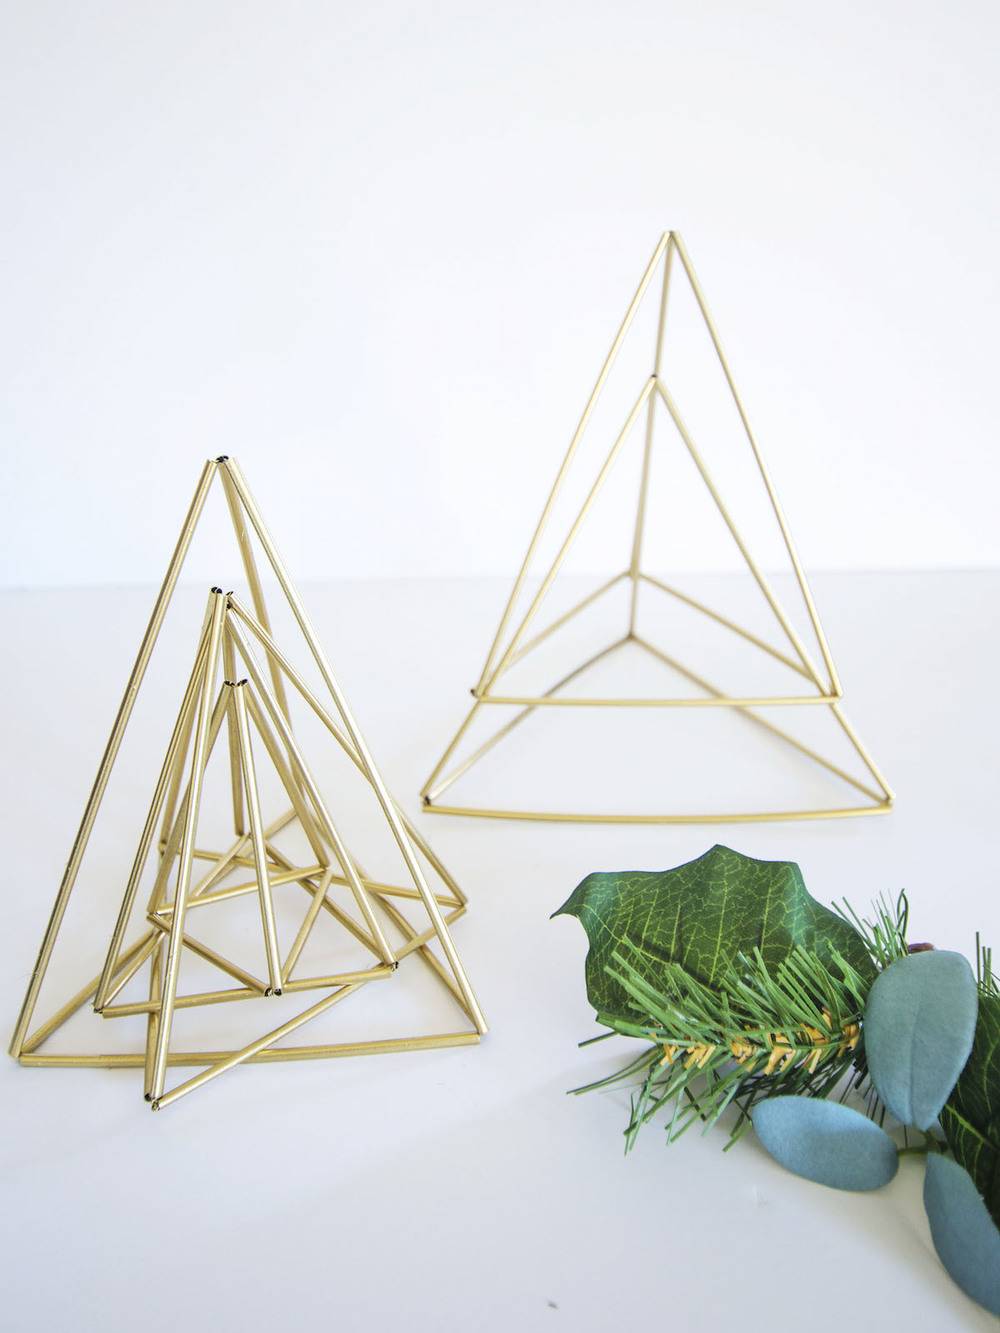
For more of a simple look you can stack two of the triangles. This will work for the same size or even different sized triangles.

The triangles are beautiful as stand alone trees. They also look great with just a couple of the triangles nested. The options are endless.
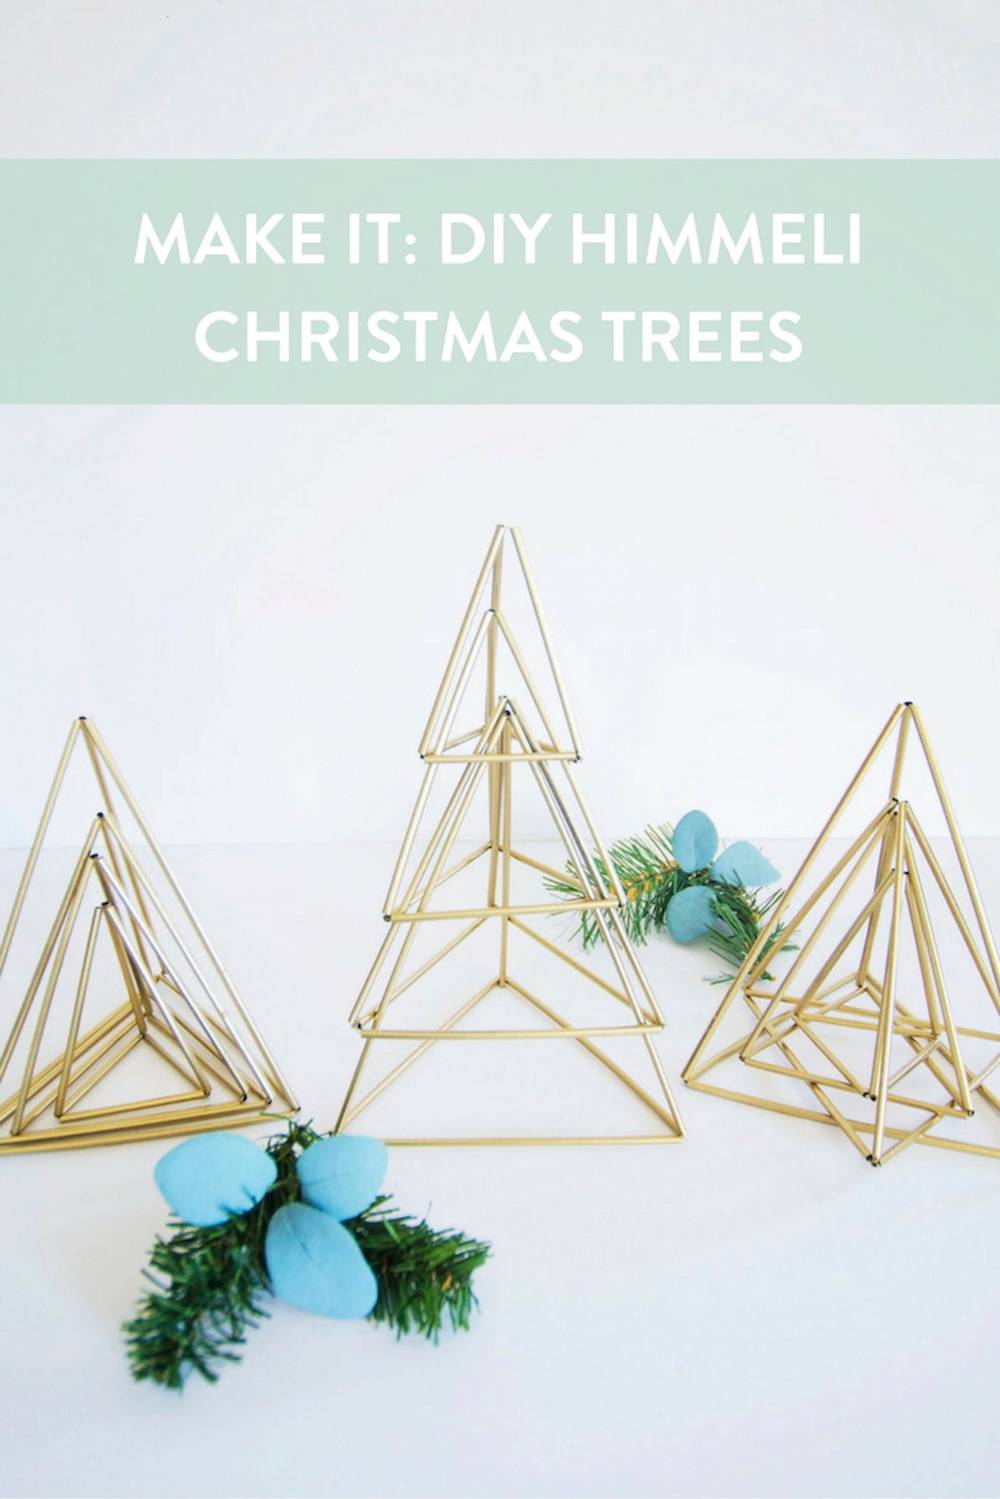
What is your favorite Himmeli Christmas decoration? Please do share!
