A few months ago, as we began our kitchen makeover, we were thinking about what kind of lighting we would like to put into our revamped space. So, we purchased a couple new pendant lights to replace the builder-grade fixtures that were up on our ceilings.
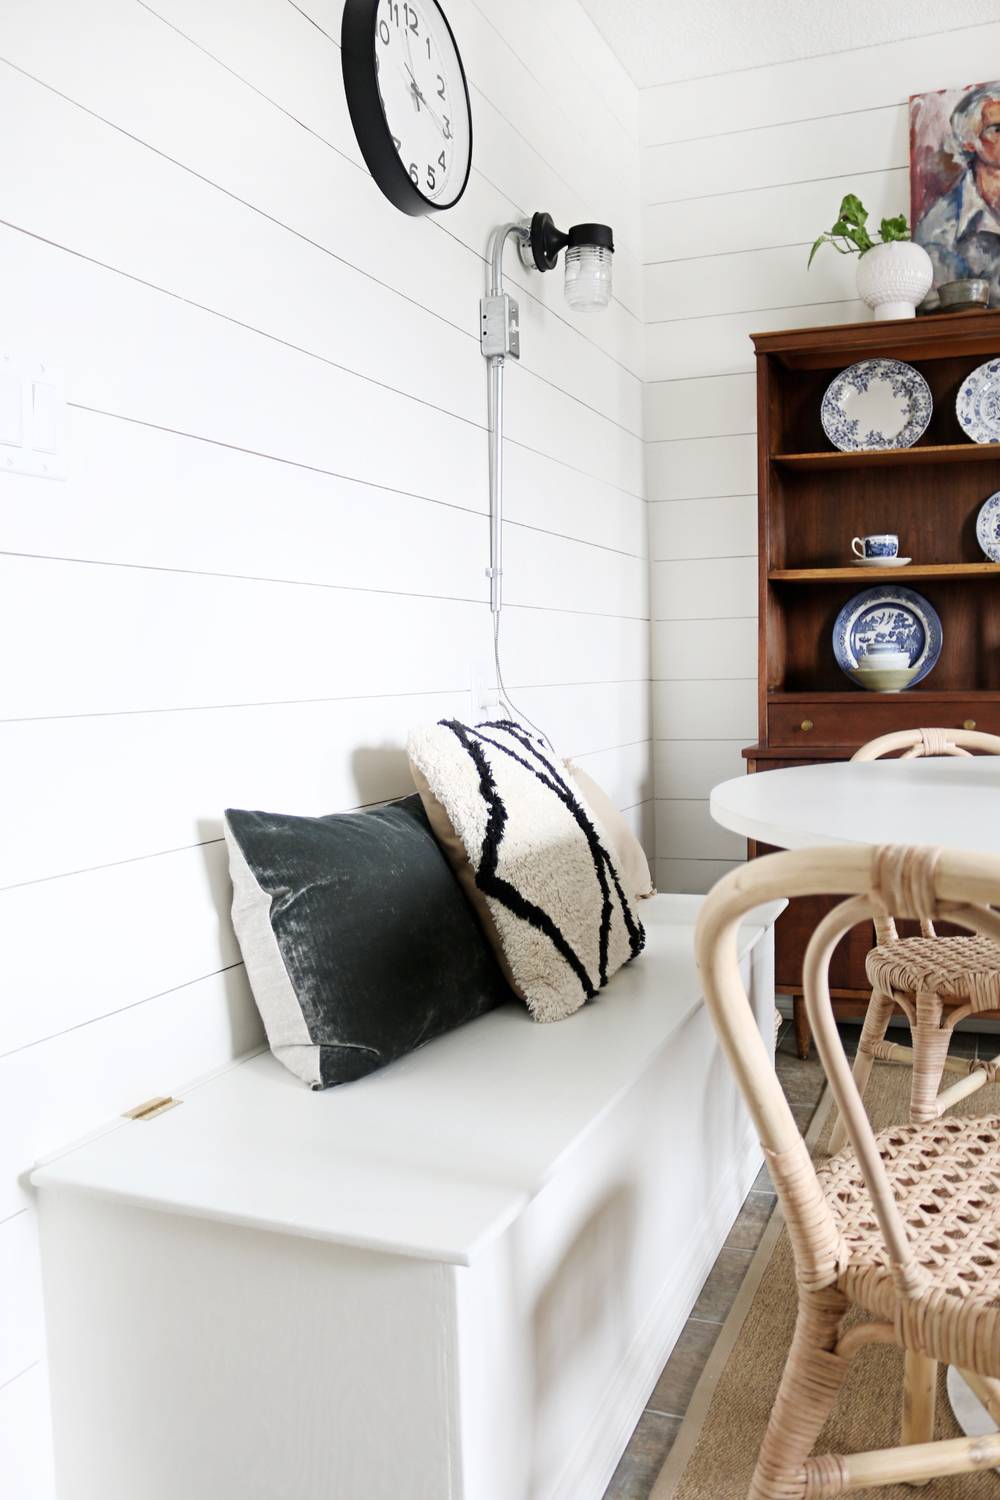
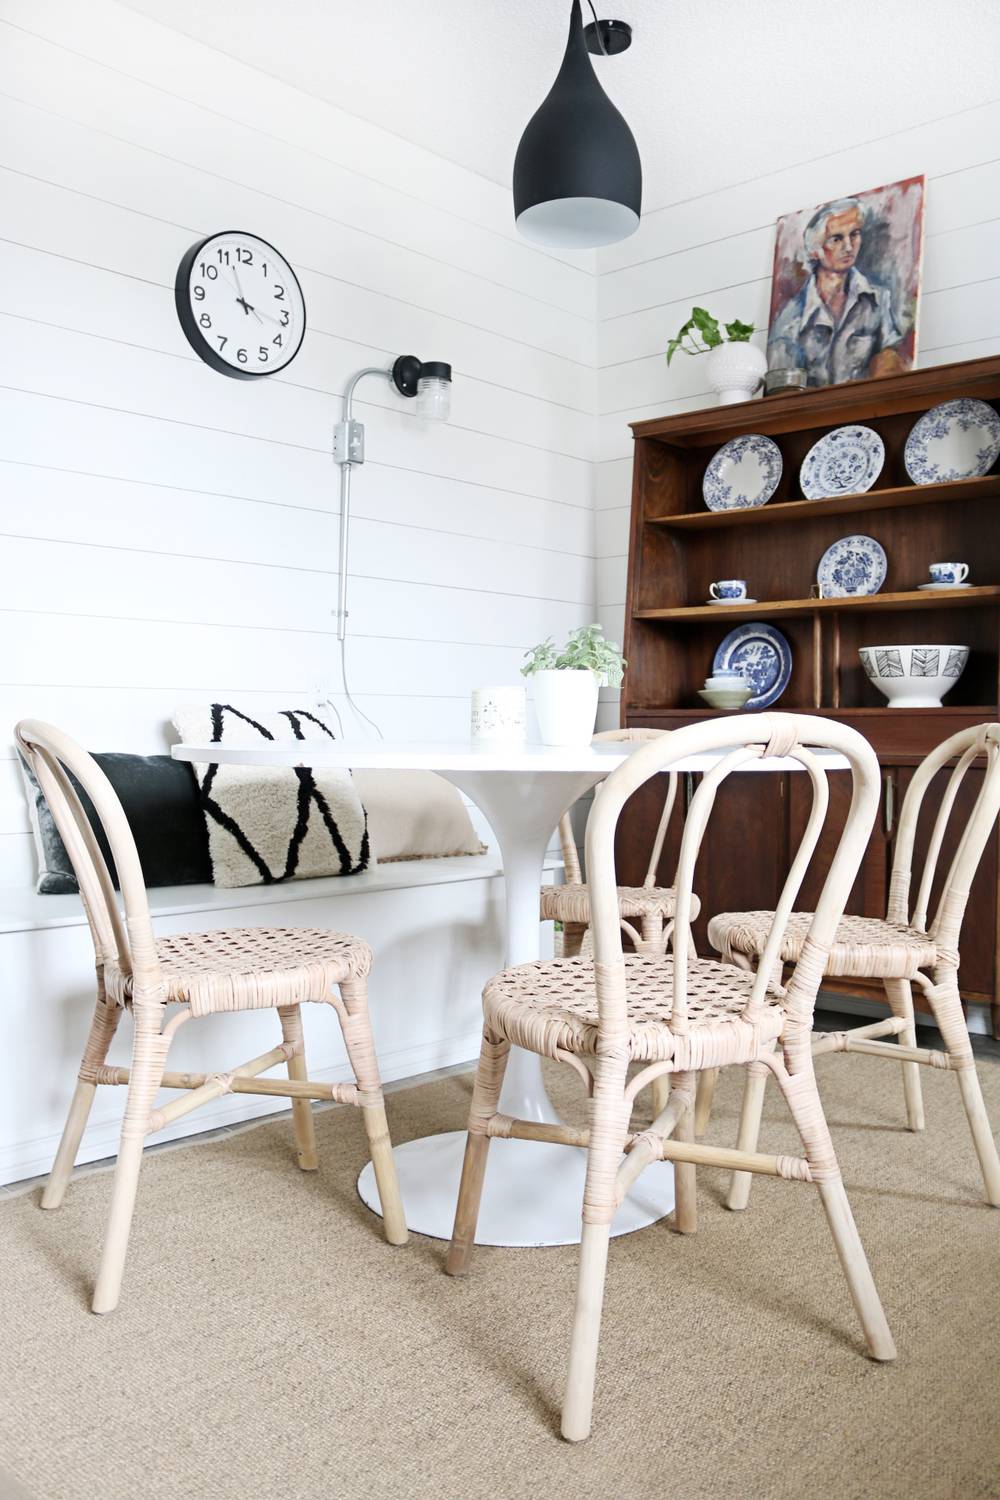
But we really wanted to do something fresh and handmade, something customized to the space with serious style. Then, we ended up finding an ordinary outdoor light fixture at a rummage sale for $3. I knew it had serious potential, and I eventually came up with this cool technique to create an industrial modern wall sconce. I love the way it compliments the Scandi-inspired paneled wall, and makes the breakfast nook feel cozy and unique.
Let’s make one!
materials
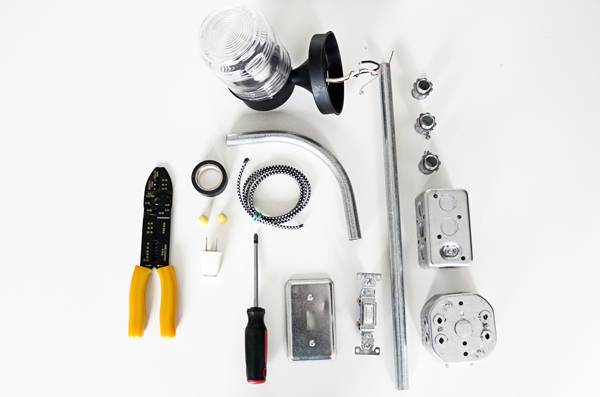
Outdoor light sconce
junction box
outlet box
1 1/2-in metal conduit pipe
1 1/2-in 90 degree metal conduit
1 1/2-in 2-hole conduit strap
Conduit connectors
Lamp cord
Cloth covered lamp cord with plug
Electrical caps
Wire cutter
Drill and screws
Note: Some electrical experience is necessary. If in doubt, always ask a professional Electrician for help and assistance.
Step
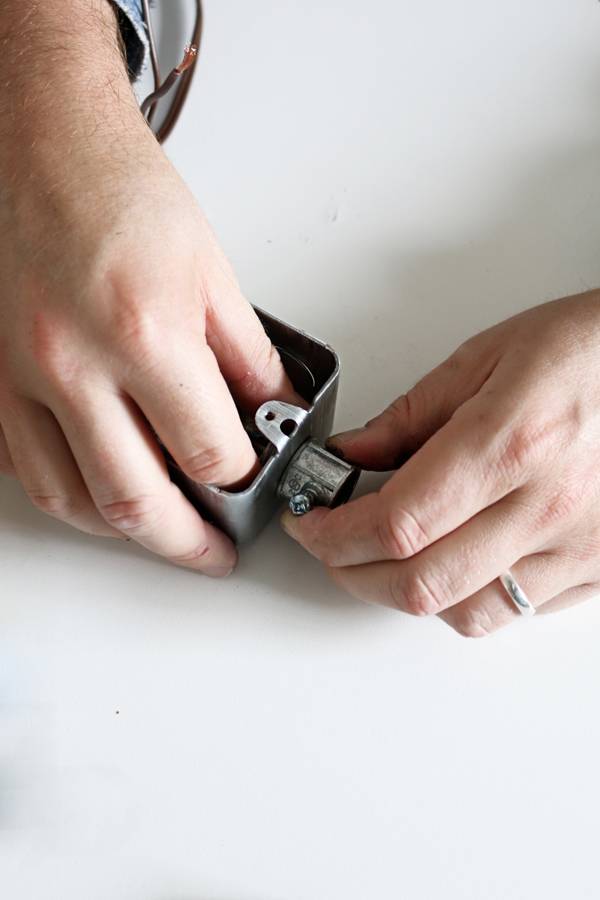
Decide on the shape of your fixture. We decided to do something minimal, by choosing a simple vertical orientation with one bend.
Step
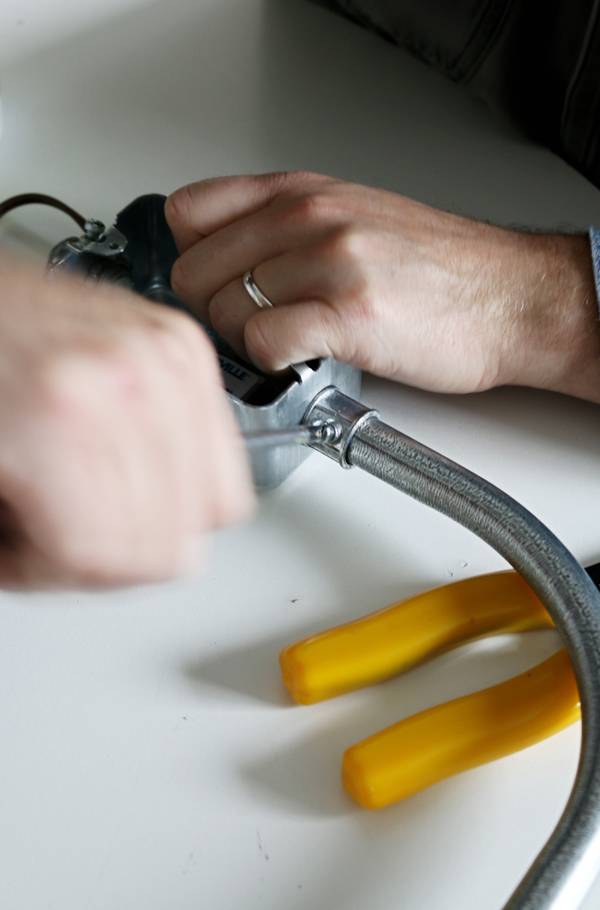
Piece together accordingly: junction box to 90 degree conduit, 90 degree conduit to the outlet box, and outlet box to straight conduit pipe. Secure everything according to your fixture design using conduit connectors. This is kind of like building Lego, it does not require special tools or skills!
Step
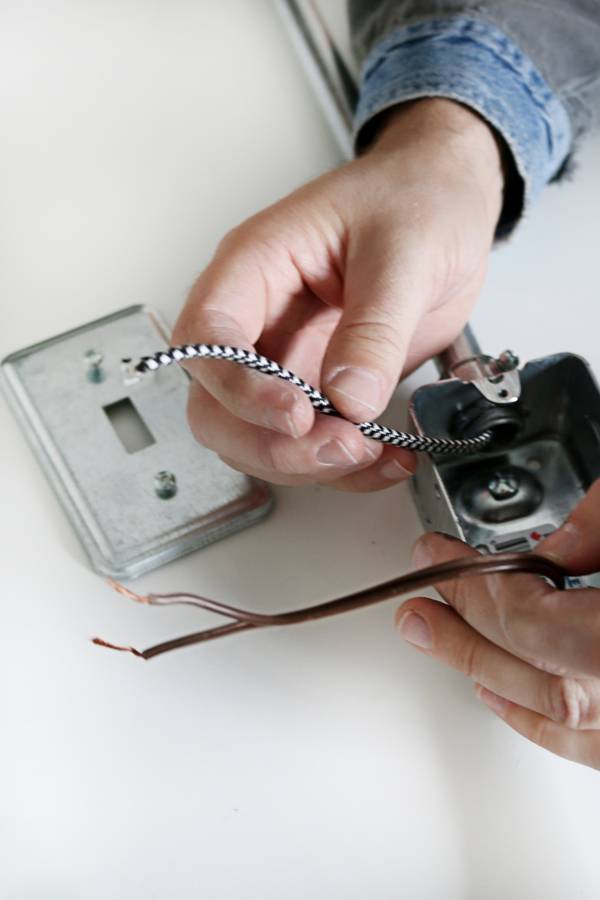
To wire the fixture, be sure that your lamp cord is long enough for the first portion of the light fixture. You want to have just enough so that there isn’t too much excess in the end. We used 2 different lengths of cord because we recycled some from a previous project, but one continual cord will work. For picture reference, we used a recycled brown lamp cord for the part you can’t see between the junction box and the light switch. We used a black and white cloth covered cord from the plug to the light switch.
Step
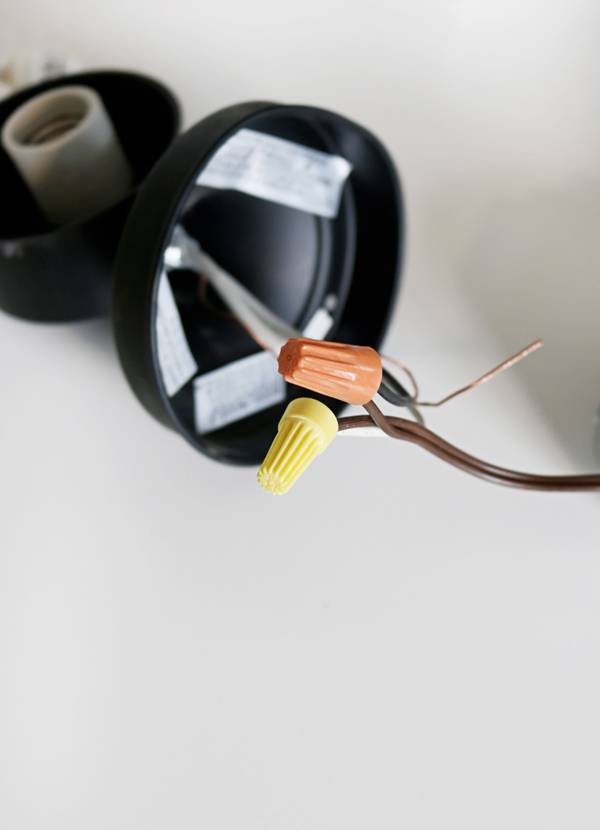
Pull the recycled lamp cord through the 90 degree conduit leading to the light sconce and wire the recycled lamp cord to the light sconce accordingly.
Step

Pull the other end of the recycled lamp cord through the outlet box attached on the opposite end.
Step
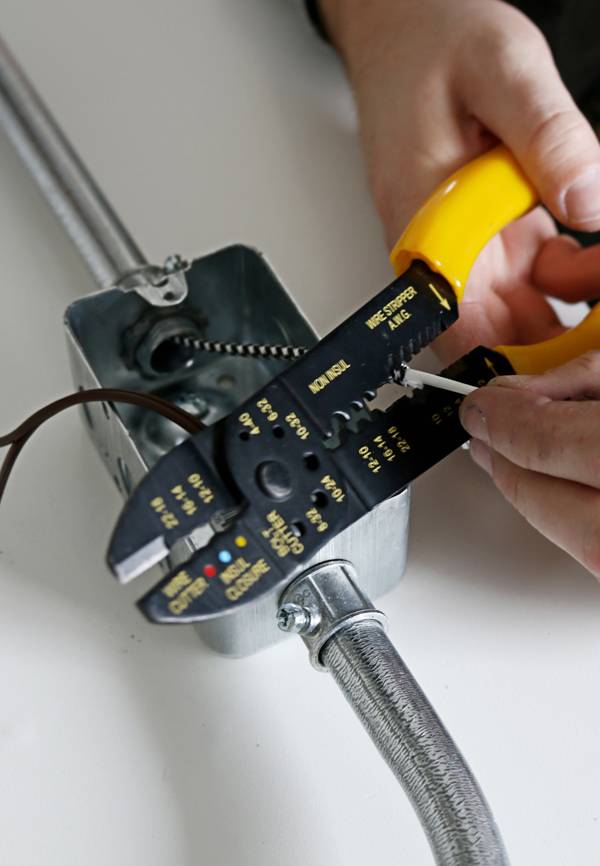
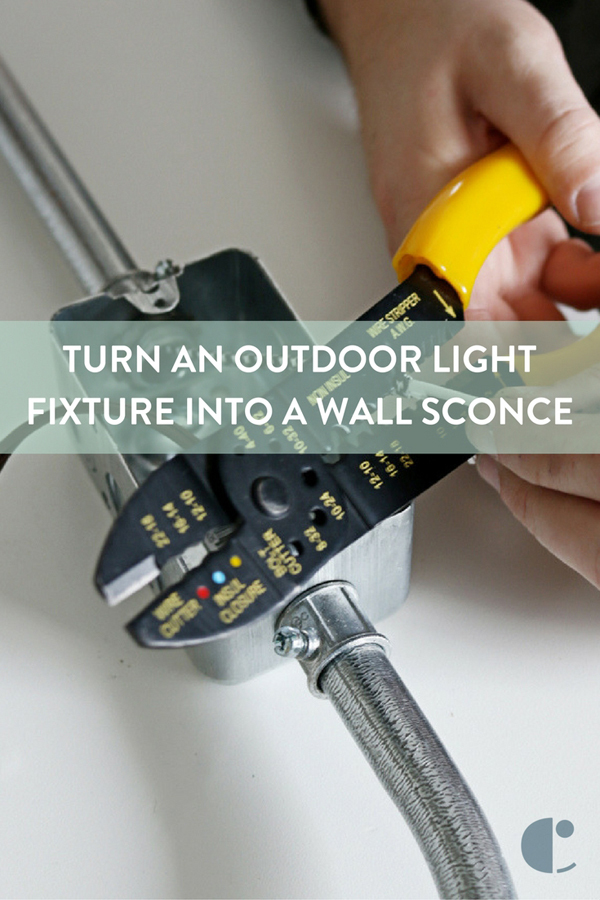
Pull the cloth covered lamp cord through the bottom of the conduit pipe up into the outlet box. Using your wire cutters again, cut the top of the cloth covered lamp cord to expose wires and separate.
Step
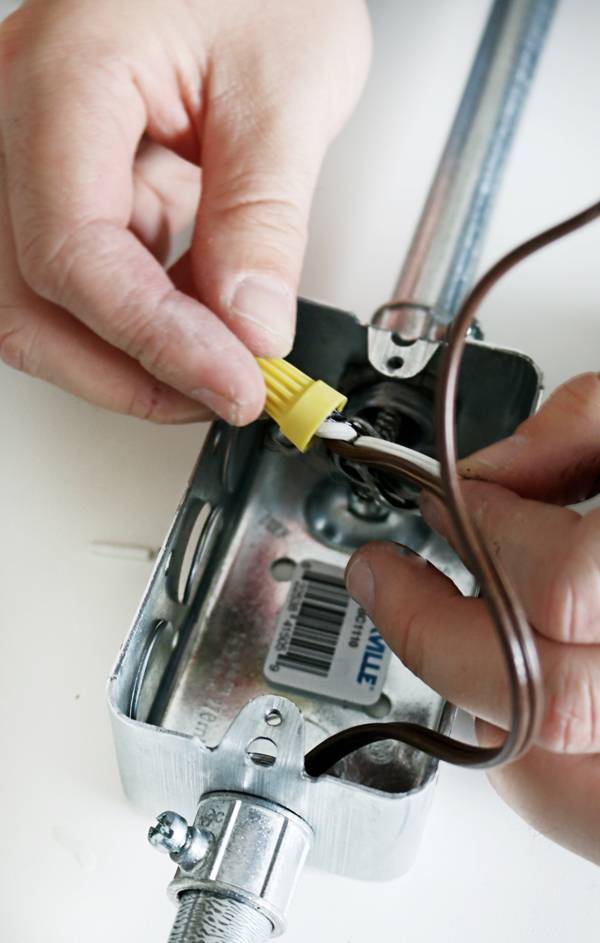
Wire the negative wire of the recycled lamp cord to negative wire of the cloth covered lamp cord inside the outlet box. Cap with electrical caps. (Note: If you are using one continua length of lamp cord, you will not need to do this step.)
Step
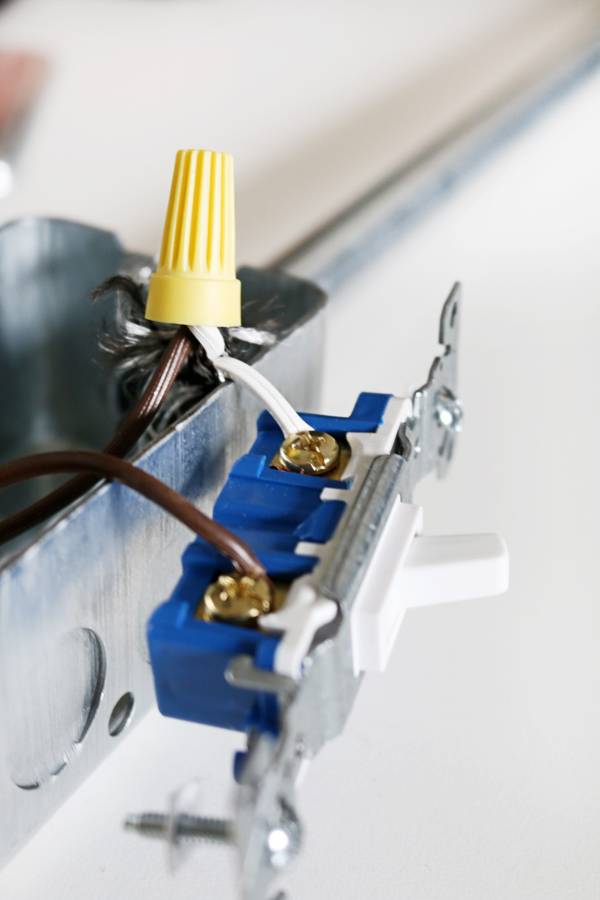
Wire the positive wires of both the recycled cord and the cloth cord to the switch in switch box.
Step
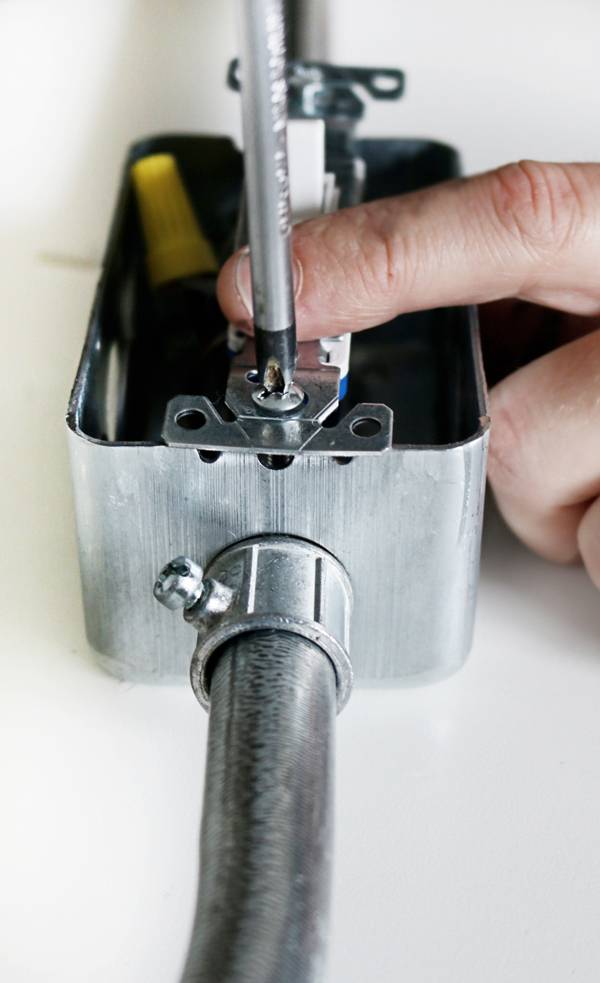
Secure the switch to the outlet box.
Step

Wire the exposed end of the cloth covered cord to a plug of your choice.
Step
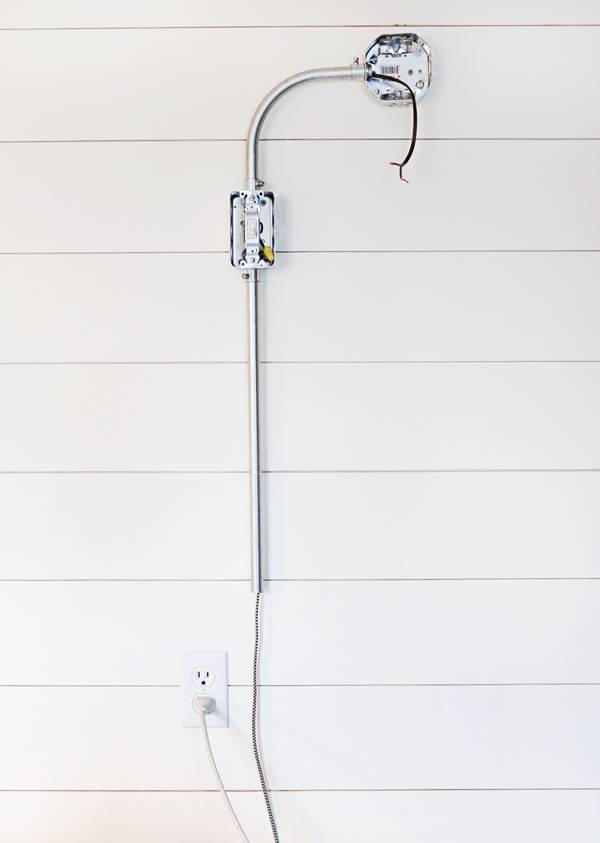
Fasten entire fixture to the wall using wood screws and anchors if necessary. You can screw in at the junction box, outlet box, and by using conduit pipe straps anywhere else along the conduit.
Step

Attach sconce to outlet box using provided screws.
Step
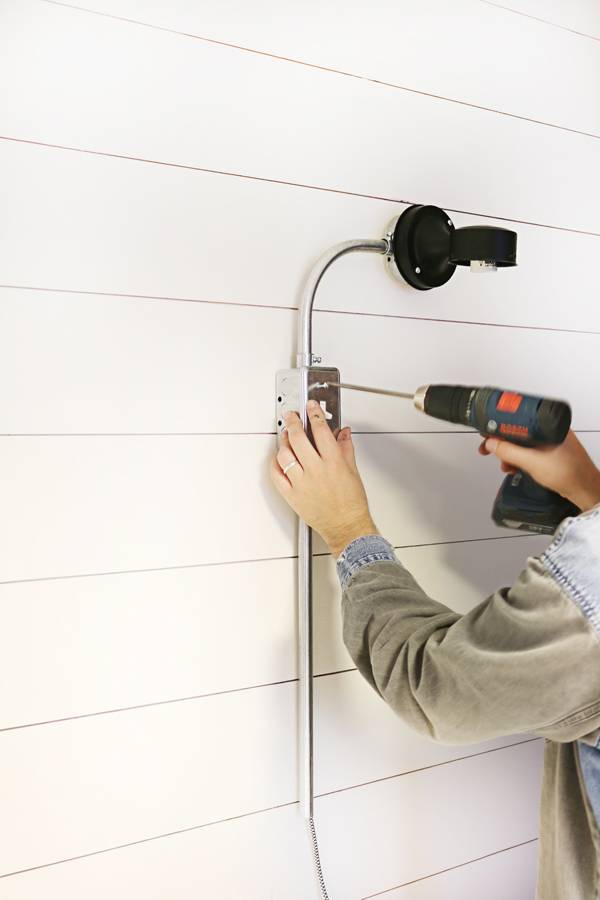
Screw on the switch plate.
Step

Attach light bulb and cover. Allow a bit of the trendy cord to peek out of the bottom for a pop of pattern. Simply plug in and enjoy!
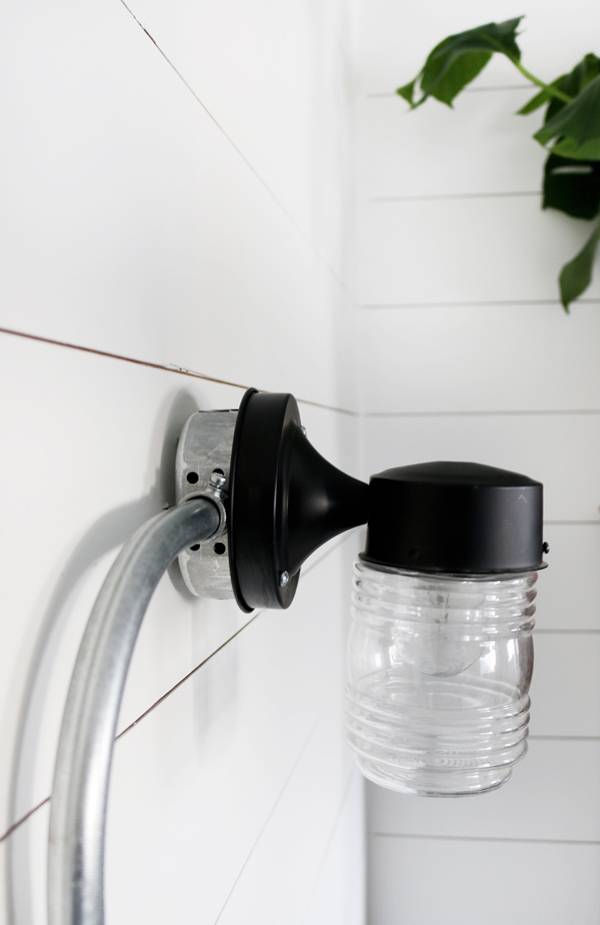
We love the combination of the shiny metal texture against the wood panel wall and are pretty much in love with the simple end product! Designing your very own lighting is a lot of fun and always rewarding, no matter how simple or complicated the task.
Great idea- would have been really helpful to have seen a photo at the tope of the story of what the end product was to help visualize the steps. Without it, it didn’t give much content a- and just meant scrolling to the bottom to see the finished product and then back up to make sense of it all.
Hey Lidy,
Incredible DIY project it is! Will definitely give it a try for my backyard. Excited!!**