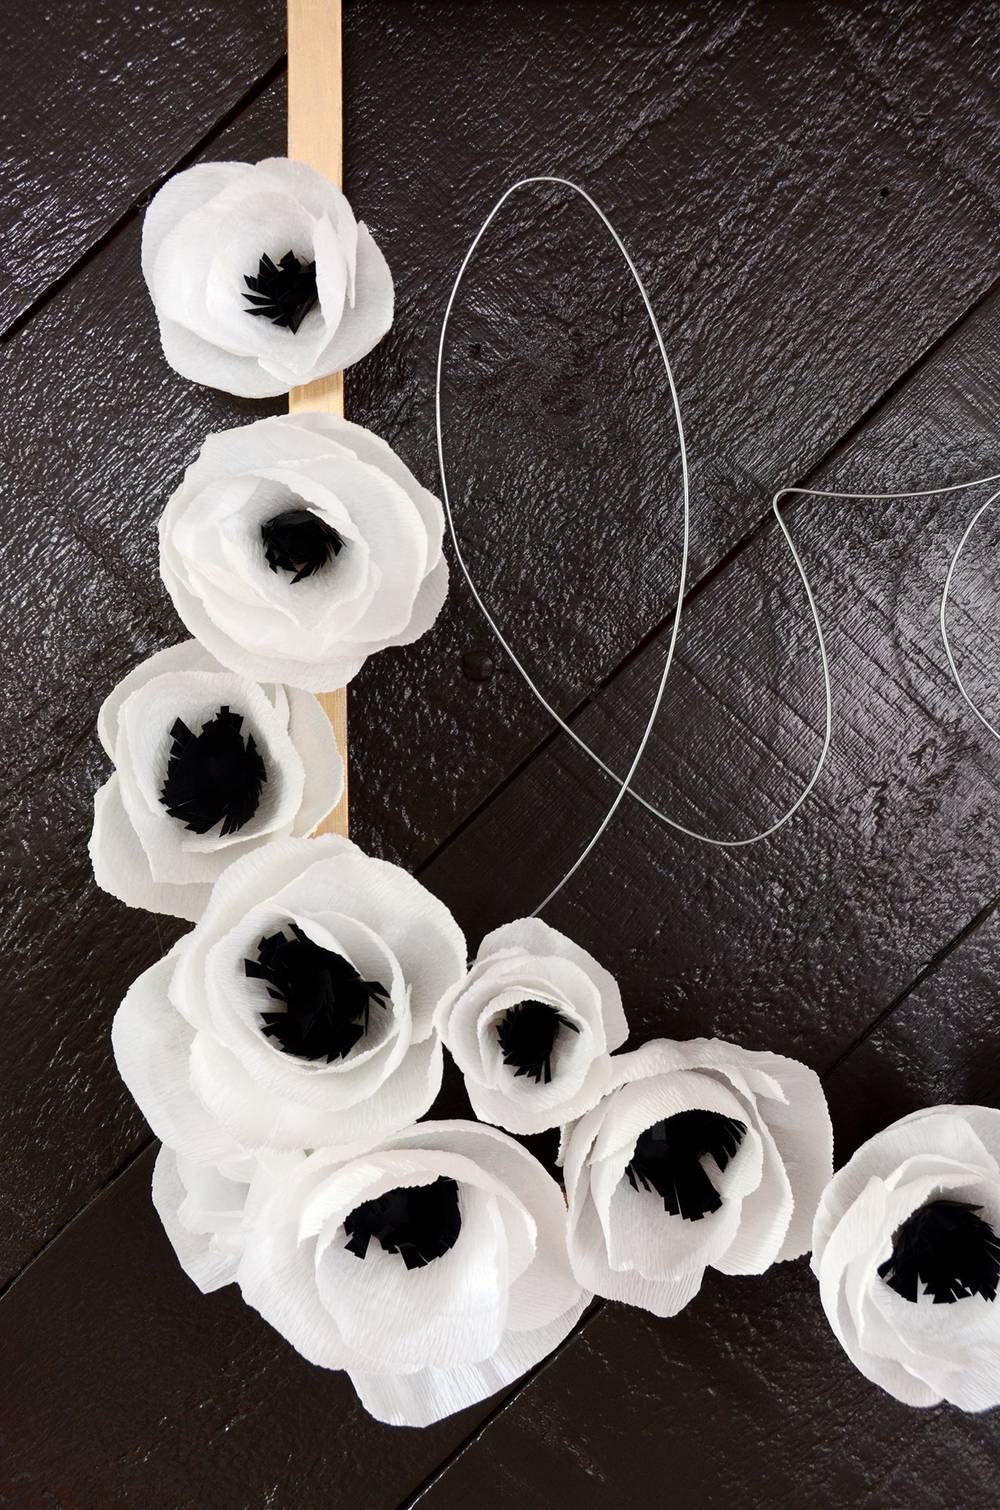
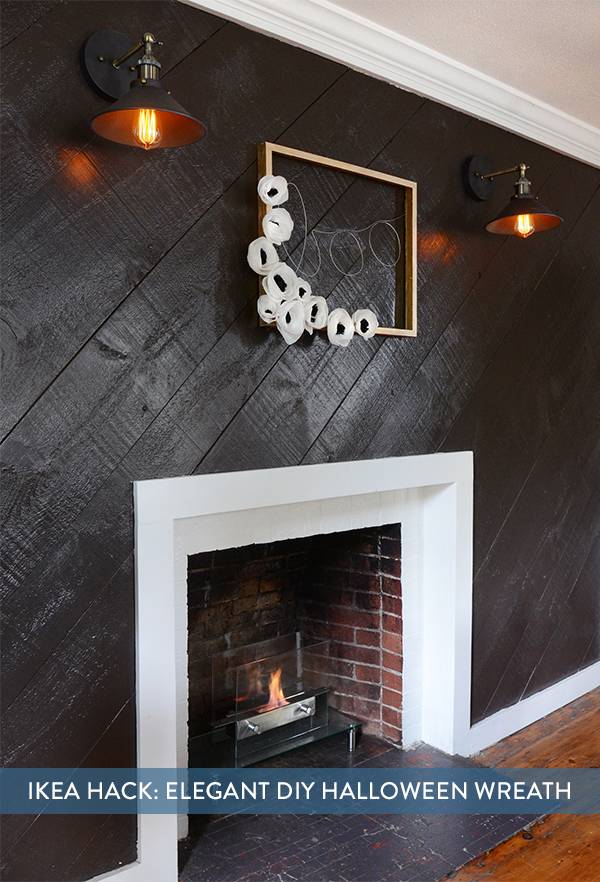
Is anybody else sick of all the cheesy orange Halloween decor that’s filling every craft store? I know I am. So I decided to try making a more modern wreath for Halloween. And get this – it’s an IKEA hack! This wreath is made out of a Ribba picture frame, and covered with pretty paper flowers. Click through to check out the final product and the full tutorial.
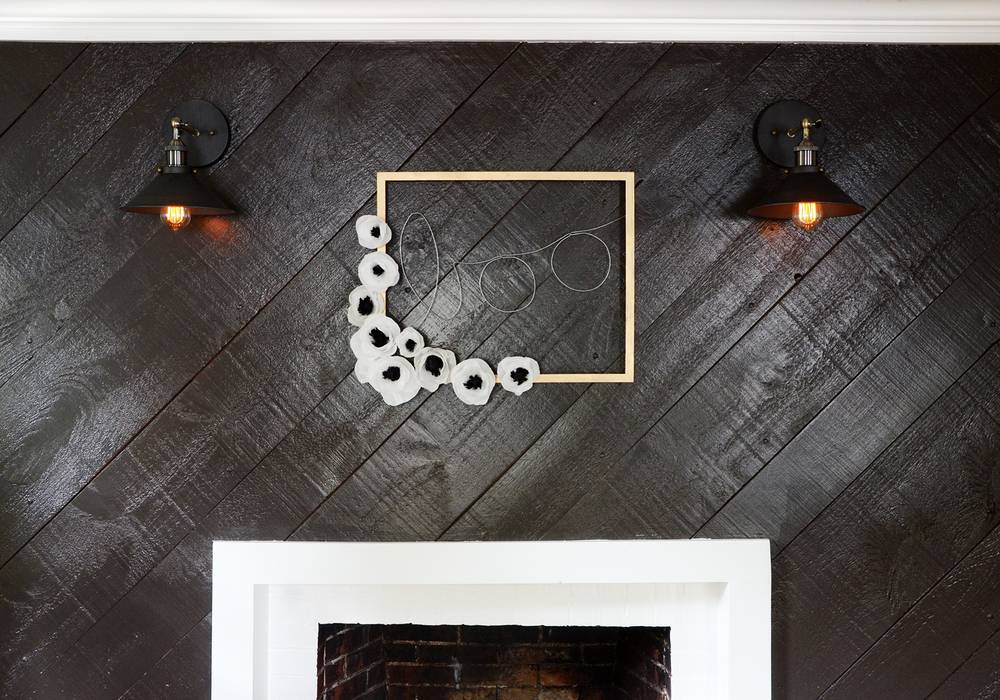
The final piece is modern, unique and a refreshing departure from all those gaudy Halloween decorations. The paper flowers give it a whimsical touch, while the wire word art adds some cheekiness.
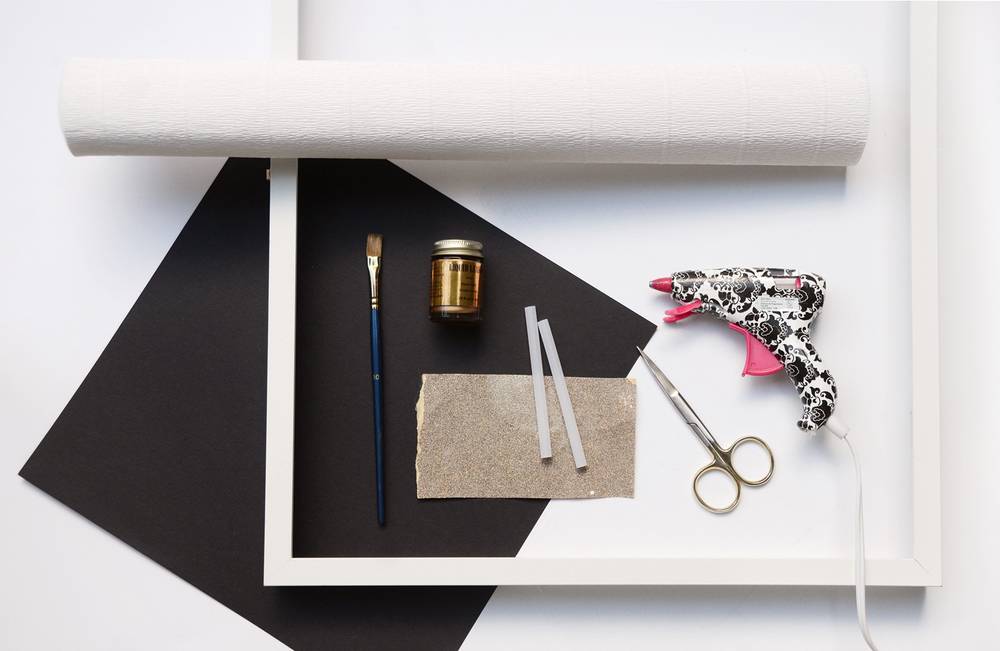
Here’s what you’ll need for your wreath:
- IKEA Ribba Frame
- White Italian crepe paper (I used this)
- Black construction paper
- Medium grit sandpaper
- Hot glue gun and lots of extra glue
- Gold Liquid Leaf
- Old paintbrush
- Scissors
- Wire (not pictured)
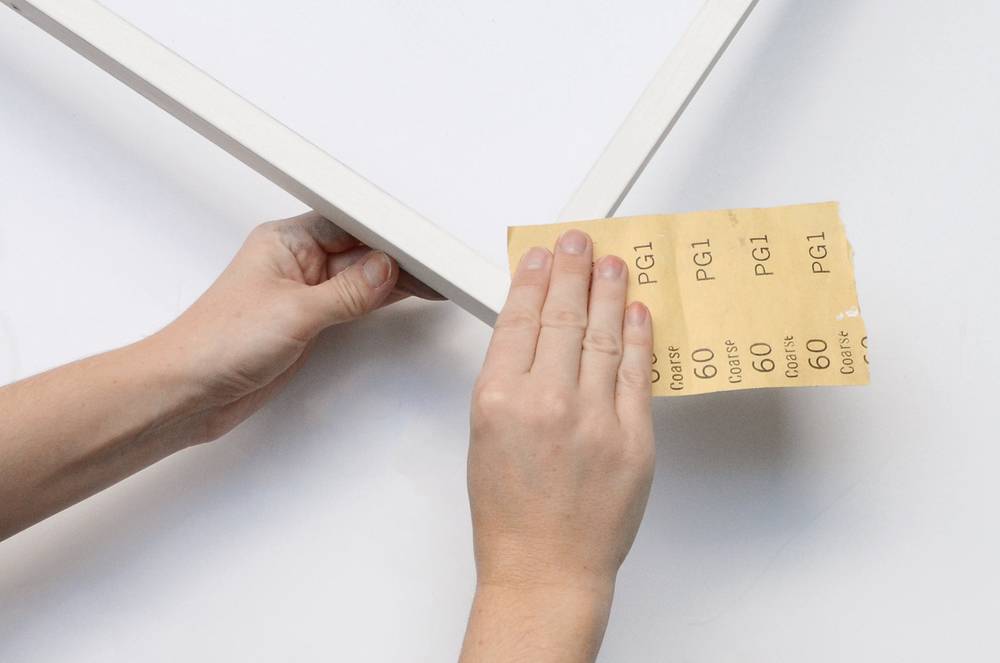
Begin by removing the glass from the IKEA Ribba frame. Next, sand down the frame using medium grit sandpaper. This is an important step – if you skip it, the surface of the frame will resist the gold paint. Make sure to sand any part that will be visible, including the inside edges. Make sure to do this whole project in a well ventilated area.
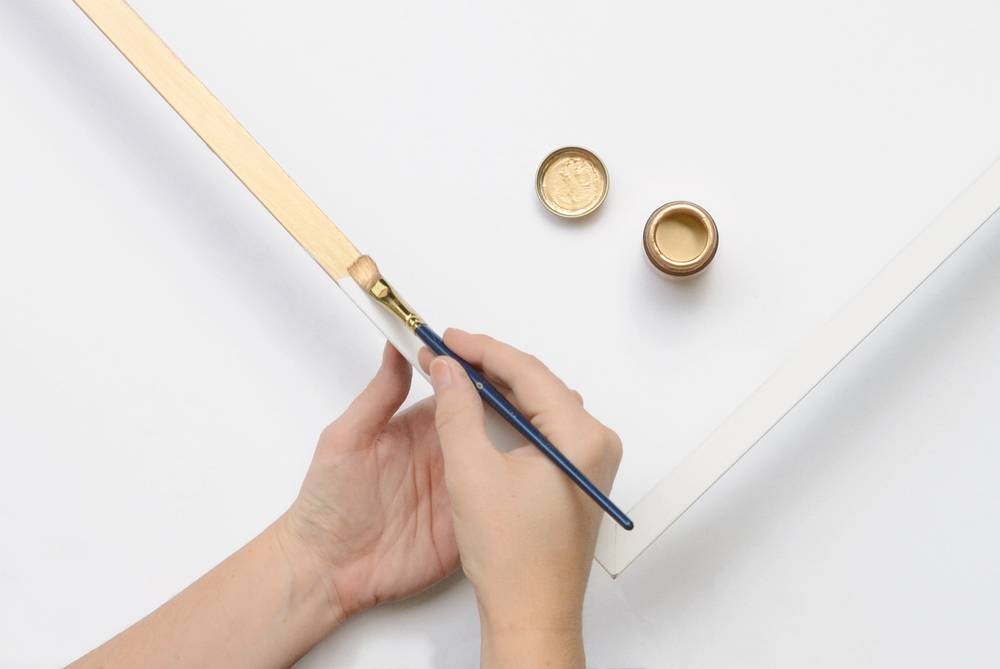
Brush off any dust that may have accumulated on the frame, and begin painting it with the Liquid Leaf. Be sure to use an old paint brush because it will not wash off with water (it is oil based). Alternatively, buy some xylene to clean your brush with after.
Paint all the way around the frame, and on the inside and outside edges. There will be little metal tabs on the inside edge – paint those too. The only part you won’t need to paint is the back.
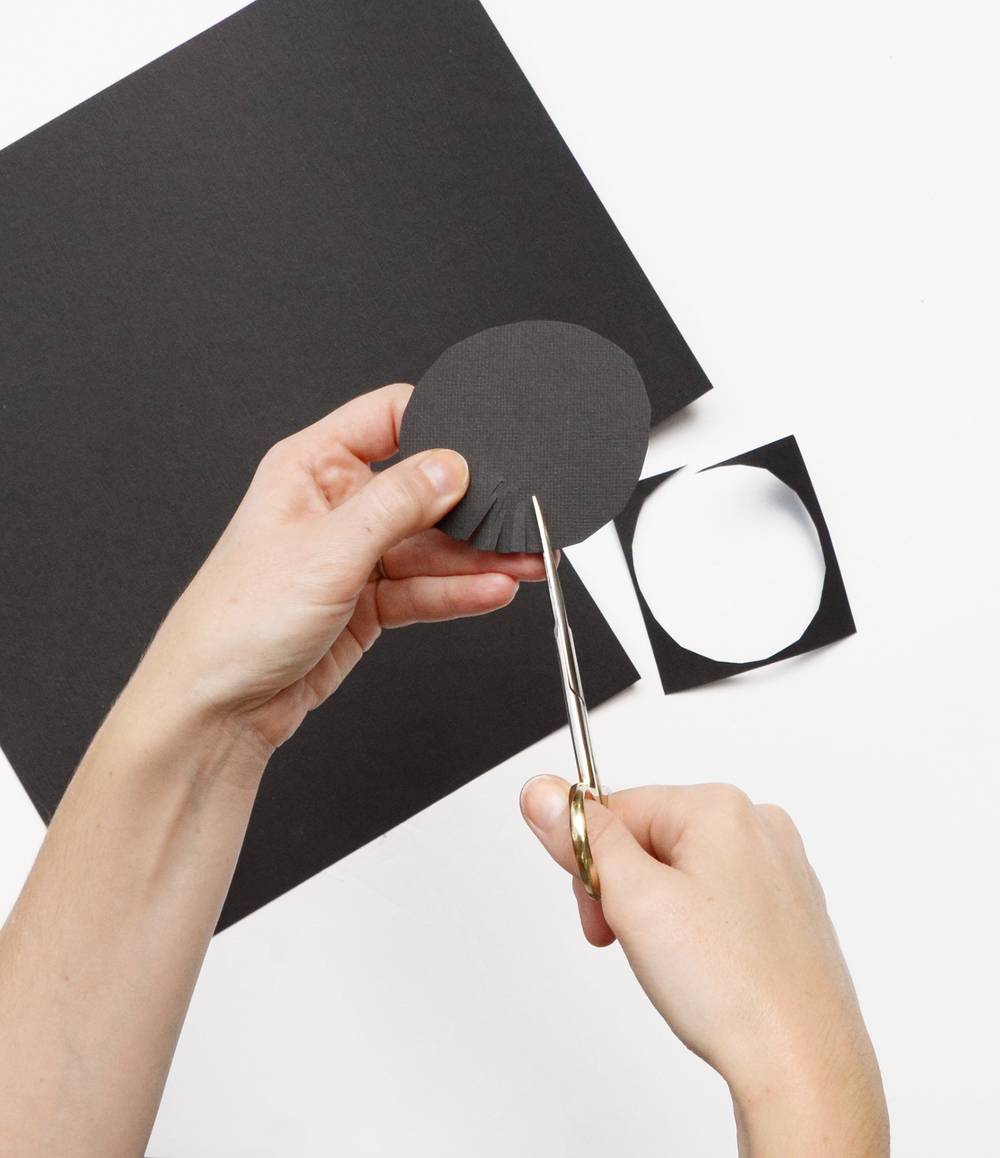
While the Liquid Leaf paint is drying, begin to make your paper flowers. Cut a 2-3 inch diameter circle out of your construction paper and then cut slits all the way around the perimeter of the circle as shown above.
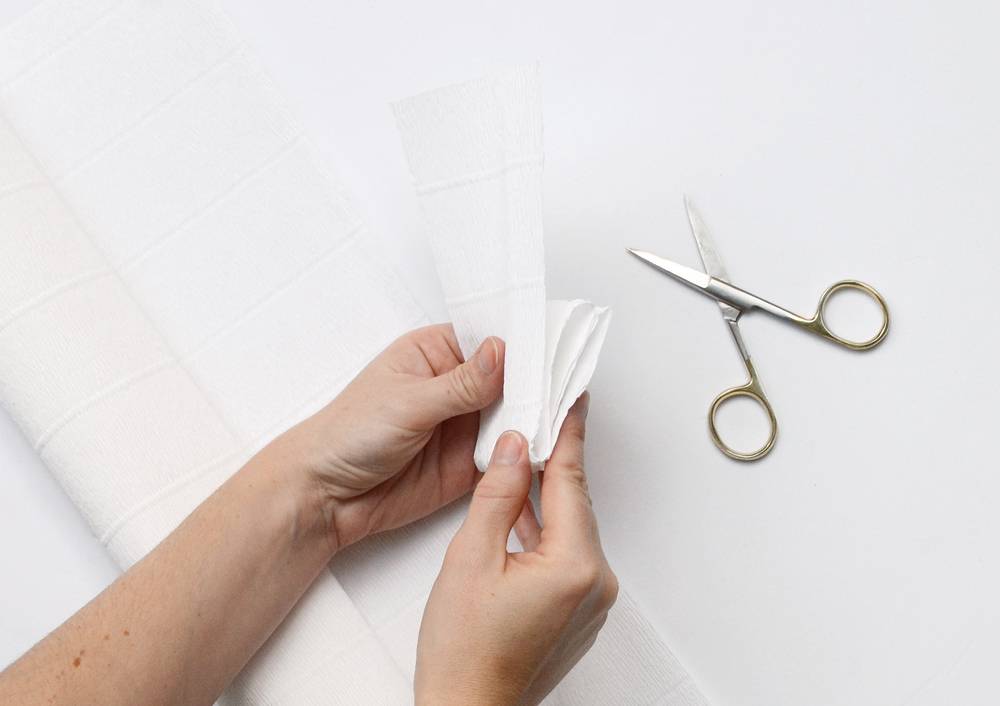
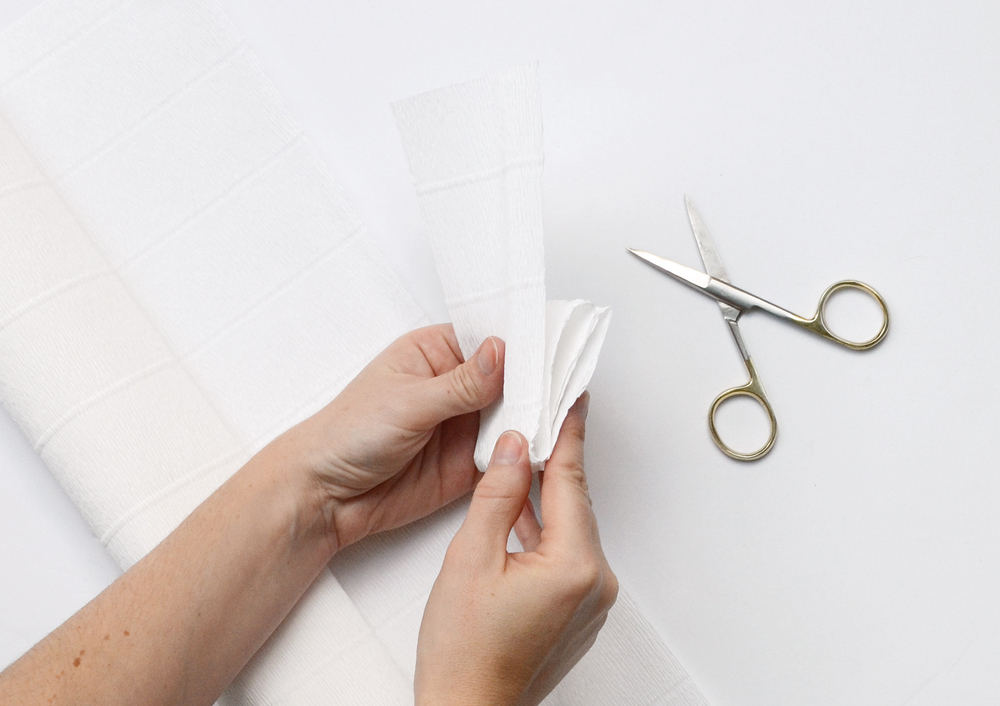
For the petals, cut a 2-3 inch wide strip of crepe paper and then accordion fold it like I’ve done in the photo above.

Cut a circular shape from your folded paper – you will end up with a pile of them. (This way you won’t have to cut each petal individually).
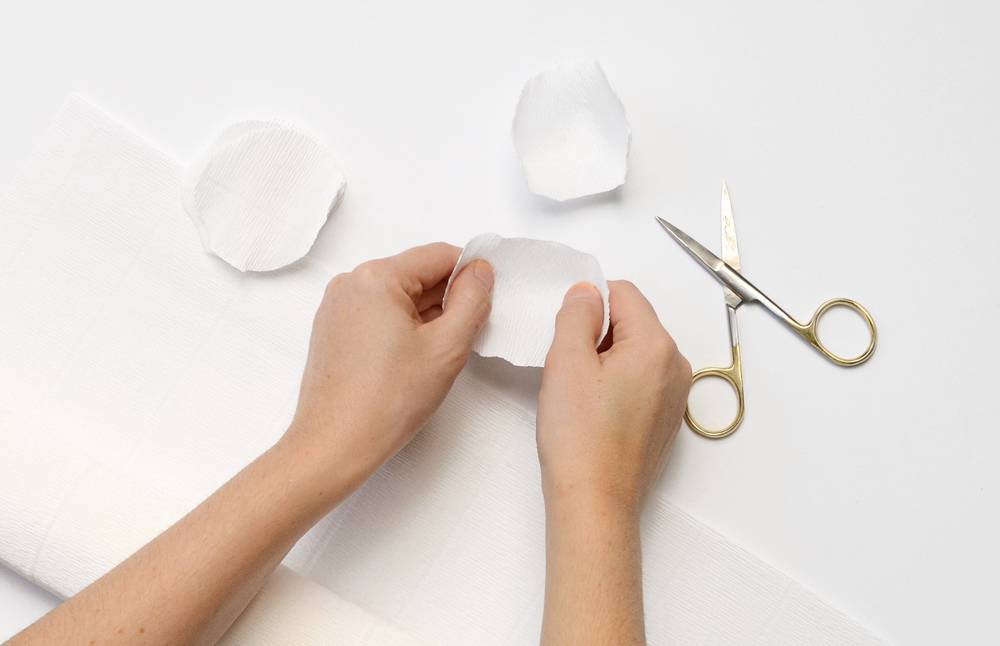
Grasp a petal in your hands and use your thumbs to stretch the sides out, forming more of a bowl shape rather than a flat one. Repeat this step for the rest of the petals.
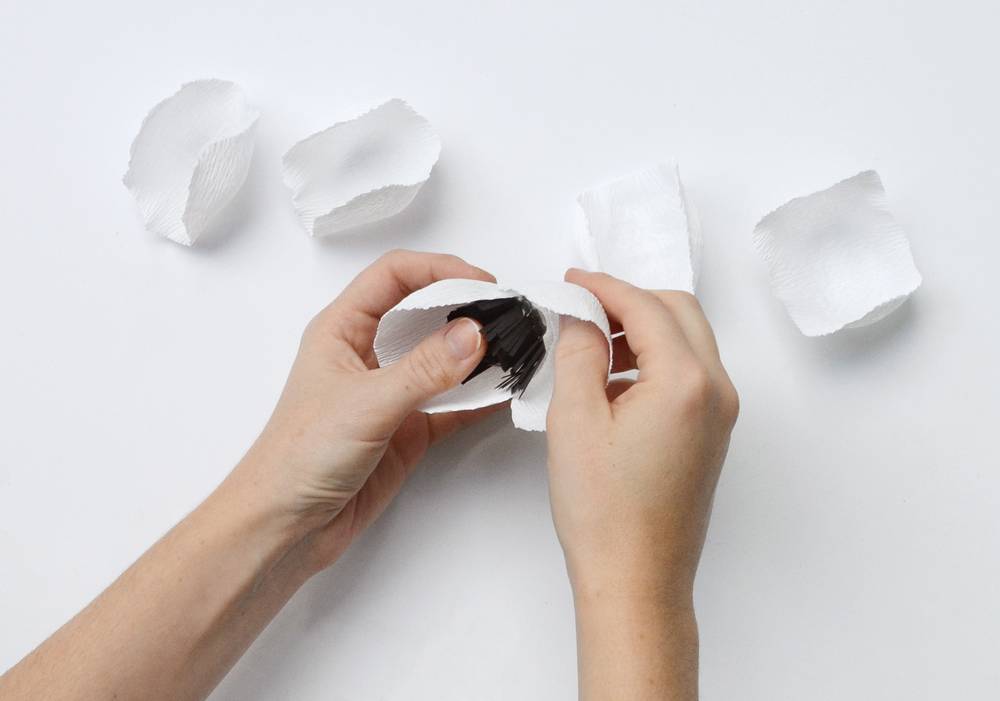
Grab your black paper circle and fold the cut section upward, forming the center of the flower. Use the glue gun to put a dab of glue on the bottom of the black piece and attach your first petal. Be careful not to burn yourself! Turn the flower a bit, and attach a petal on the other side. Continue overlapping and gluing until you’ve formed a beautiful flower. Once the glue is dry, you can adjust and stretch the petals so everything looks even.
Repeat this process until you have 8-12 flowers of varying sizes.
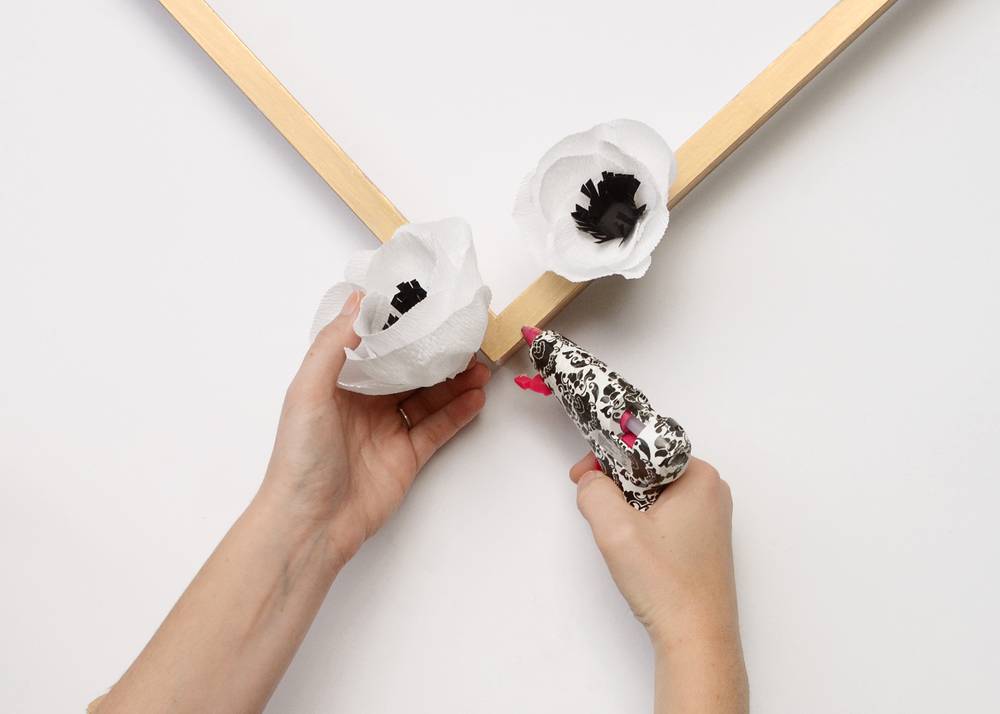
Now begin gluing the flowers to one corner of the frame. Mix up the sizes, and space them out a bit at the ends.
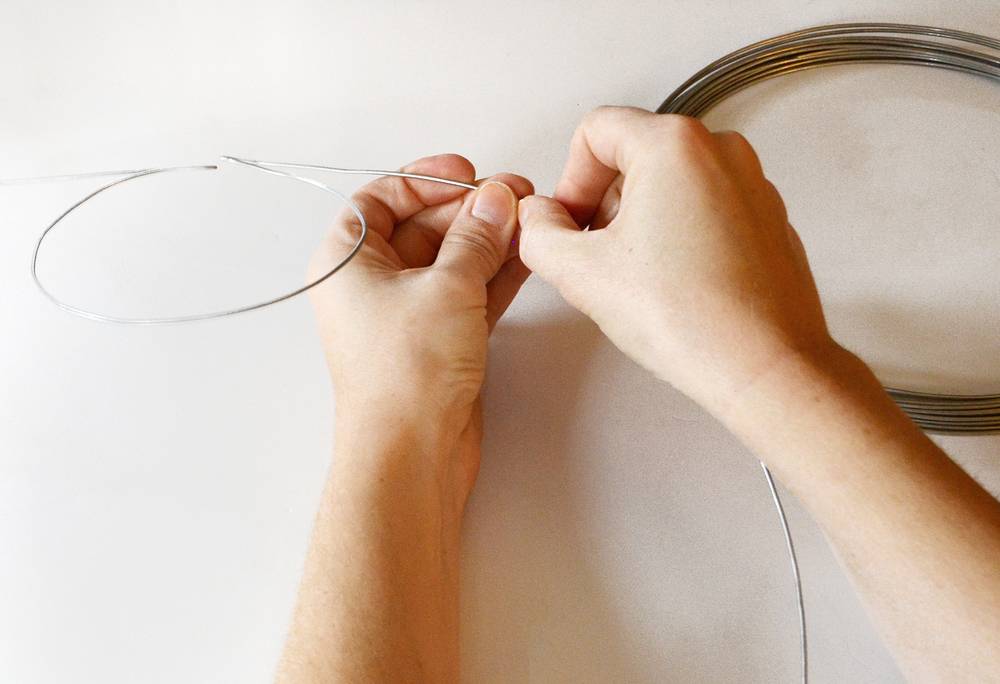
Lastly, grab your wire. Make sure it is something that bends fairly easily. I bought mine at the hardware store. Use your hands (or pliers if need be) to form it into the word “boo.” Glue it to the back of the frame.
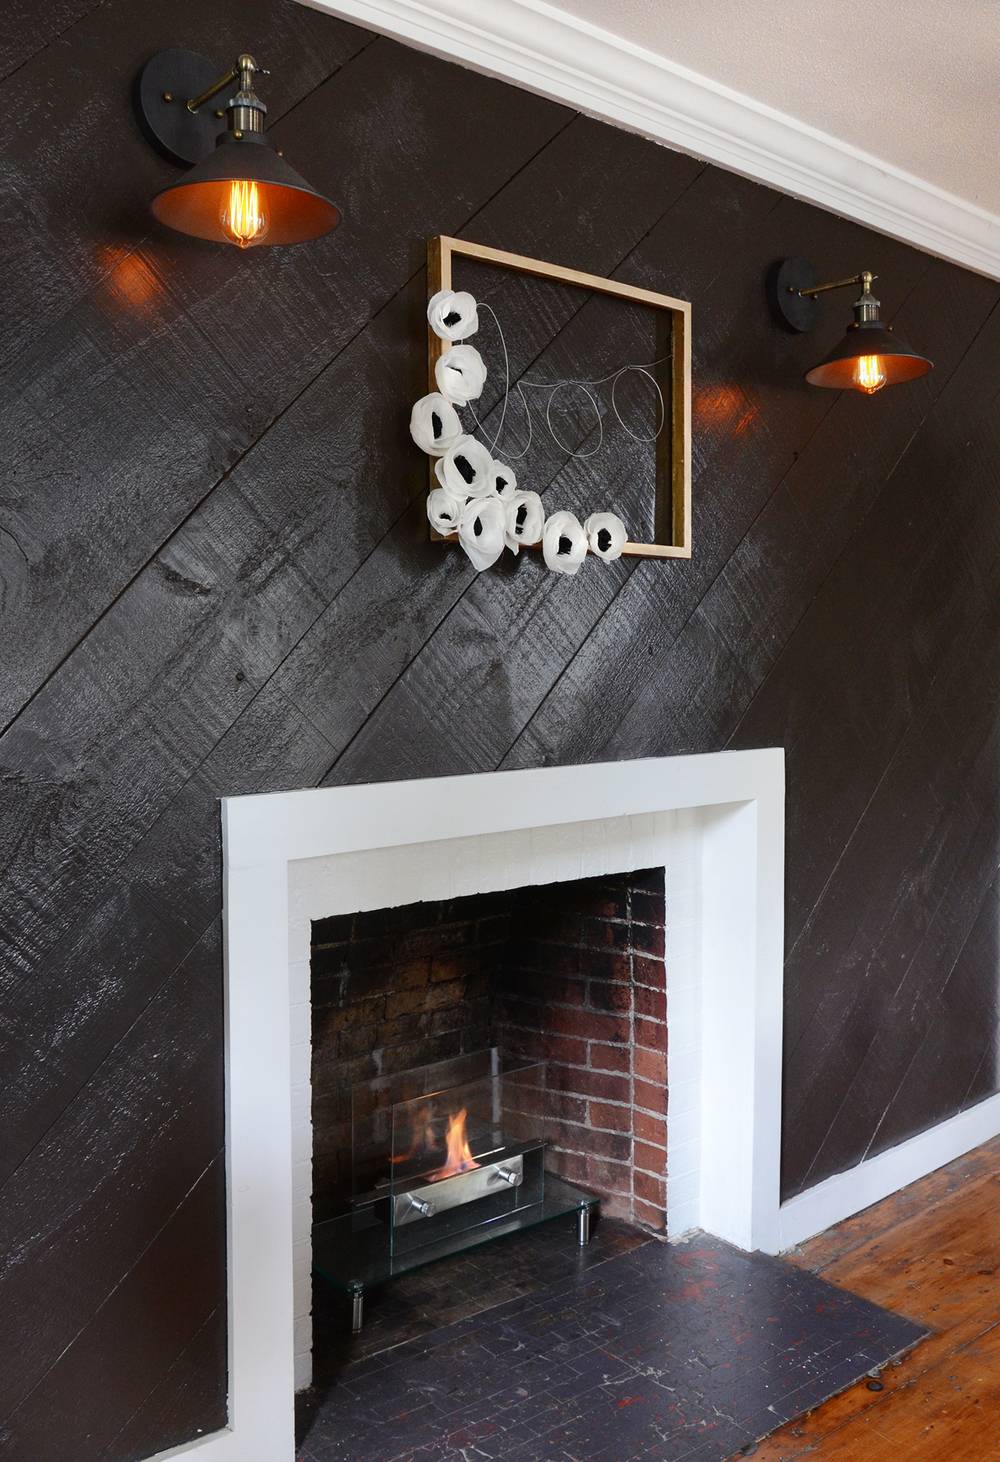
And you’re finished! Go hang up your beautiful IKEA hack Halloween wreath!
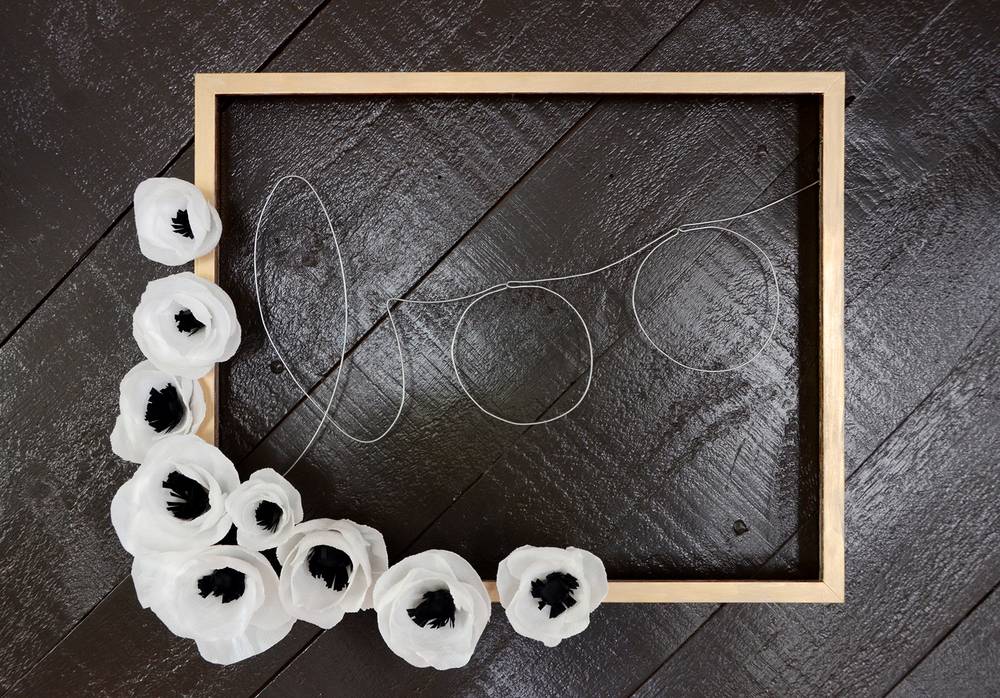
You can also use a different word in the center… use your imagination!
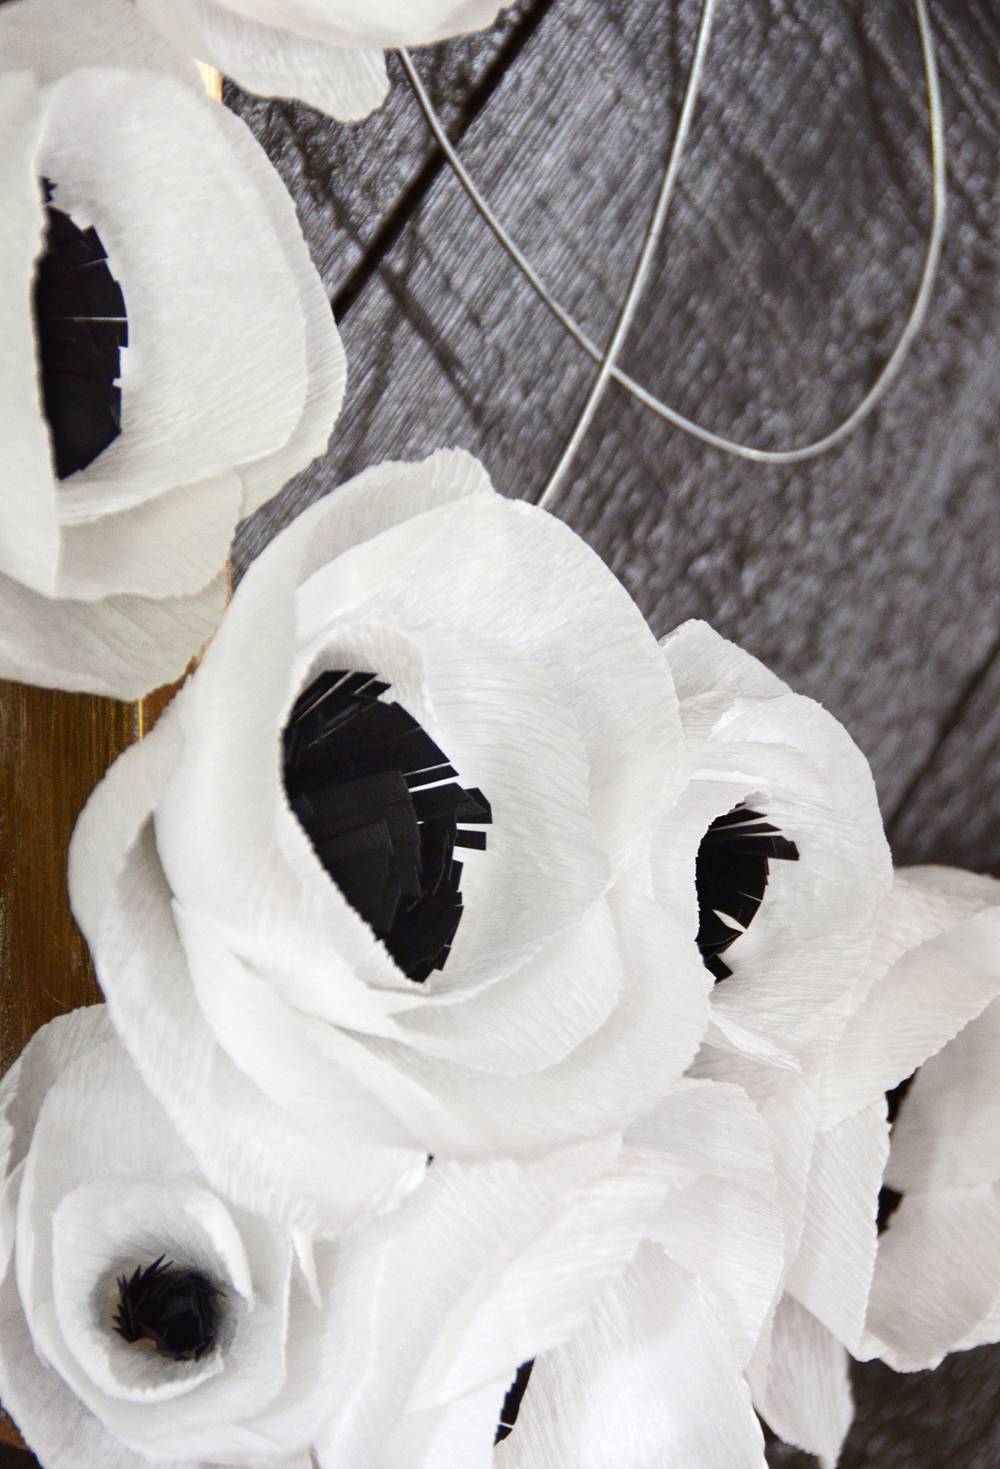
And these black and white flowers felt like a classy way to celebrate Halloween, but you could also customize the project for other holidays. Perhaps swap out the white for red crepe paper once the holidays roll around.
Happy crafting!
