We’d had enough of our dated kitchen, so we decided to give it a full-on facelift, while staying on a budget. Follow along with our whole series: Lidy’s Kitchen Makeover.
Today, let’s talk about the walls. Our kitchen had a very, um, “interesting” design. The walls were painted a light peachy pink, with a green vine wallpaper border at the top (I removed that as soon as we moved in). And it has been left that way for over two years. At last we decided to do something a little more than just paint them a crisp white to brighten up the kitchen nook. Instead, we decided to install shiplap paneling that leaned more toward Scandinavian-inspired design and as far away from shabby chic as possible! The results were exactly what we were hoping for.
materials
- 1/4 softwood plywood
- Tablesaw (optional)
- Jig saw or router with a flush trim router bit, or coping saw
- Level
- A handful of nickels (or other small item you can use to space your boards apart evenly)
- Brad nailer
- Electric sander, sand paper or sanding block
- Caulking gun
- Damp cloth
- Paint
- Brush
- Roller and accessories
A note before we begin: technically, “shiplapping” refers to cutting a rabbet on the opposing sides and faces to make a surface watertight, such as siding for a home, or, obviously, a ship or boat. Since this in an indoor space, we left our edges square for ease, but still spaced our boards to create a shiplap look. Give it a try!
Step

Measure your wall(s) and find out how many square feet of plywood you’ll need. Since plywood comes in 4’ x 8′ sheets, you’ll need to round up to the nearest multiple of 32 square feet. This will account for any extra pieces you might need. Rip your Plywood into 8 inch width strips.
Tip: Lowes can rip the plywood for you, which will save you a lot of time, hassle and will ensure your plywood is cut somewhat consistently. It’s completely free for US residents, however, if you are located in Canada you will have to pay a minimal fee. You can also use a table saw for this step. Sand the edges each board to prevent splintering.
Step

Use a stud finder to mark where all your studs are before attaching any boards to the wall. Then, using a level, be sure your first piece of plywood is sitting perfectly straight before nailing to the wall. Once you have it positioned correctly, use your brad nailer to secure it to the wall. Repeat across the length of the wall.
Note: Starting at the top of the wall allows you to cover up any discrepancies as you make your way to the bottom with the baseboards.
Step
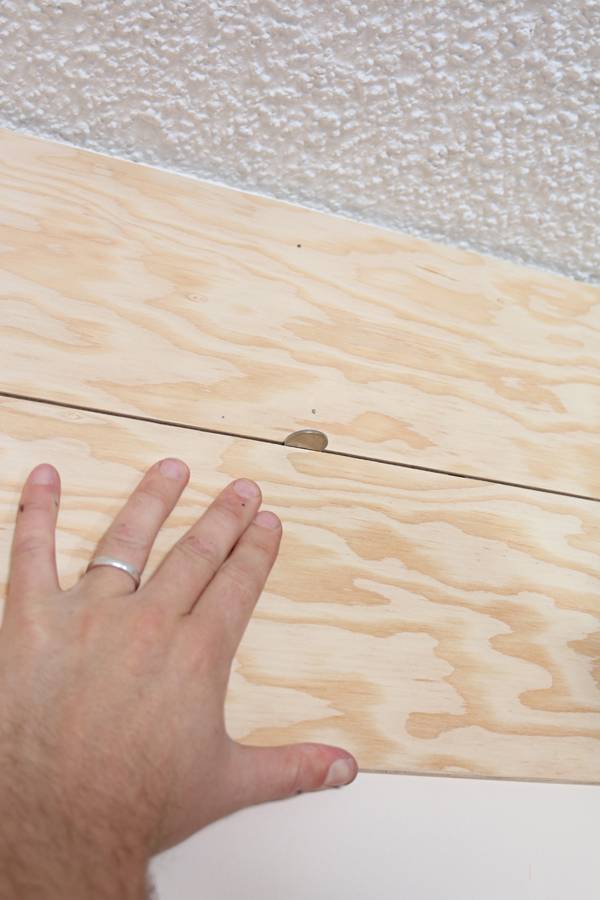
Once the first boards are level, you will rely on your nickels to space your boards apart evenly during the remainder of this process. Hold your next board just below the first and carefully insert the nickels along the length of the board.

Nail to the wall to secure it where studs are marked. Repeat until your wall is complete.
Step

Use your table saw to cut your boards to specific lengths. You’ll also need to use a jig saw or router for precision cuts around outlets accordingly. Sand the edges to smooth out and continue with step 3. Be sure to stagger the seams to avoid any noticeable lines.
Step

If you have door jams, leave excess plywood hanging over and use a router to cut the boards flush with a flush trim router bit. This will create a clean and sharp finish along the exposed boards.
Step

Sand the entire walls surface. Wipe clean with damp cloth.
Step
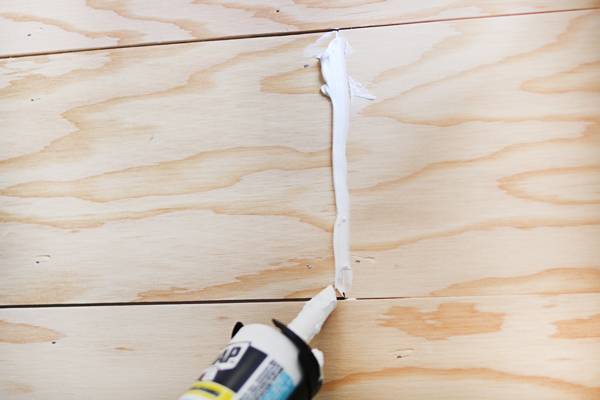
Using your caulking gun, fill any holes or seams.

Wipe excess caulk. Allow to dry before painting.
Step

Begin your first layer of paint by cutting in by the ceiling, corners and floor.
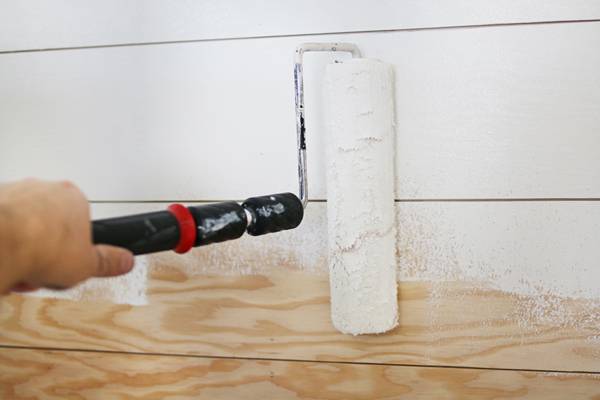
Use a roller for the larger portions of the wall. Allow each coat to dry completely. Continue painting until you have the coverage you desire. To finish your walls off nicely, place the baseboards back on the wall. We left this step out because of another DIY coming to you soon. So stay tuned!

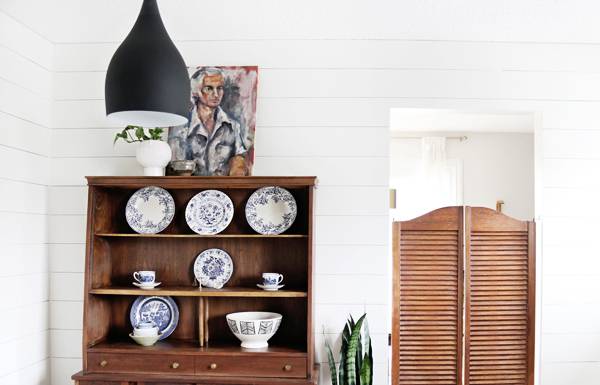
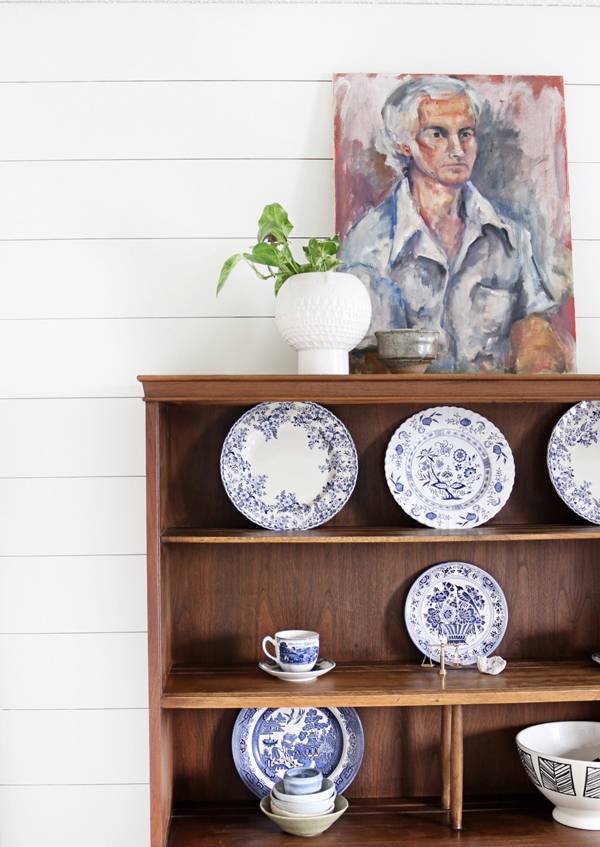
We are so pleased with the finished look. The shiplap adds such great texture to the room. It’s a fantastic backdrop to our wood pieces and acts kind of like a feature wall in the space. The white really brightens up the room to balance the newly black painted cabinets. You can definitely feel the Scandinavian-vibe now that the shiplap is installed. It’s all really quite easy once you get the hang of it.
