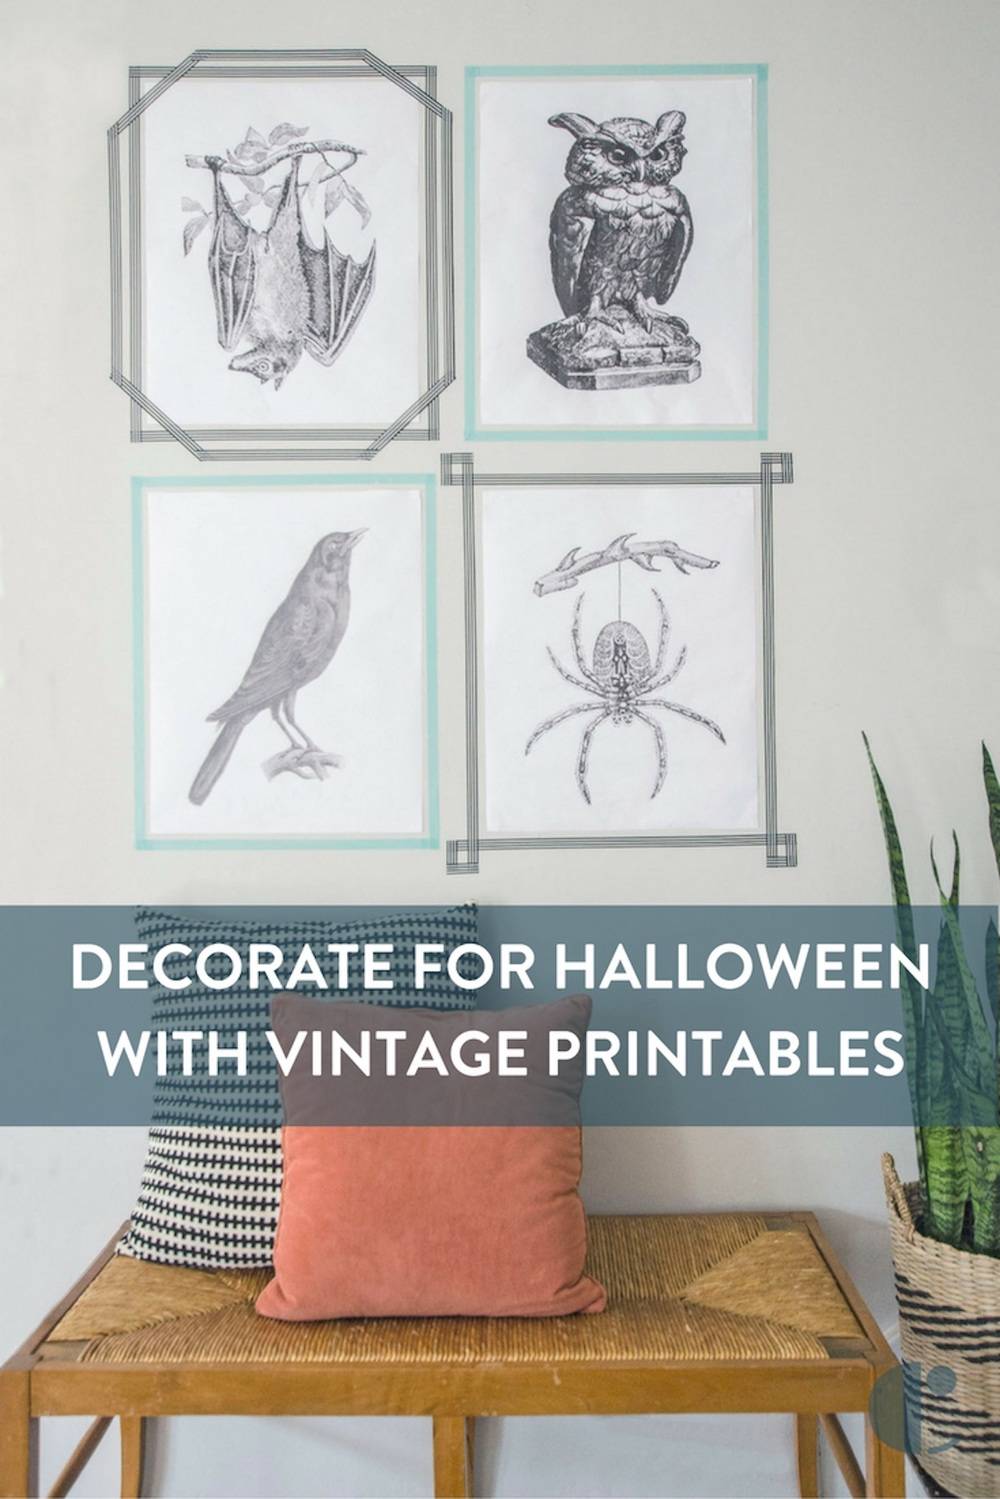
Vintage prints of animals and specimens definitely have a Halloween vibe so I decided, for my decor this year, to do a simple DIY using free vintage prints I found online. This post has the instructions on how to do this simple DIY project and a roundup of some sweet vintage Halloween prints for you to download and use.
Materials
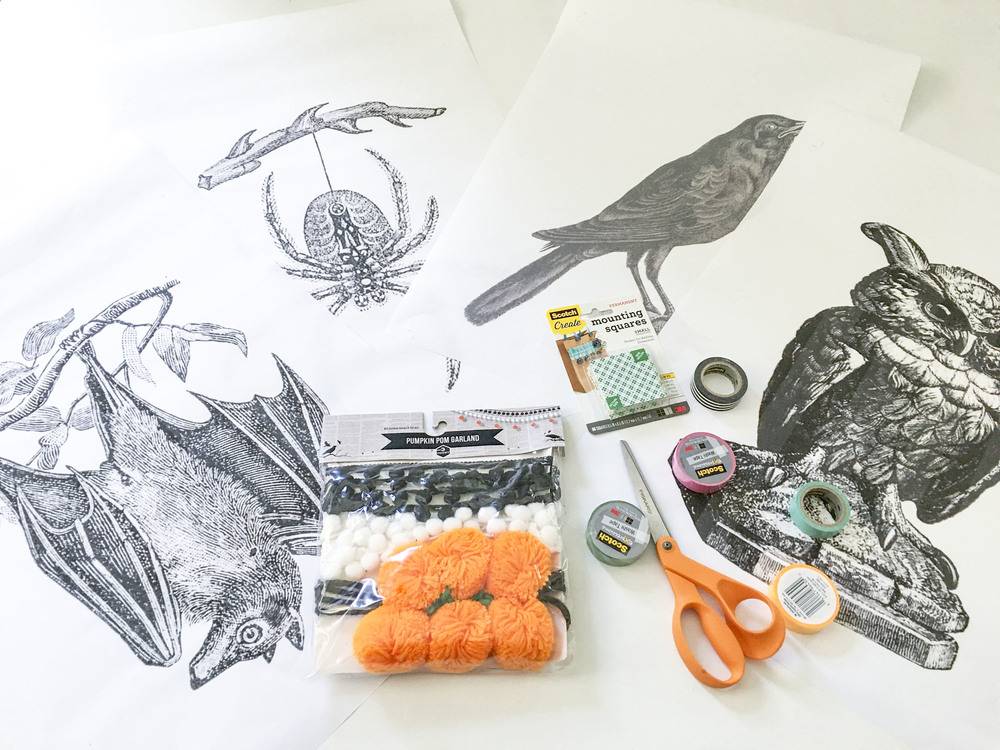
Here is what you need:
- Vintage Halloween Prints printed in any size. I chose 16 X 20 engineer prints.
- Scissors
- mounting squares or double sided sticky tape
- washi tape
- bunting (optional) I decided not to use any
- Ruler or level (for hanging photos)
- chalk for making measuring marks
Step
Download your prints and have them printed. Here are the prints I used…
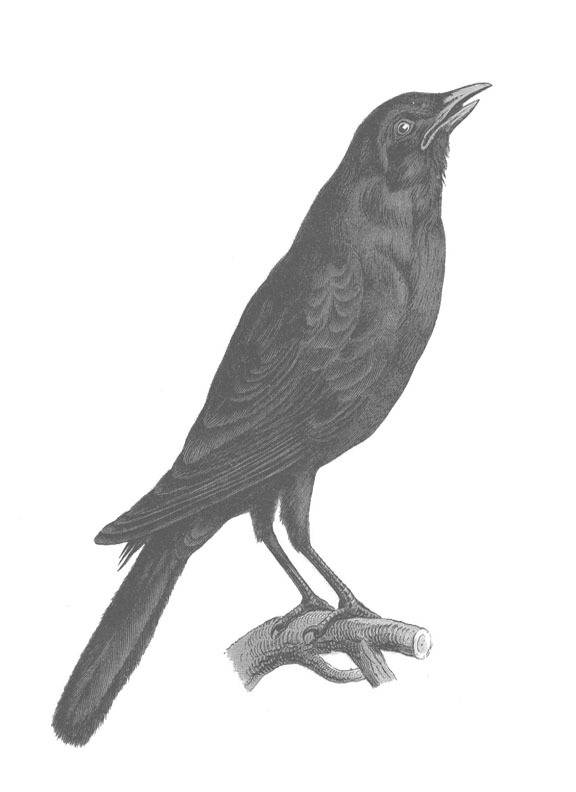
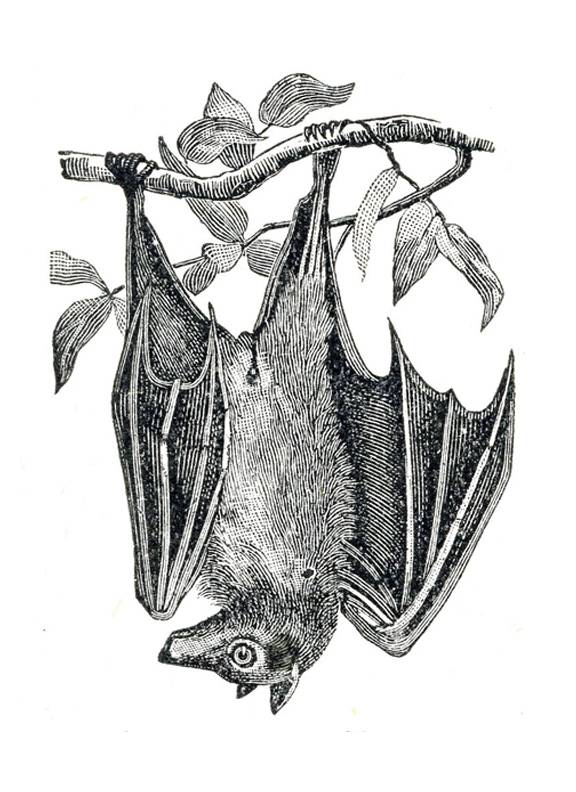
All of the vintage Halloween printables I used are from Graphics Fairy. All of these are free to download. Click below to find each free printable.
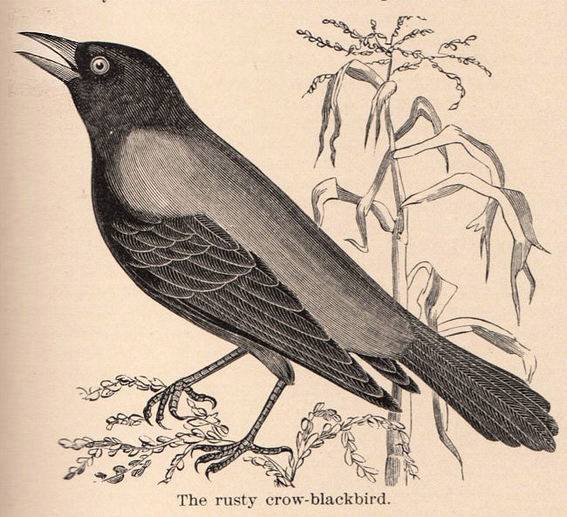
- The vintage bird
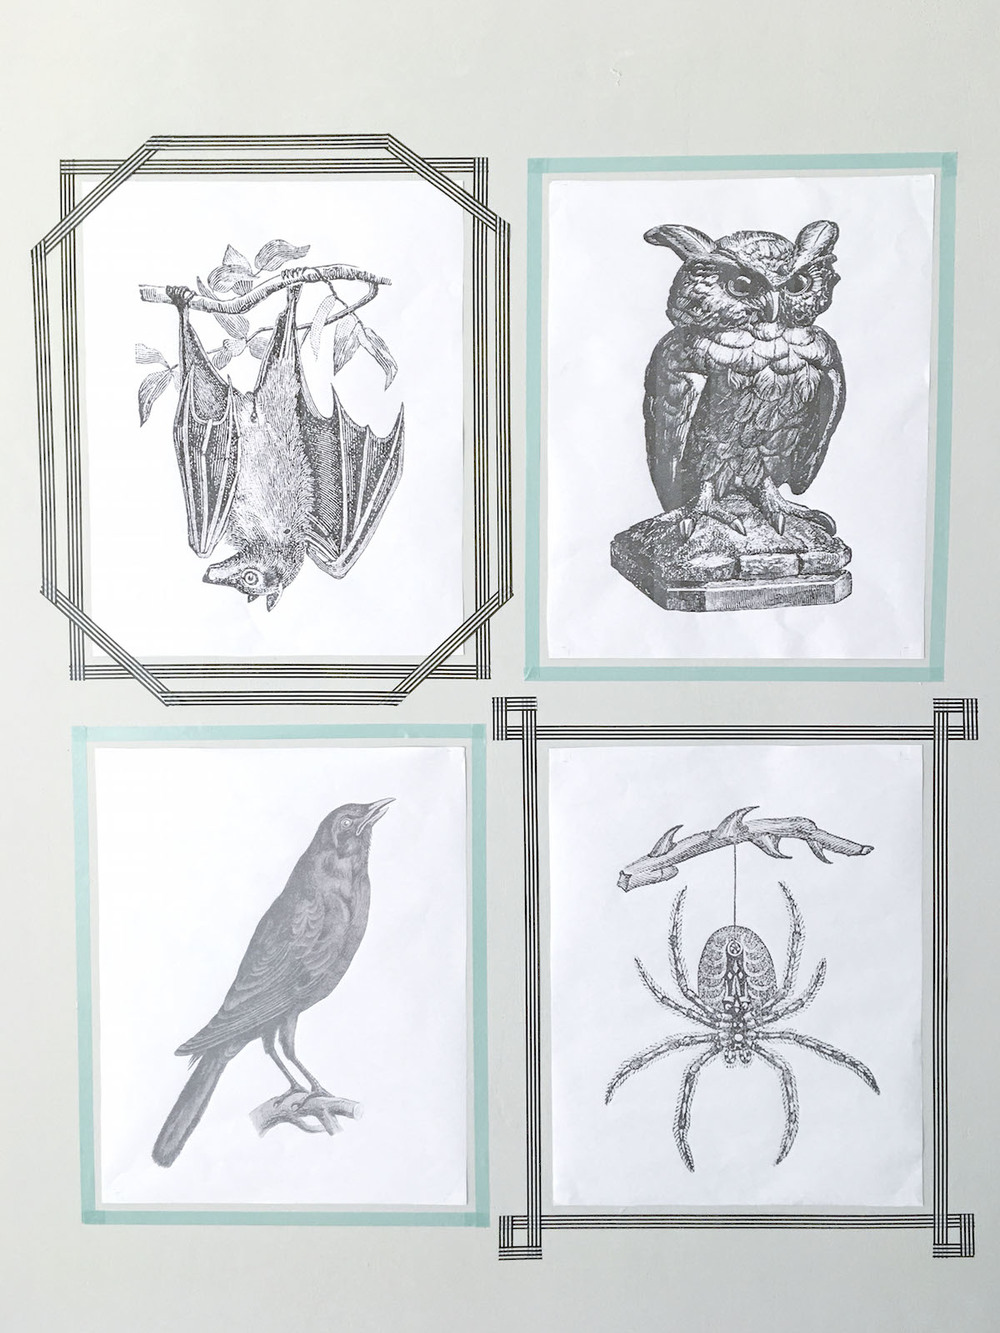
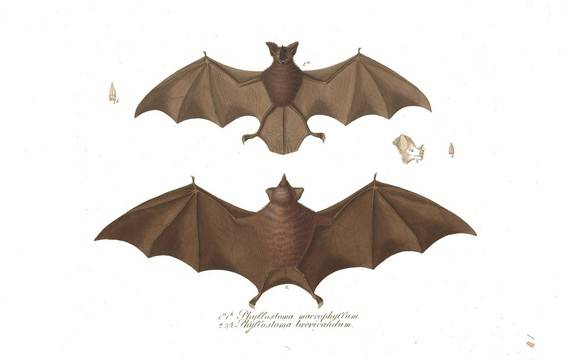
- My entire family’s favorite is the vintage bat.
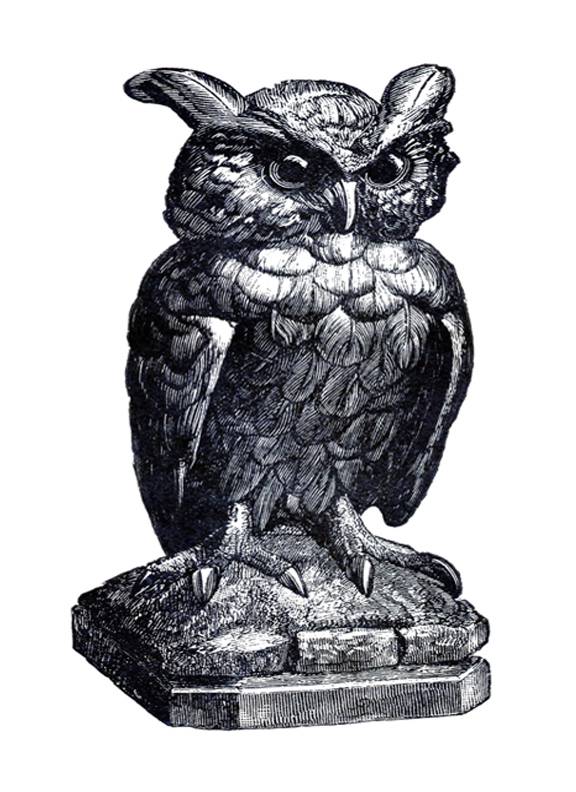
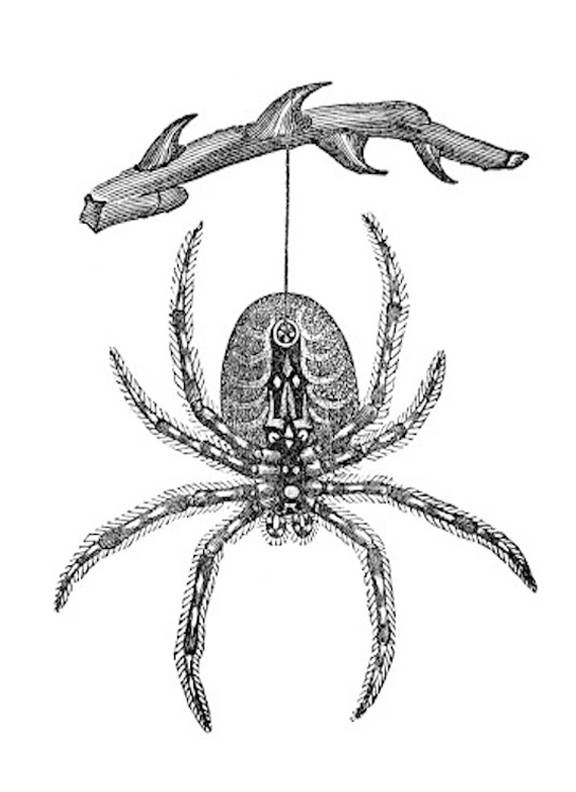
It was hard to choose out of so many,but I just felt like we needed an owl and a spider. Click on the links below to download.
All of the images are different sizes. I used Photoshop to adjust my images to the same size. If you don’t have Photoshop you can use Canva, its a free (and easy to use) editing service! For each photo I created a blank design, uploaded each jpeg file, and added it to the blank design. I centered them and adjusted the size to my liking. Save your new photo and take it to your local printing store or print it out at home.
Scroll down to the bottom of this post for a roundup of more free vintage Halloween printables.
Step
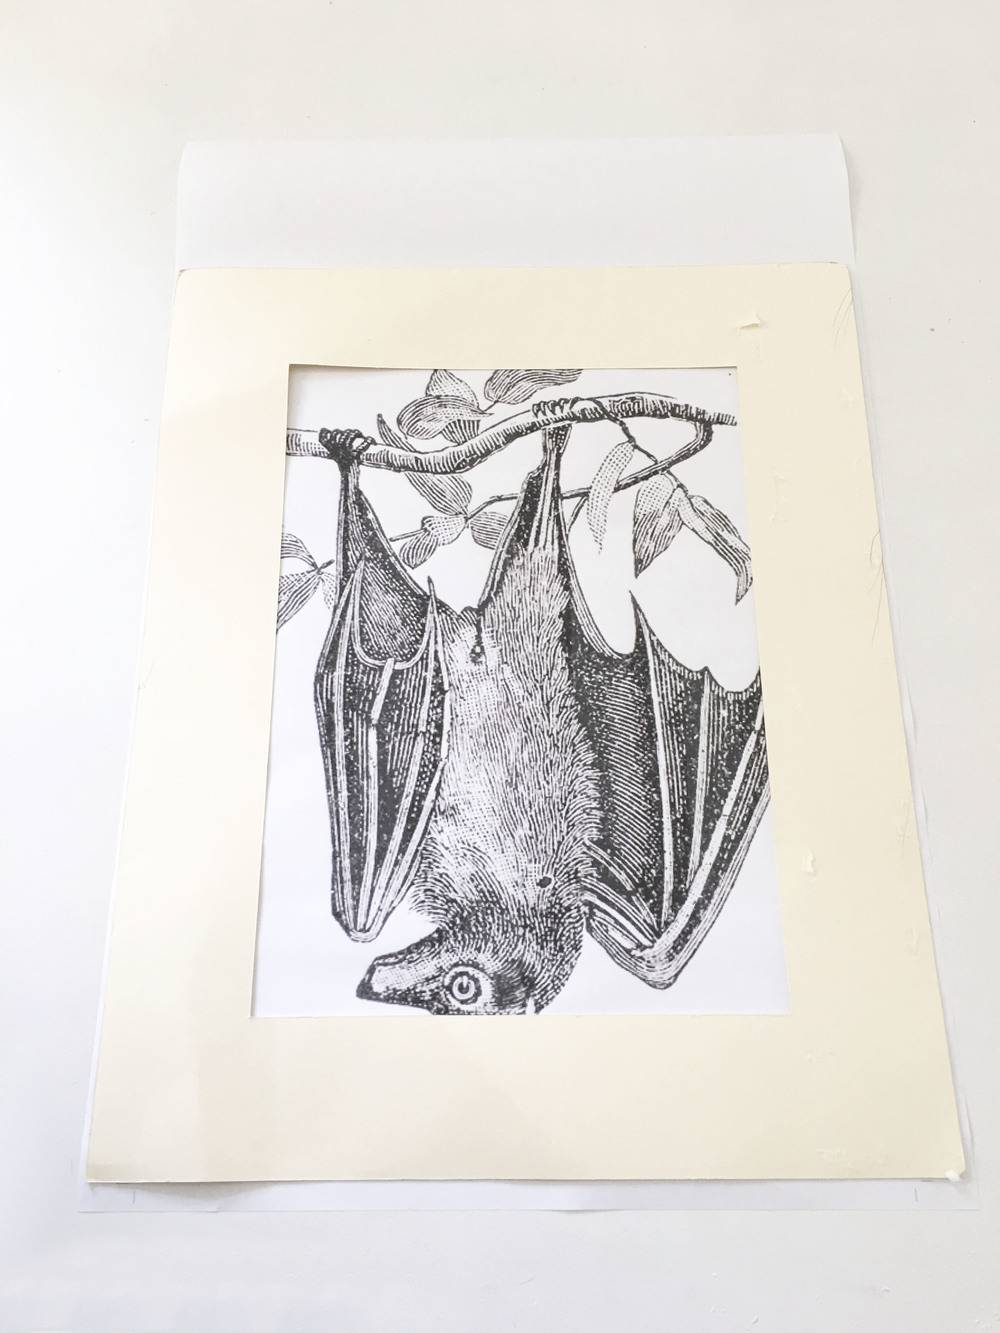
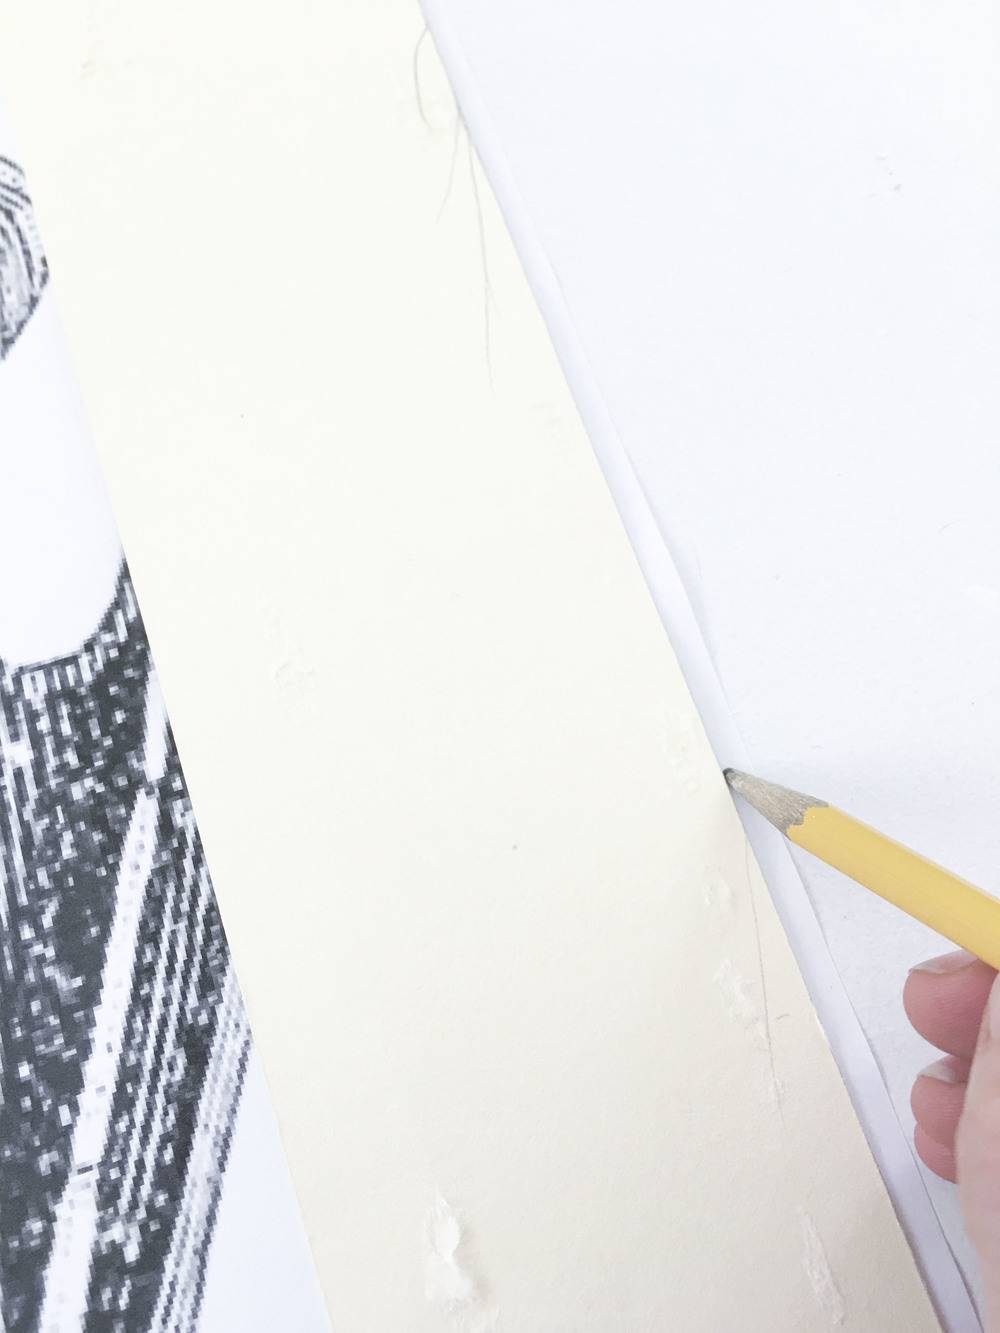
Cut your images down to size. (this step is optional)
I wanted larger photos so I chose the 16 X 20 size engineer print. They still had a little too much white space on top so I used an old photo mat to unify the four prints to the same size.
Step
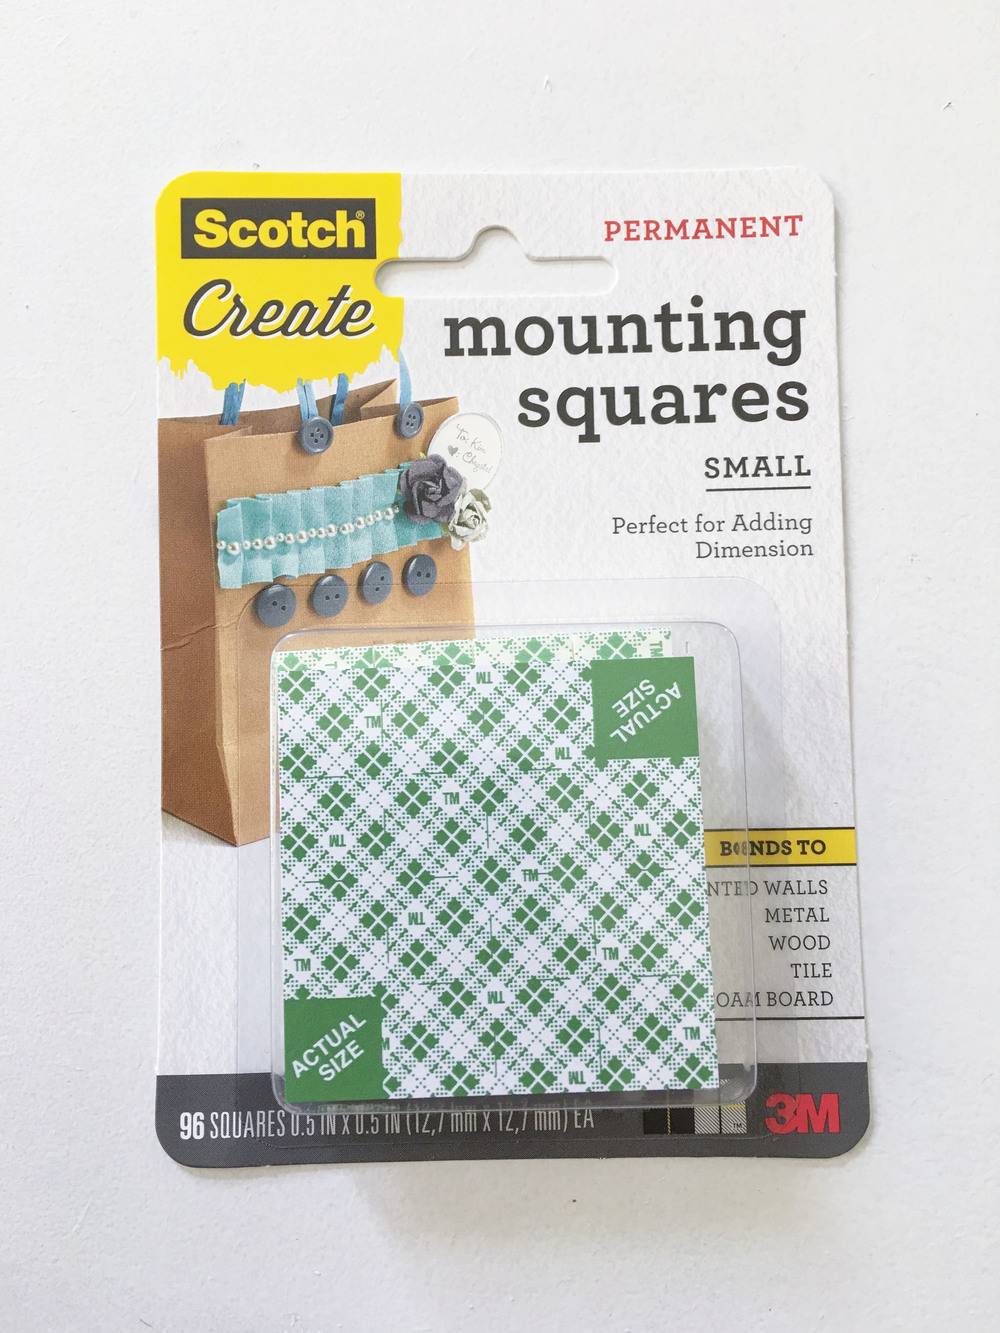
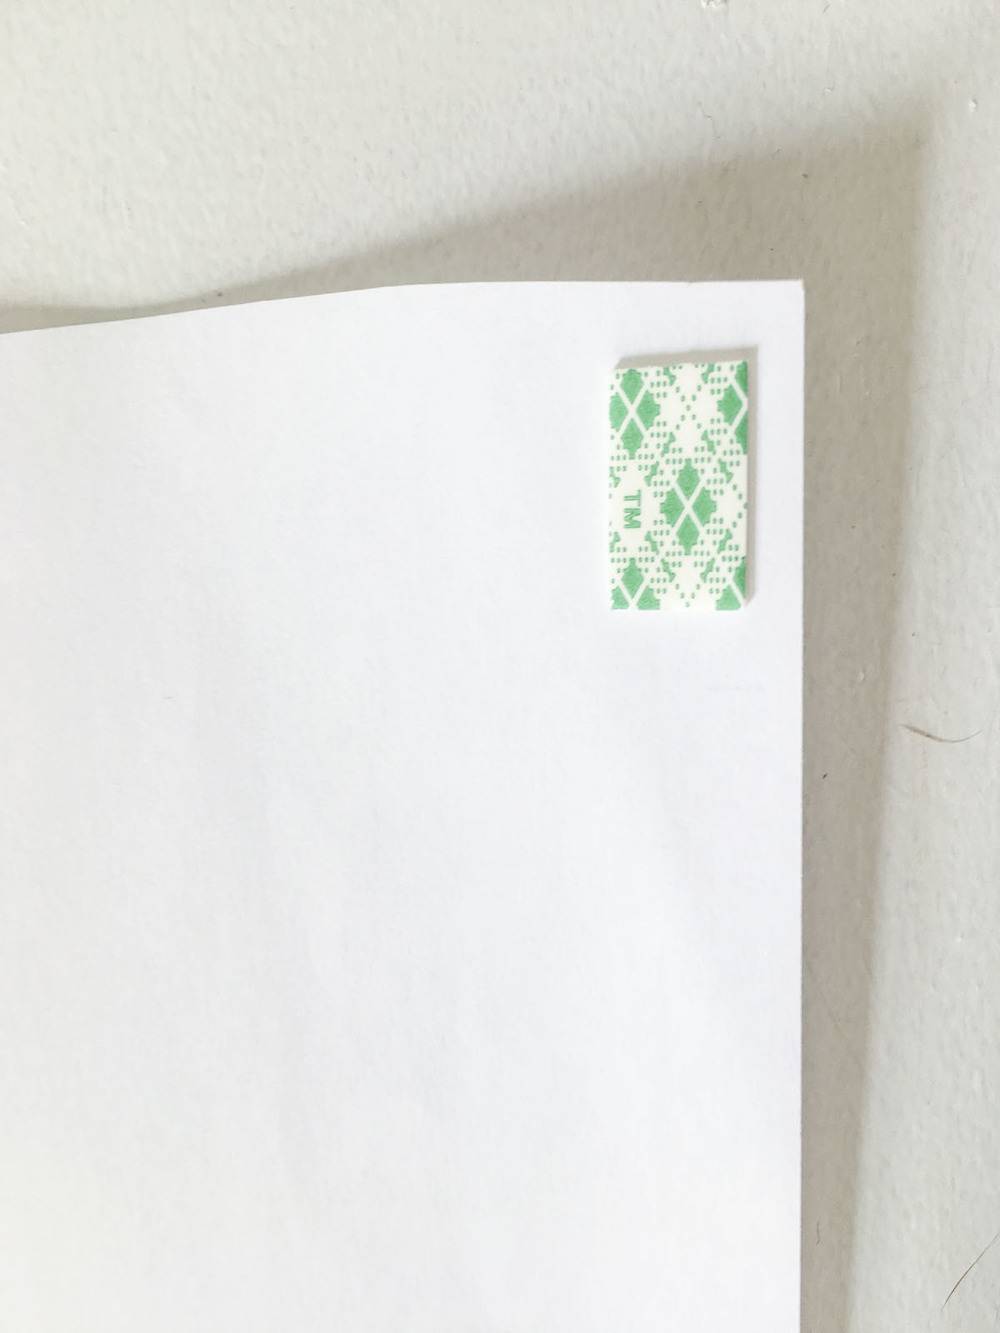
I used mounting squares to mount the photos to the wall. These mounting squares come off painted walls pretty easily. Double sided sticky tape works as well.
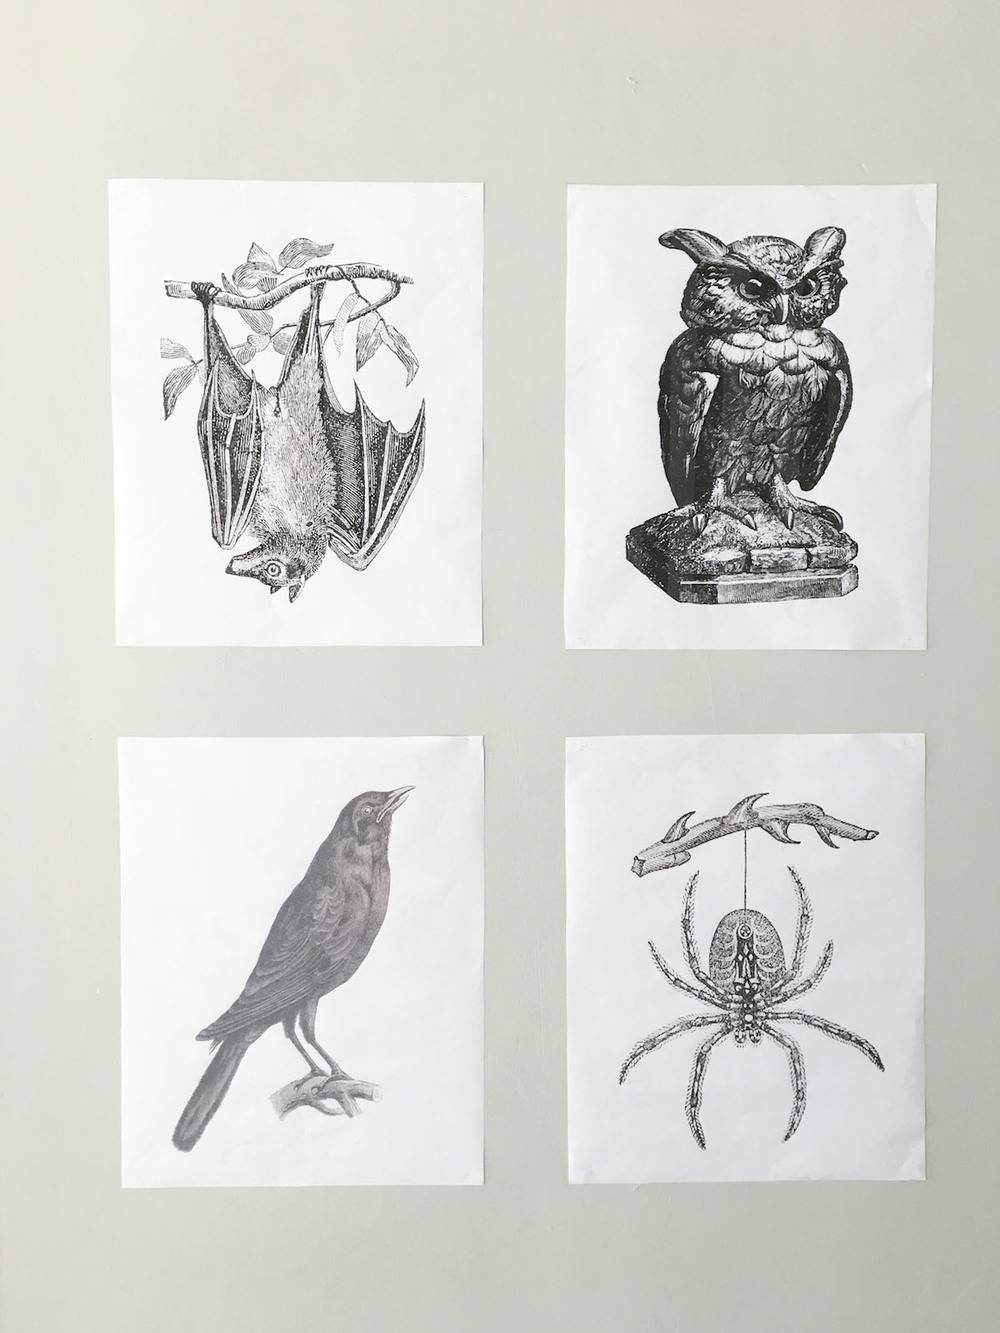
In about 10 minutes they were all up on my wall.
Step
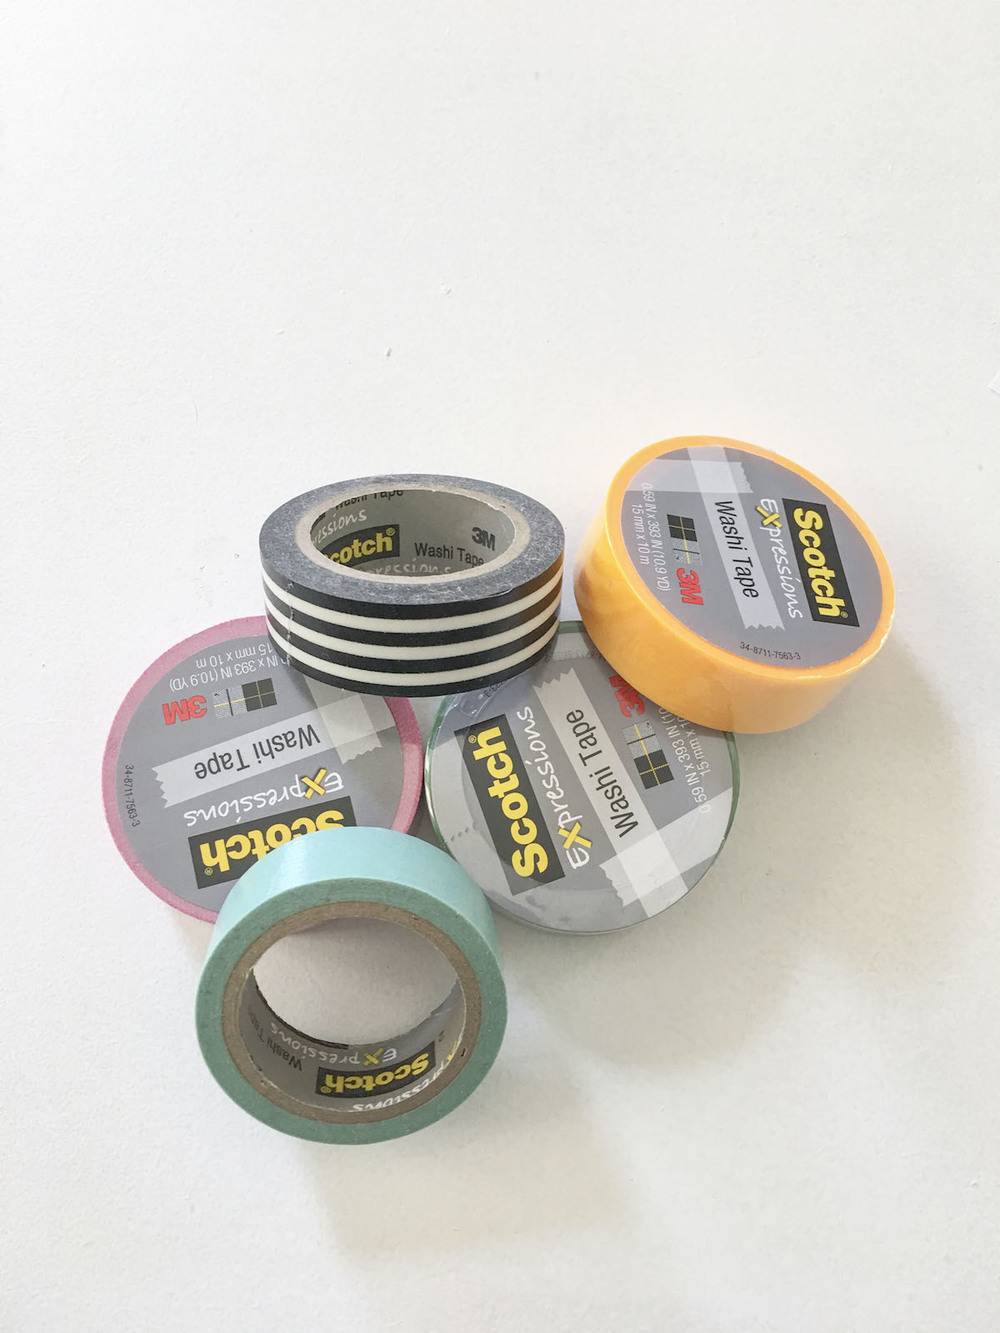
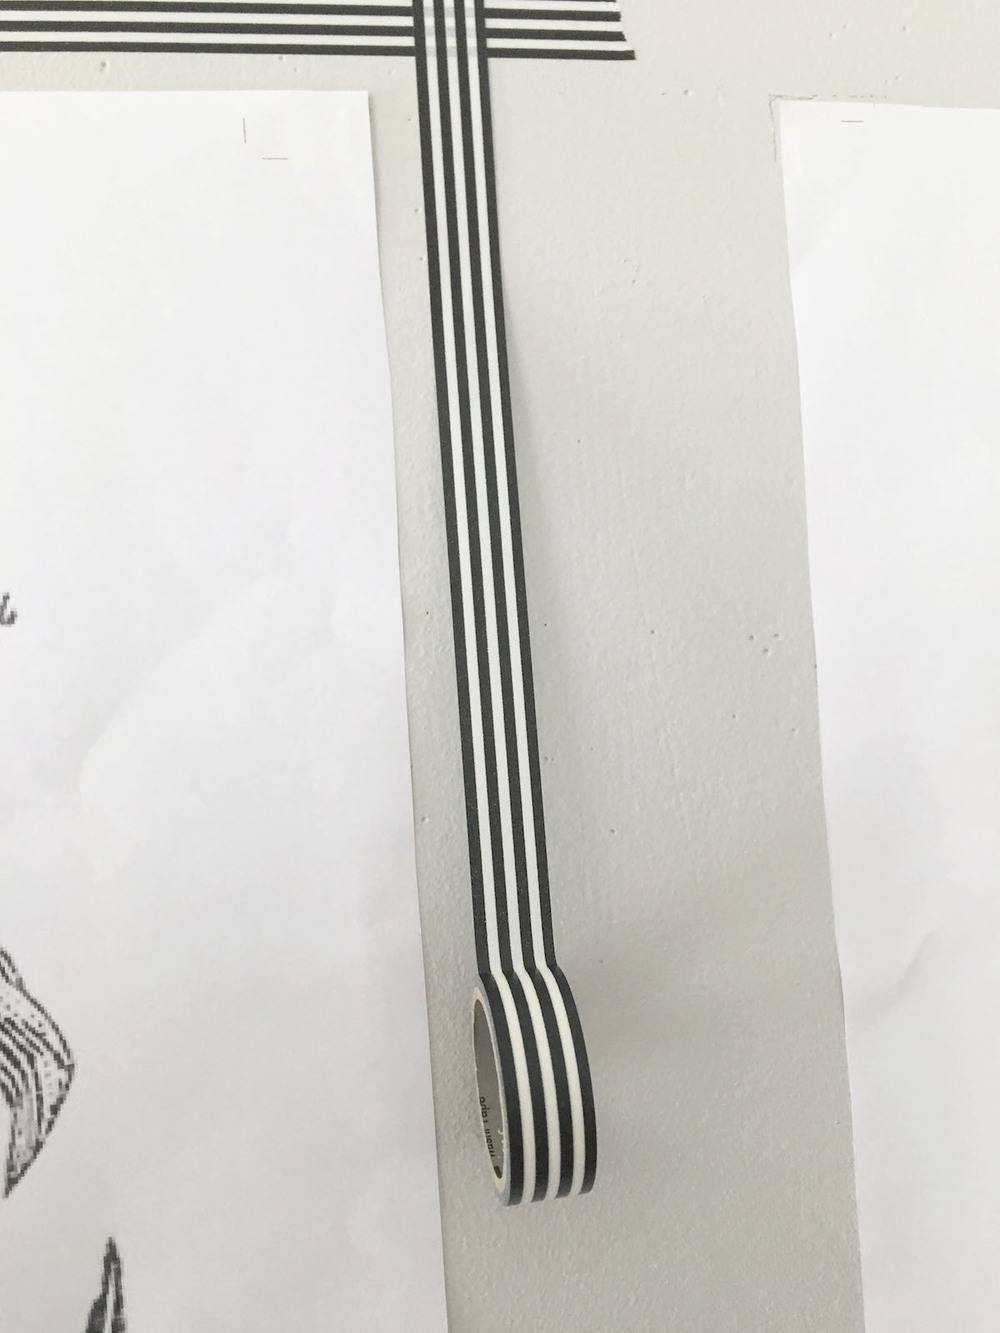
Frame your photos with washi tape. I love using Scotch Expressions Washi Tape.
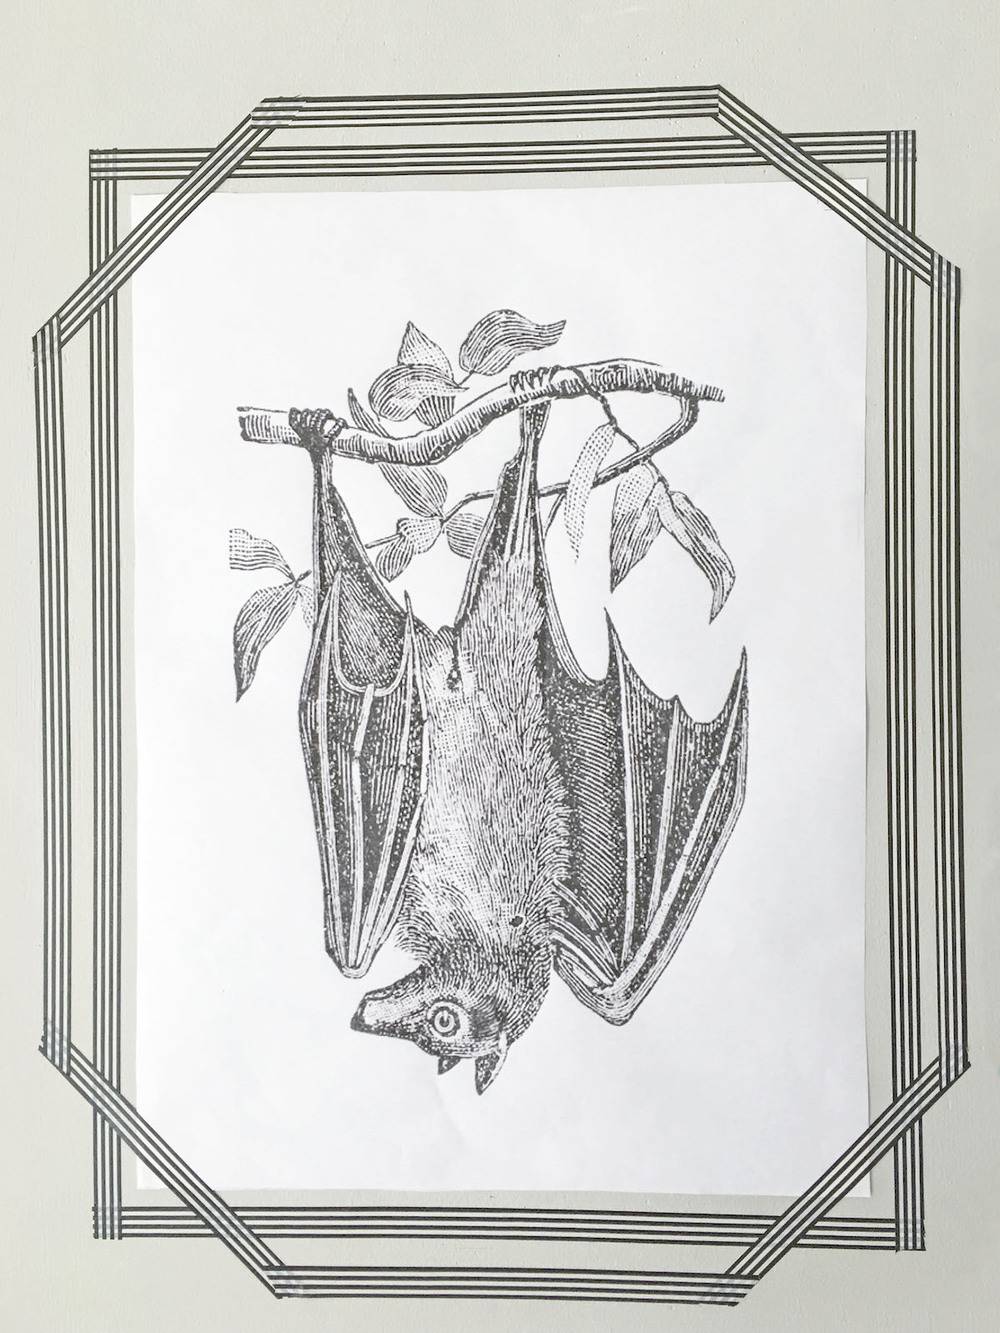
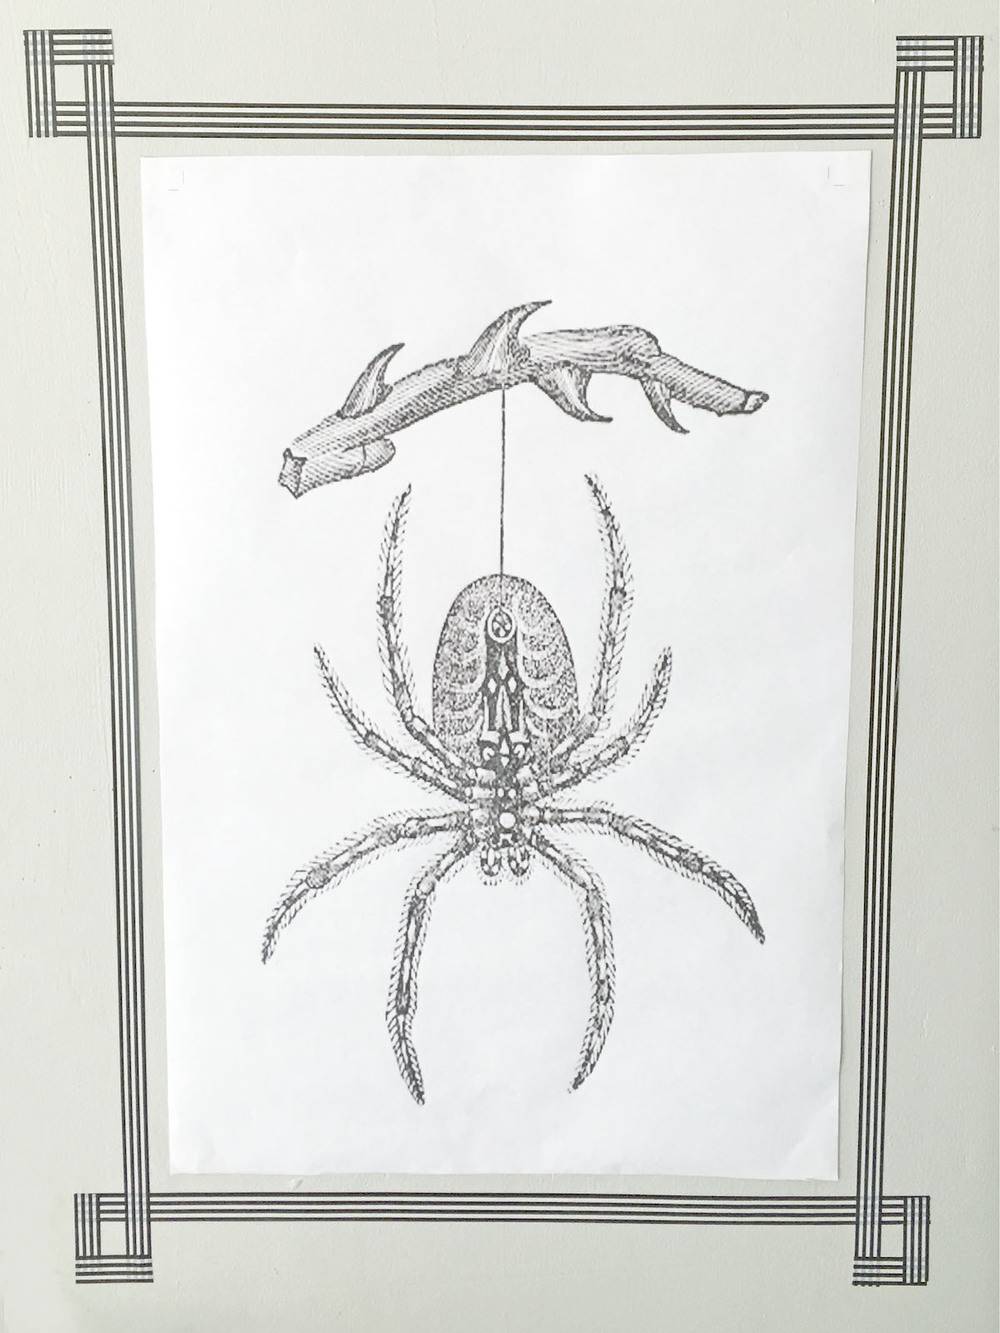
I used a small ruler to keep my lines straight. I simply measured the same distance twice along the side of print and then lined up the washi tape with my chalk marks.
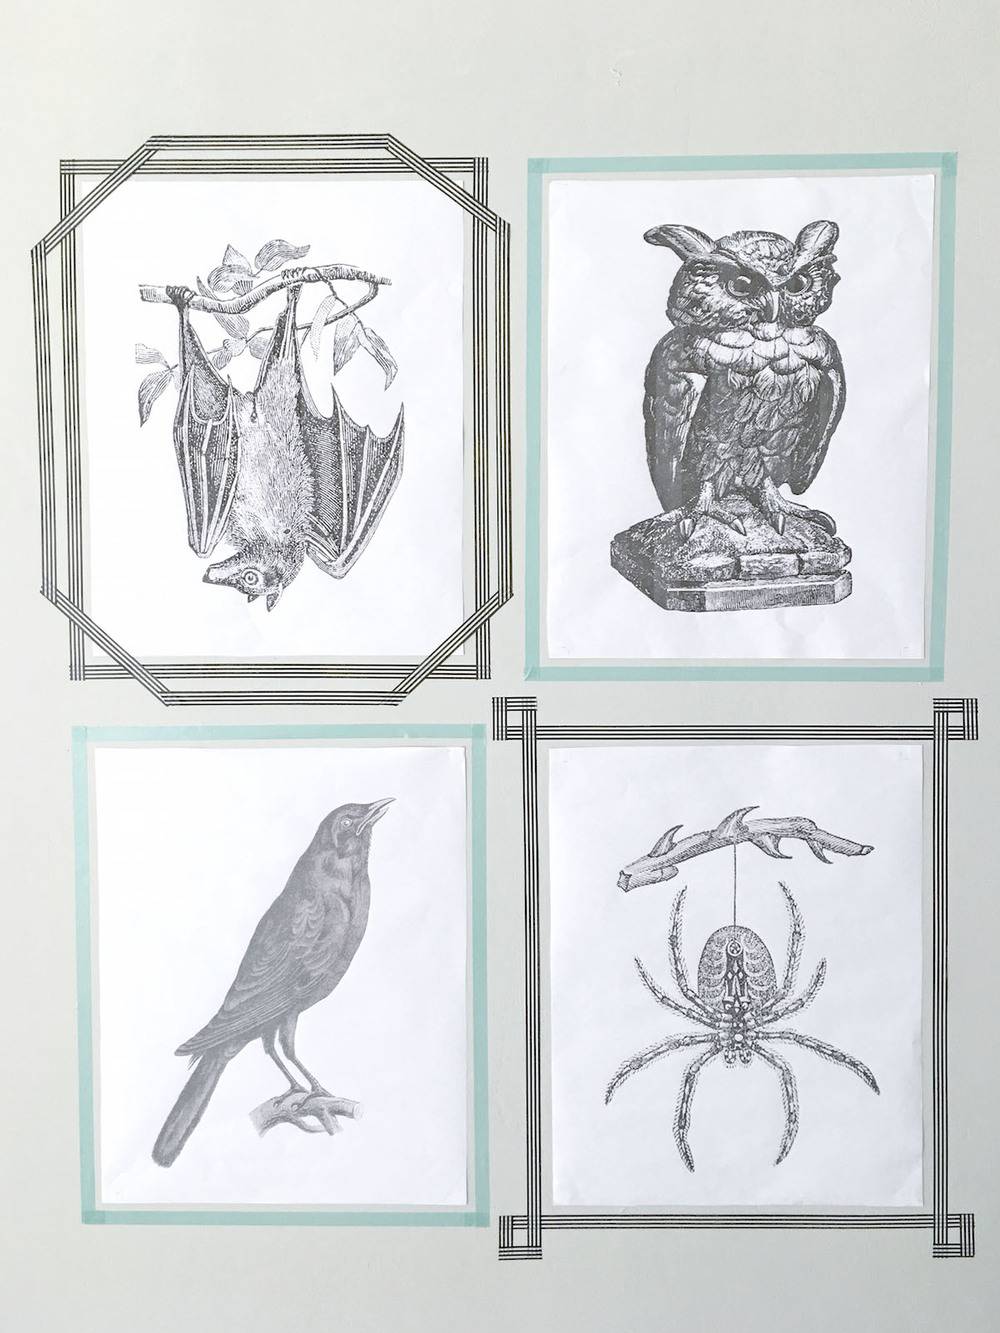
Orange is my least favorite color so I decided to go a different color direction for Halloween. There will be enough orange with pumpkins around so I went for blue.
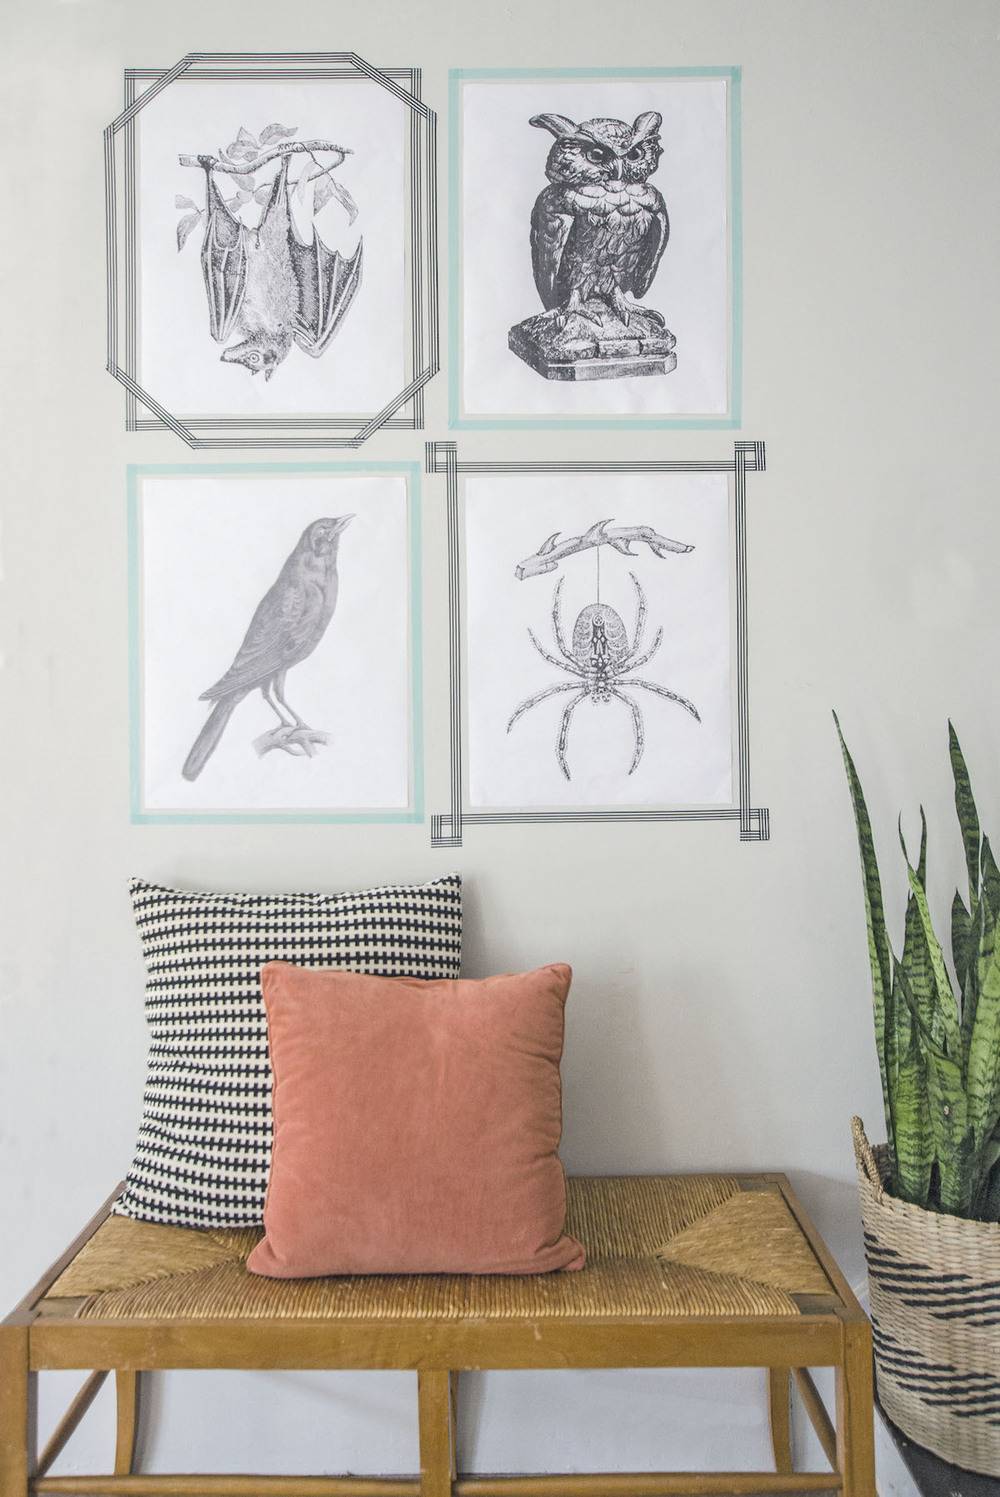
I loved how this inexpensive Halloween project turned out stylish and not too over-the-top creepy.
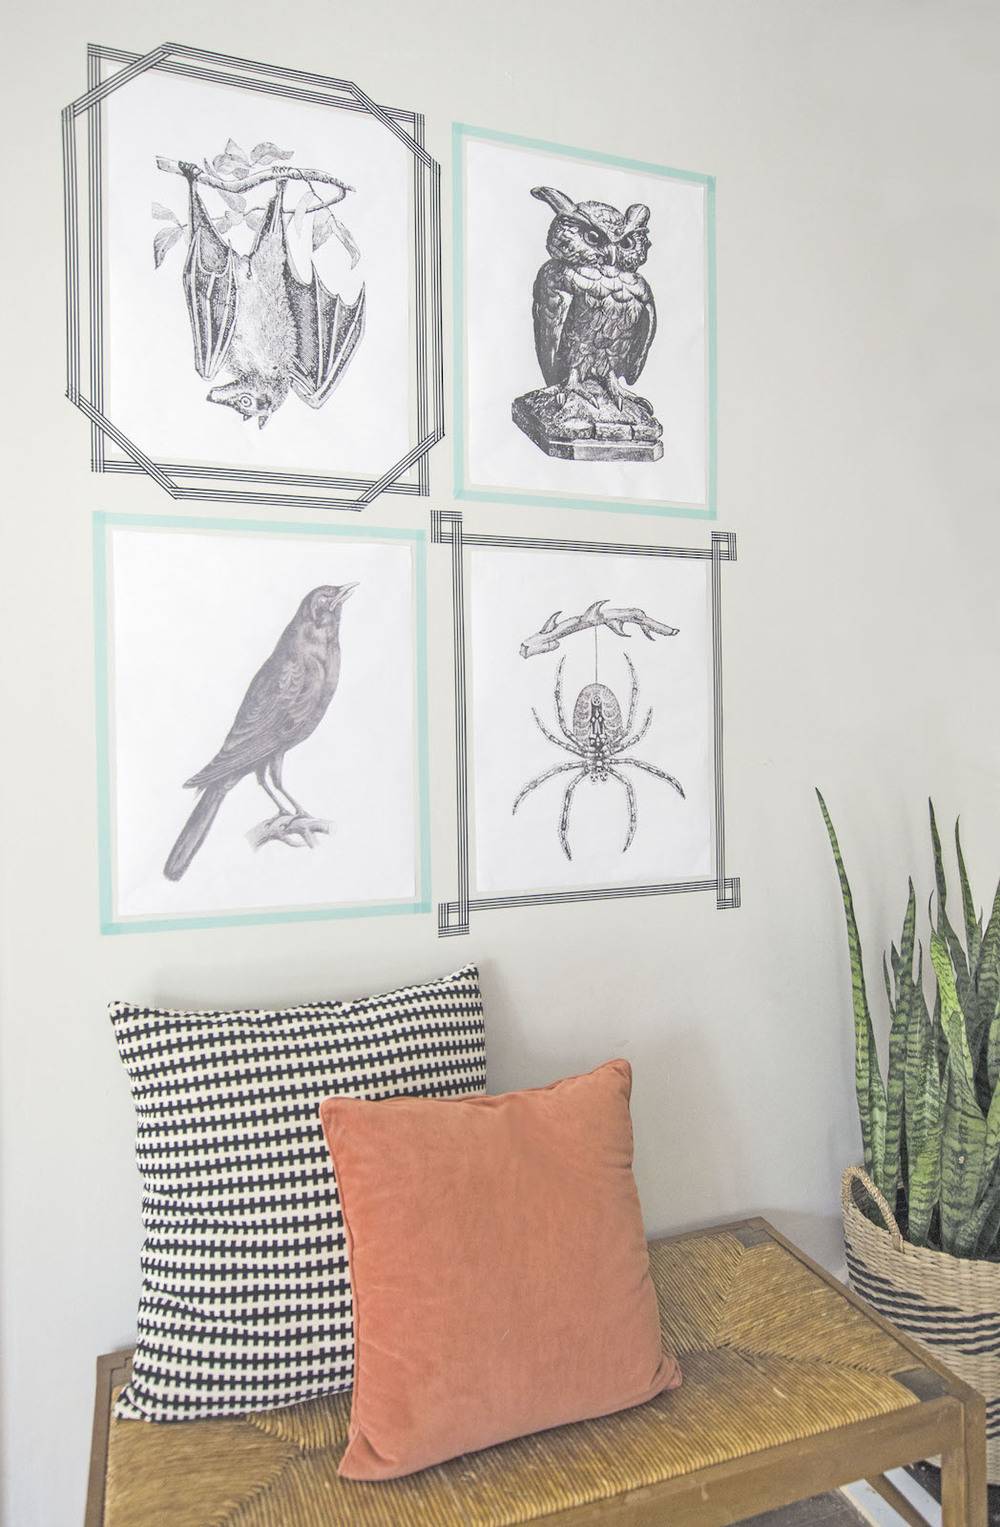
Here is a Roundup of more of my favorite vintage Halloween prints.
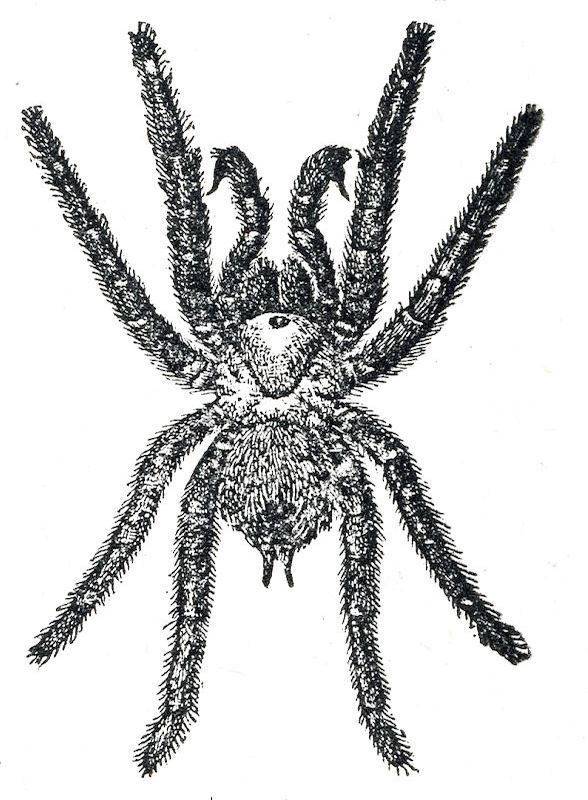
- The Hairy Tarantula (left photo Graphics Fairy)
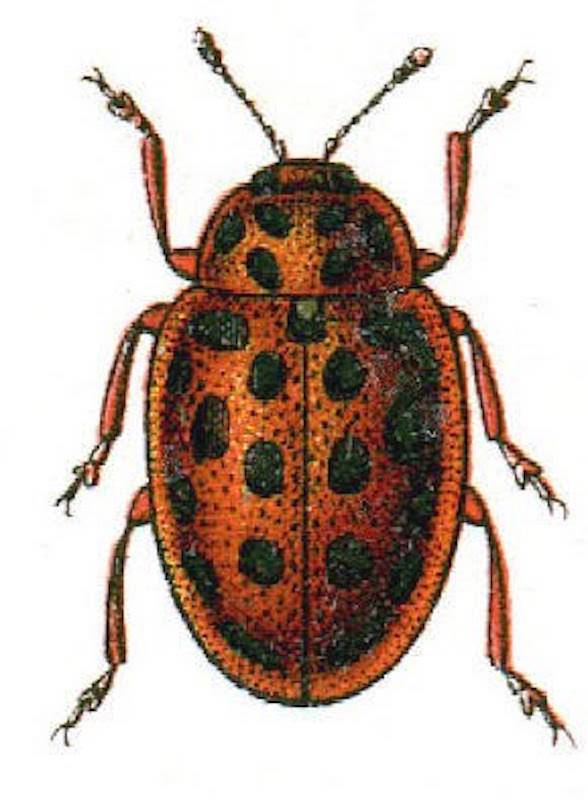
- The Orange and Black Beetle (right photo Graphics Fairy)
- Spider with Web (not pictured)
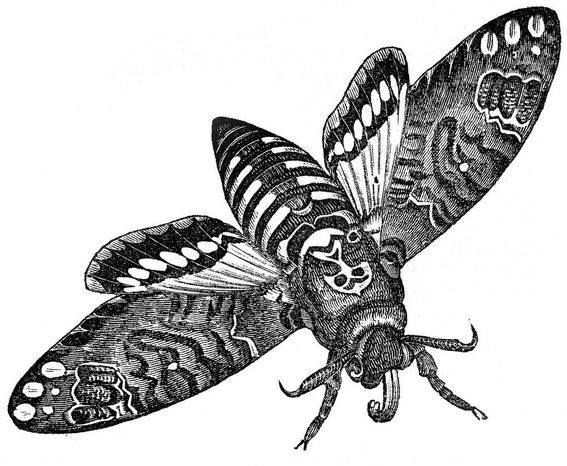
- The Moth Image (above image)
- Natural History Moth (not pictured)
- Orange butterflies (not pictured)
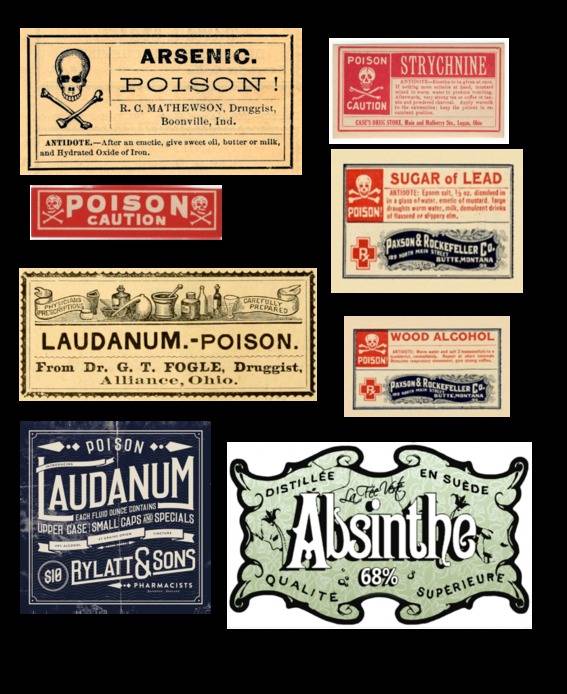
- Pharmacy Labels (above photo)
- Arsencic Labels (not pictured)
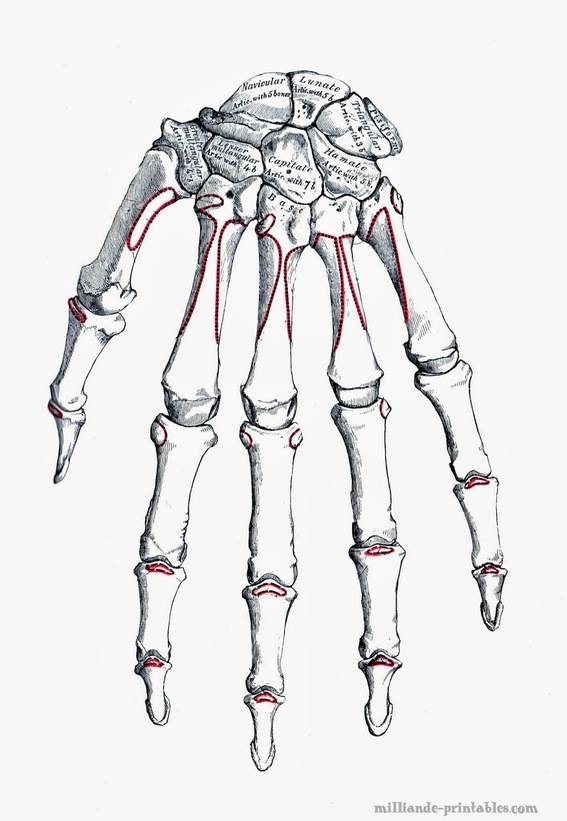
- Human skeleton hand.
- Skull Head sideview (not pictured)
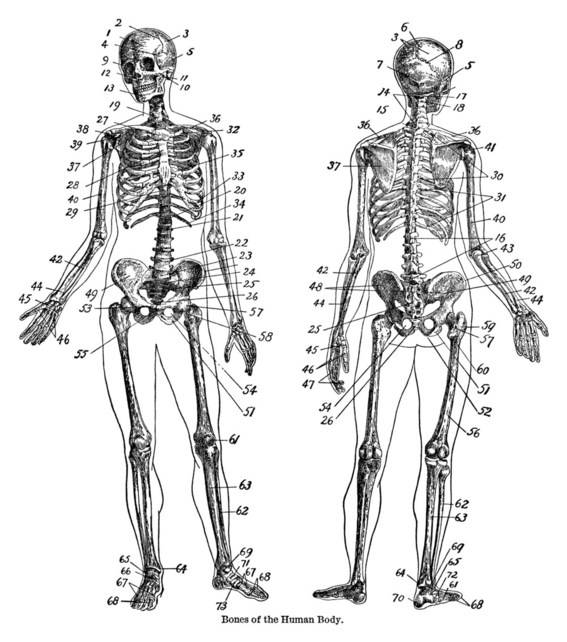
- Vintage Dictionary Pages of Skeletons
- Vintage heart anatomy (not pictured)
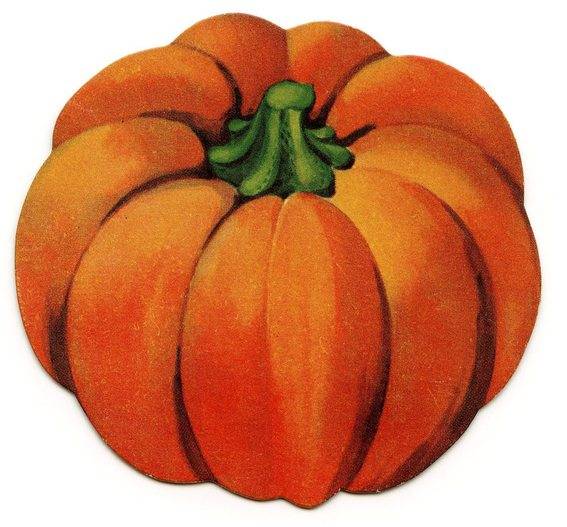
- The Plump Pumpkin (above photo)
- Pumpkin with a vine (not pictured)
- Bat species image (above)
- Hanging Bat (not pictured)
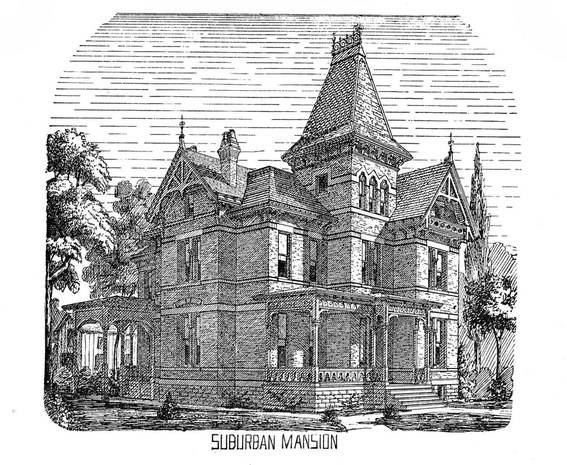
- Black and White Old Houses
- Iron Gate (not pictured)
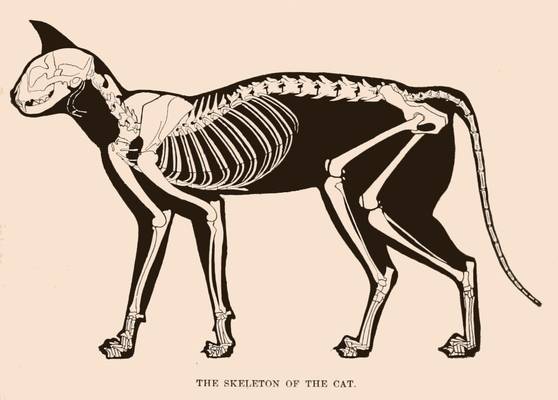
- Cat Skeleton
- Black and White Cat (not pictured)
