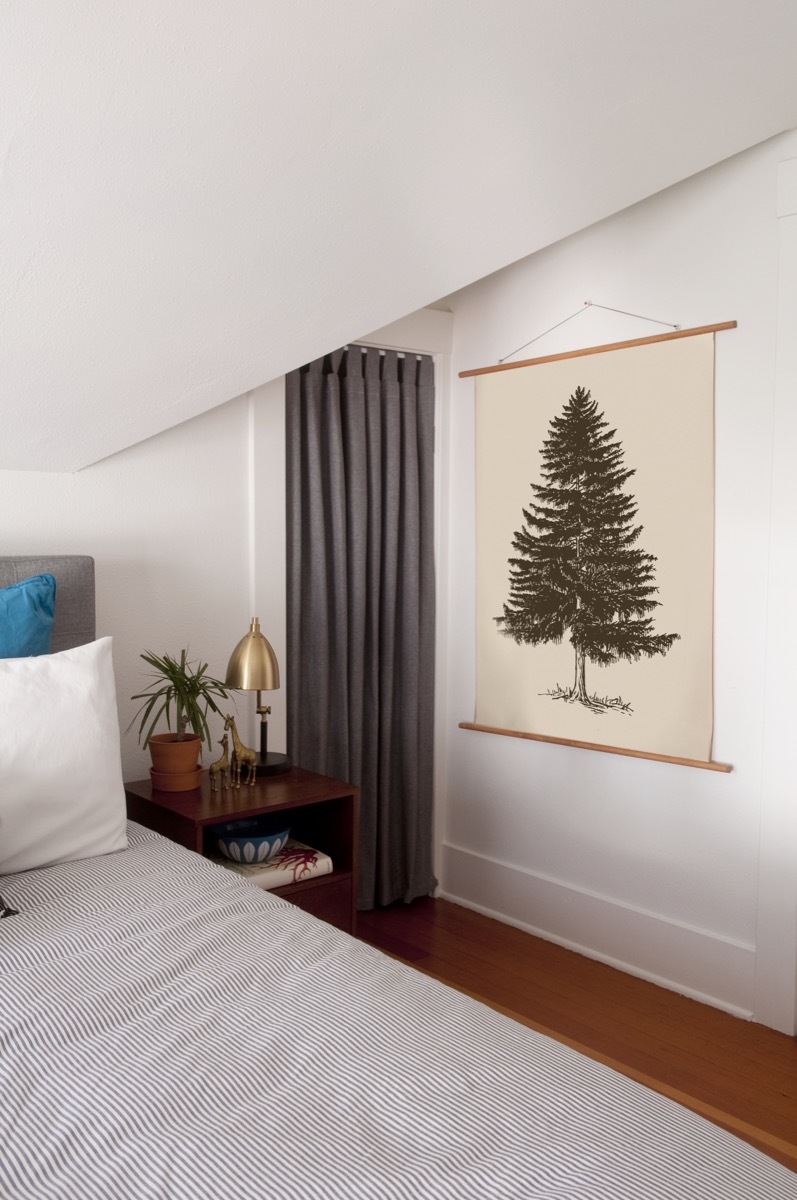
I like a properly matted and framed piece of artwork as much as anyone, but sometimes, it can be a little overkill. First off, it’s expensive, especially for large pieces, and secondly, it doesn’t always fit the style of the art. Framing a poster or screen print can often make the space feel more like a weird movie or record exec’s office, rather that a home filled with awesome art.
Whenever I find any large, vintage art, I’m especially struck by the bold graphic design and aged colors and texture. For something like this, a classic frame would be way too expensive, and not the right fit, design-wise.
So, I took a cue from the classic pull-down maps of my elementary school classrooms, and created a simple way to hang it on the wall with a lot more character. This month we’ve been teaming up with our friends at True Value, my local neighborhood hardware store, and I think this project shows off how you can come up with a great, stylish-looking final project using simple materials and just a few tools.
- The staff is extremely helpful. At True Value, I know I can just show up and ask someone for help finding the materials I need to finish a project, and helpful advice to make it happen.
- Since it’s a neighborhood shop, they focus on materials and supplies for the older homes that exist around here. The finishes match, things are sized appropriately, and hardware is easily replaced for period fixtures. Our neighborhood is full of Northwest bungalows and a few older Tudors, not new subdivisions and developer homes, and the store stocks the right kind of goodies to maintain these great Arts-and-Crafts-era houses.
Tools & Materials
- Four lengths of wood molding, trim, or other thin strips of wood, at least as long as your artwork. (We used a half-round profile)
- Pencil and measuring tape
- Saw
- Stapler or staple gun
- White glue
- Wood stain and brush (optional)
- Clamps or masking tape
- Drill and drill bits
- Small screw eyes
- String, twine, or leather cord
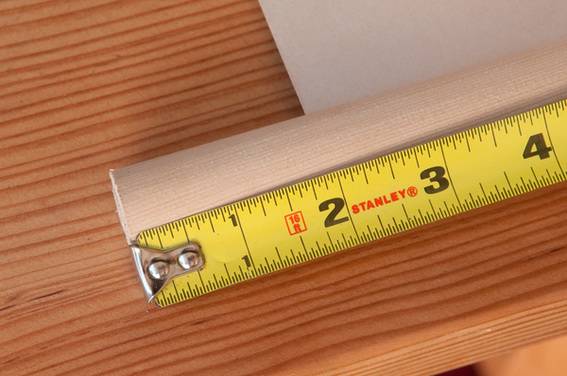
1. Lay out your artwork, and place a piece of molding on top. Determine how much overhang you’d like, and add that to the total length, twice. (We went with 2 1/2″ on each side). Mark your overall length with a pencil.
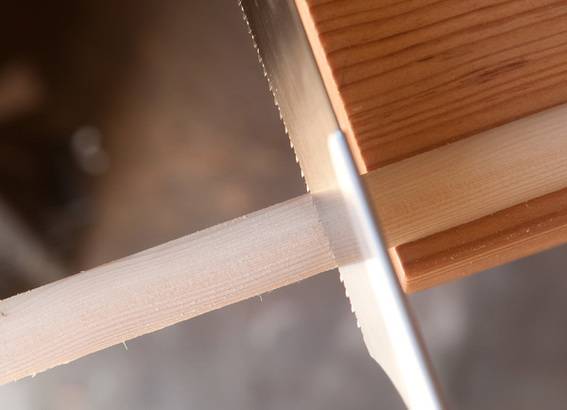
2. Use a saw to cut your piece to length. If you don’t have a hand saw, get one! They’re inexpensive, and awesome. Or ask your hardware store or lumberyard to help.
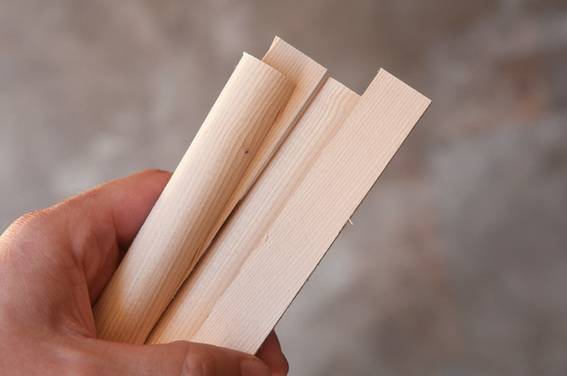
3. Repeat to make a total of four lengths: top bar front and back, and bottom bar front and back.
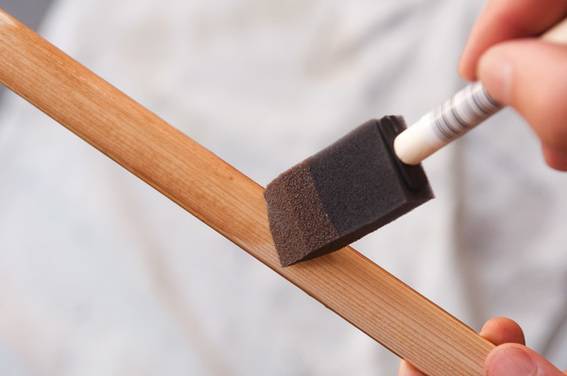
4. My hemlock molding was very close in color to the paper of my artwork, so I decided to stain it a bit to provide some contrast. This is an optional step. If you do stain your wood, just make sure to let it dry overnight before proceeding.
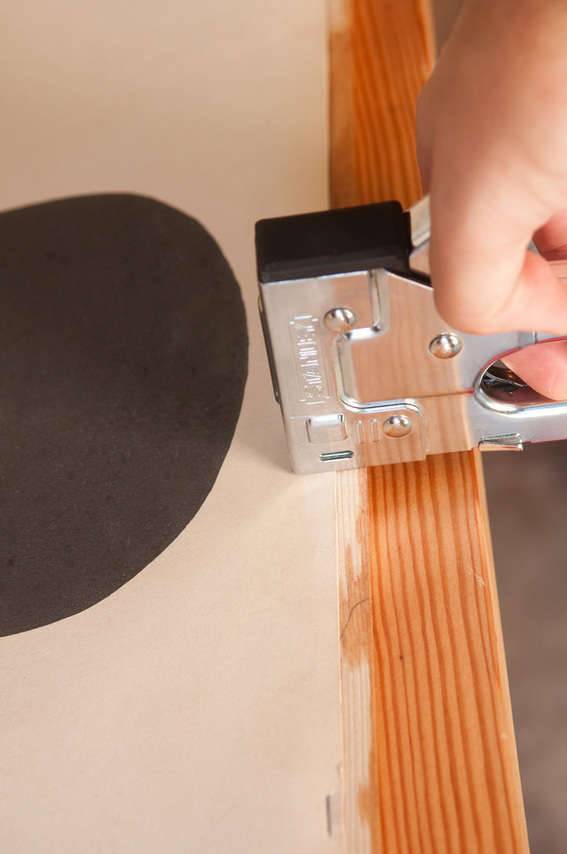
5. Attach your artwork to one of the lengths of molding using staples. Be sure that it’s placed straight and squarely along the width so your artwork will hang squarely. If you’d rather not put holes in your art, you could countersink and epoxy in some rare earth magnets and wedge the paper in between.
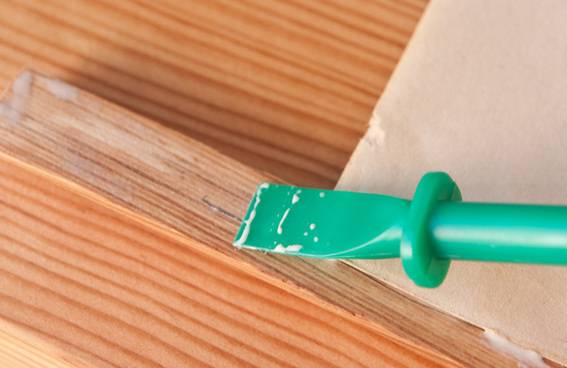
6. Spread some glue along both halves of your molding, covering the entire surface with a thin layer. Allow it to become slightly tacky for two-three minutes.
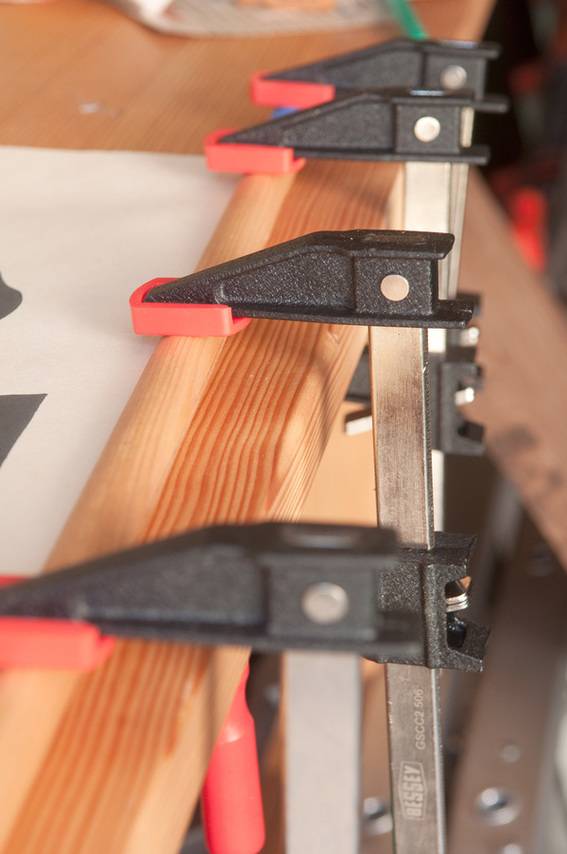
7. Sandwich the two pieces of molding on top of each other, and clamp while the glue dries. If you don’t have several small clamps, you can use blue painter’s tape to secure the wood. Just make sure you bind them together tightly to get a good glue joint. Repeat the process for the bottom.
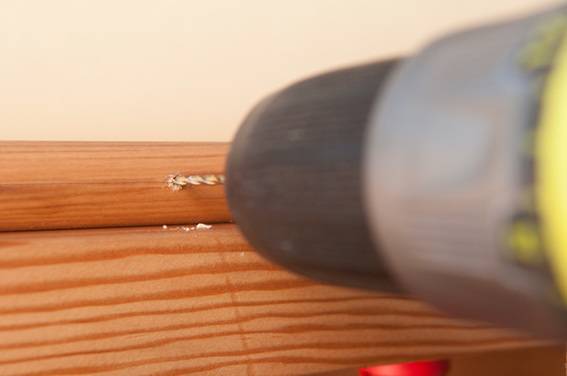
8. Use a small drill bit to create a pilot hole. This will help prevent the thin wood from splitting, as well as encourage the hardware to go into the wood as straight as possible.
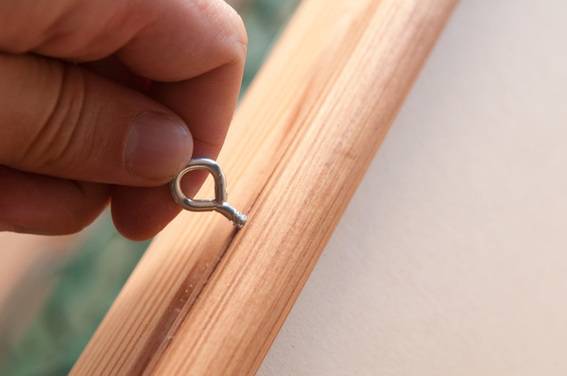
9. Lastly, twist in your screw eyes, and string it up.
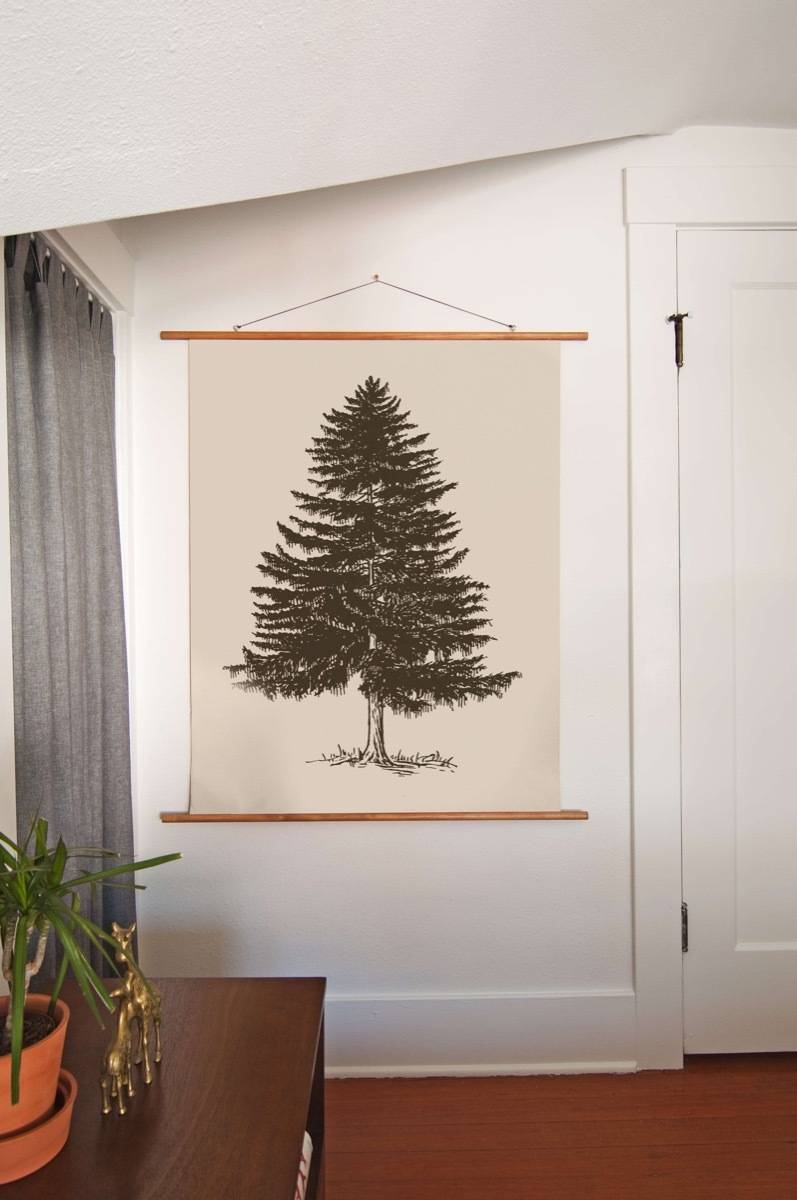
Done! Now hang it on the wall 🙂
This project was part of our guest room makeover that I recently completed with my friends from True Value Hardware. Check out the full room makeover!
This is a sponsored conversation written by me on behalf of True Value. The opinions and text are all mine. Thanks for supporting the brands that help us keep the lights on here at Curbly!
