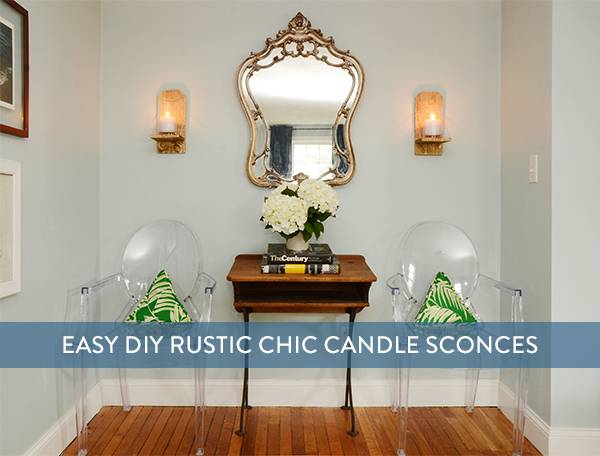
Rustic style can be très chic, even though it often involves wood… the key is to combine it with a variety of materials to create unique combinations. And today we’re going to show you how to do that, with this reclaimed wood candle sconce for your wall. Keep reading to check out the simple tutorial.
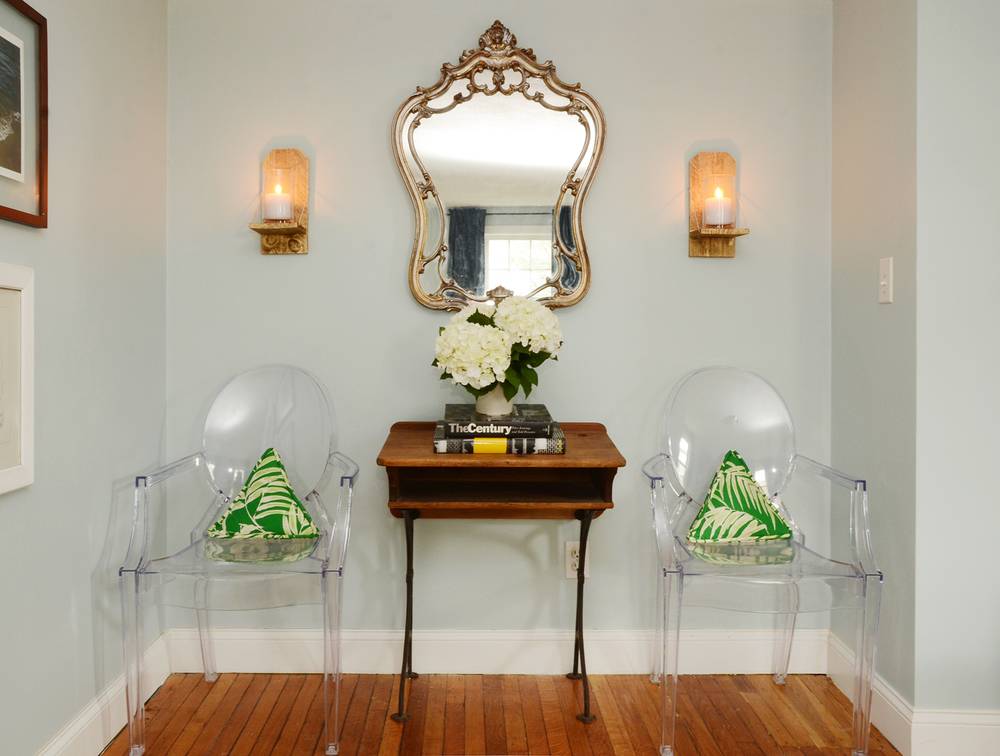
These sconces look pretty cool, no? The mix of wood with metal chain and glass gives them a certain glamour, while still maintaining that rustic feel. As you can see above, it also depends on what you pair them with.
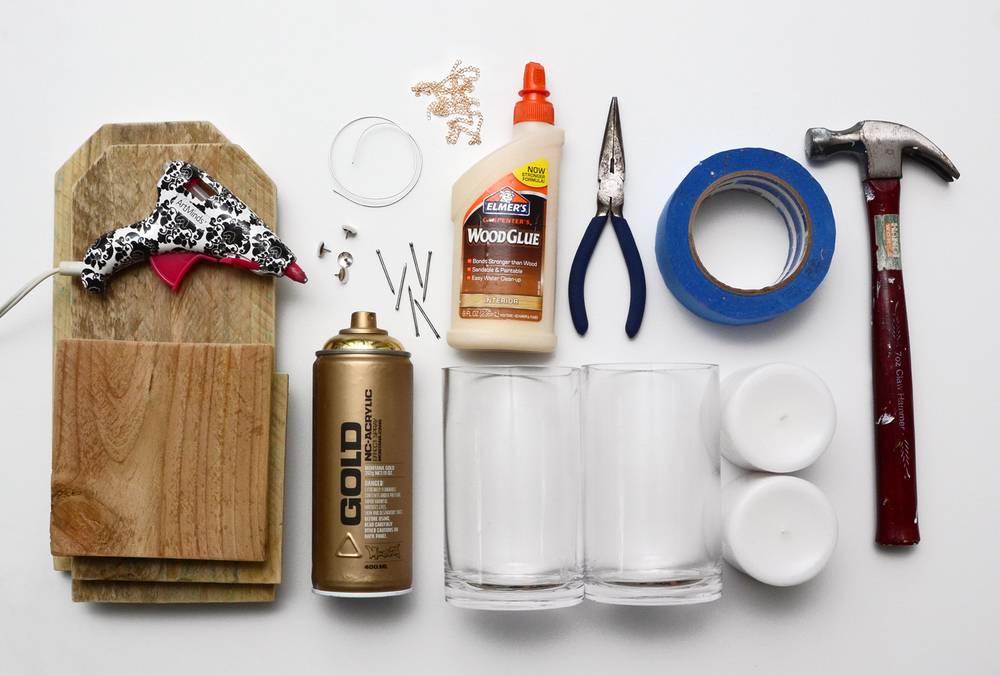
Here’s what you’ll need for this project (makes a set of two):
- Reclaimed wood
- Hand saw (not pictured)
- Gold spray paint
- Nails with small nail head
- 4 thumb tacks
- 1′ malleable wire and wire cutters
- 2′ gold chain
- Wood glue
- ScotchBlue Painters Tape
- Hammer
- Glass hurricanes with coordinating pillar candles
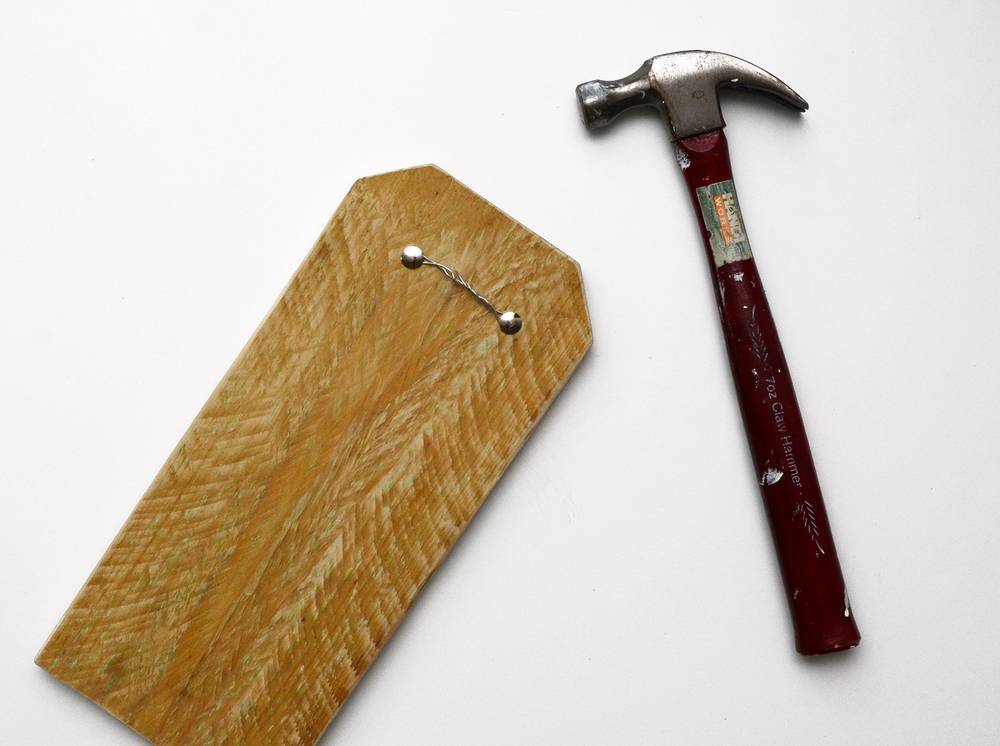
The first step is to cut your wood to size. Mine was 12 x 5.5 inches for the large piece and and 5.5 x5.5 inches for the smaller “shelf” piece. They were originally part of an old fence, so they are about 3/4 inch thick. I also cut little triangles off the tops for some visual interest. Sand them down so they are smooth. On the back side, hammer in two thumb tacks and twist a piece of wire across… this forms the hanger.
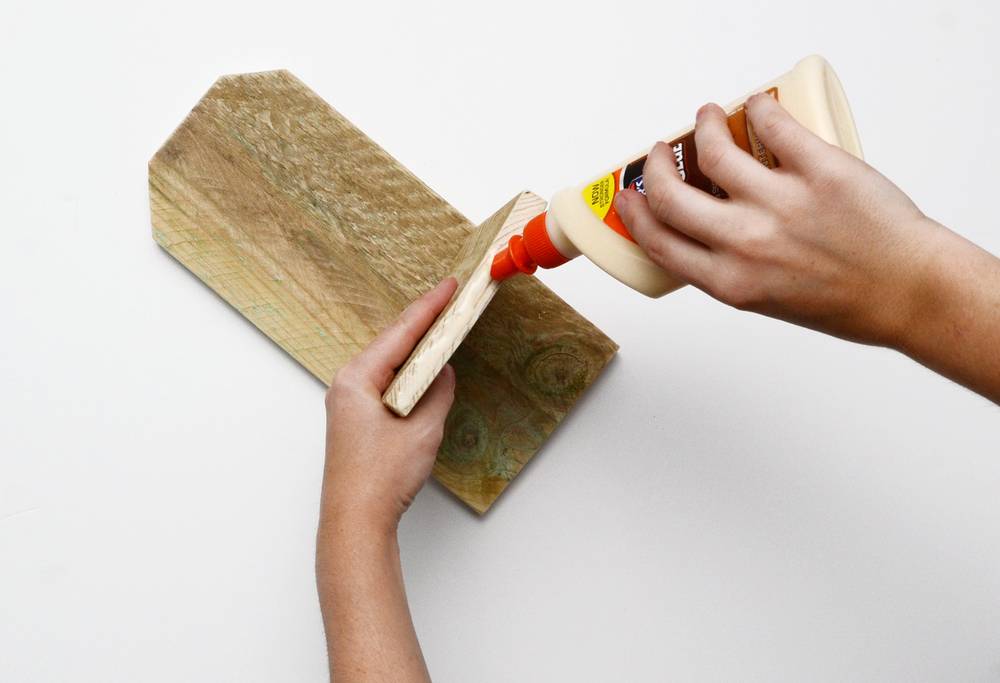
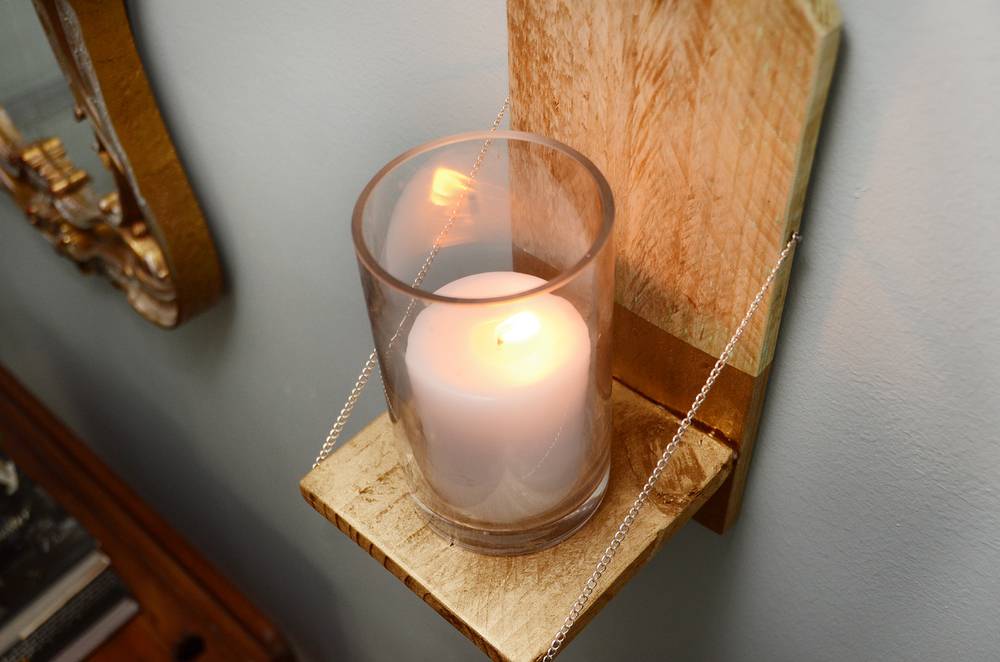
Flip it back over and glue the back of the “shelf” to the front of the larger piece of wood so that there are about 2 inches below. Let it dry thoroughly and then hammer in a couple of nails from the back to make it more secure.
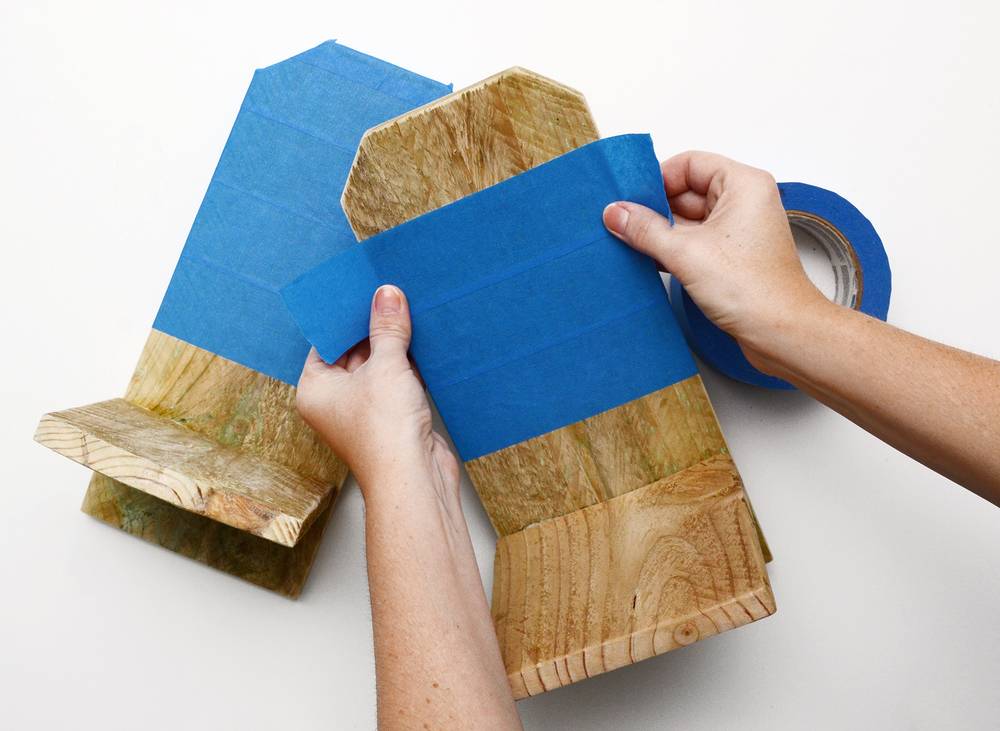
Next, tape off the top area of the sconce as shown above.
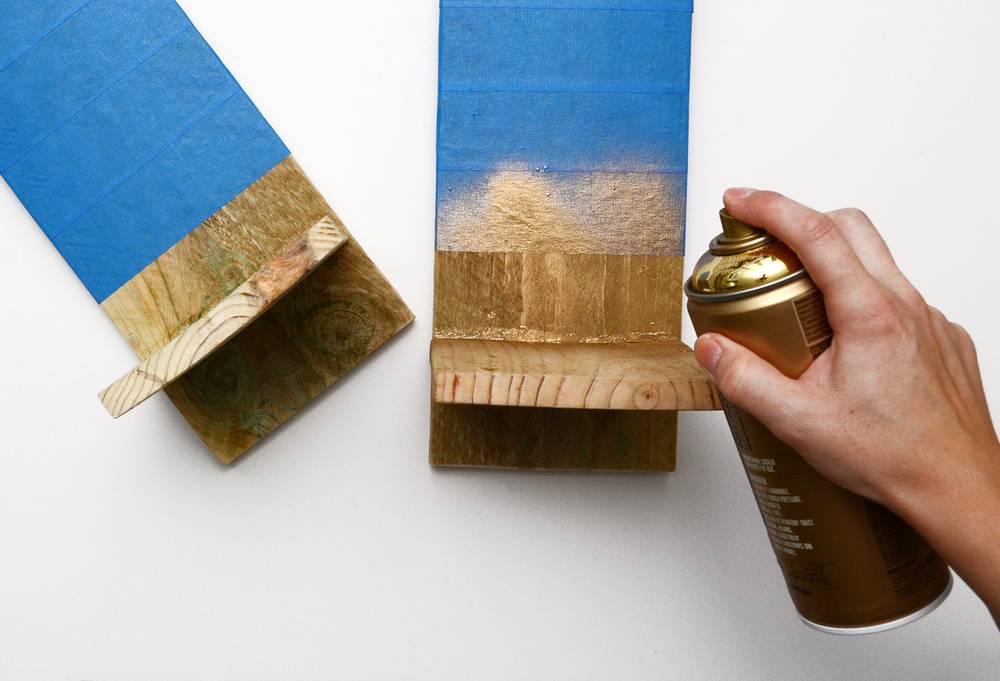
Spray paint the sections that aren’t taped using your gold spray paint. Make sure to do multiple thin coats.
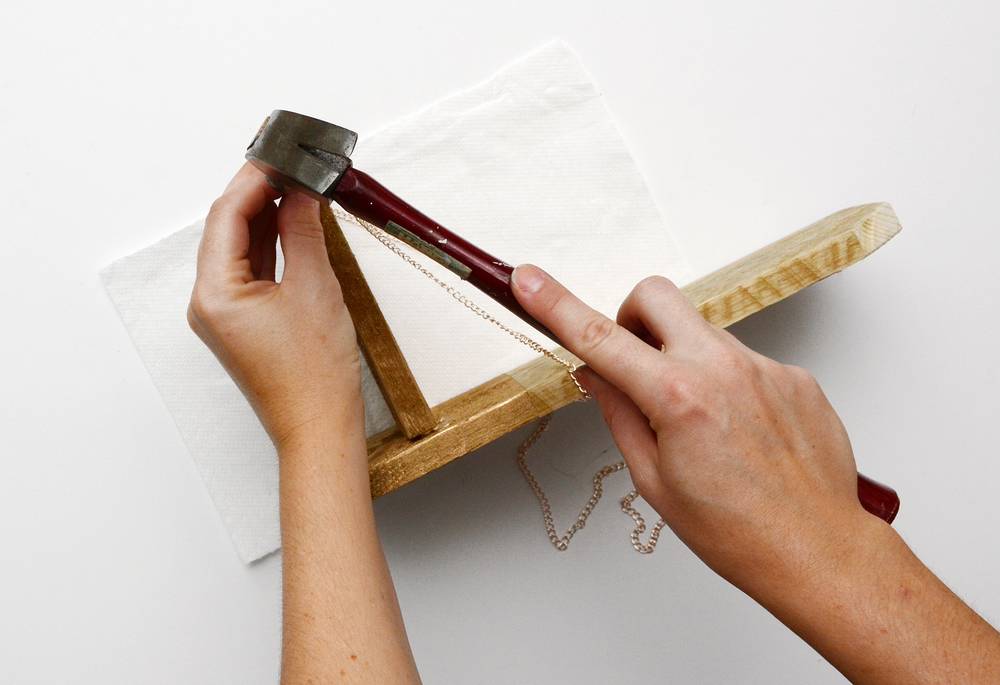
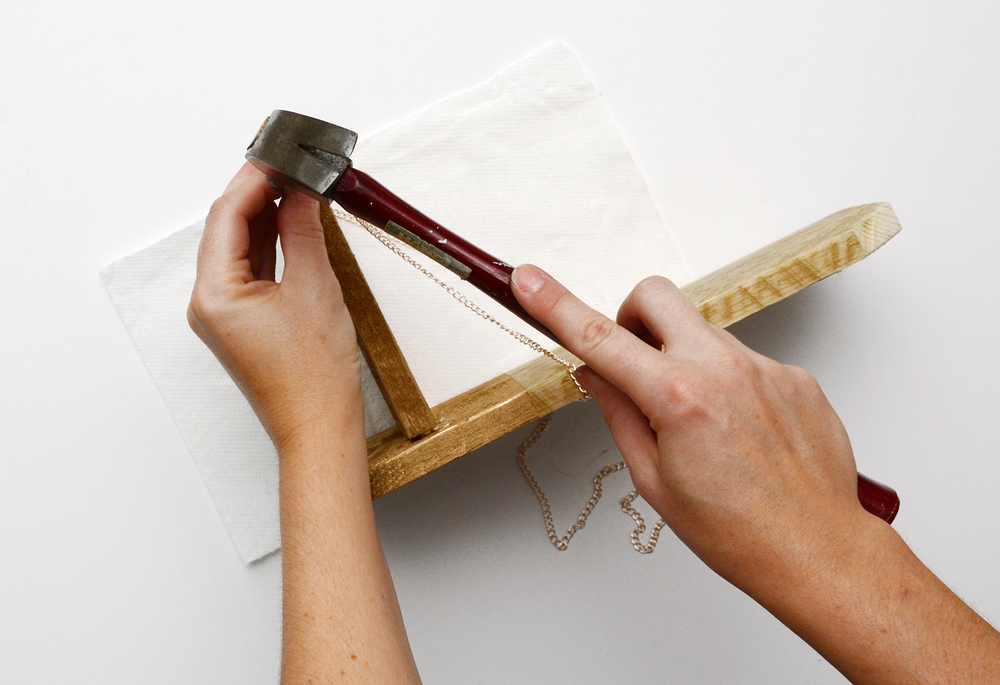
Once the paint is dry, remove the tape. Slide a nail through one link of the chain and make sure it stops at the nail head. If not, find a few nails with larger heads. Hammer the nail through the chain link and into the side of the shelf. Stretch the chain so it forms a 45 degree angle and trim off the excess. Nail it to that point of the side of the large piece of wood. Repeat this process for the other side.
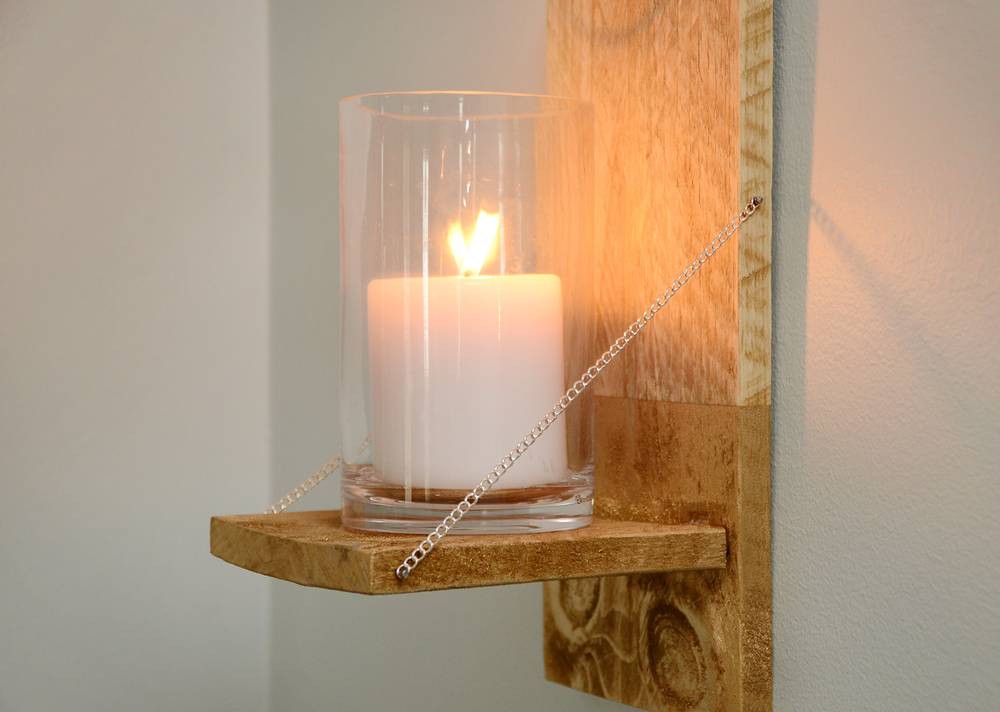
Place the hurricane with the candle inside on the shelf. You may want to add a dab of hot glue underneath so the hurricane is sure to stay put. And that’s all there is to it!
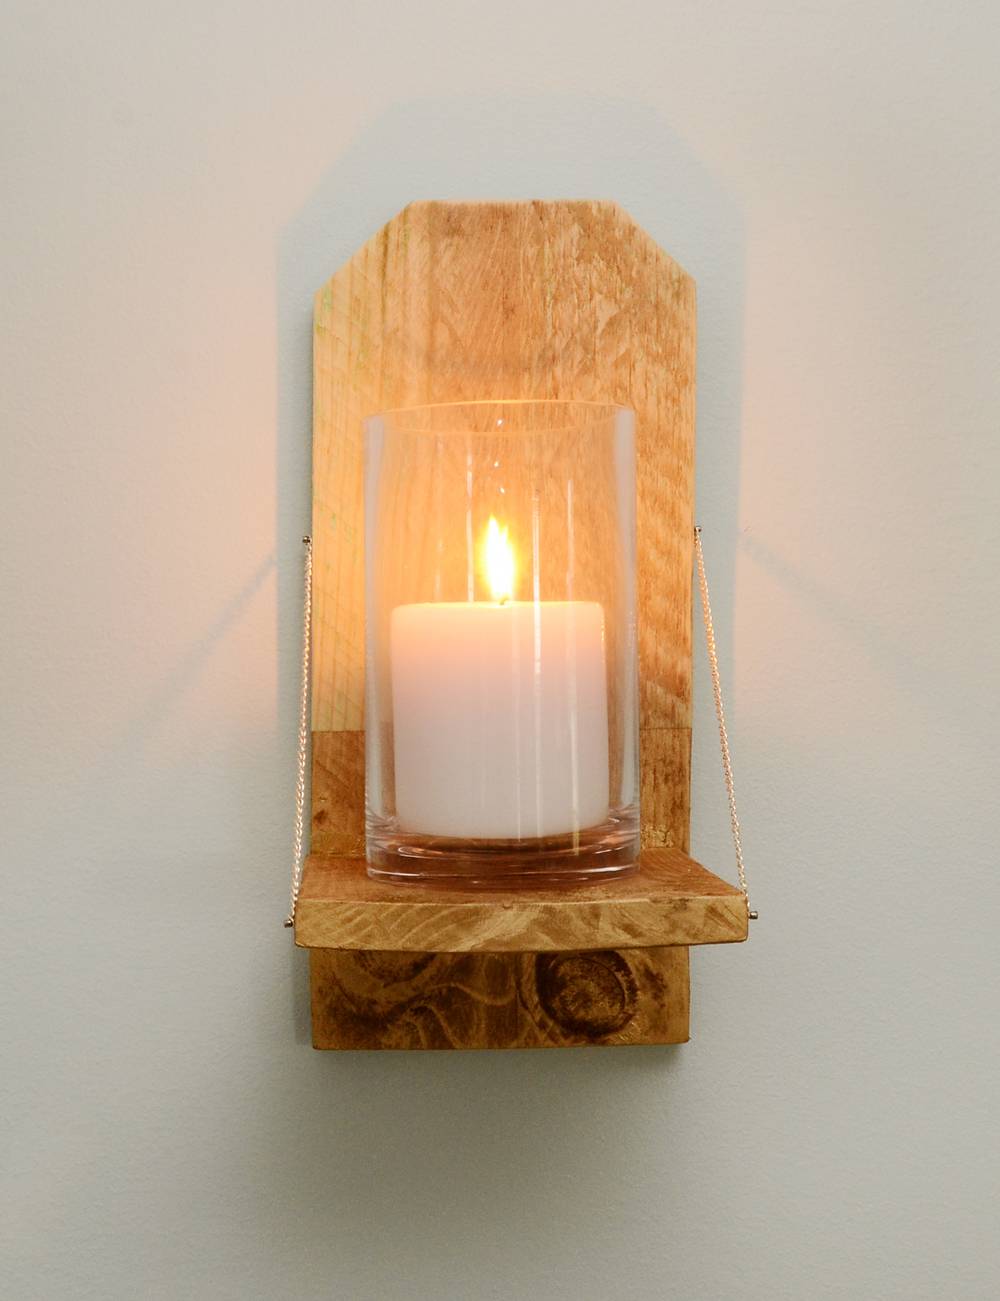
Feel free to experiment with colors here… a bright green could have looked lovely as well. Think about where you’ll be placing the sconces before you make them, and choose your paint color accordingly.
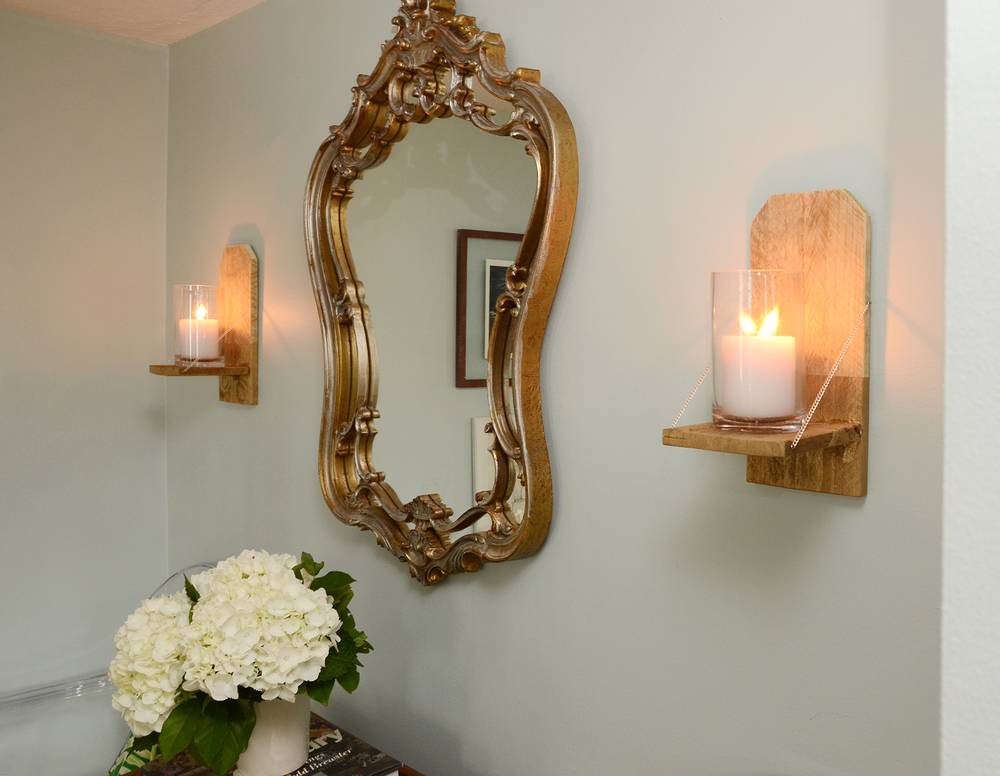
You can also switch up the chain color as well, and even the candle shape or color!
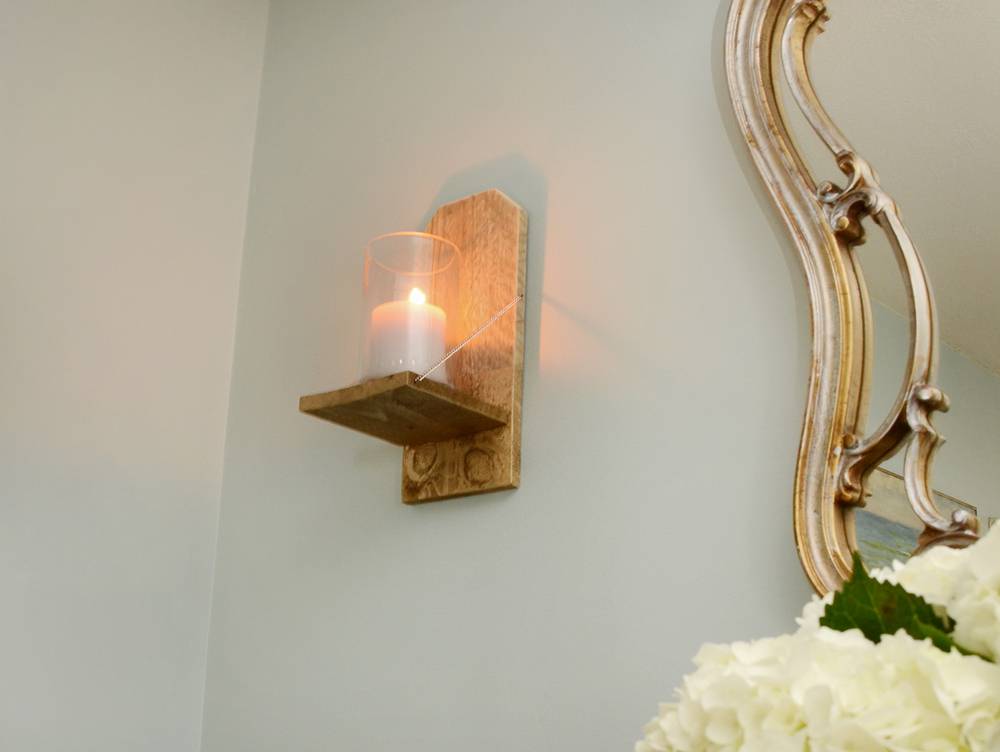
This project is great because it doesn’t require any strange materials, just a few things that you probably either have on hand already, or things that you could easily procure at your local craft supply or home improvement store.
Hope you enjoyed this post, feel free to post images of your rustic chic sconces in the comments section below!
