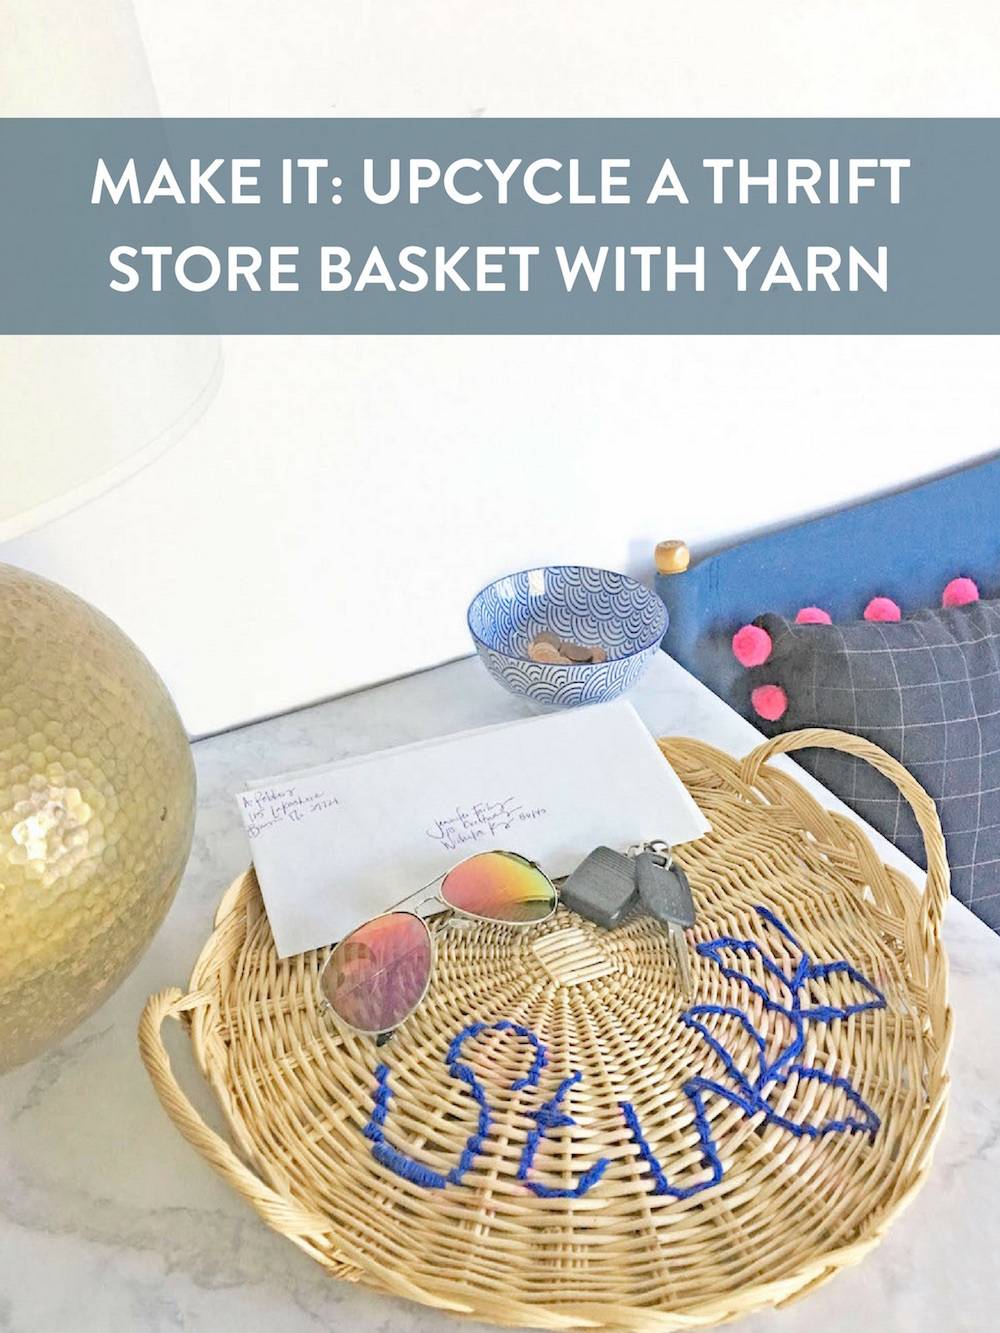
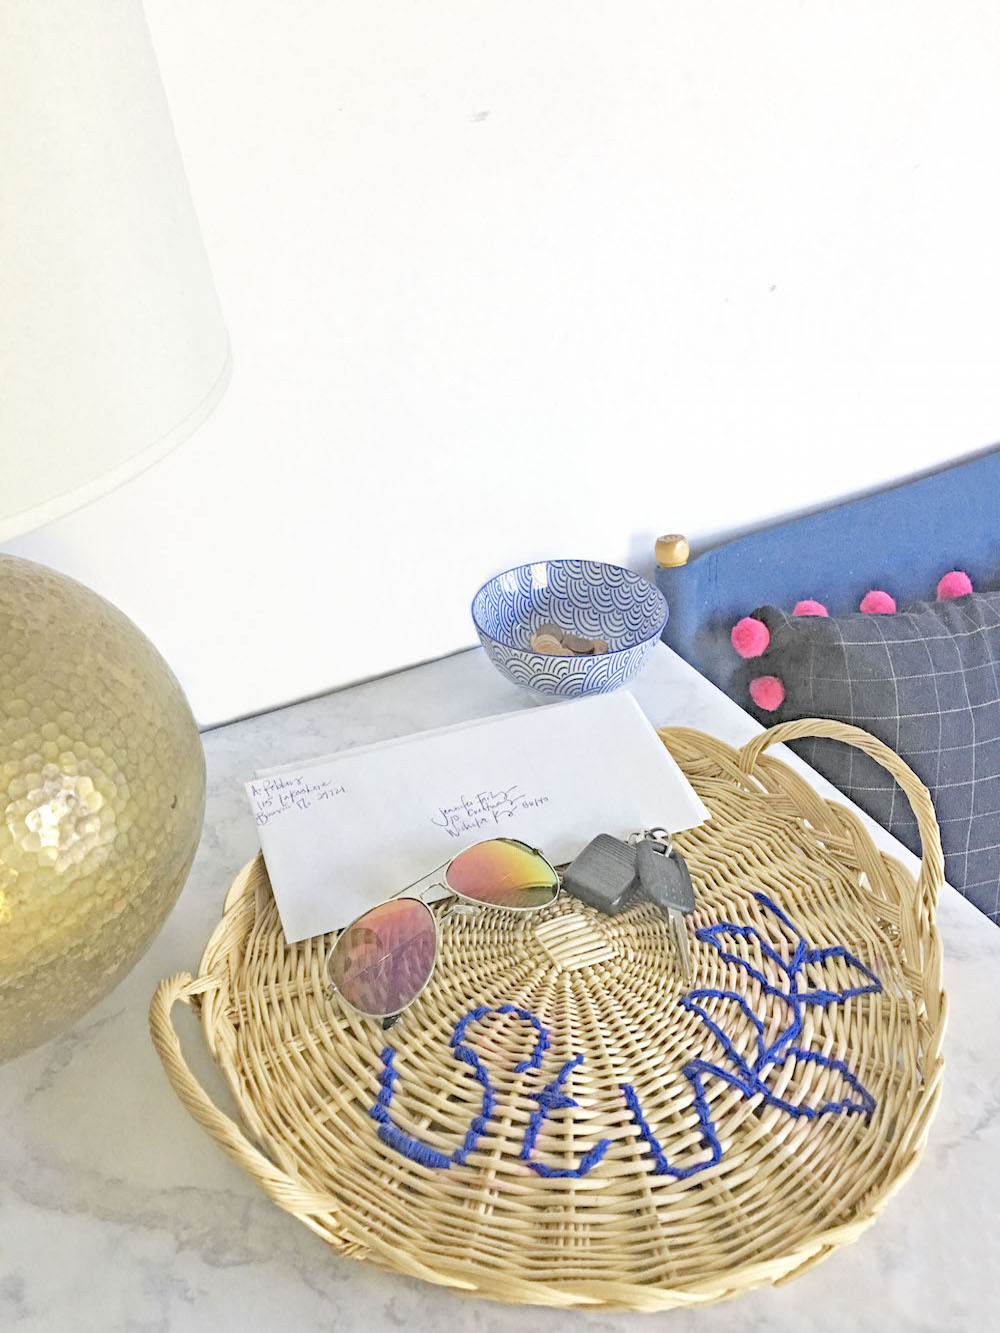
Can you have enough baskets? I don’t think so. Here is a fun and easy way to upcycle those super inexpensive thrift store baskets you can find anywhere.
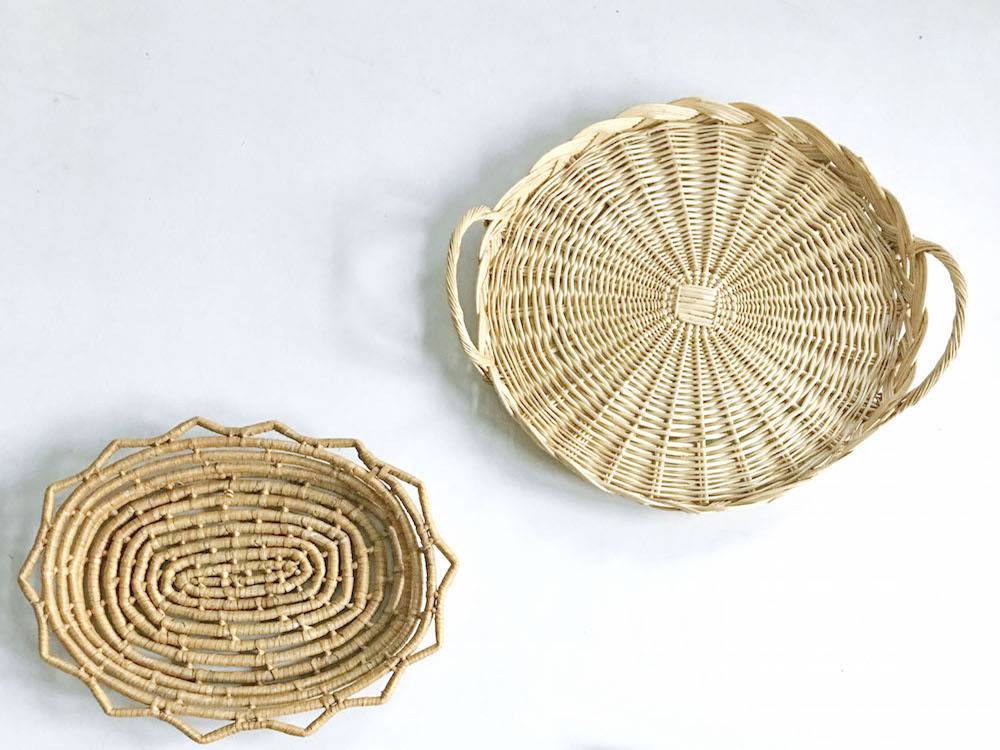
I found these two baskets for 25 cents each at my favorite local thrift store. They are the perfect size for what I call “drop zones” for random things I need to set down.
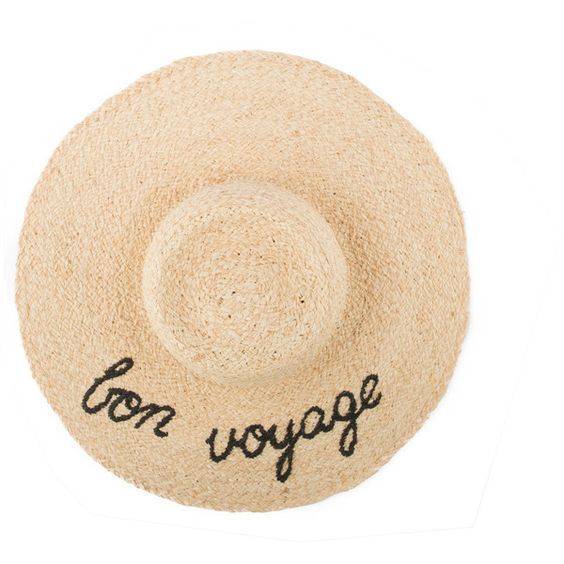
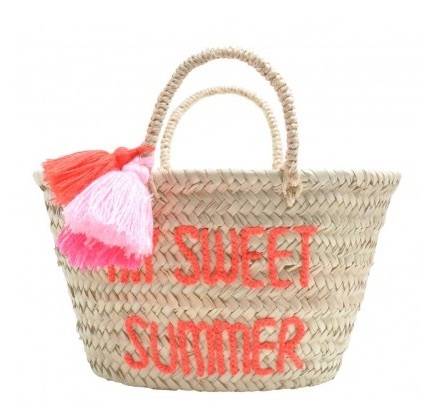
I am personally loving embroidered straw hats and totes. This look on a hat or tote is totally a summer vibe, but I thought the idea could be used year round in home decor. The plan was to attempt it on the 25 cent basket for my entryway. [Left Photo: Koko Polenki; Right Photo: Smallable.com]
Materials
Here is what you need:
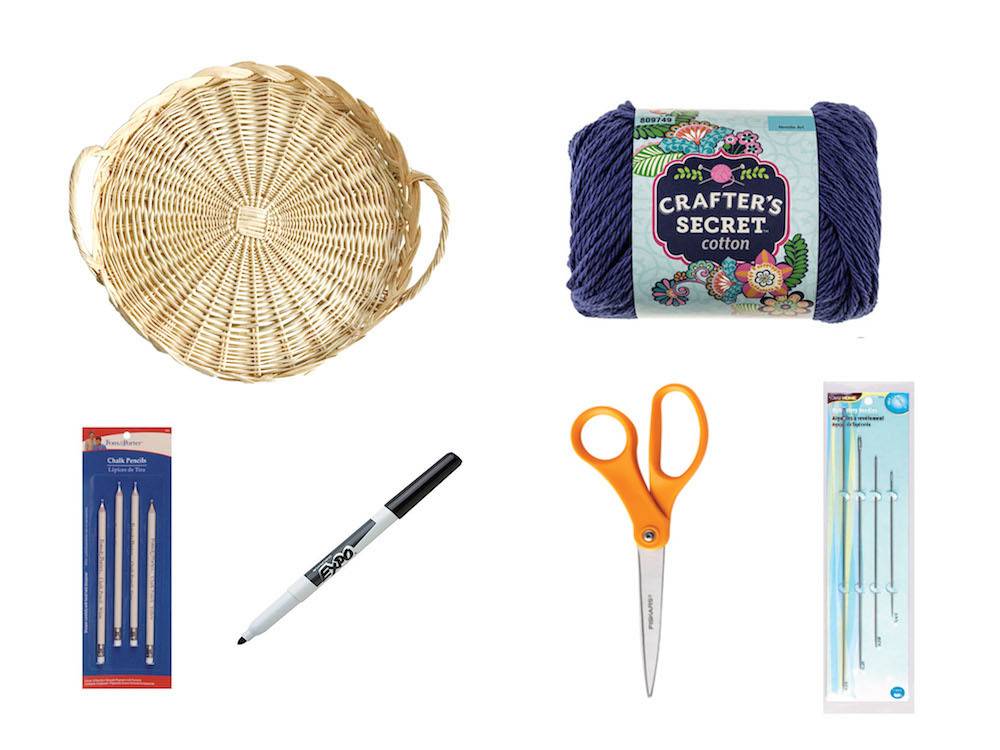
- Basket: I chose the round basket because it had a tighter basket weave. It looked like a better option for stitching writing.
- Yarn: You do not want thick yarn but you don’t want thin string either. I got mine here.
- Chalk Pencil or Fine Tip Dry Erase Marker: I used the dry erase marker so you could see my tutorial. Next time, I will use a fabric chalk pencil. The dry erase did easily wipe off on my basket. I am sure this is not the case for all baskets.
- Scissors
- Upholstery Needle
Step
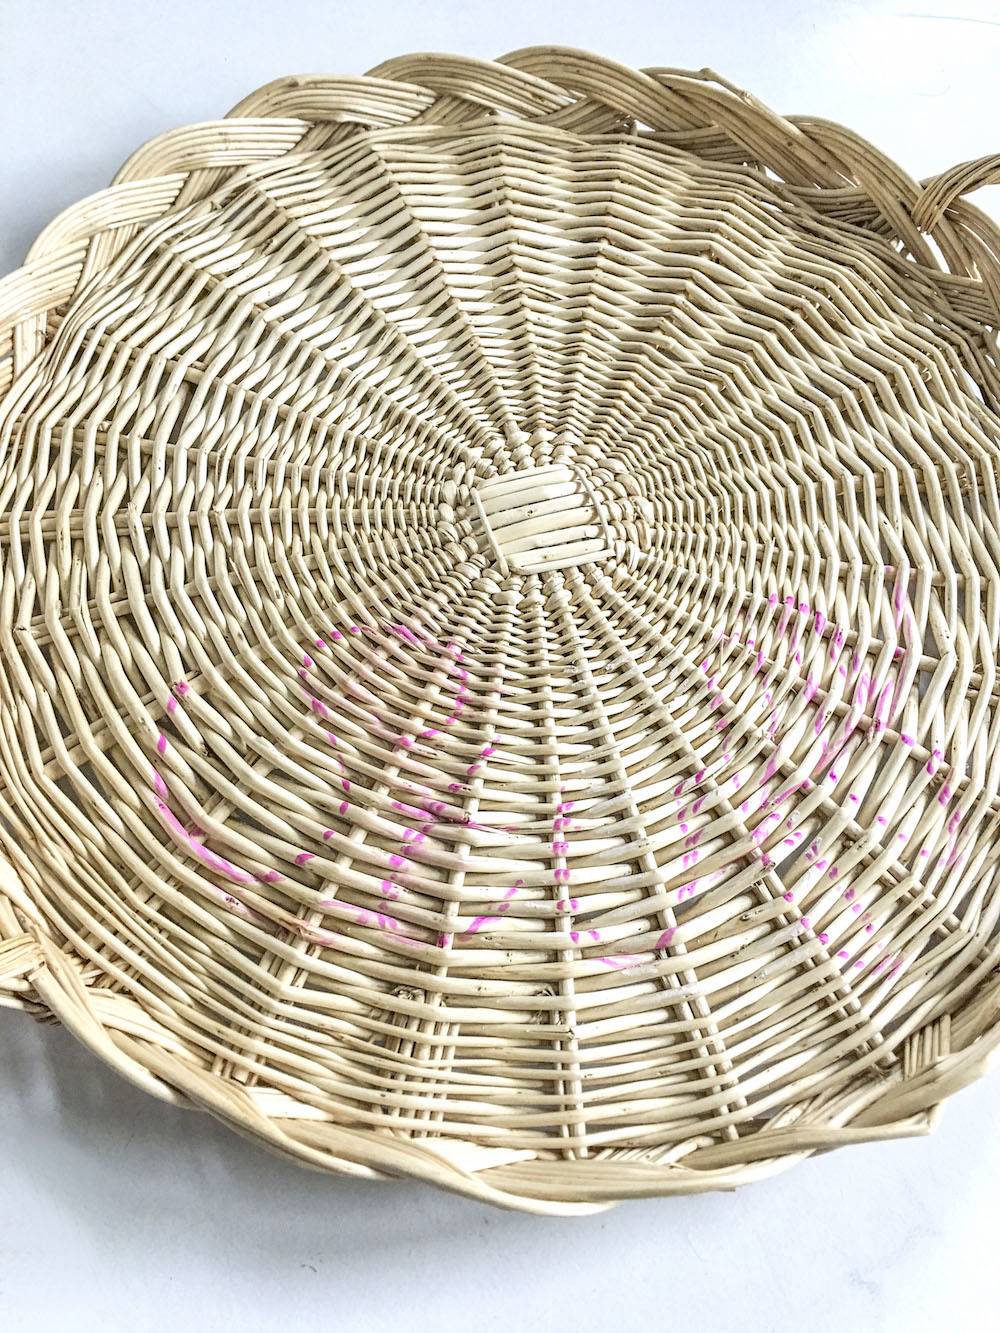
Write your word on the basket. I wanted the word “stuff” because this little basket was going to hold my stuff. If you are using a dry erase marker, first test it on the back of your basket to see if you can wipe the marks off. I free handed the word, and had to erase it a couple of times. I used a disinfectant wipe to erase my lines. A baby wipe would work as well.
Step
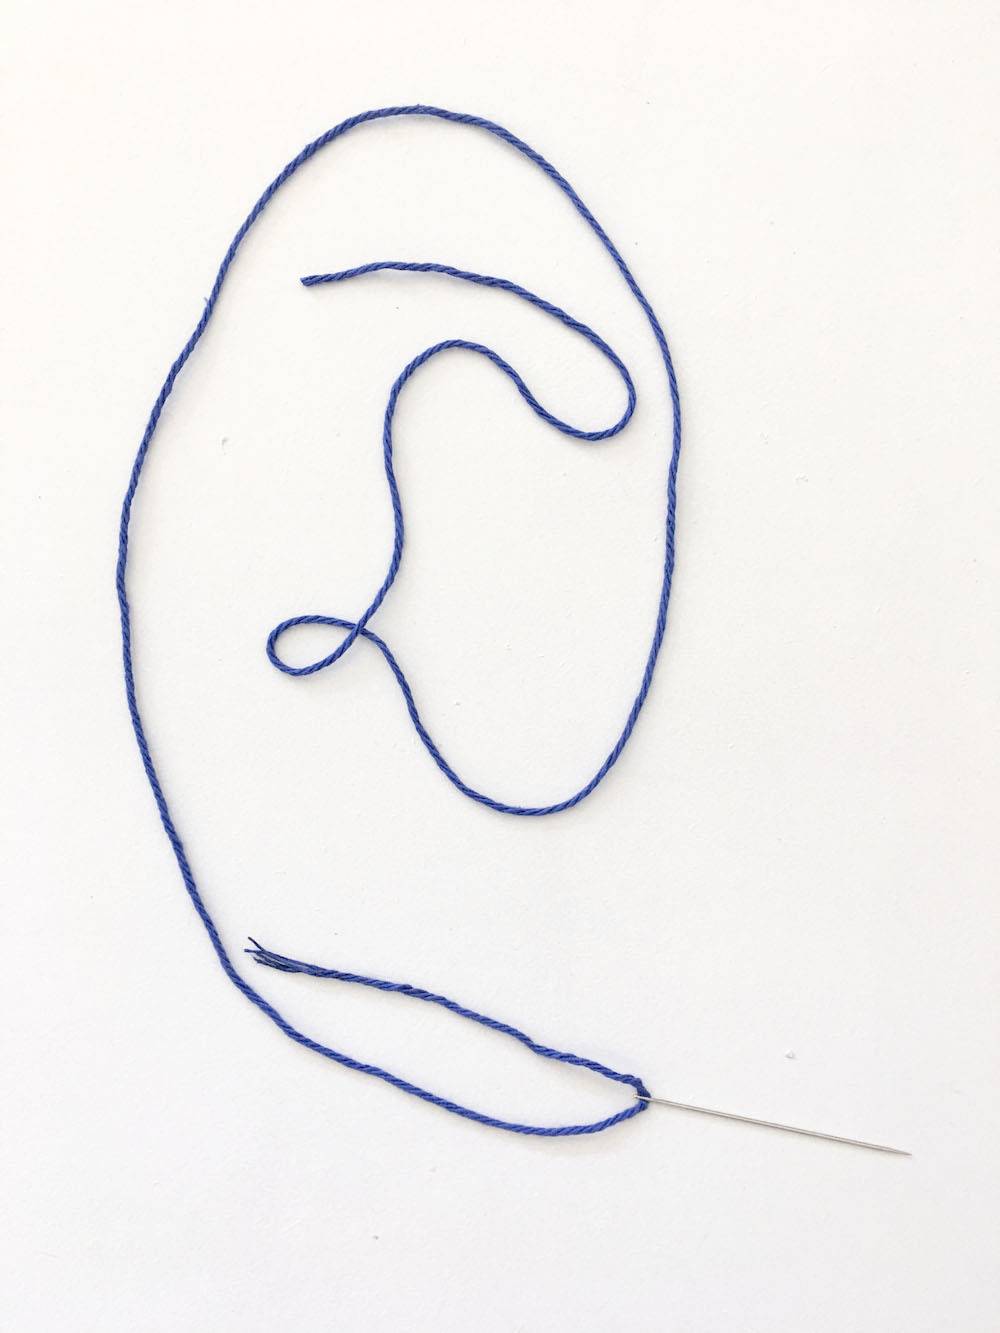
String your needle. I tried to double my string at first thinking the stitching would go faster. It was just harder to feed through the basket so I did a single string and made the writing thicker by repeating the stitch.
Step
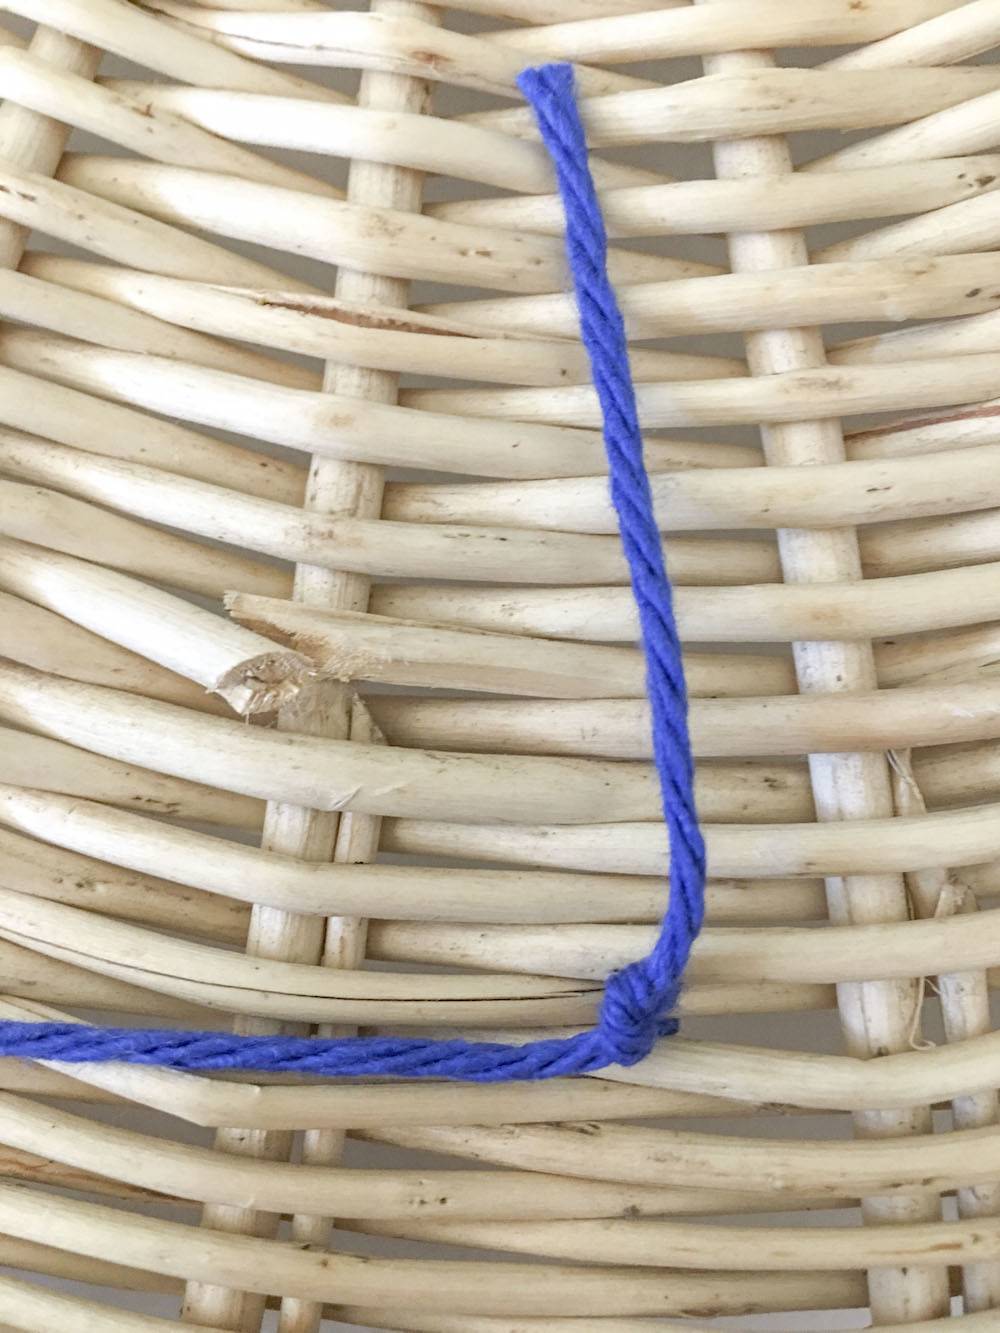
Start your stitch on the back and tie a knot to secure the yarn. Do not cut the excess string immediately. Leave a little excess so you can tie off the string when you need to start a new one.
Step
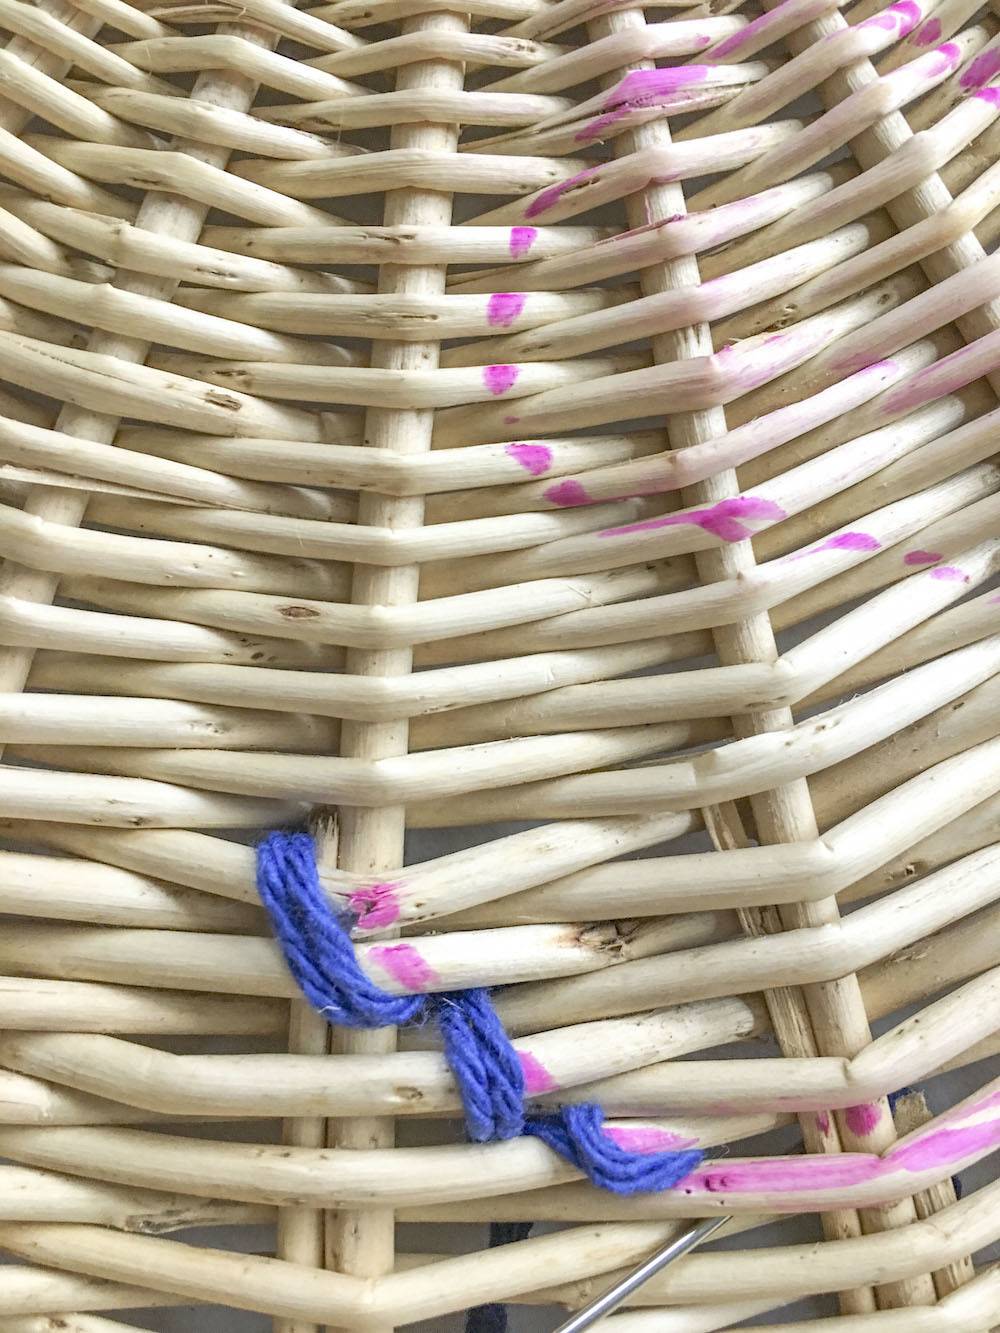
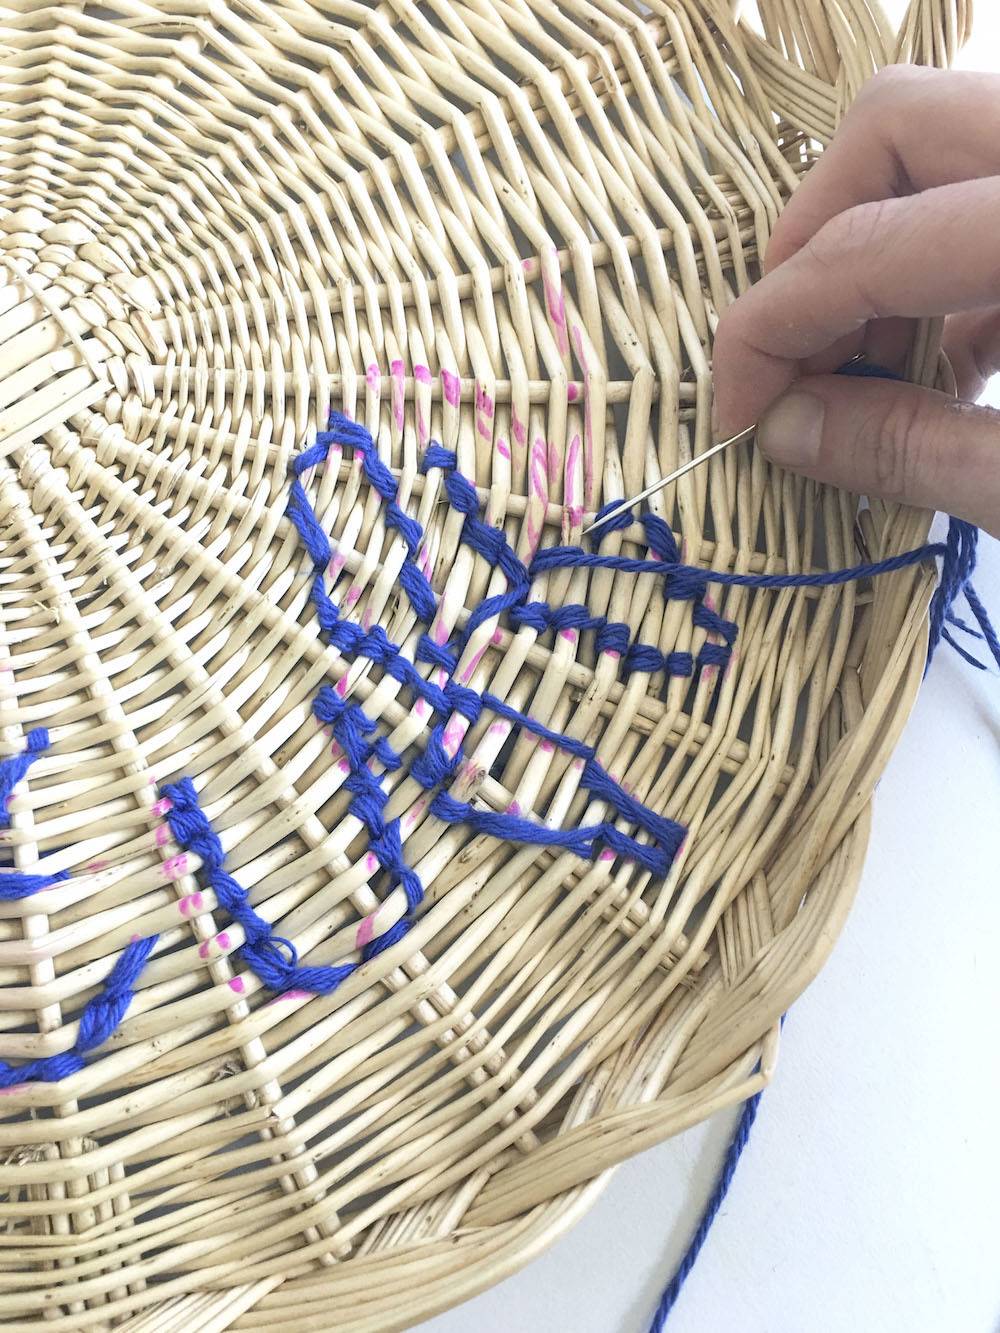
Stitch along your lines.
I will tell you this might take some time, depending on the basket. The stitches would be much easier on a straw basket. Give yourself a little grace with the stitches. I was okay with my lines not following the markings perfectly because I knew the dry erase pen would wash off. There is not an easy 1,2,3… for how to make a stitch. I simply stitched in a way that the letters would take shape. I learned that sometimes if a stitch would not stay in a direction I wanted it to go, I could get it to stay in place by tying it off in the back and starting a new string.
I would also advice ending strings often. This will help you if you don’t like the way your letter is looking. I didn’t like how part of the letter “f” was turning out so I used a seam ripper and my scissors to undo the letter. Since I had used another string for the other half of the letter I didn’t have to rip out the part I liked.
Step
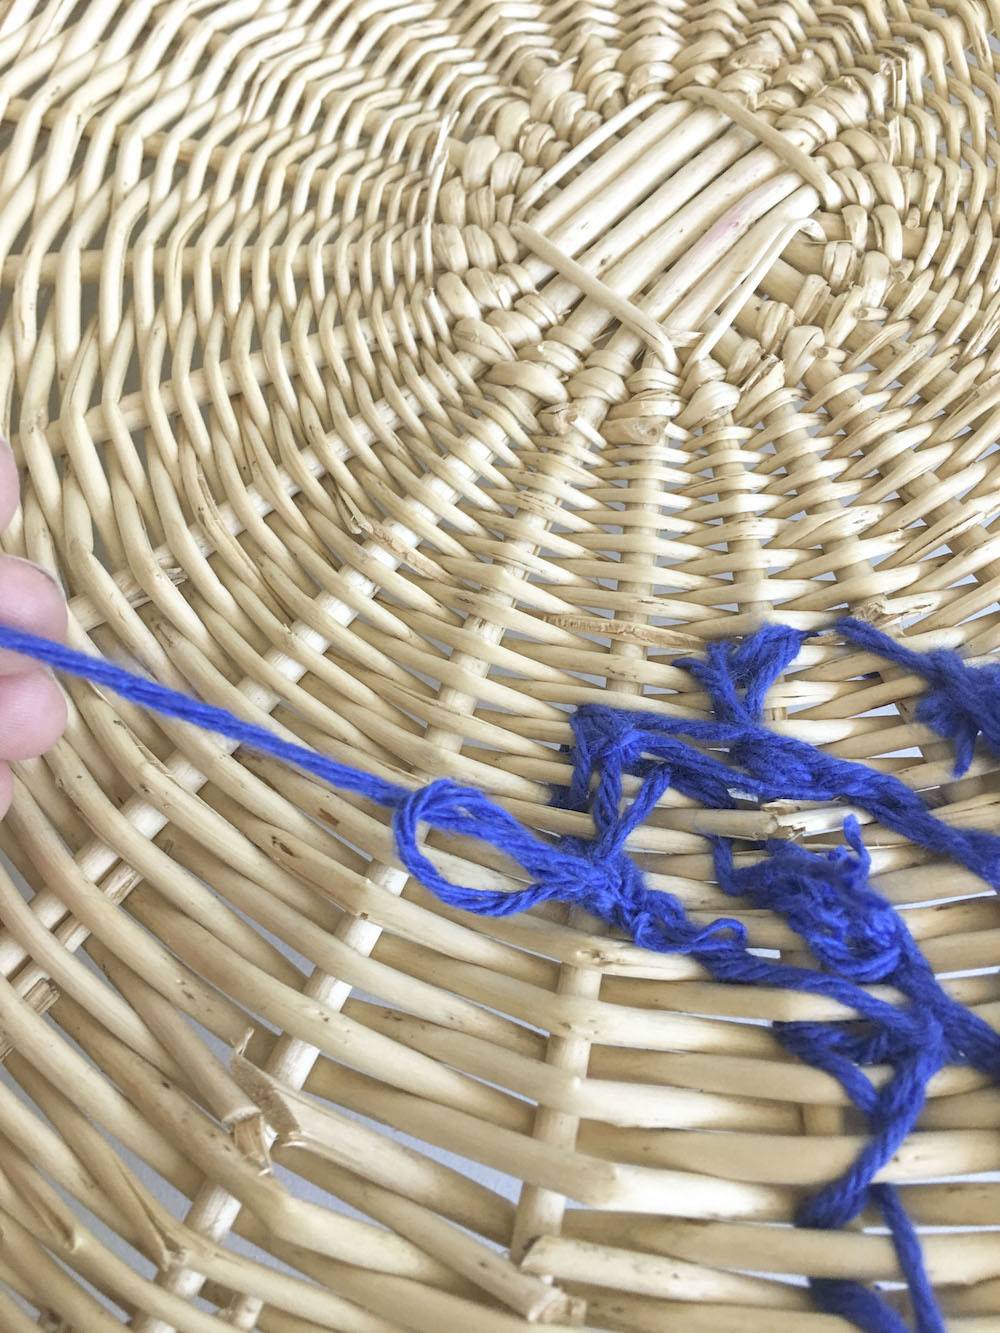
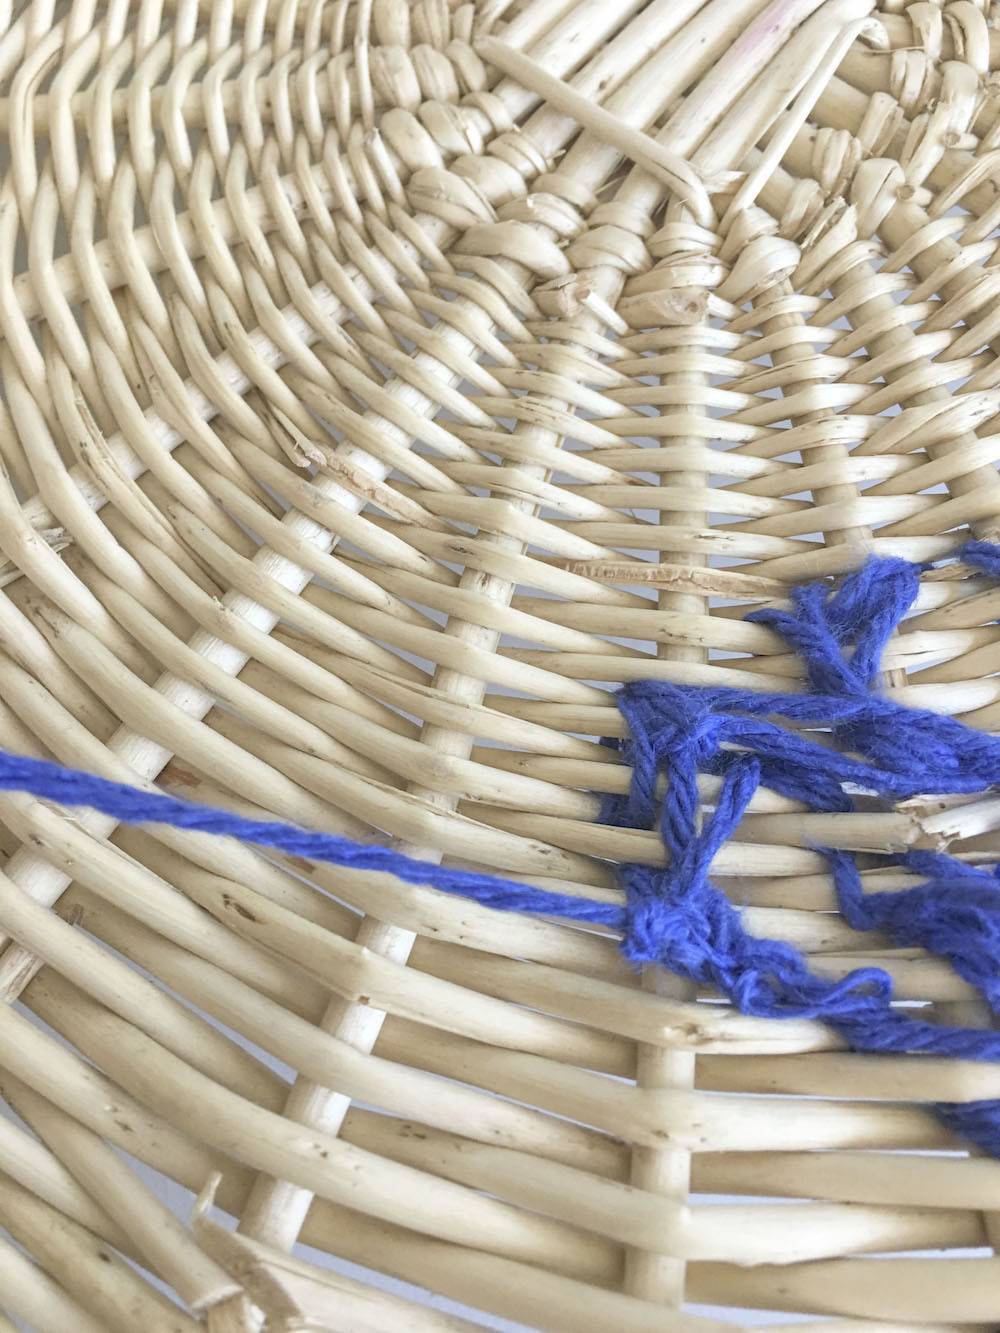
To tie off your stitches. You will do this the same way for a new string and when you are completely done. To do so, tie a knot. For extra security, feed the string through one of the back stitches. Leave a little excess on the end to be able to tie a knot with the start of the new string.
Step
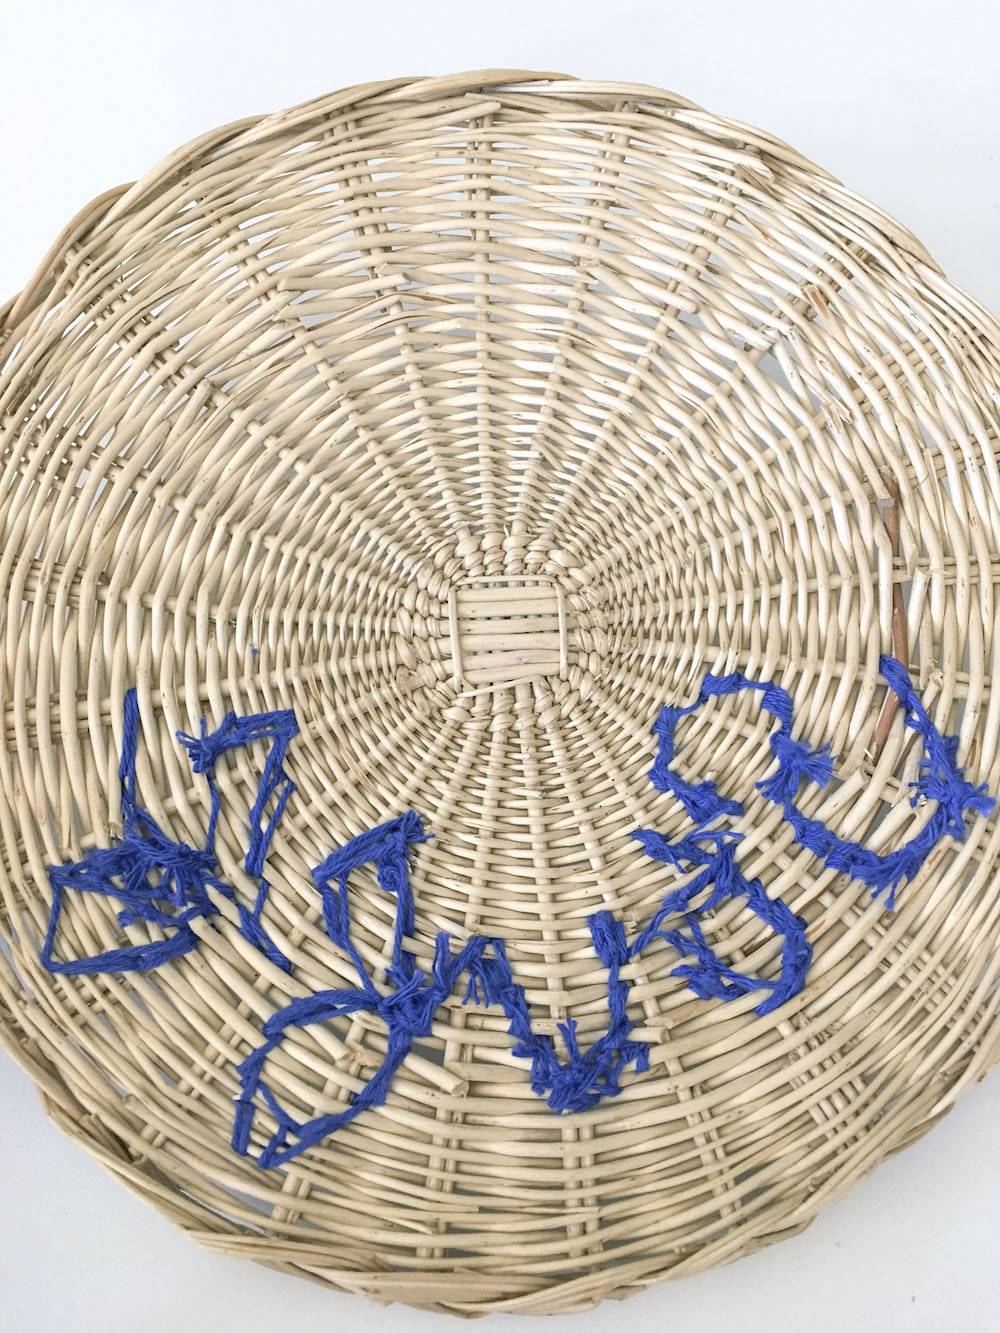
When you are all done, clean up the back of your basket by cutting any excess strings.
Step
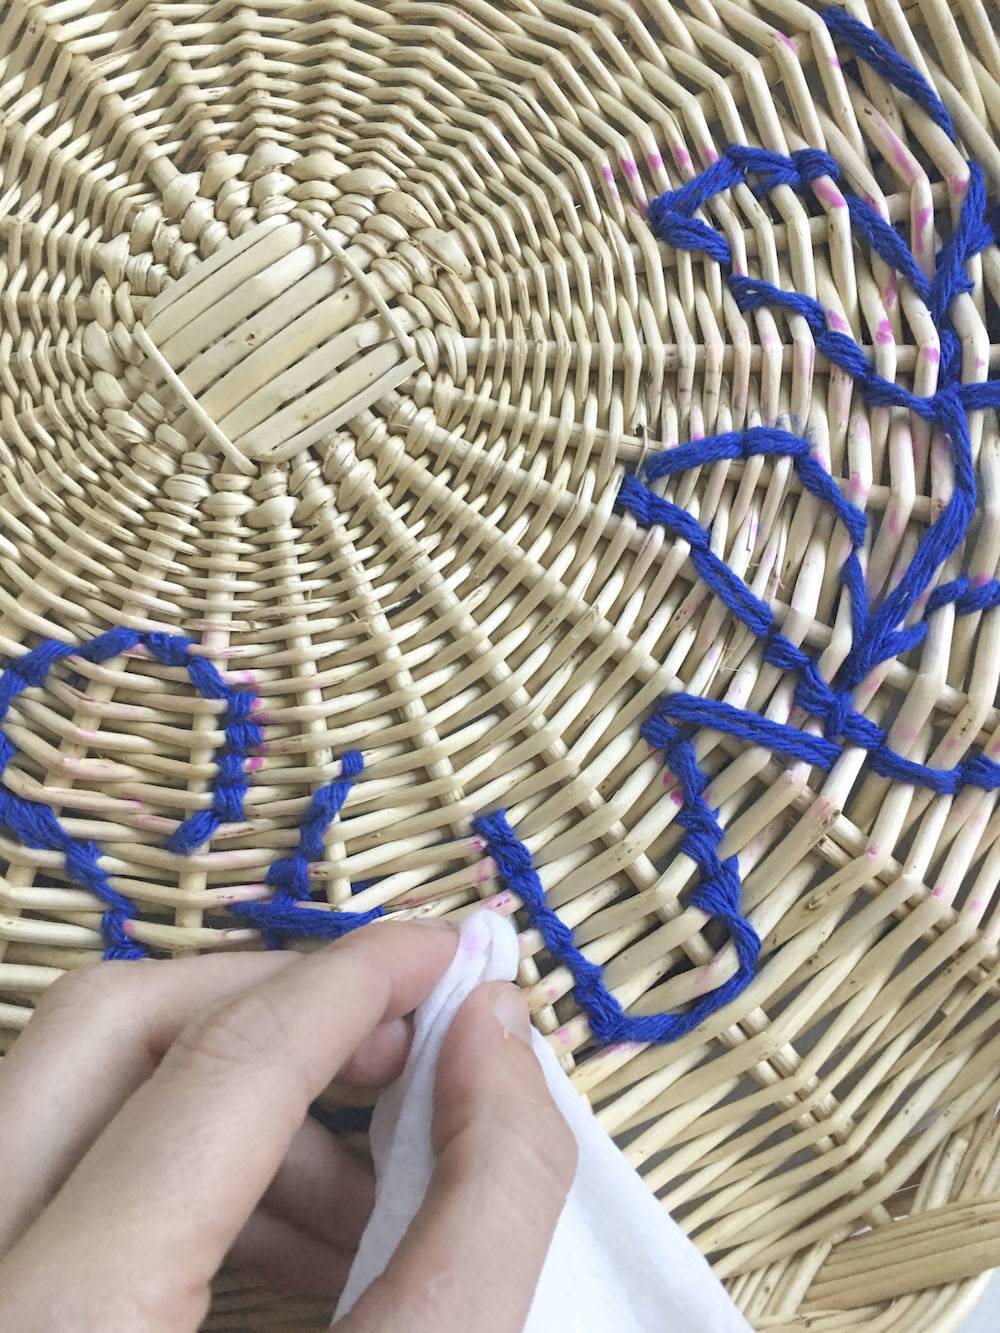
Finally, clean off your chalk or dry erase markings with a wet rag. I used a disinfectant wipe.
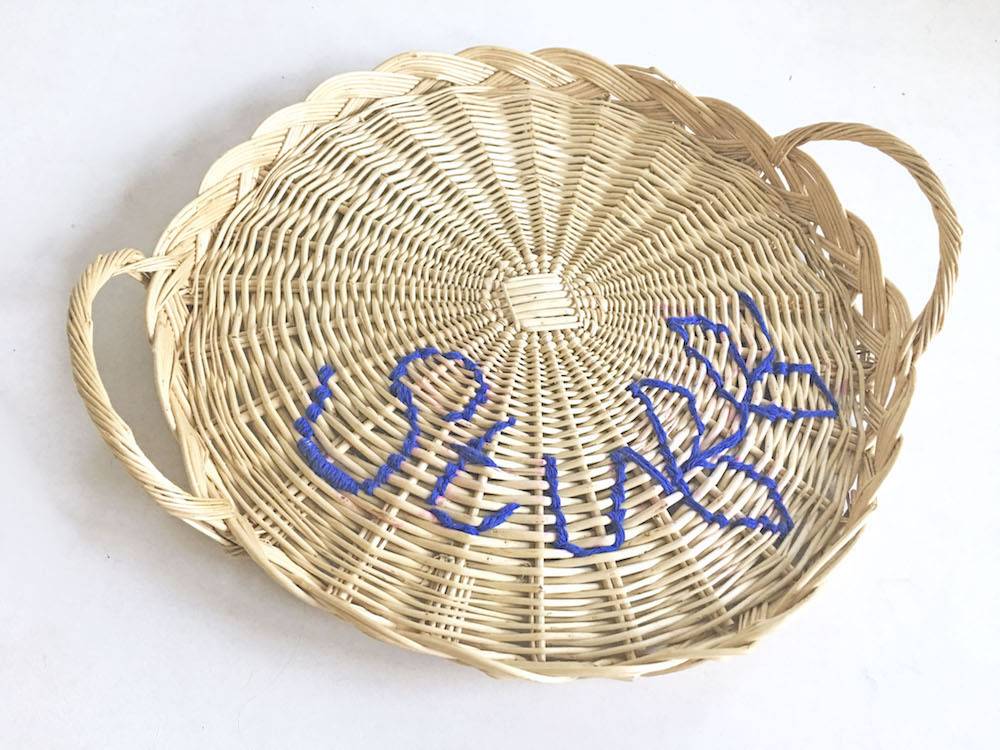
My advice is don’t try to make it perfect. With some baskets this is not possible. I did my best to make it readable with clean lines. A straw basket would be much easier to stitch perfectly straight stitches.
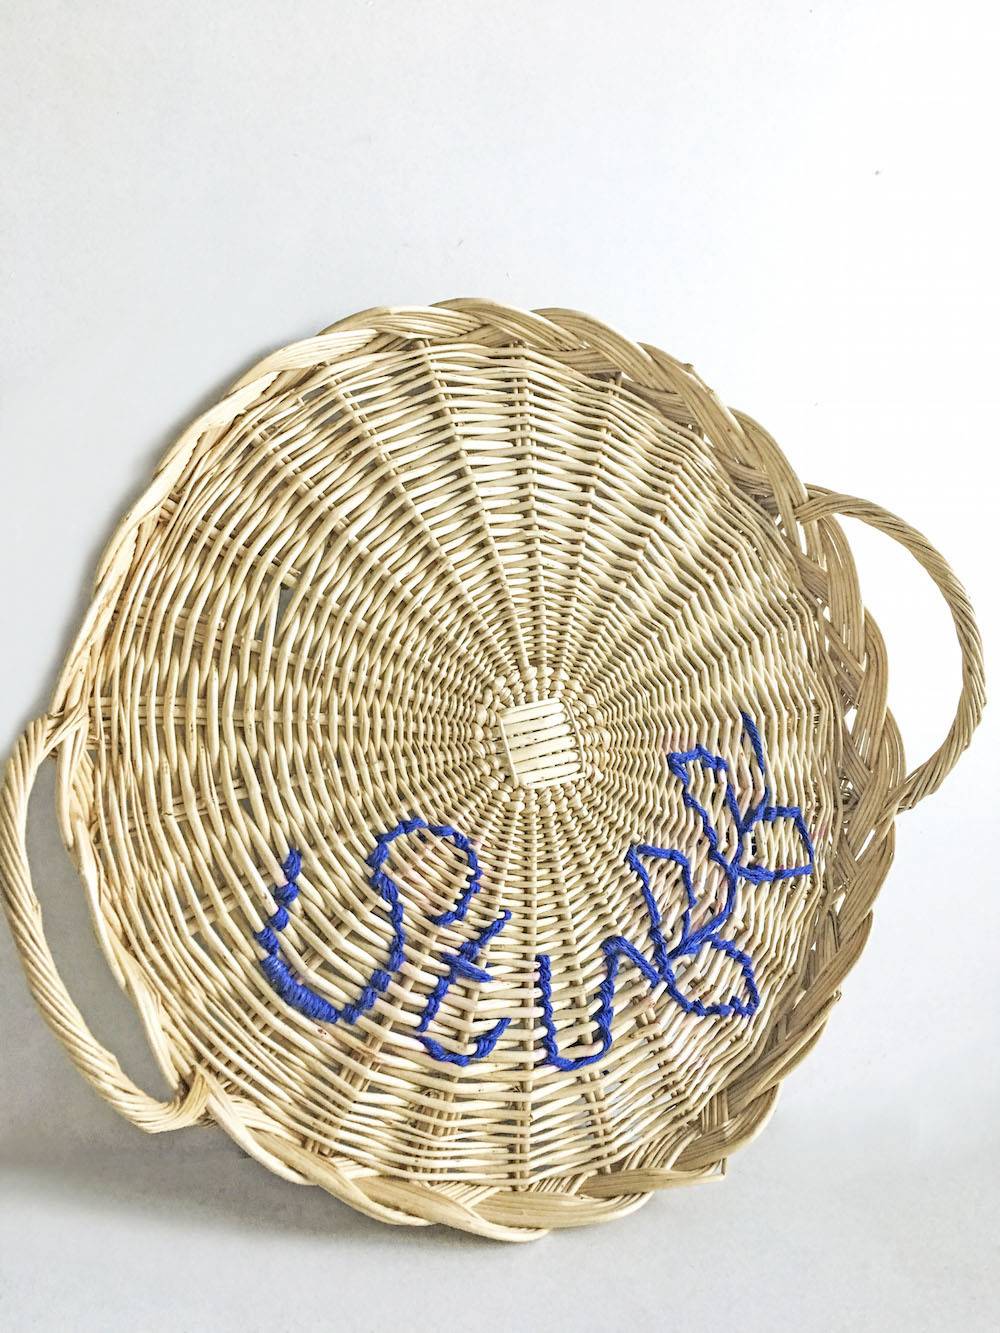
This project could be used to monogram a smaller or larger basket to hang on the wall. It also could be a unique way to label a storage basket like this one.
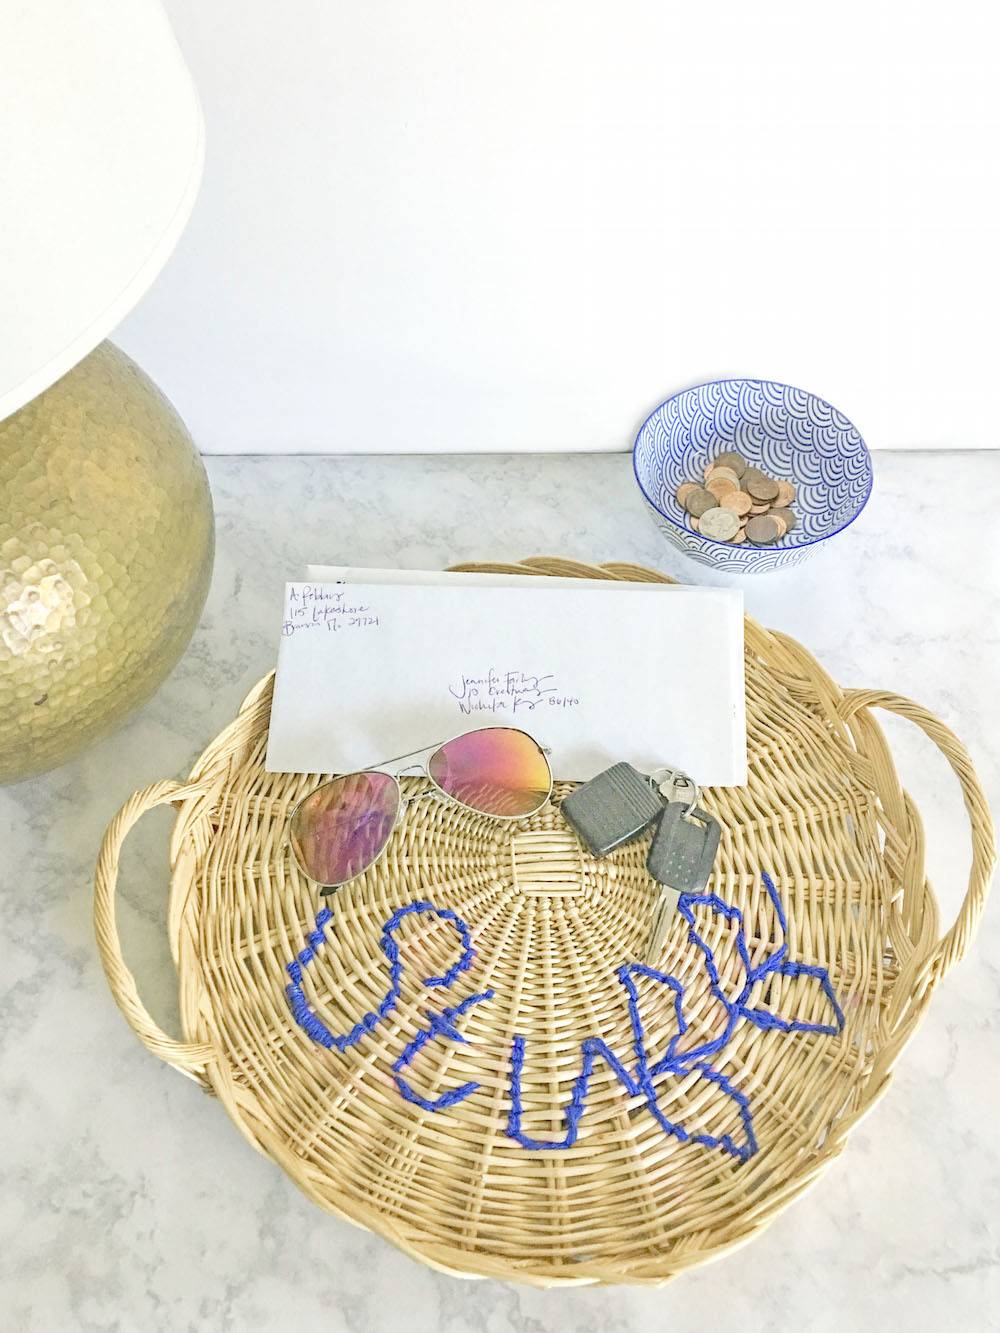
For me, my basket is used for a drop zone for my keys, mail, and….well, stuff.
