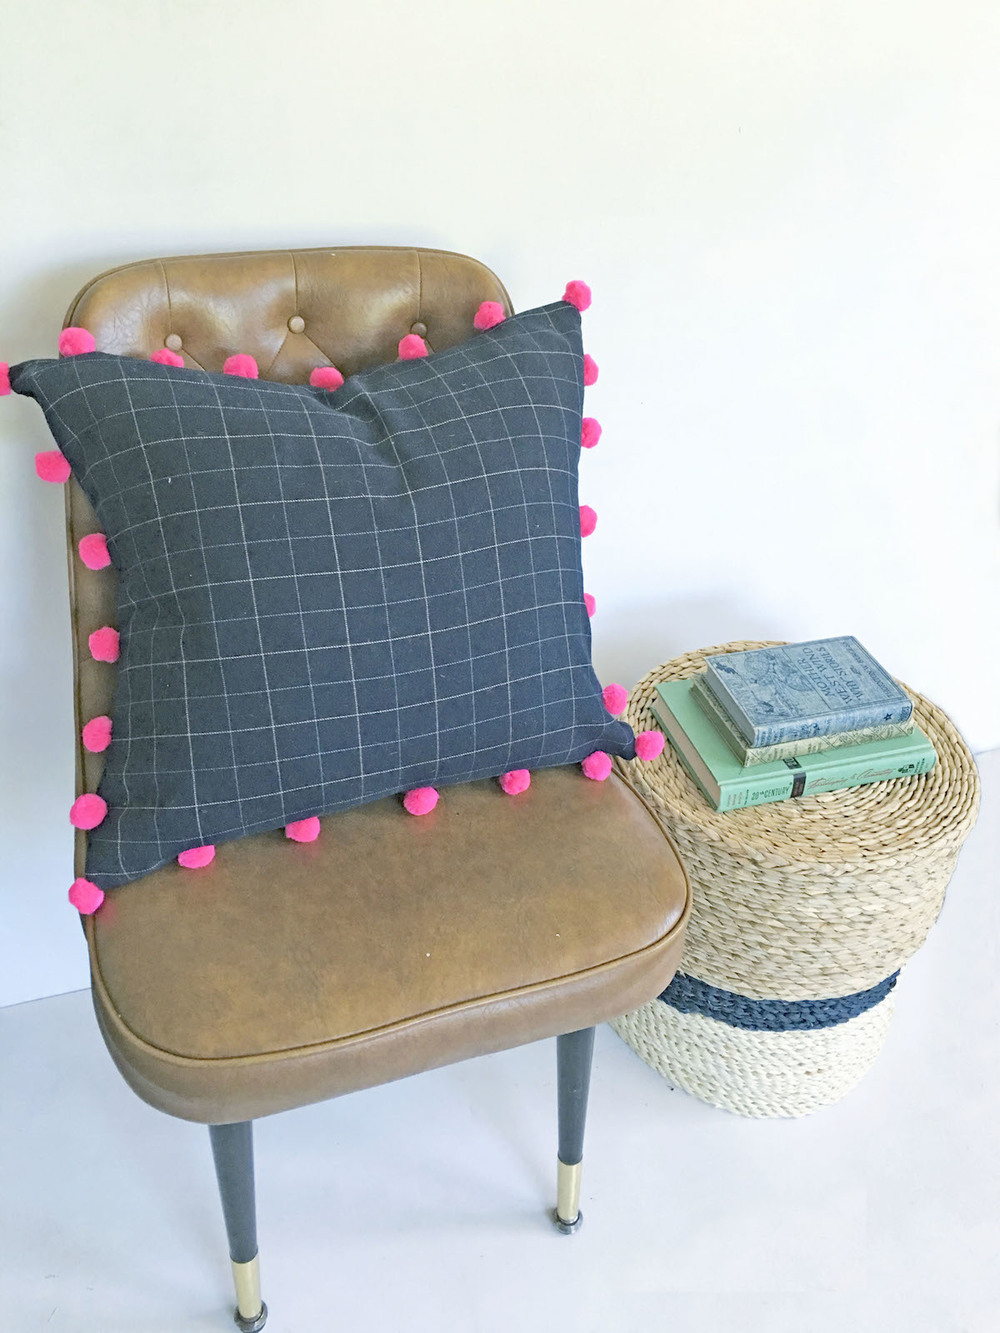
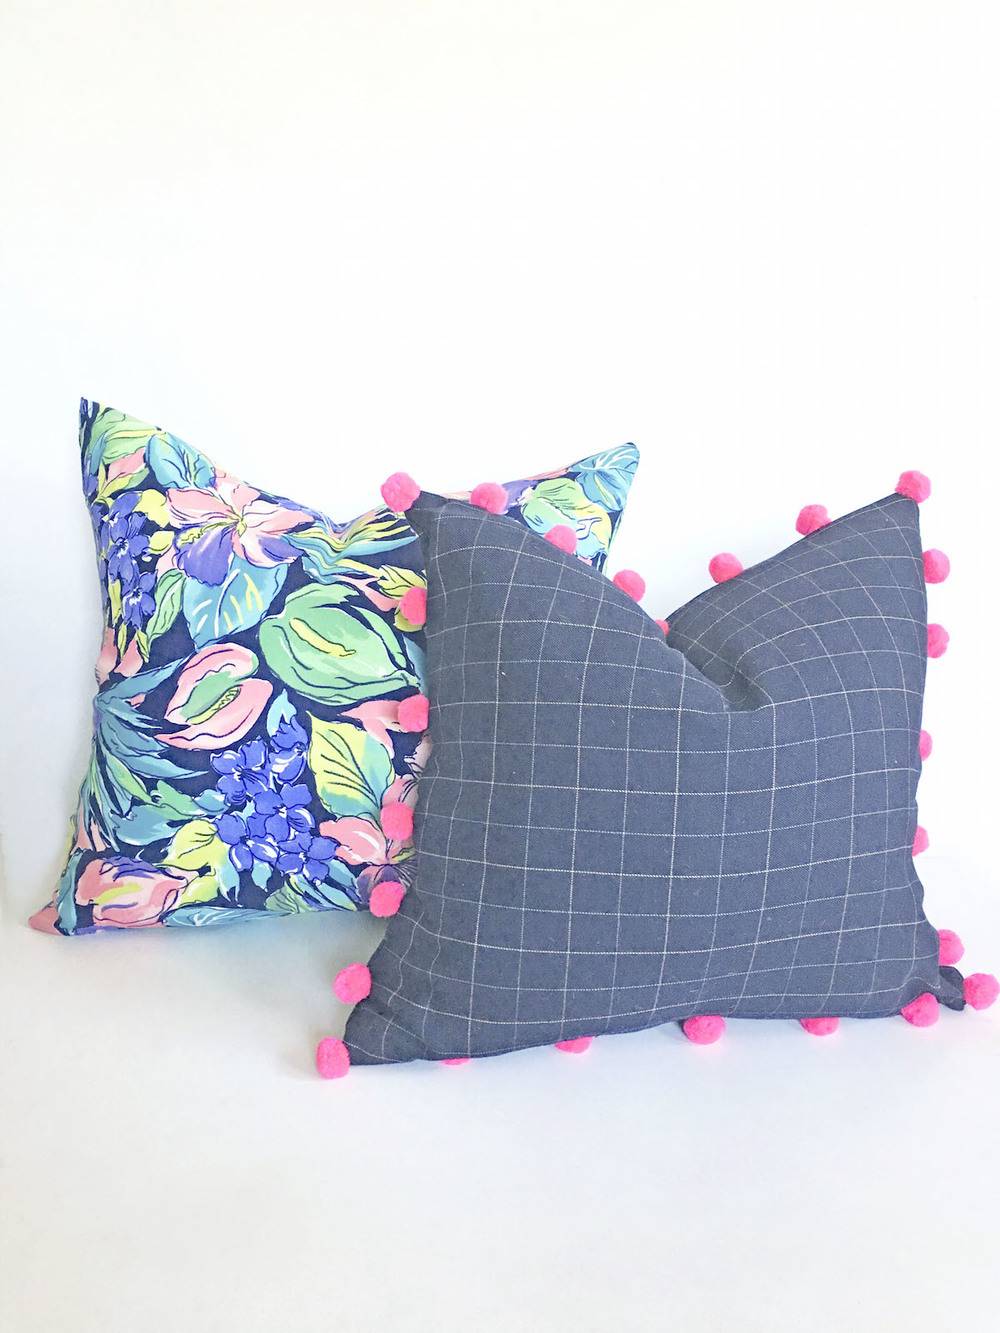
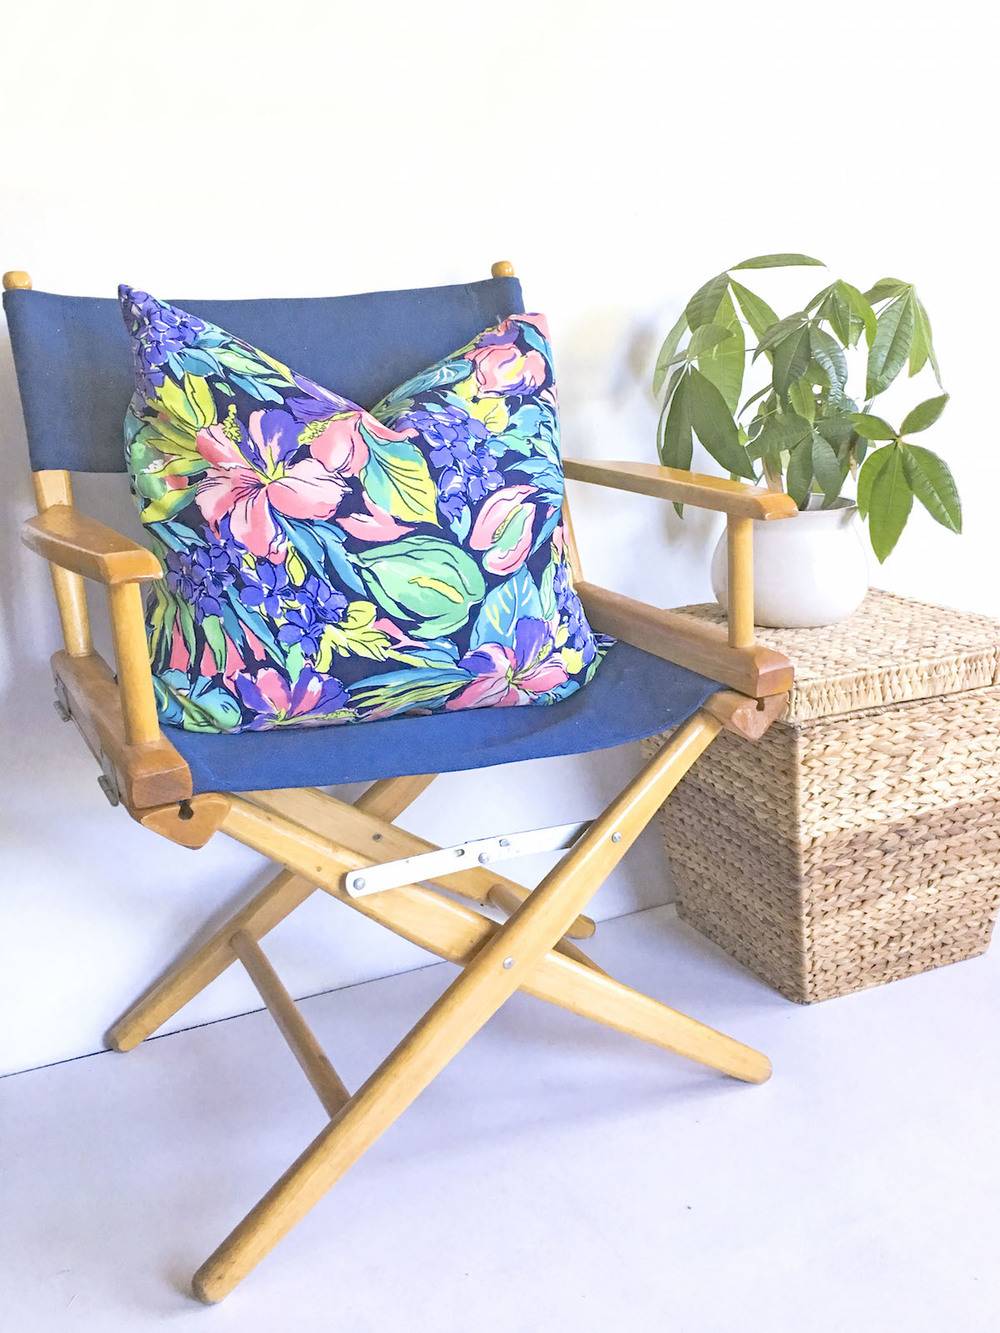
Pillows give personality to a space, and the most affordable way to style your home with pillows is to make them yourself. But, unique fabric can be pricey so I tend to look for fabric in the thrift store’s clothing section. It’s fun, one of a kind, and cheap. Here’s how to make a pillow from thrift store clothing!
Materials
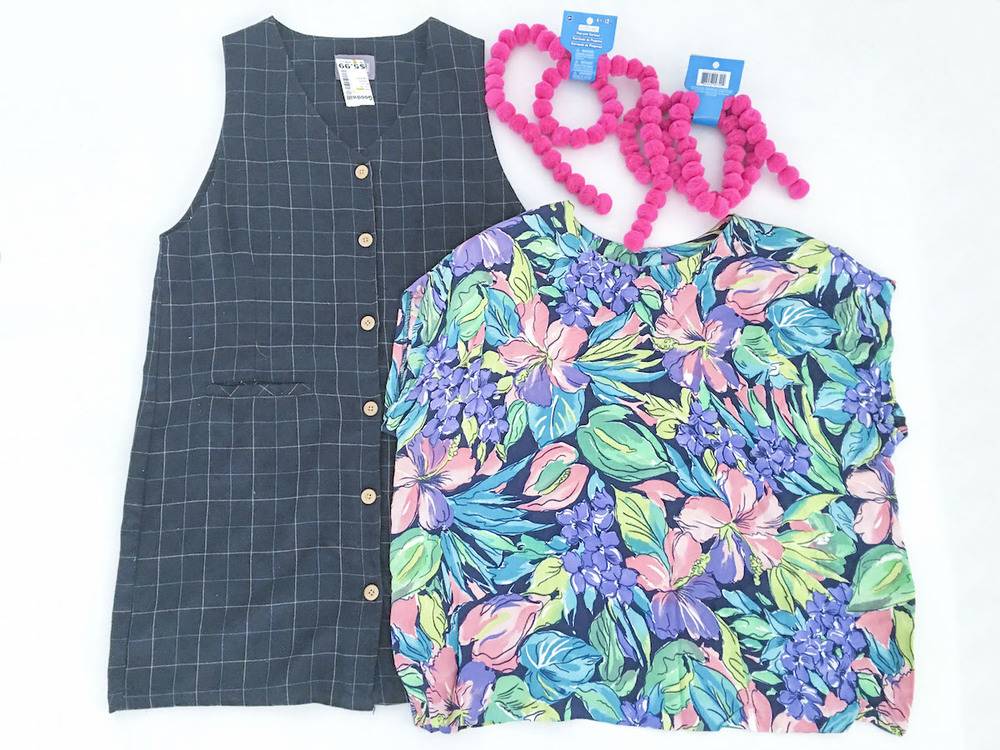
- Thrift store clothing in a fun fabric prints
- Pom Pom Trim (optional): I got mine here.
- Sewing Machine
- Scissors
- Thread
- Marker or chalk for marking lines
I found both of these items on the 1/2 off rack. The floral shirt came with shoulder pads and all!
Step
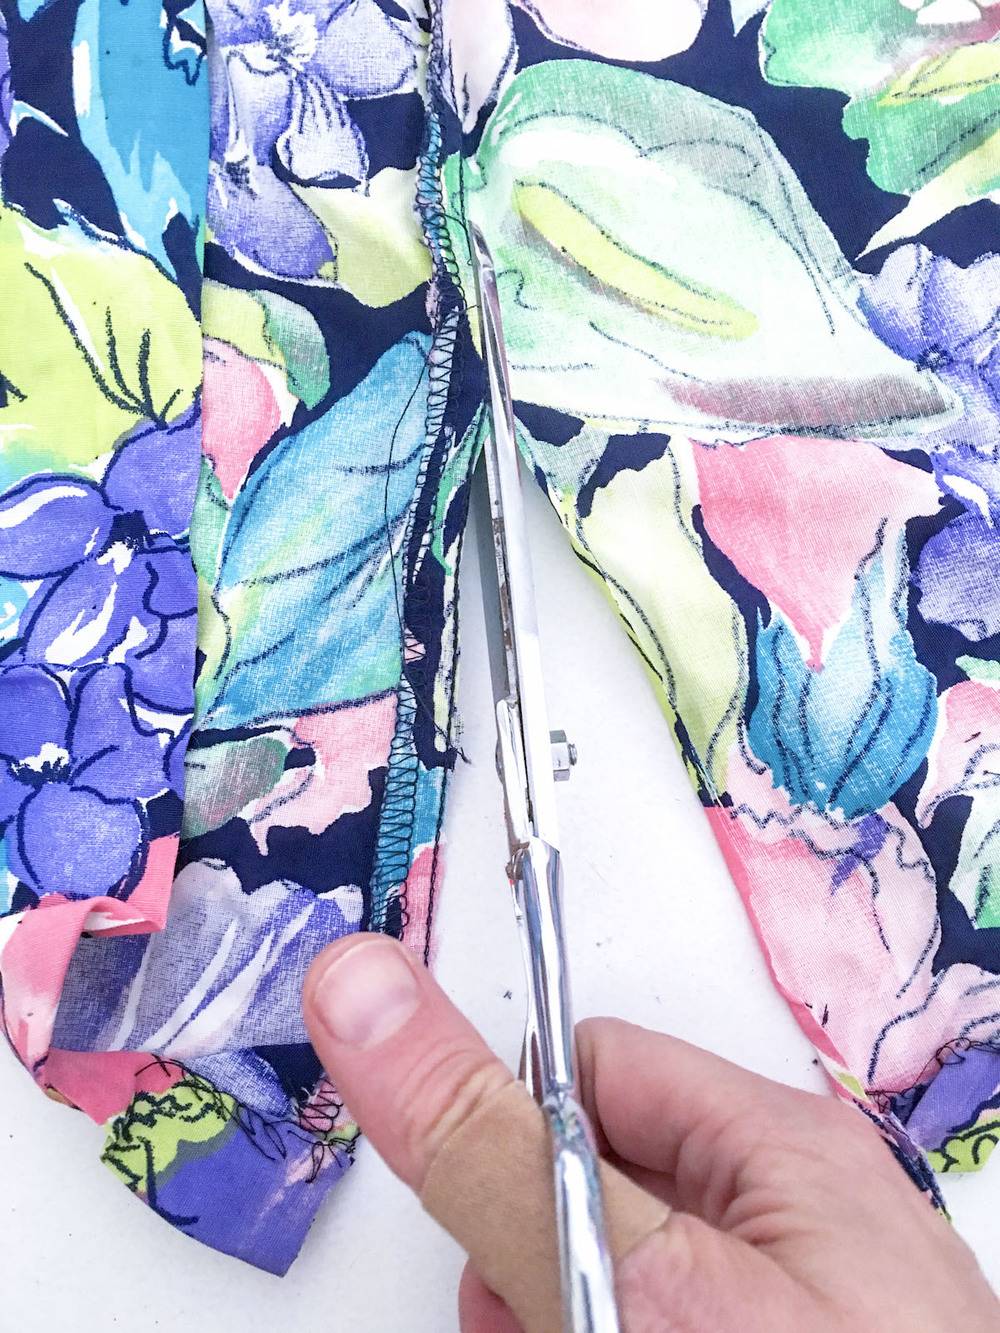
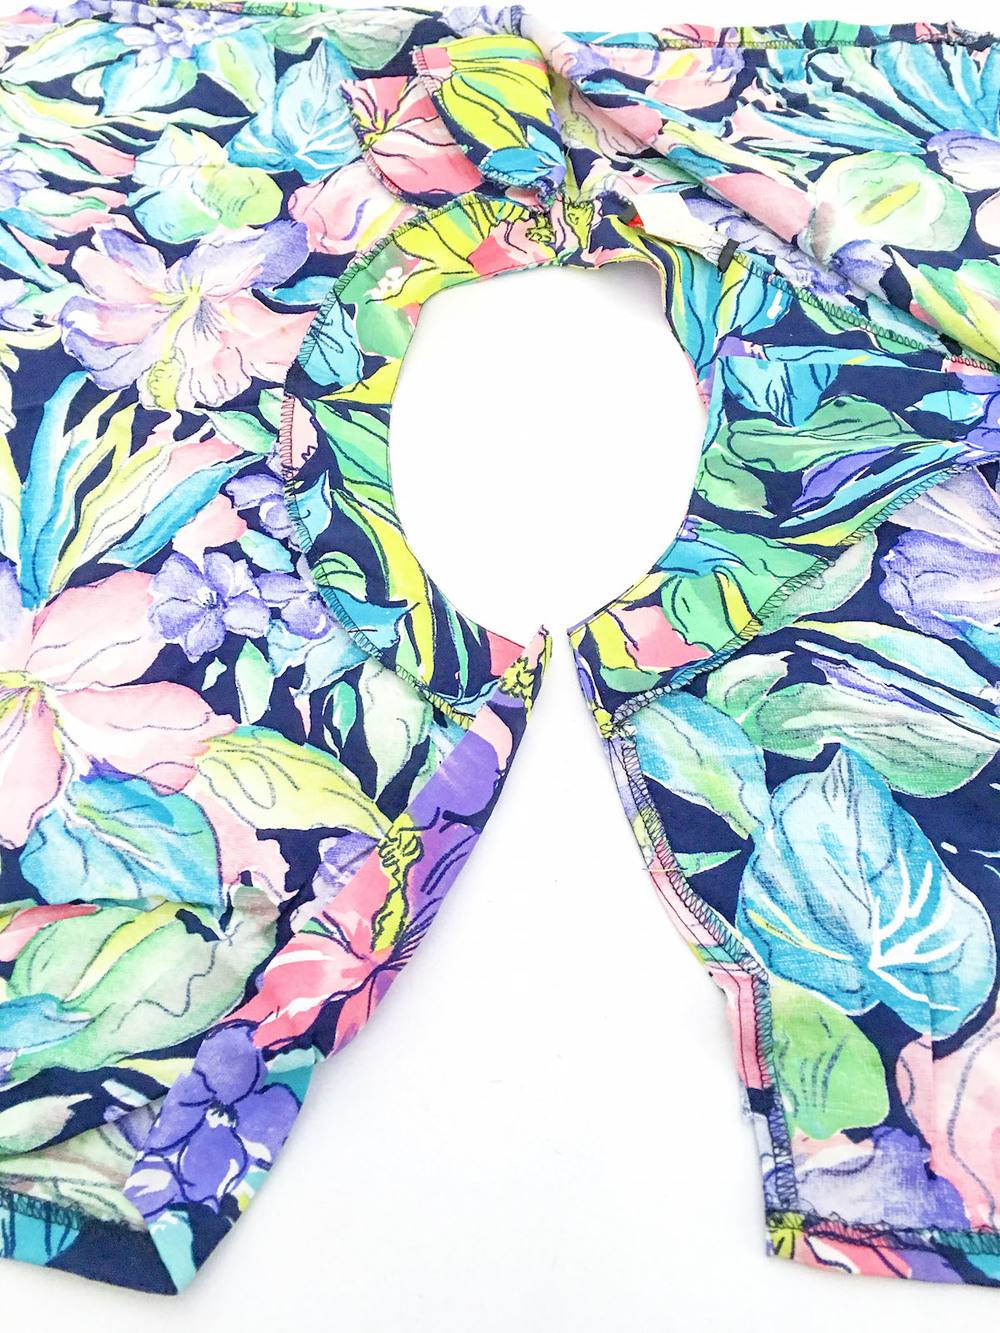
Cut down the side of both sides of the shirt. Also cut off the shoulder pads and cut down the shoulder seam.
Step
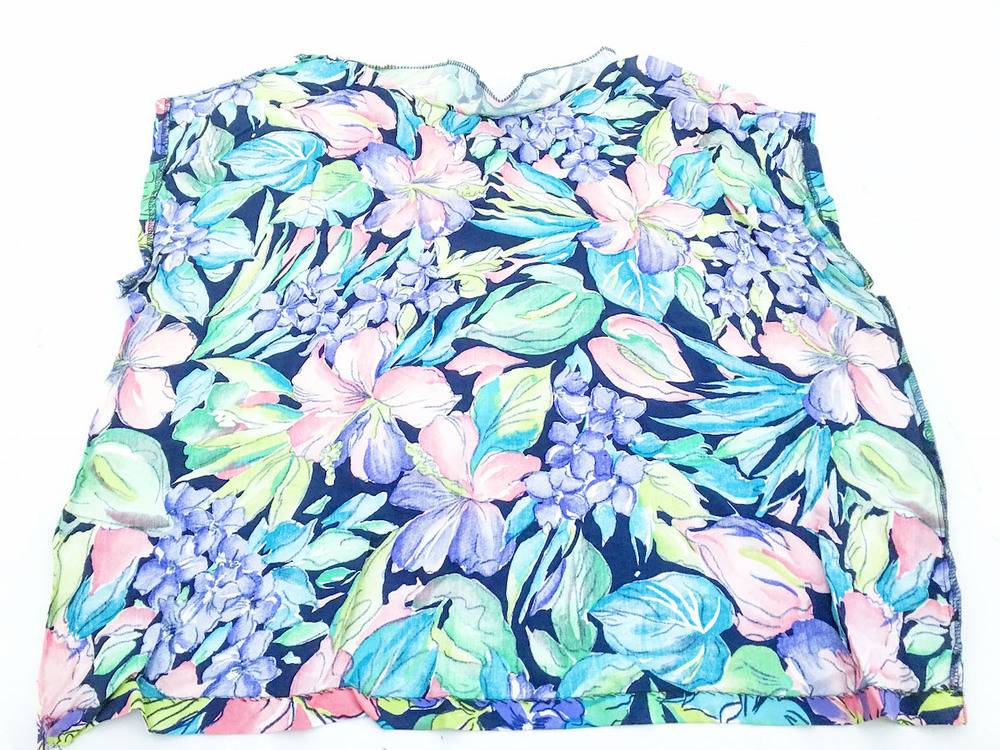
Iron the shirt and lay it down flat on your cutting surface.
Step
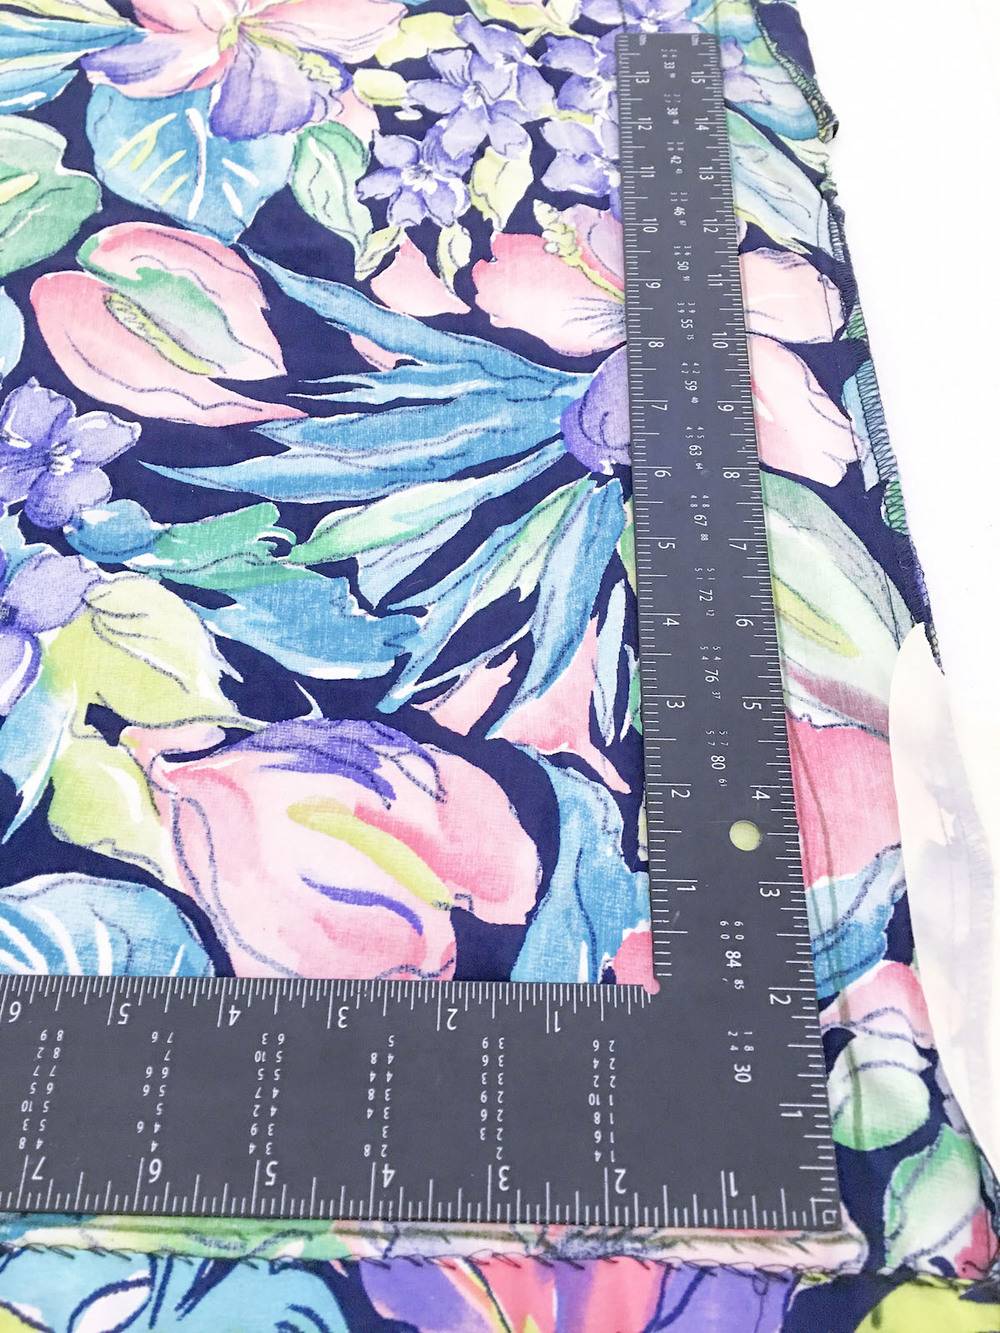
Use a right angle ruler to make your square cuts.
Step
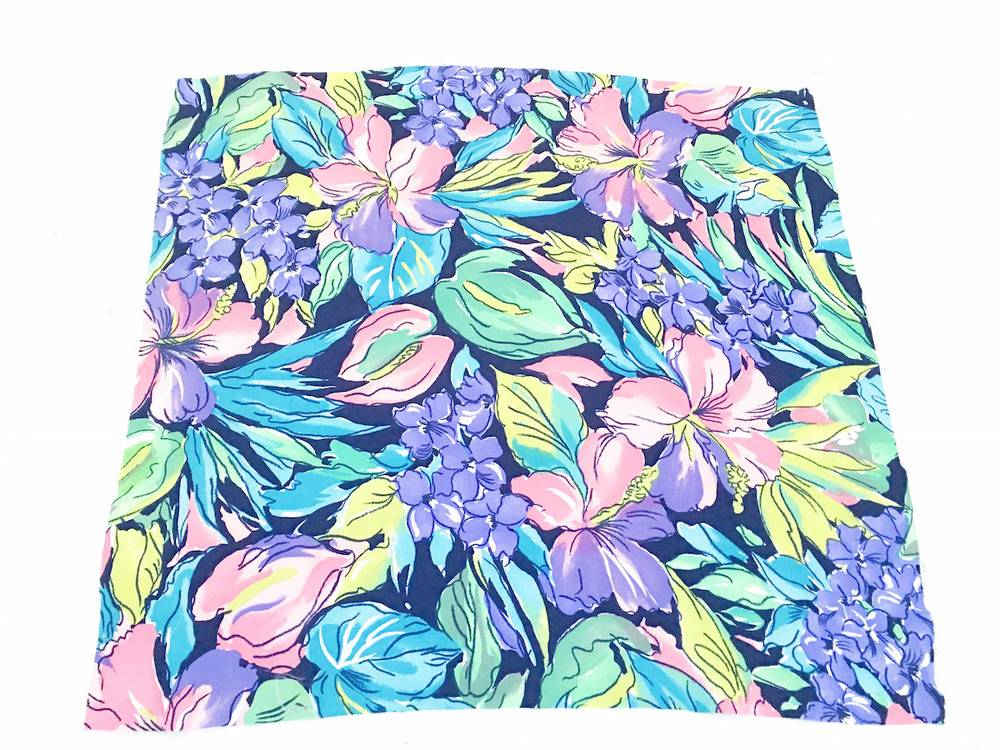
I used one side of the shirt for the front part of the pillow. The fabric was tricky to work with, so after I cut it I had to go back with my ruler and even in out. Make sure you cut your pillow at least 1.5 inches bigger than you need so when you clean up your cuts you have some fabric to play with. For a finished 20″x 20″ pillow I made sure my pillow square was 21″x 21 inches.
Step
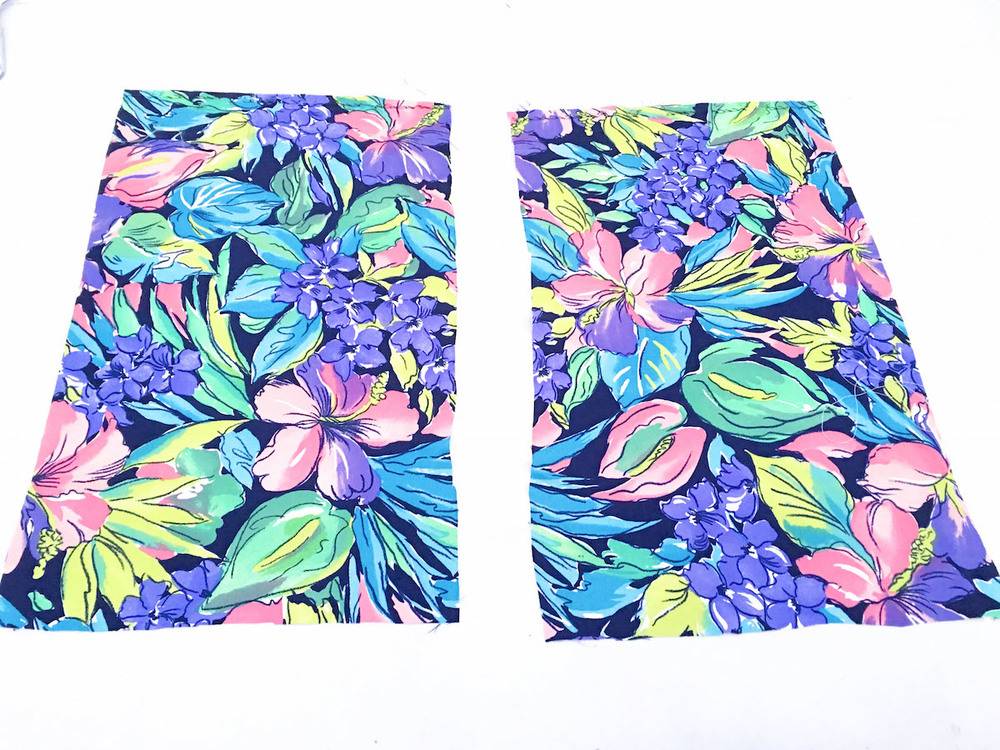
I cut the backside to be 24 x 21 inches. Once the square was cut, I cut the large rectangle into two pieces. This is so the backside was large enough to overlap. I ironed the inside edges 1/2-inch and did a quick stitch down the edge (not pictured).
Step
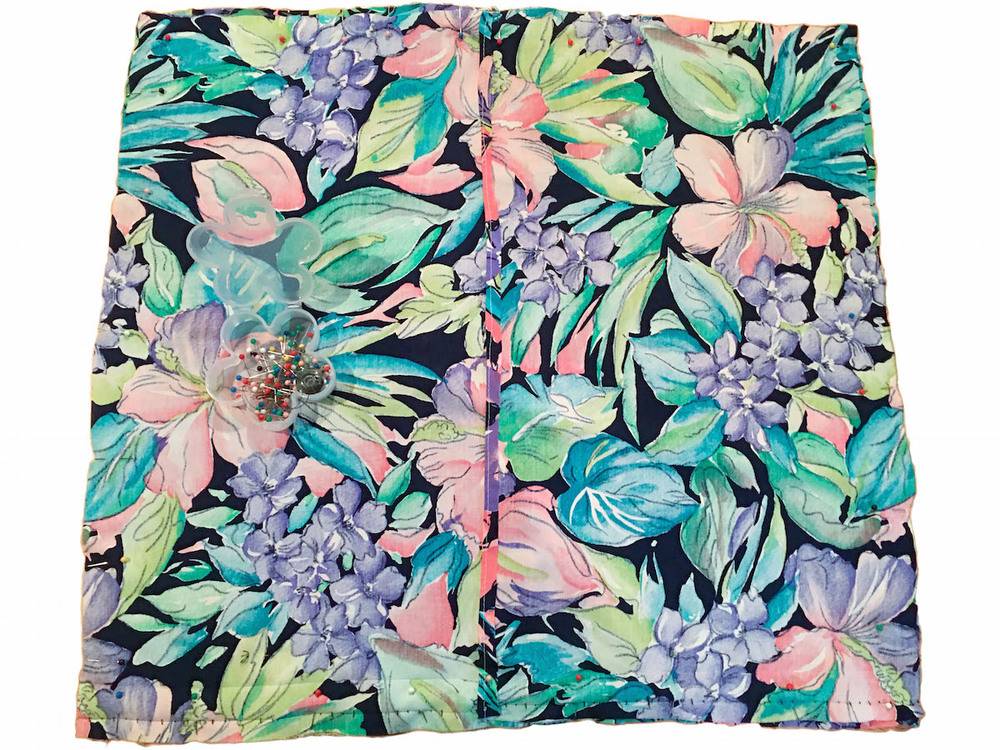
Next, I pinned the right sides of the fabric together. The two pieces of the backside should overlap to make the removable pillow cover. The sewn edges should be in the middle.
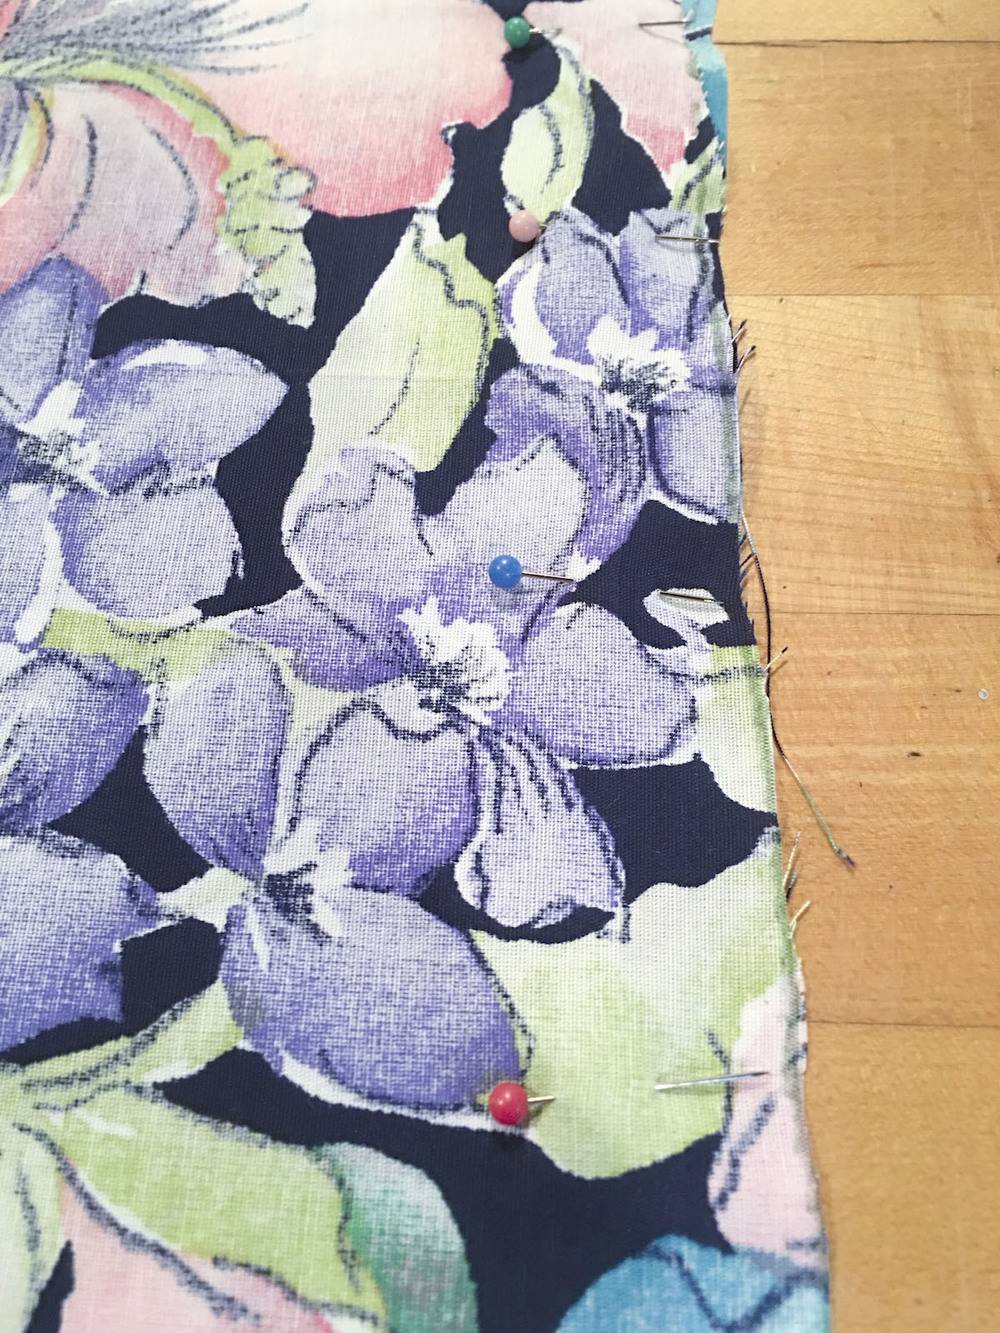
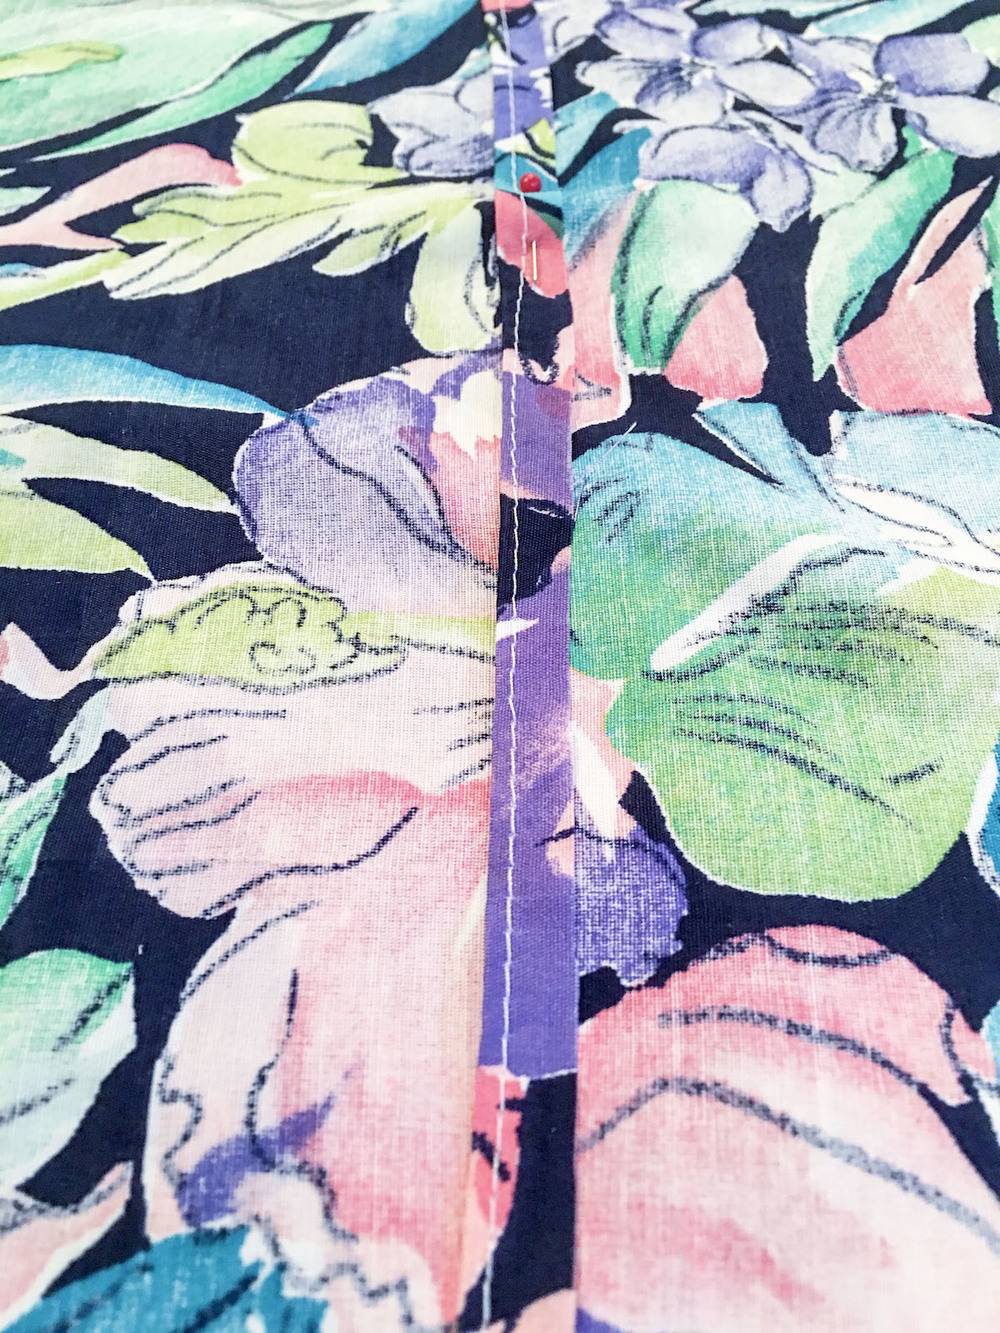
If you have silk or light cotton fabric use lots of pins around all the sides. I also pinned the overlap edges together in the middle. This helped me keep the two sides together while I ran the pillow case through the sewing machine.
Step
Sew all four sides of your pillow, turn inside out, and iron. Now you are ready to insert your pillow!
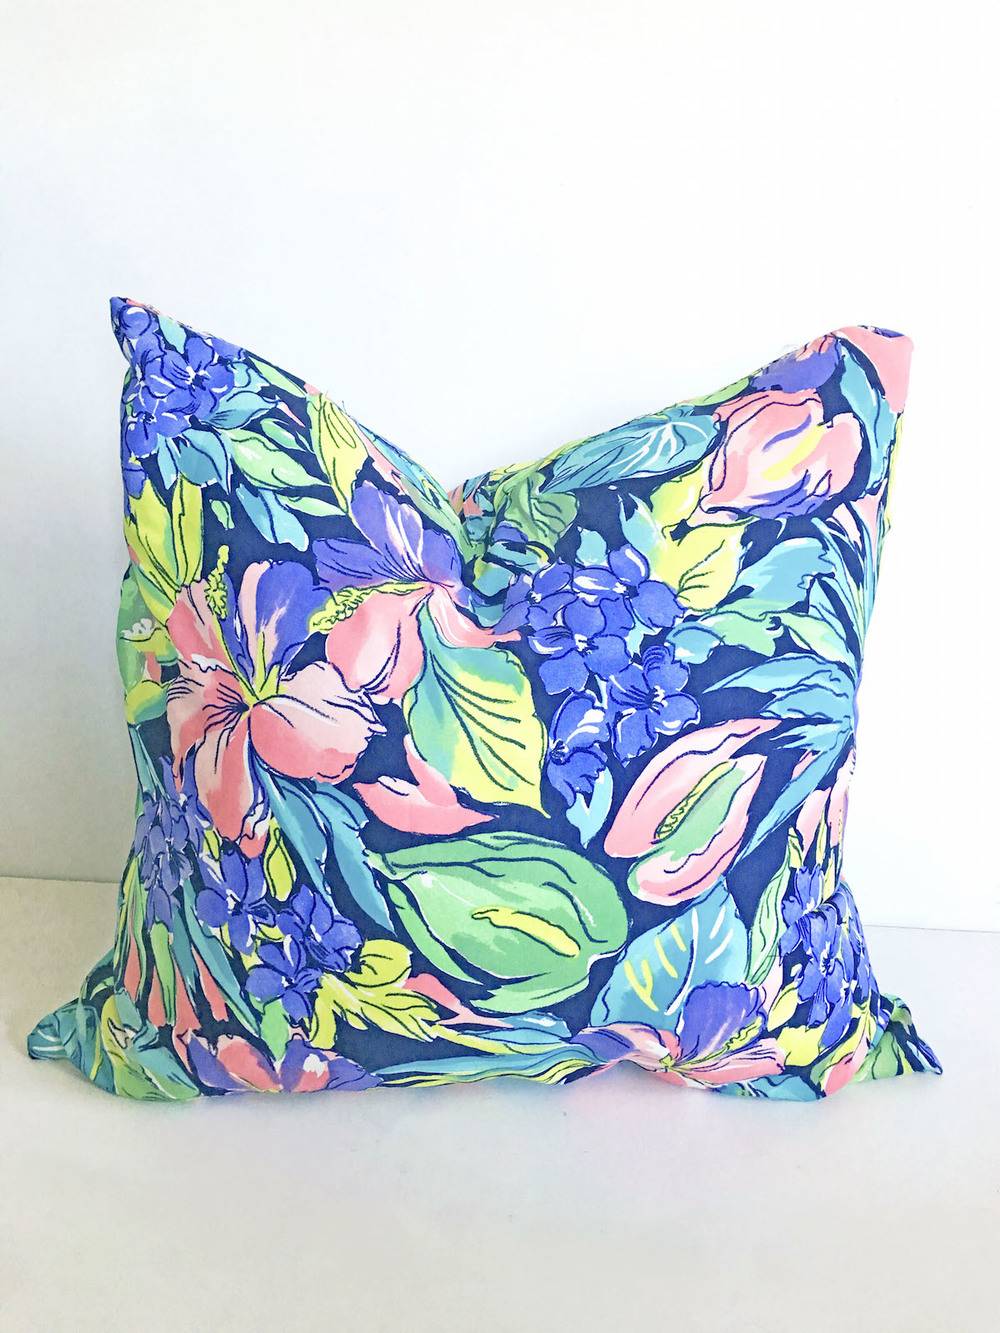
To sew a pillow from the thrifted dress…
I followed Steps 1-4 exactly but this time sewing down the sides of the dress.
Step
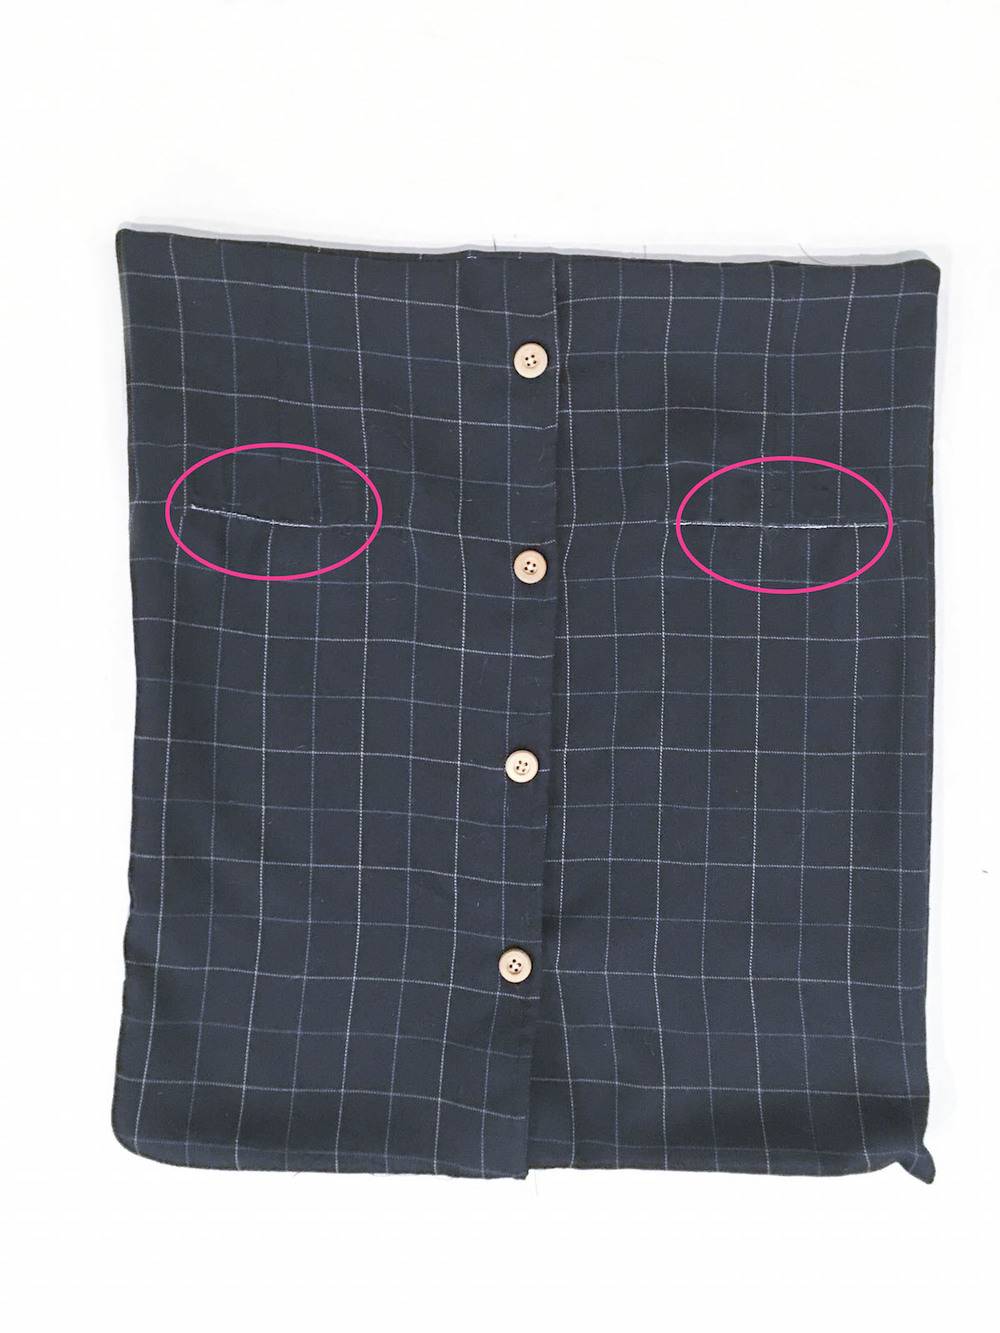
I used the front of the dress as the back of the pillow. The great thing about this was I didn’t have to cut the square into two pieces because of the button down front. I cut the square the same size as the front square (21″ x 21″) while the dress was buttoned. The buttoned side worked as the pillow enclosure. I loved that I didn’t have to sew the inside edges. I put the two right sides together and sewed all the way around. When I turned the pillow right side out this is what the pillow looked like on the back side.
Step
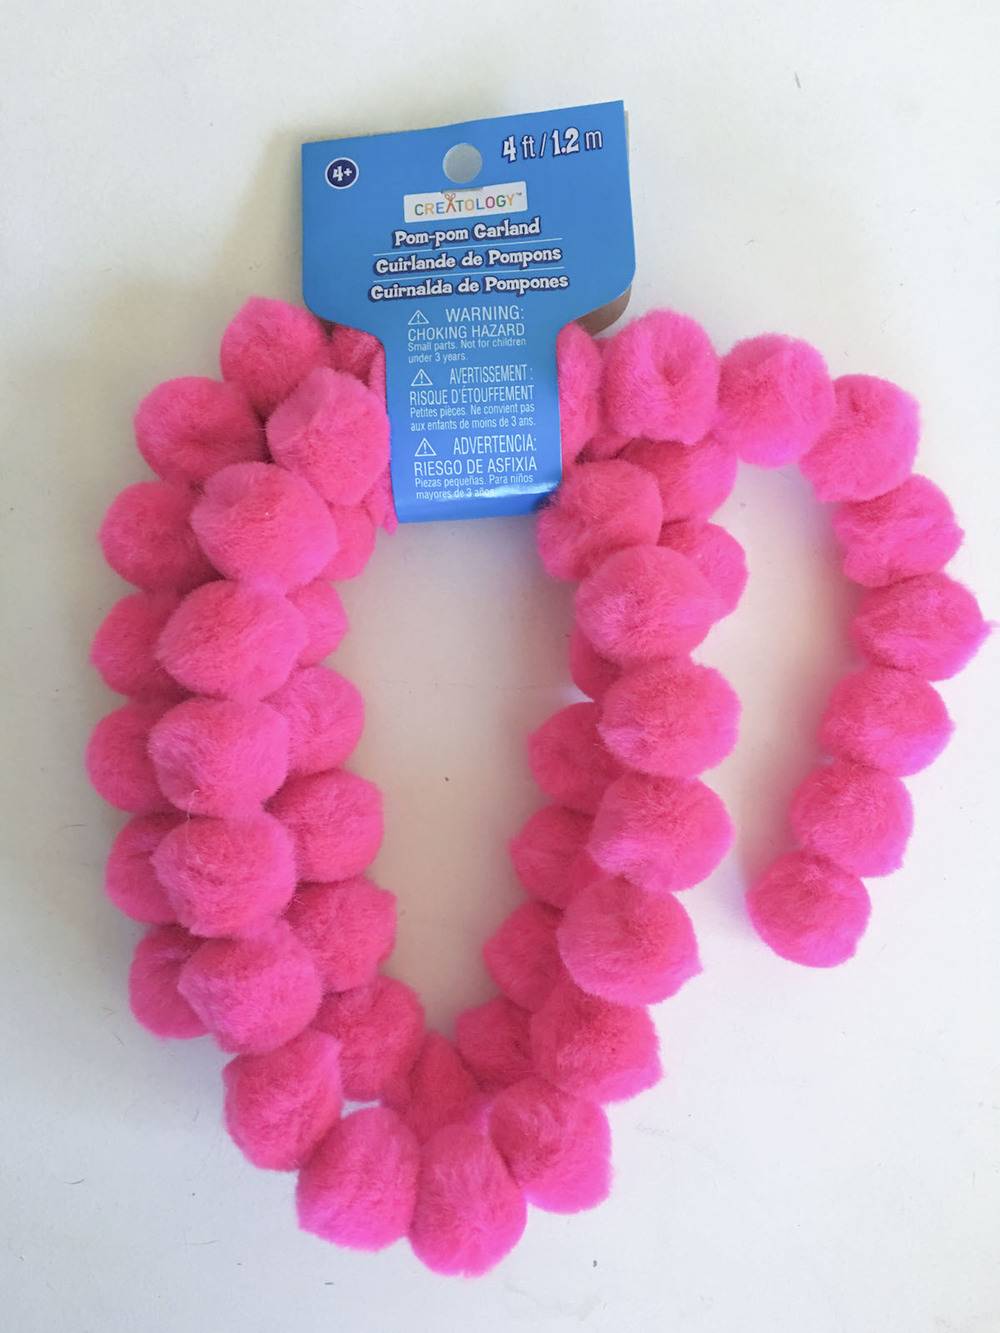
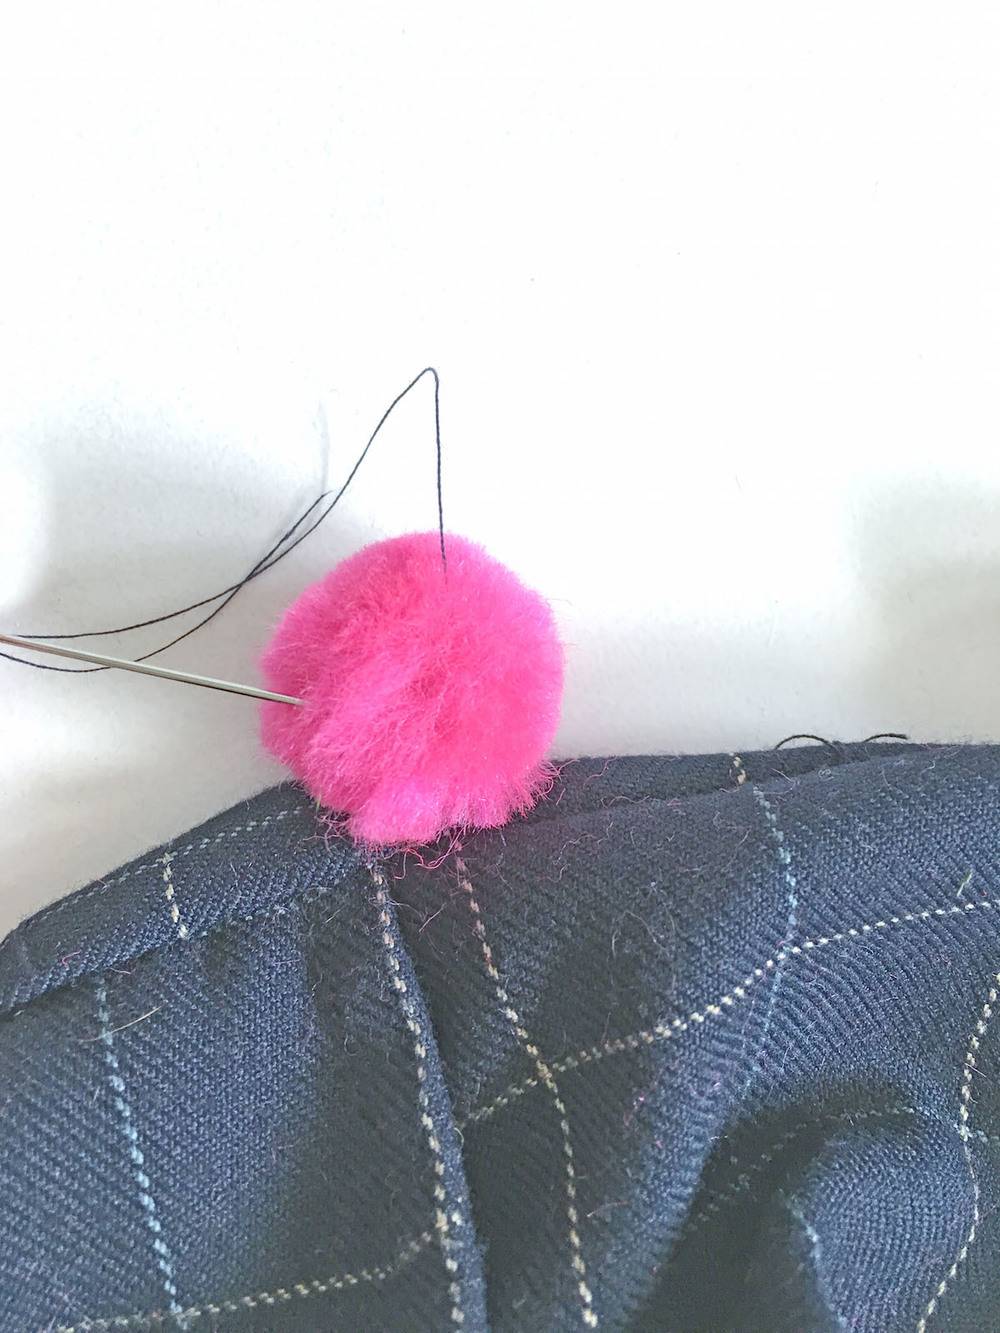
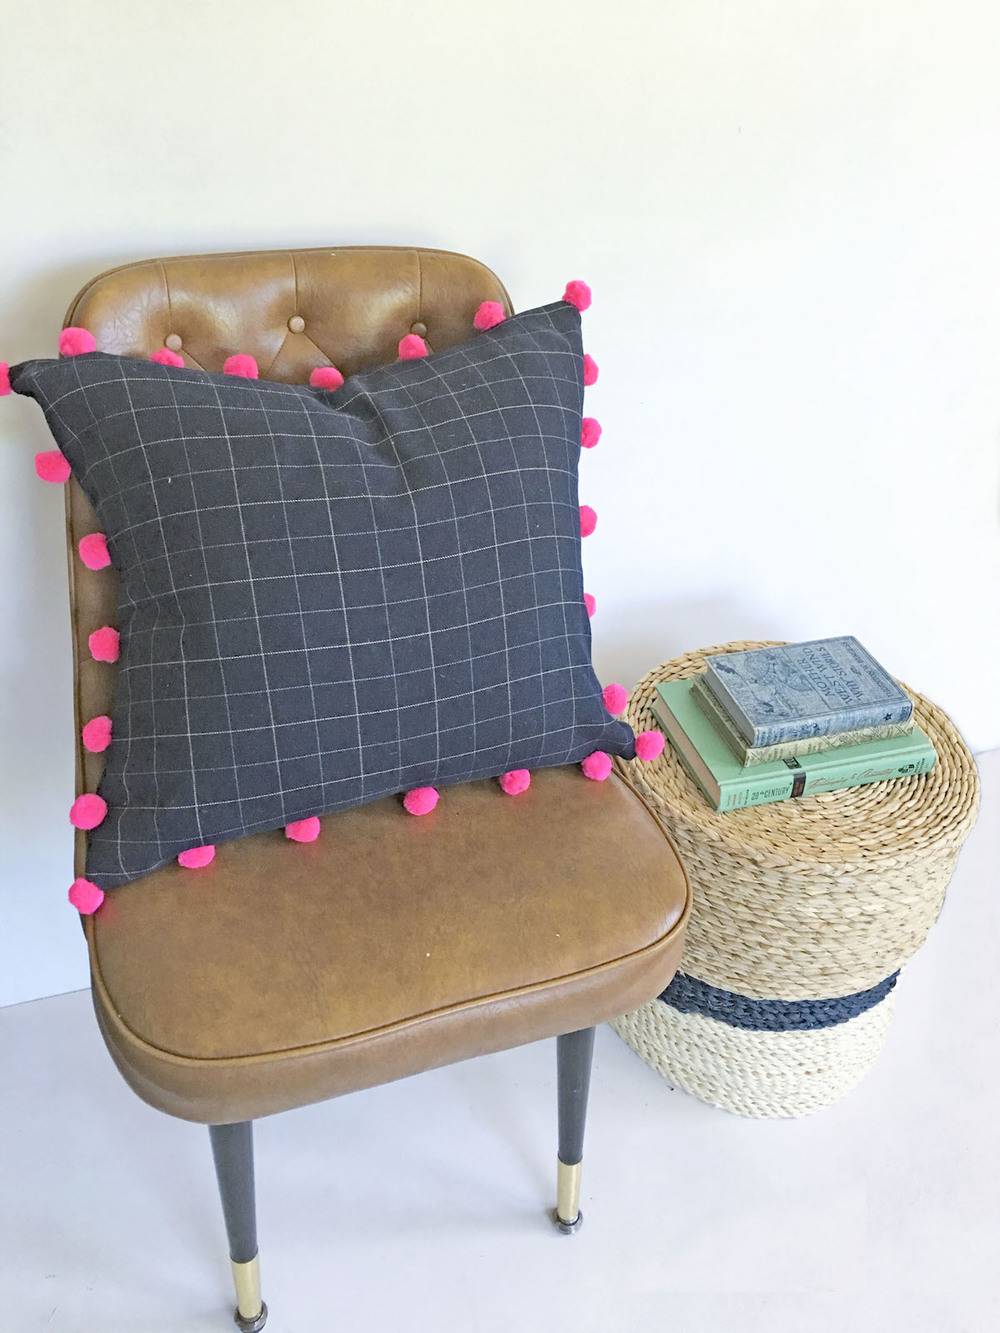
I added Pom-poms to the side by hand stitching them on before putting the pillow insert inside the case.
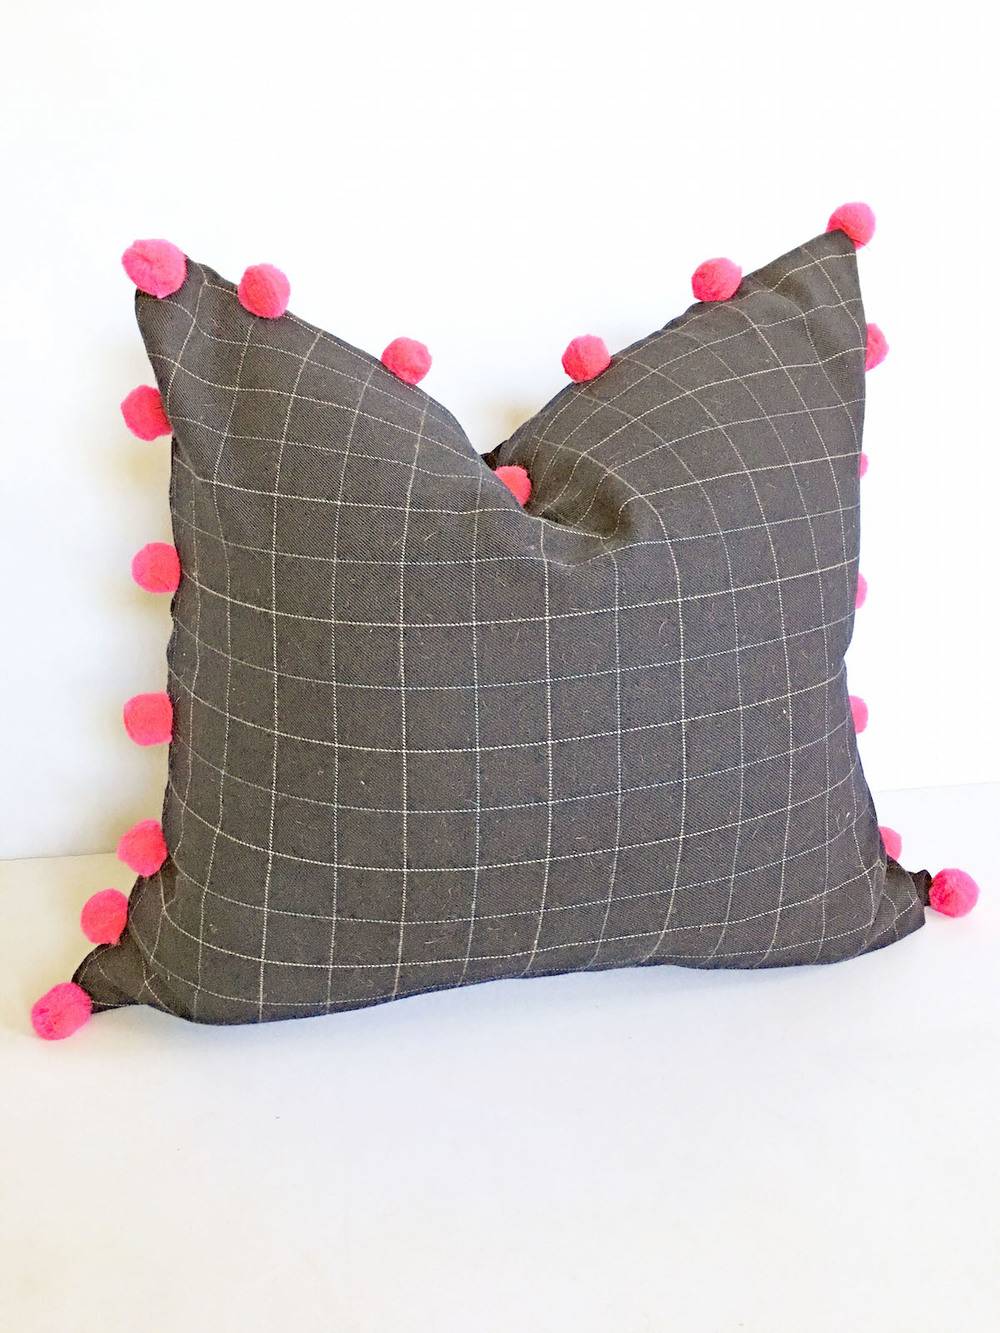
There you have it! I loved this project! It was easy and so affordable — the dress cost $3 and the shirt was 50 cents!
Do you love stylish decor on the cheap? Check out this Curbly Roundup of DIY butterfly chairs!
