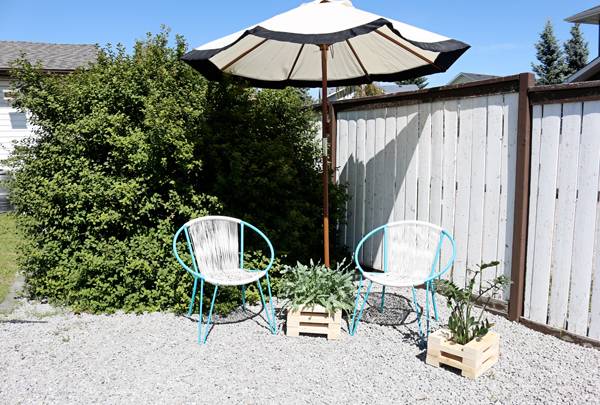
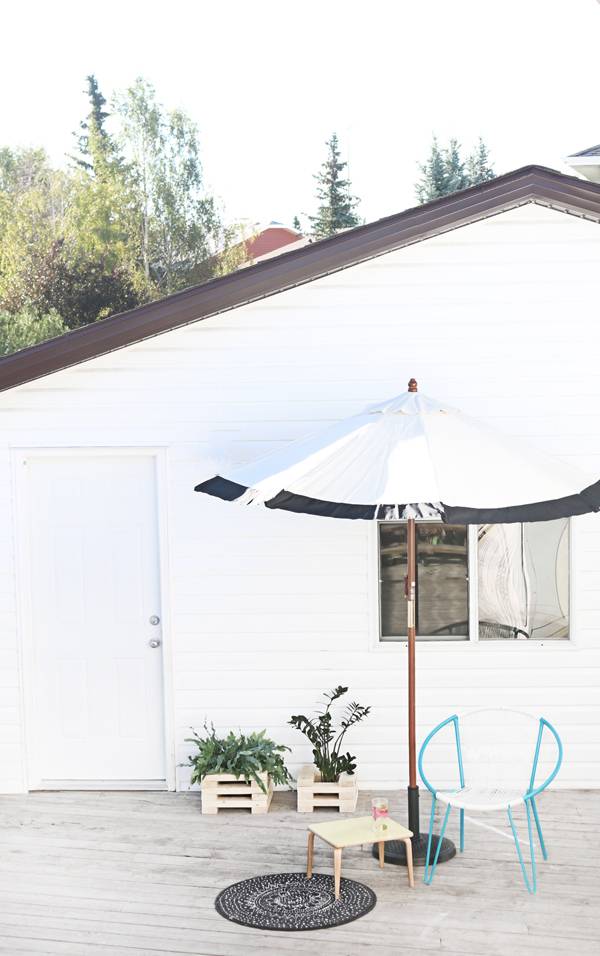
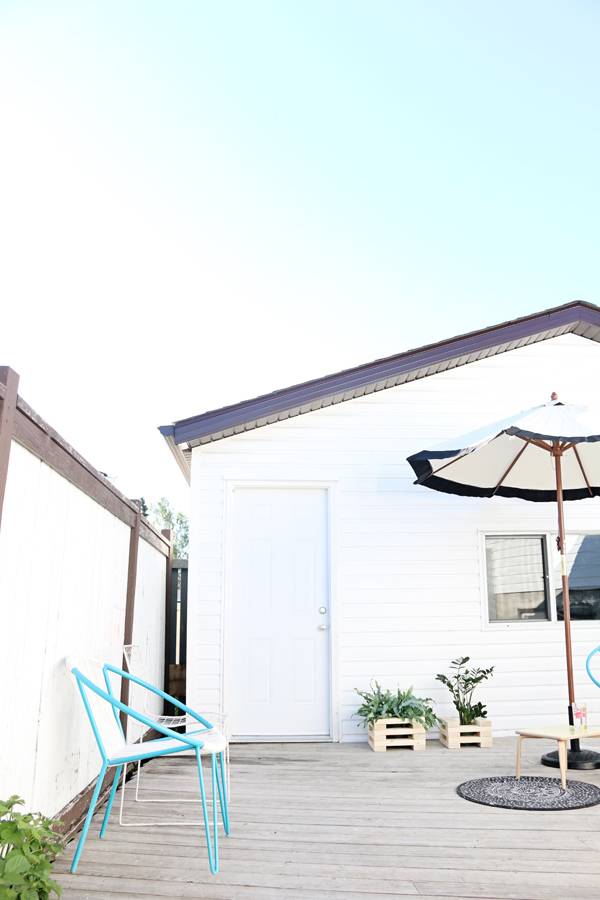
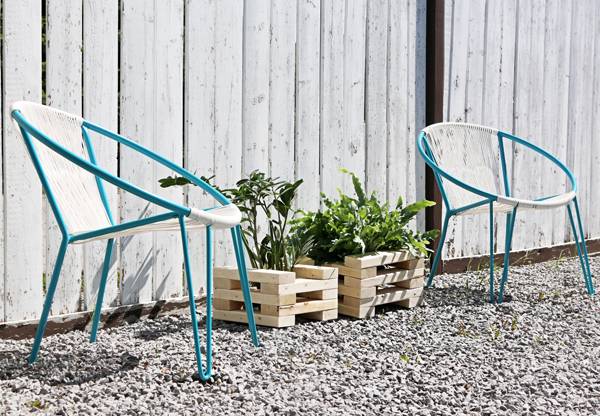
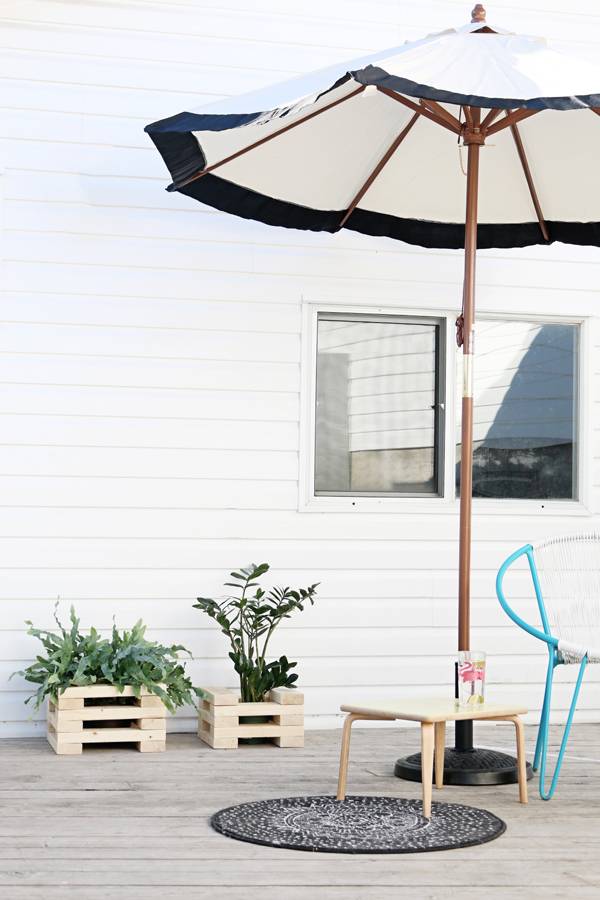
Every outdoor living space needs some greenery to liven up the place, but sometimes space can be limited or lacking opportunity to plant your pretty gardens. This minimal and modern planter is a great way to designate areas for easy greenery and plants. You can move it wherever, whenever!
materials
- Measuring tape
- 2×4 Standard lumber
- Miter saw
- Belt sander
- Wood nails (long enough to go through your 2×4)
- Hammer
Step
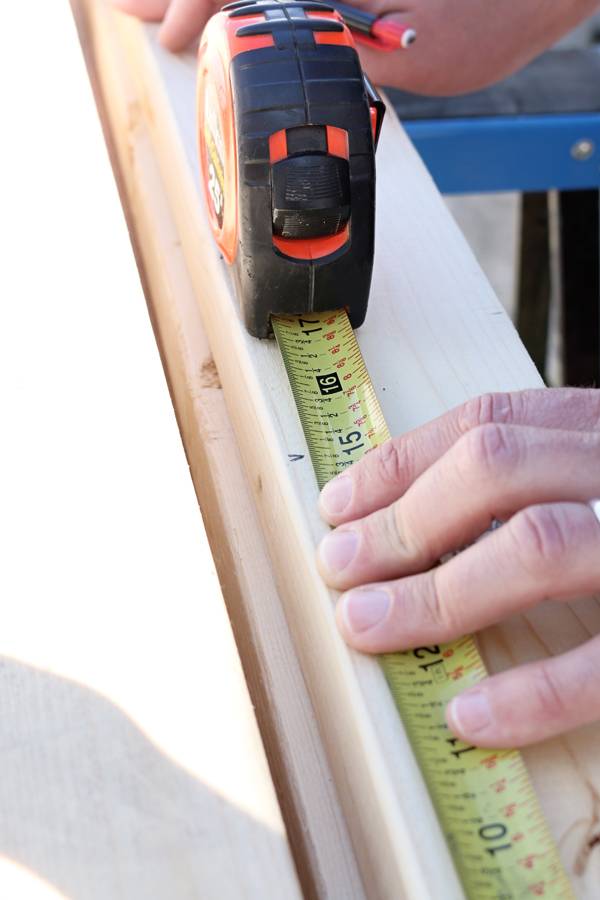
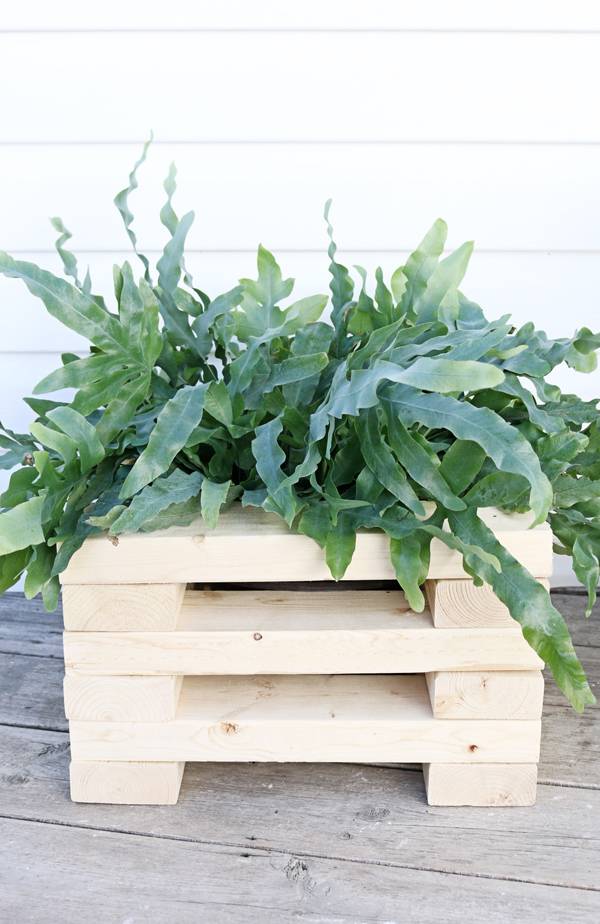
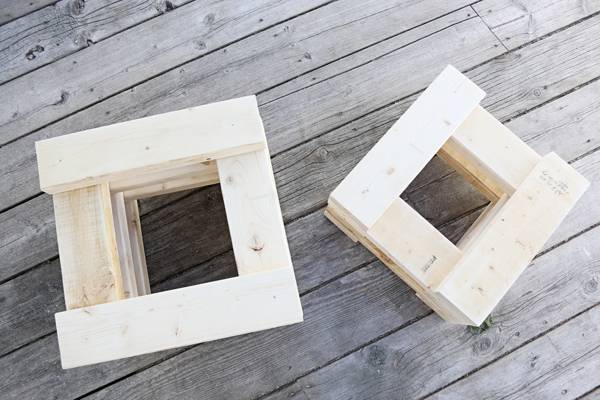
Measure the length of your 2×4, depending on how big you would like your planter to be. We wanted simple squares, so we cut each 2×4 15″ for the first planter and 13″ for the second planter. You can make them any size or shape you want! Simply make markings with a pencil to indicate where you would like to cut.
Step
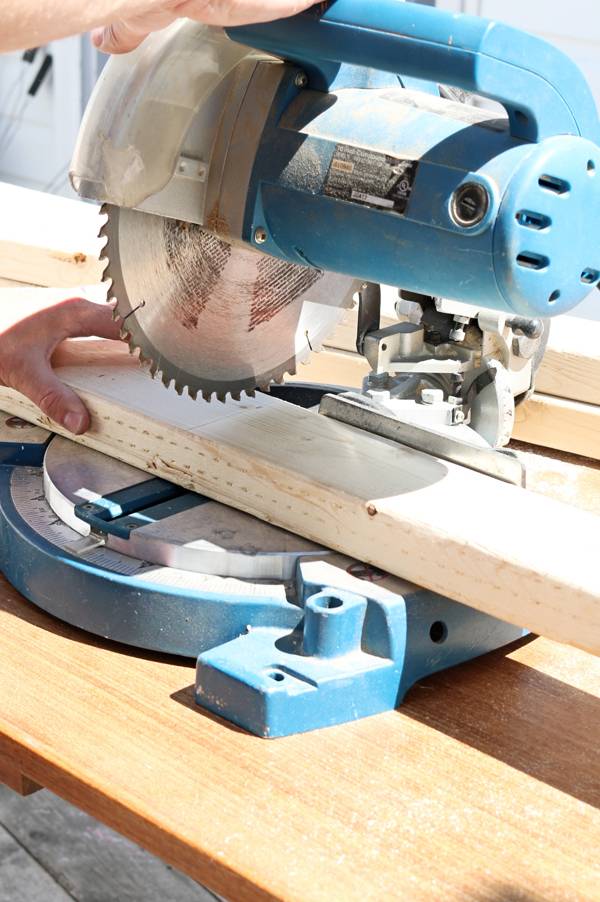
Using your miter saw, cut where you measured in the previous step. Depending on how tall you want your planter to be, repeat until all 2×4’s are cut. We cut 12 sections of 2×4 for the first planter and 10 sections of 2×4 for the second planter
Step
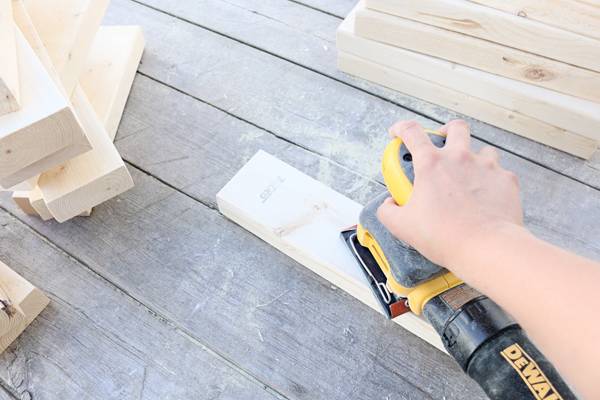
Sand each 2×4 to remove any splinters until the surfaces are nice and smooth. Wipe clean with a damp cloth.
Step
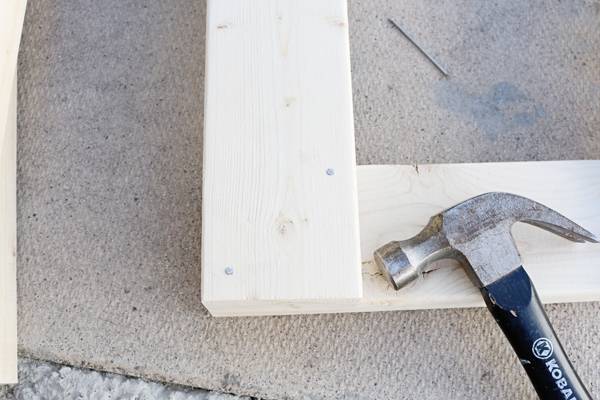
Begin from the bottom up, lay two pieces of lumber on a firm foundation. Crisscrossing two new pieces on the top, secure them altogether using your wood nails and a hammer. You may want to use two nails for the base and then use one nail for the remaining 2×4’s. You also might need an extra pair of hands to help hold the wood securely so it does not shift and ensure it is perfectly centered until complete. Repeat for second planter.
Step
Simply place your plant or flowers in the planter and enjoy! You can easily place the planter directly into your garden and plant your flowers or other greenery directly into the ground. This could be great for climbing plants or plants that need some extra support. Enjoy!