I’ve been in the market for a picnic basket for a while now, but I’ve discovered that it’s difficult to find a contemporary one that is affordable. Then the other day, as I was browsing at IKEA, it came to me – transform the Viktigt into a picnic basket! And yet another IKEA hack was born.
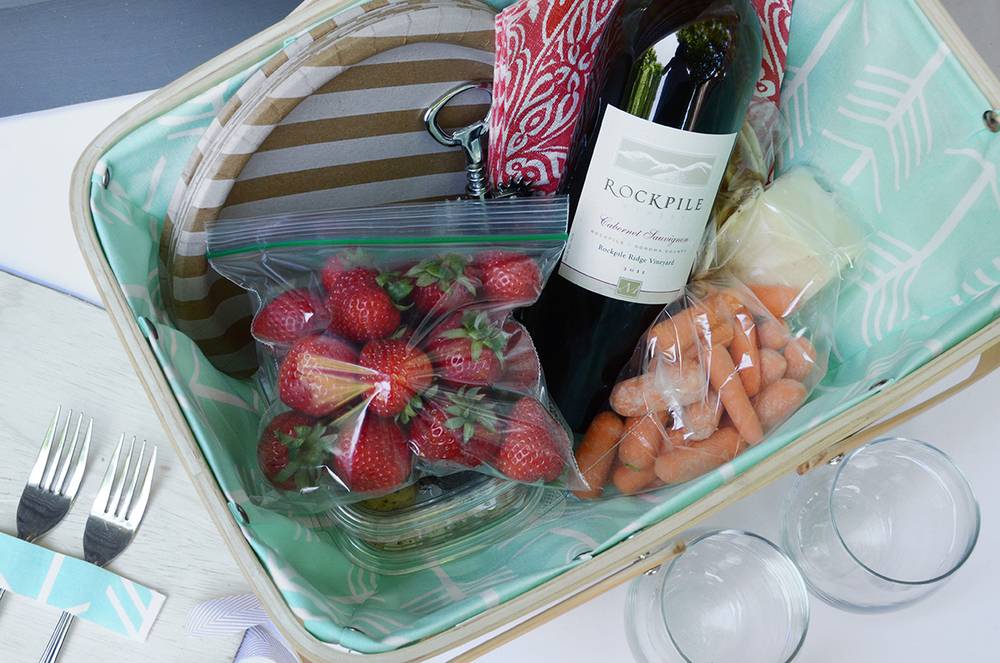
The finished product is lined with fabric and has a top so that everything stayed contained within the basket. You can even add a velcro strip to hold silverware!
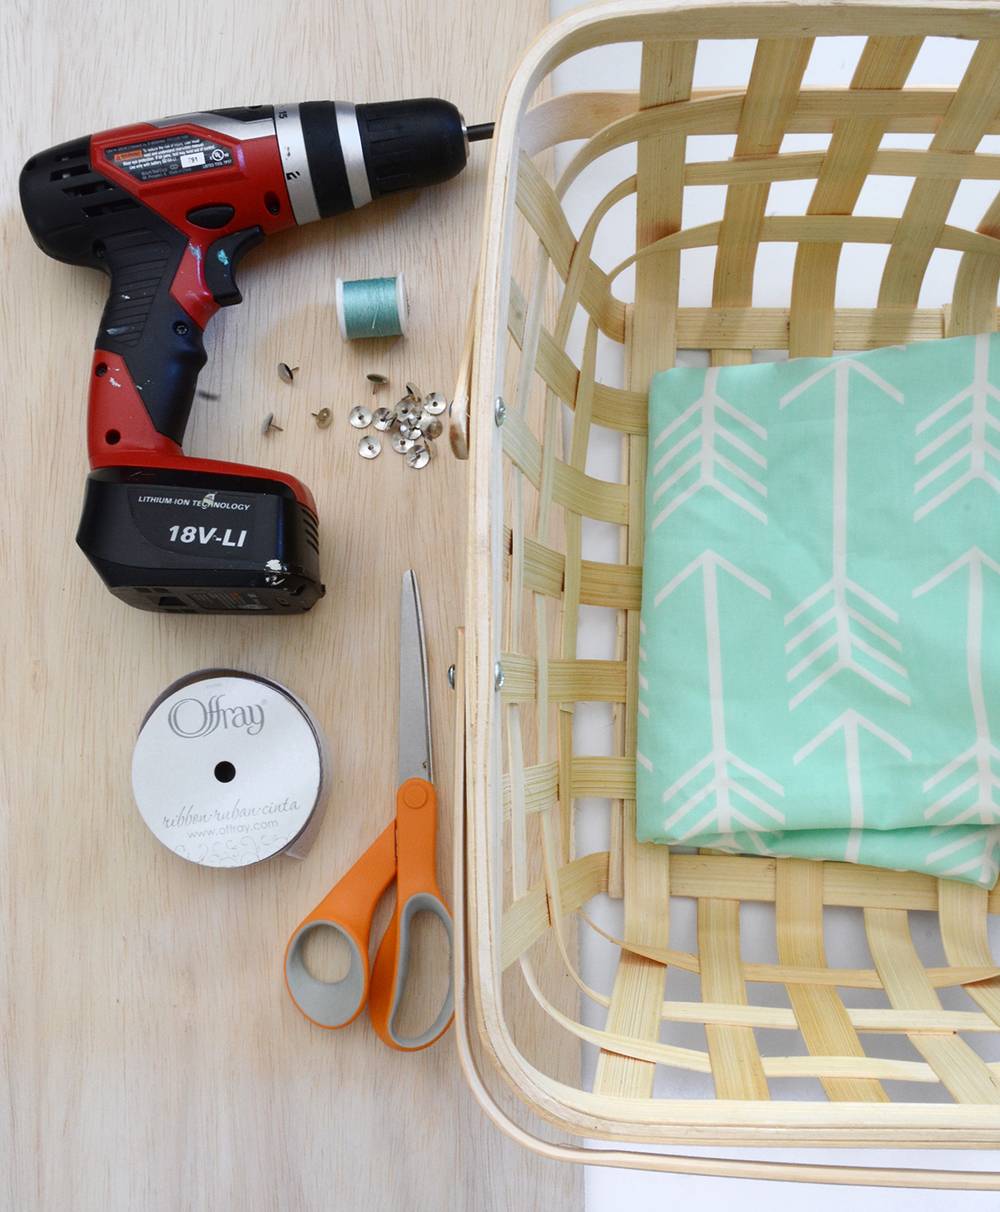
Here’s what you’ll need for this project:
- IKEA Viktigt Basket
- 1/4″ thick wood, at least size 12×16″
- 1 yard of fabric (non-stretch)
- 3′ of 1-inch wide ribbon
- 12 thumbtacks
- Scissors
- Thread
- Adhesive velcro, 1-inch wide (optional, not pictured)
- Power drill with approximately 1/4″ bit
- Sewing machine (not pictured)
- Jig saw (not pictured)
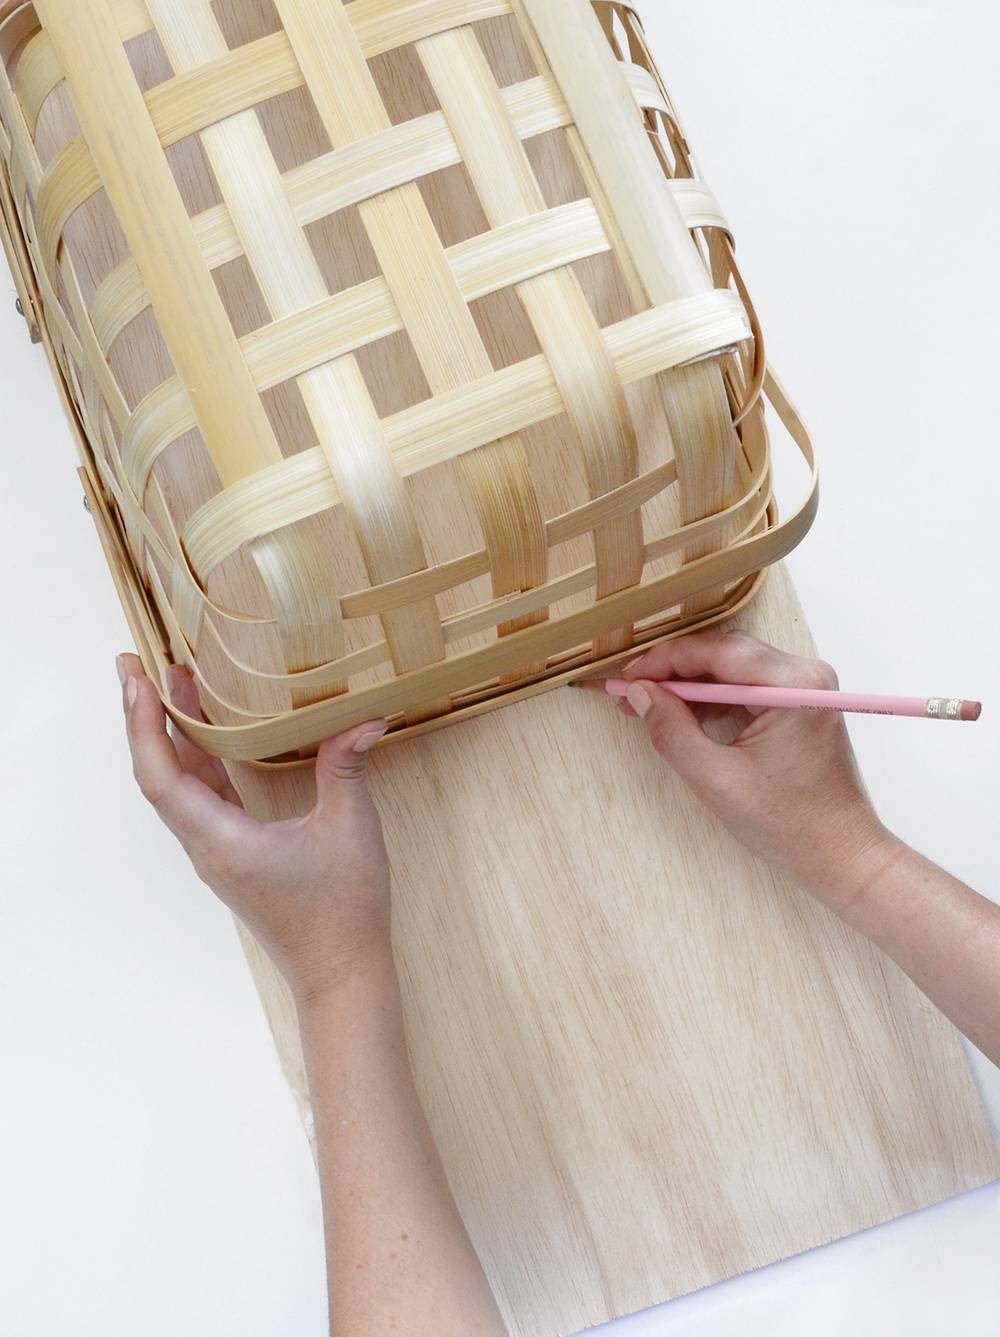
Begin by flipping the basket over on top of the wood and tracing around the top with a pencil. Use your jig saw to cut out the rounded rectangular shape. Sand it down so the edges are smooth.
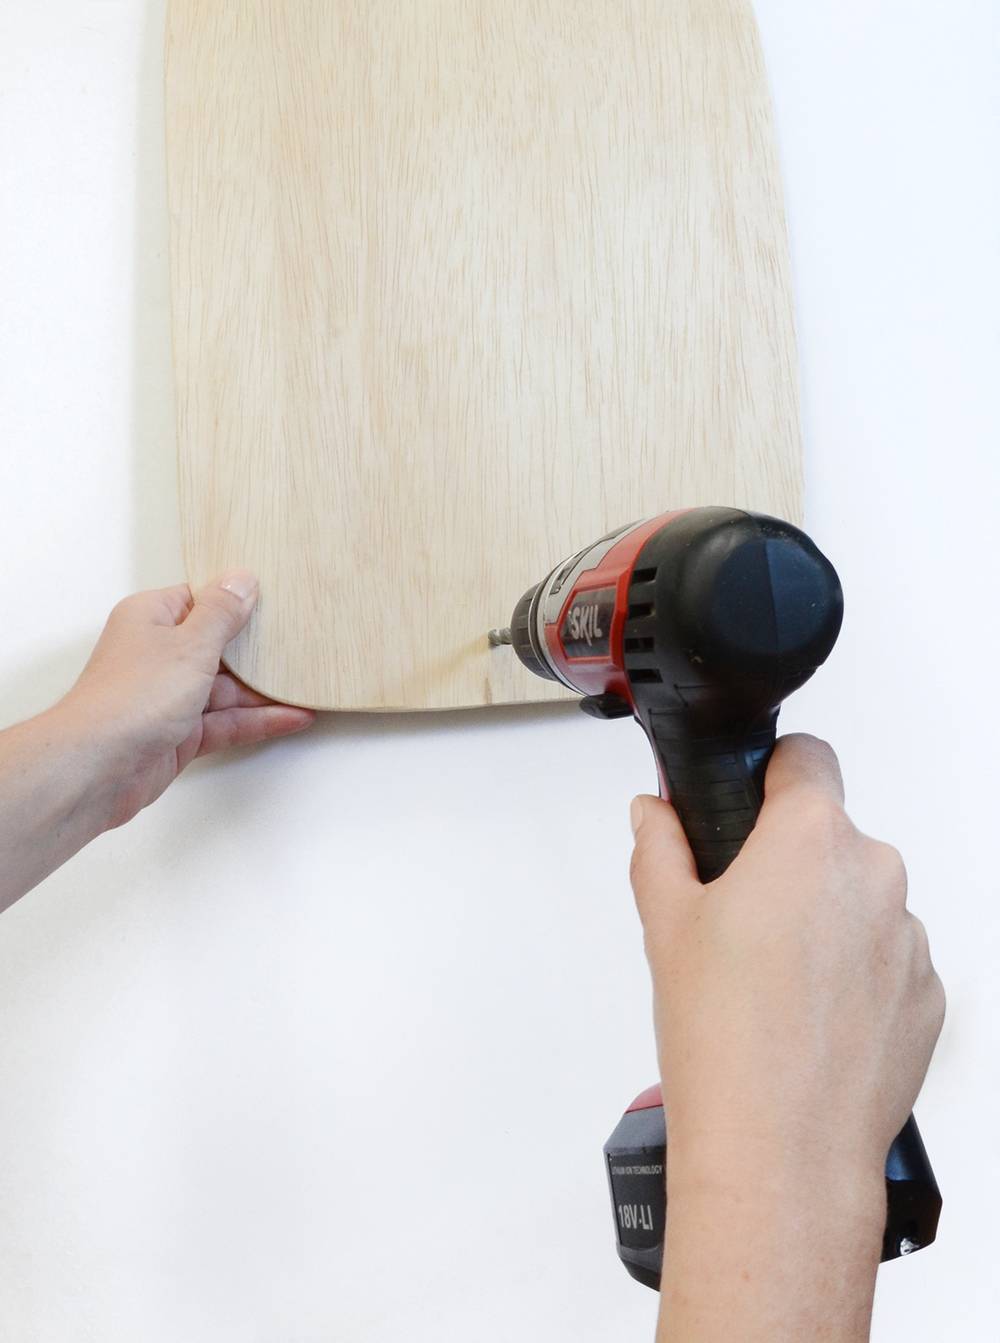
Next, use your power drill to cut one hole in the center of each of the shorter ends of the wood. This will be where the ribbon is attached.
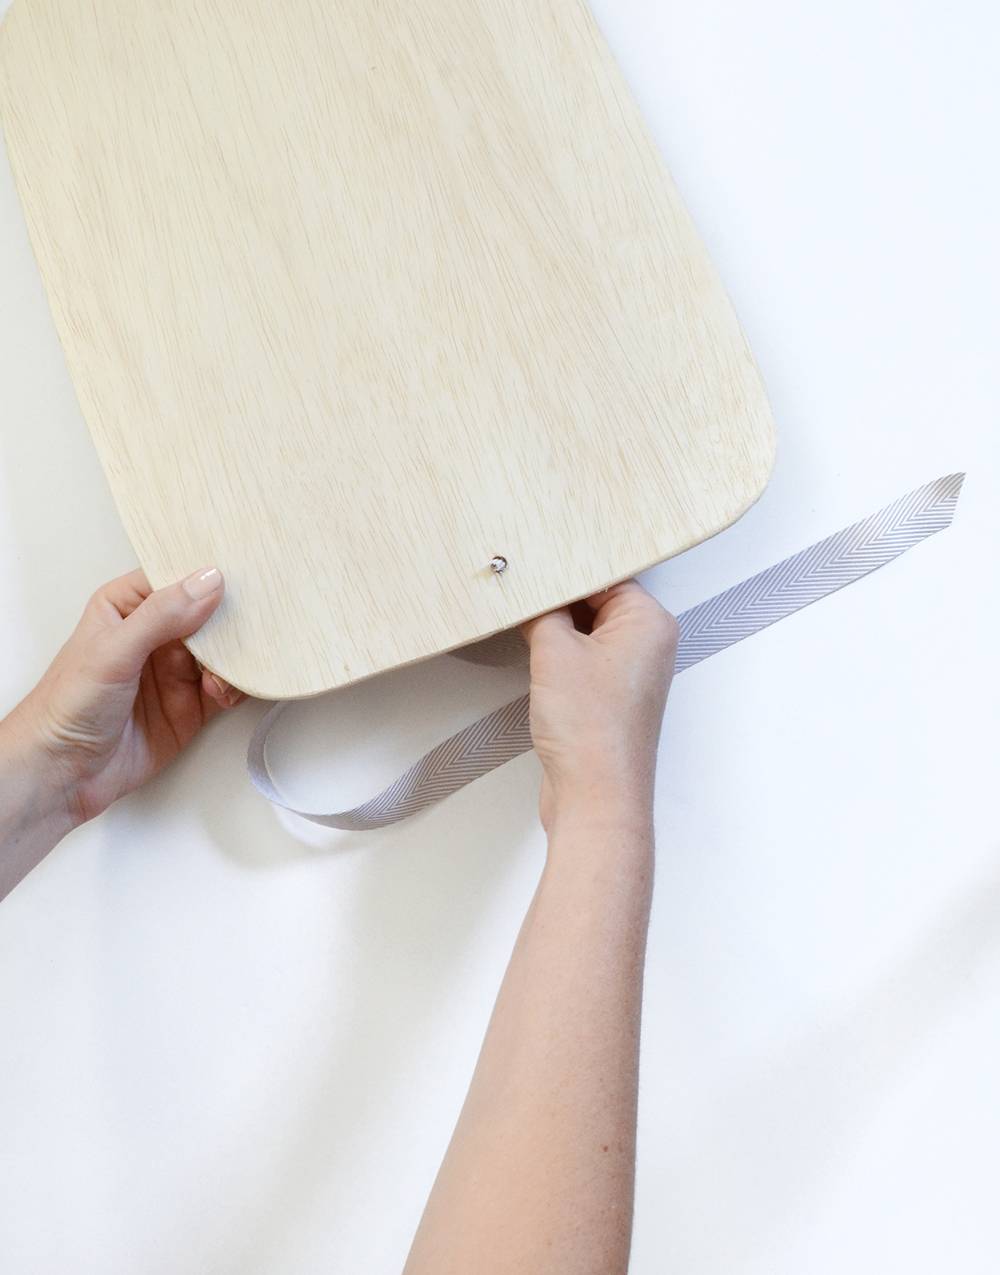
Cut the ribbon in half so that each piece is about 18″ long. Thread one end of one piece up through the hole. Do the same on the other end.
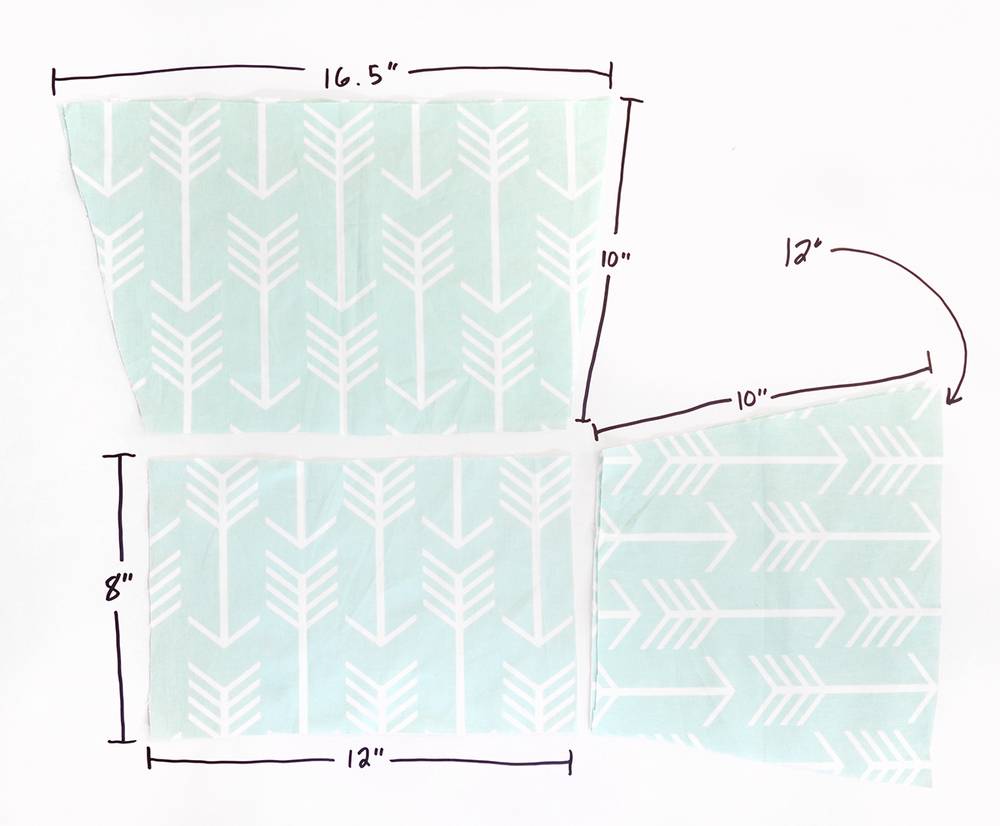
Next, cut your fabric according to the dimensions shown above. You will cut one 8×12″ piece, and two of each of the other trapezoidal shapes.
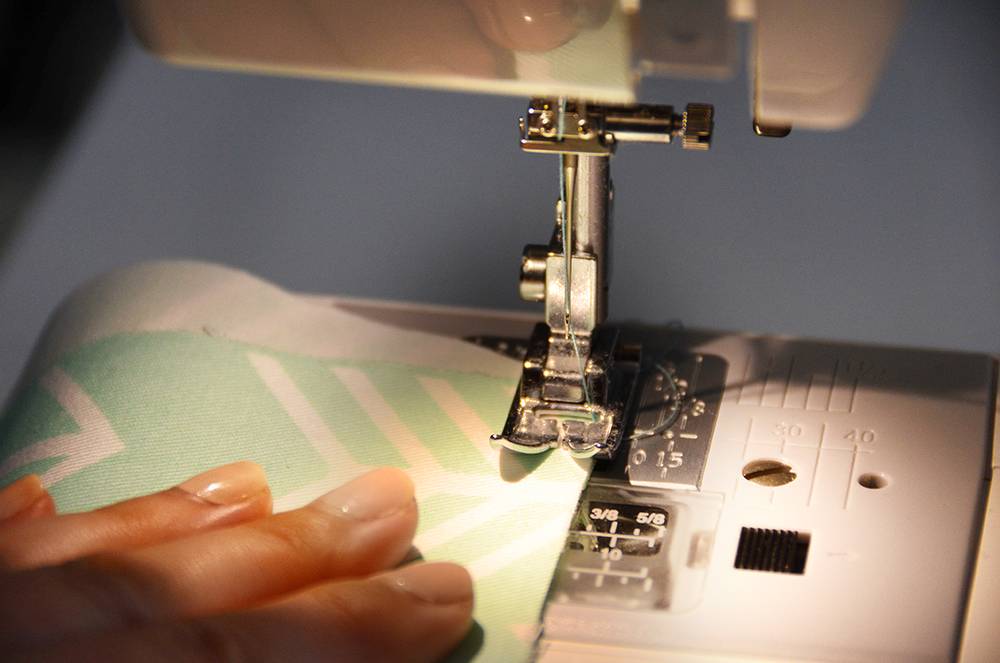
Now you’ll begin sewing your pieces together. First you will sew with wrong sides together, then later you will go back and do french seams so everything will look neat and tidy.
Sew a smaller trapezoidal piece to the 8″ side of the rectangle using a quarter inch seam allowance, then sew the other small trapezoidal piece to the opposite side of the rectangle. Then attach the larger trapezoids to the larger edges of the rectangle as well.
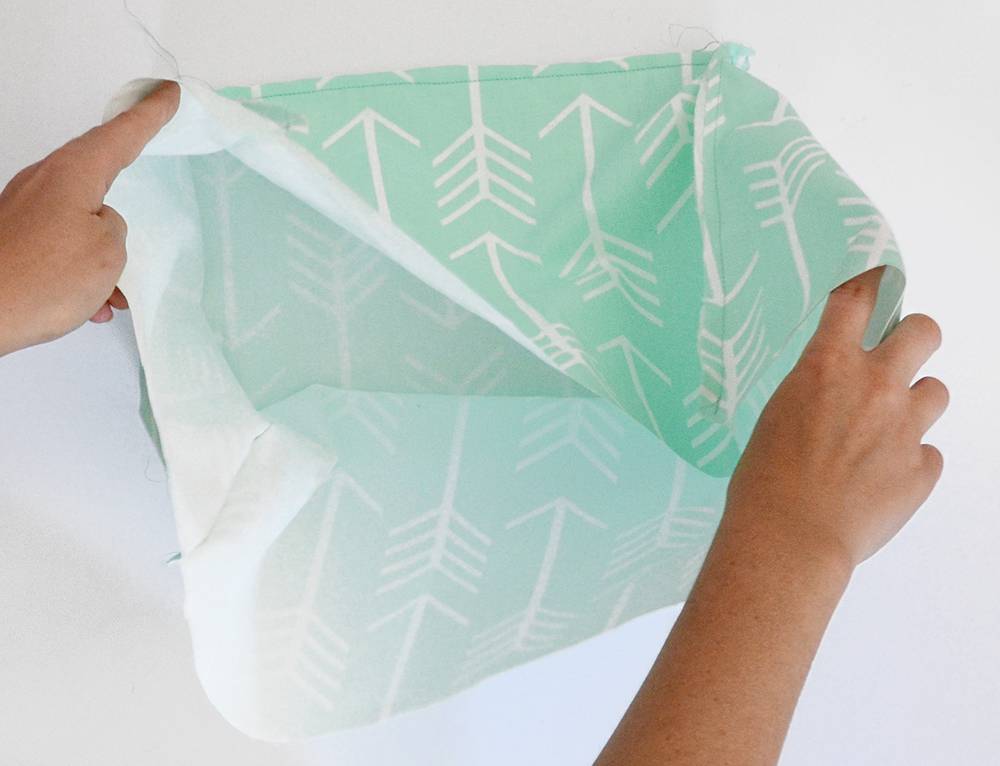
Now sew each of the trapezoid sides together, so it forms a sort of box shape. It should look like the image above.
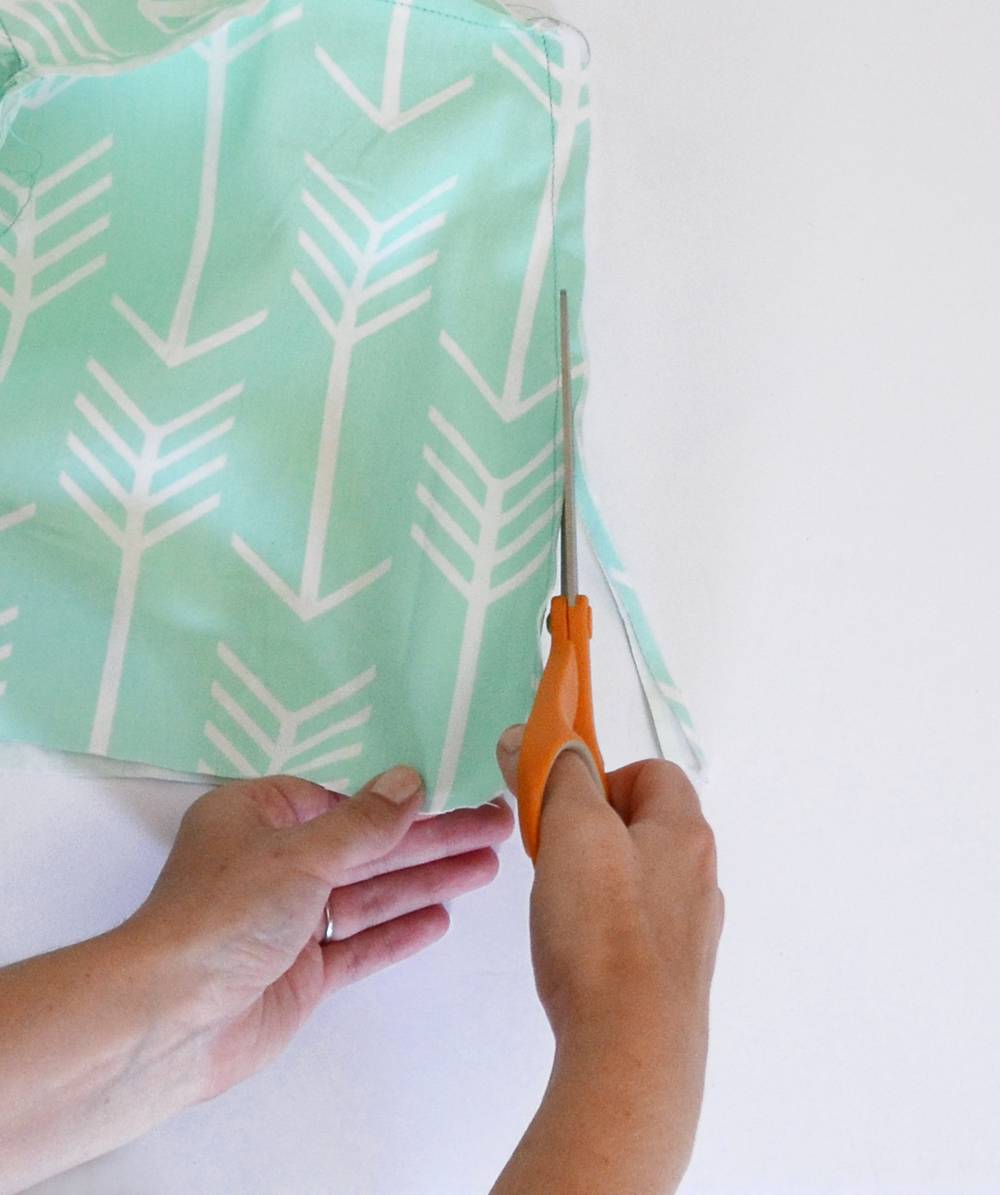
Now cut off the excess fabric outside of the seams as shown above.
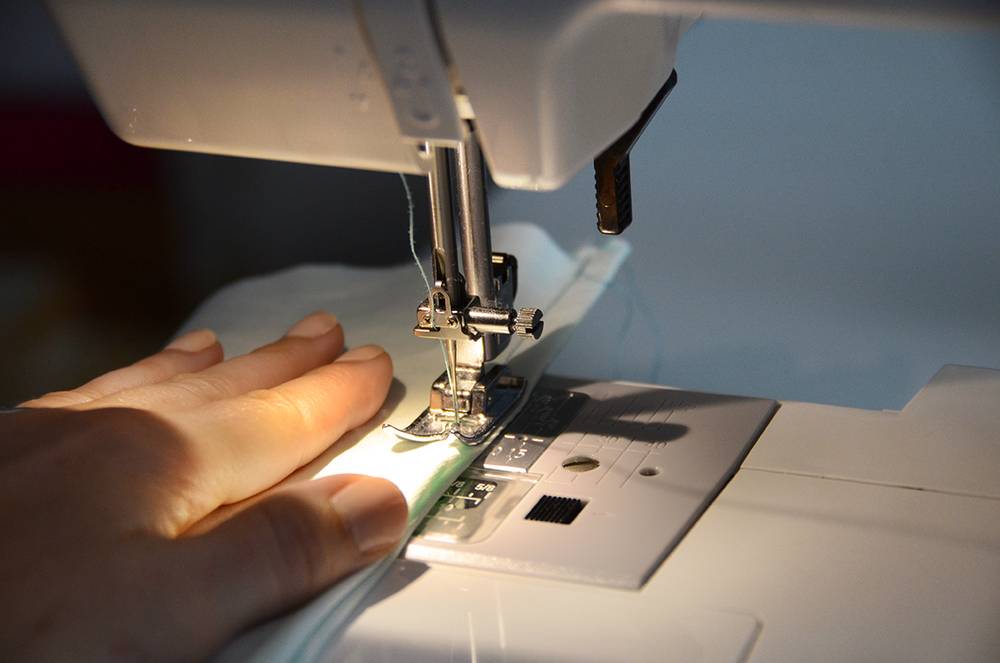
Flip the box inside out and sew over every seam from the back side. This is called a french seam. If you’ve never done one before, check out this tutorial.
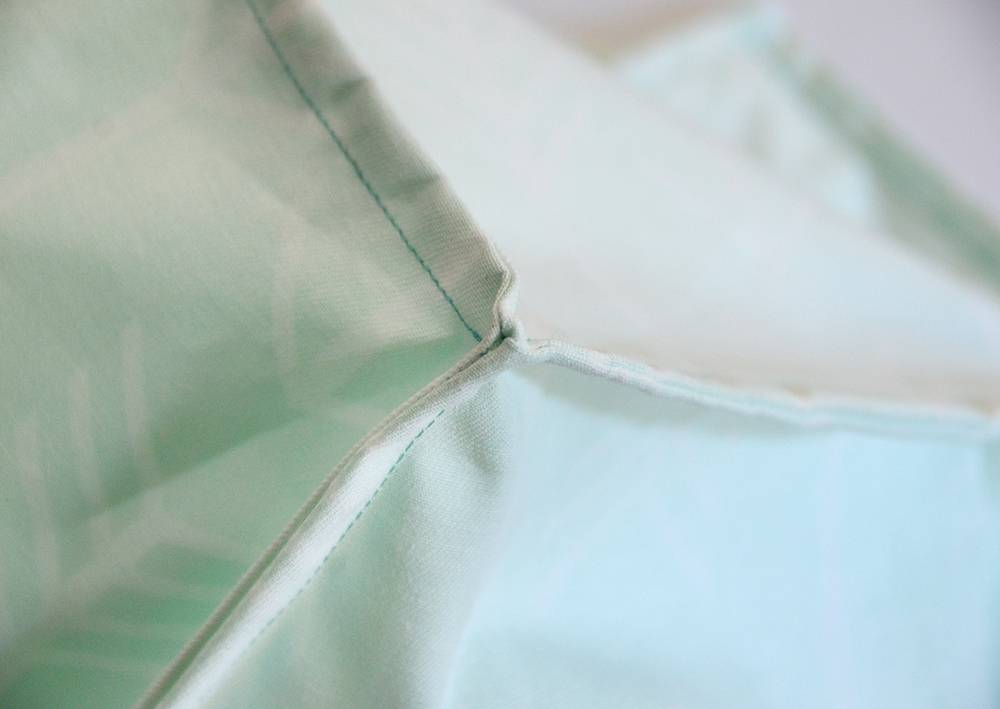
The french seams will give the wrong sides of the fabric a nice finished look, as shown above. This is important for this project because you will see the wrong sides of the fabric through the basket.
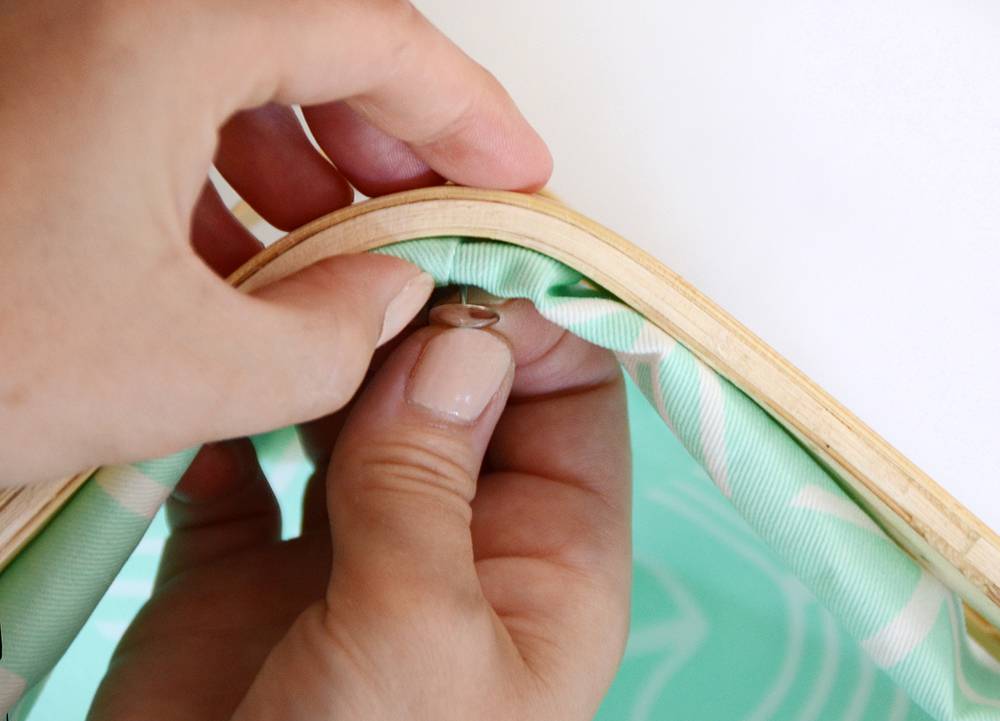
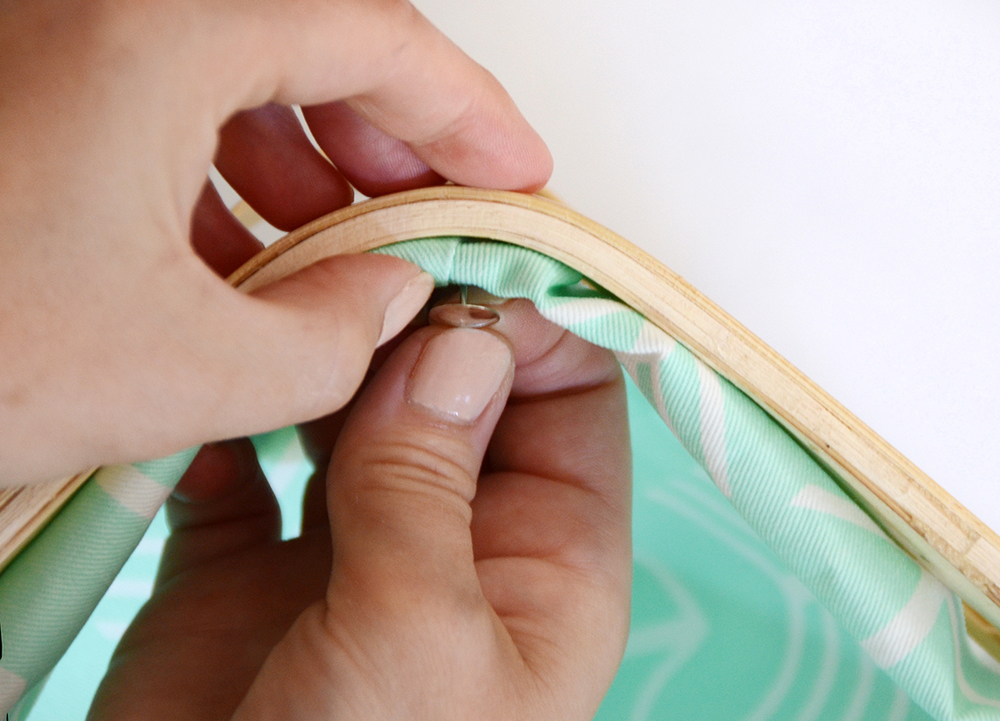
Now you’ll attach the fabric liner to the basket. Place it loosely inside and fold over the top edge slightly so you don’t see the raw edge of the fabric. Use a thumbtack to attach the fabric to the corner of the basket. Do the same on the other three corners.
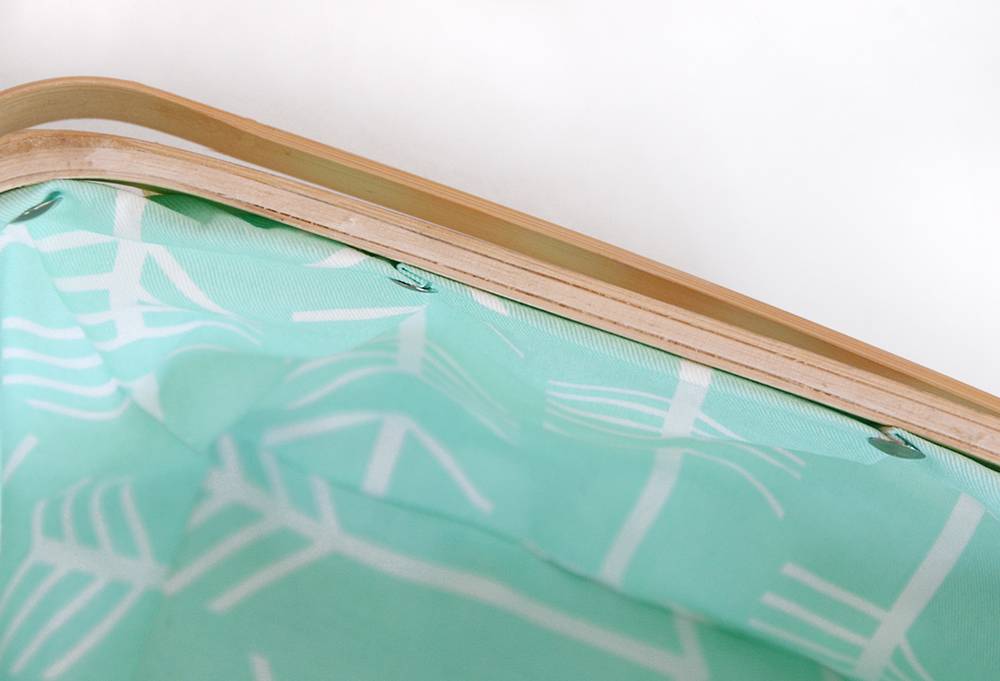
Odds are you’ll have a bit of excess fabric in between your corner thumbtacks, so just pleat them a bit as shown above.
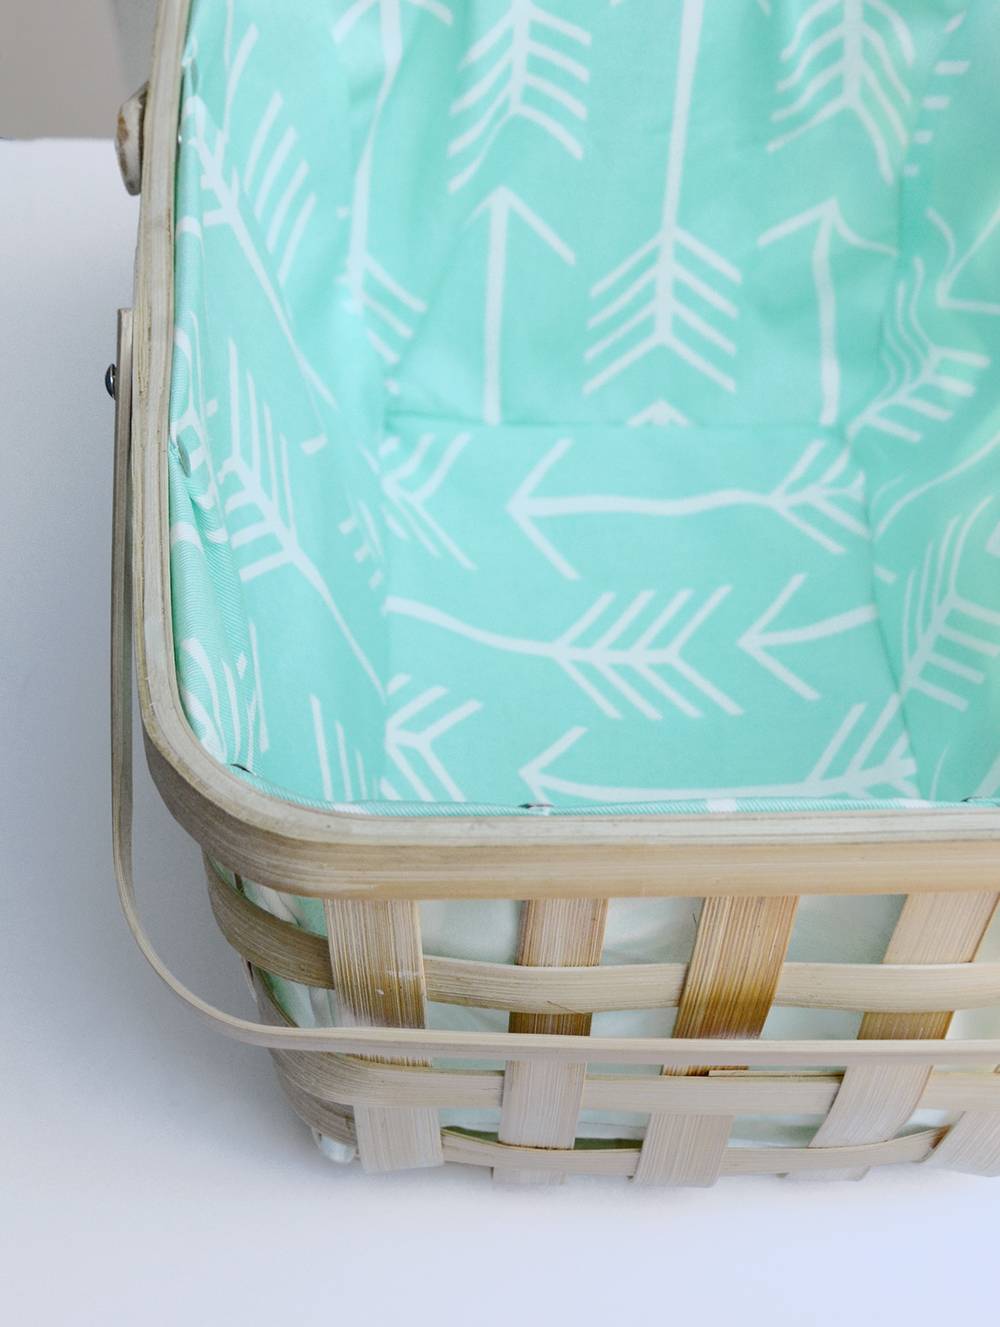
And that’s it, you’re finished!
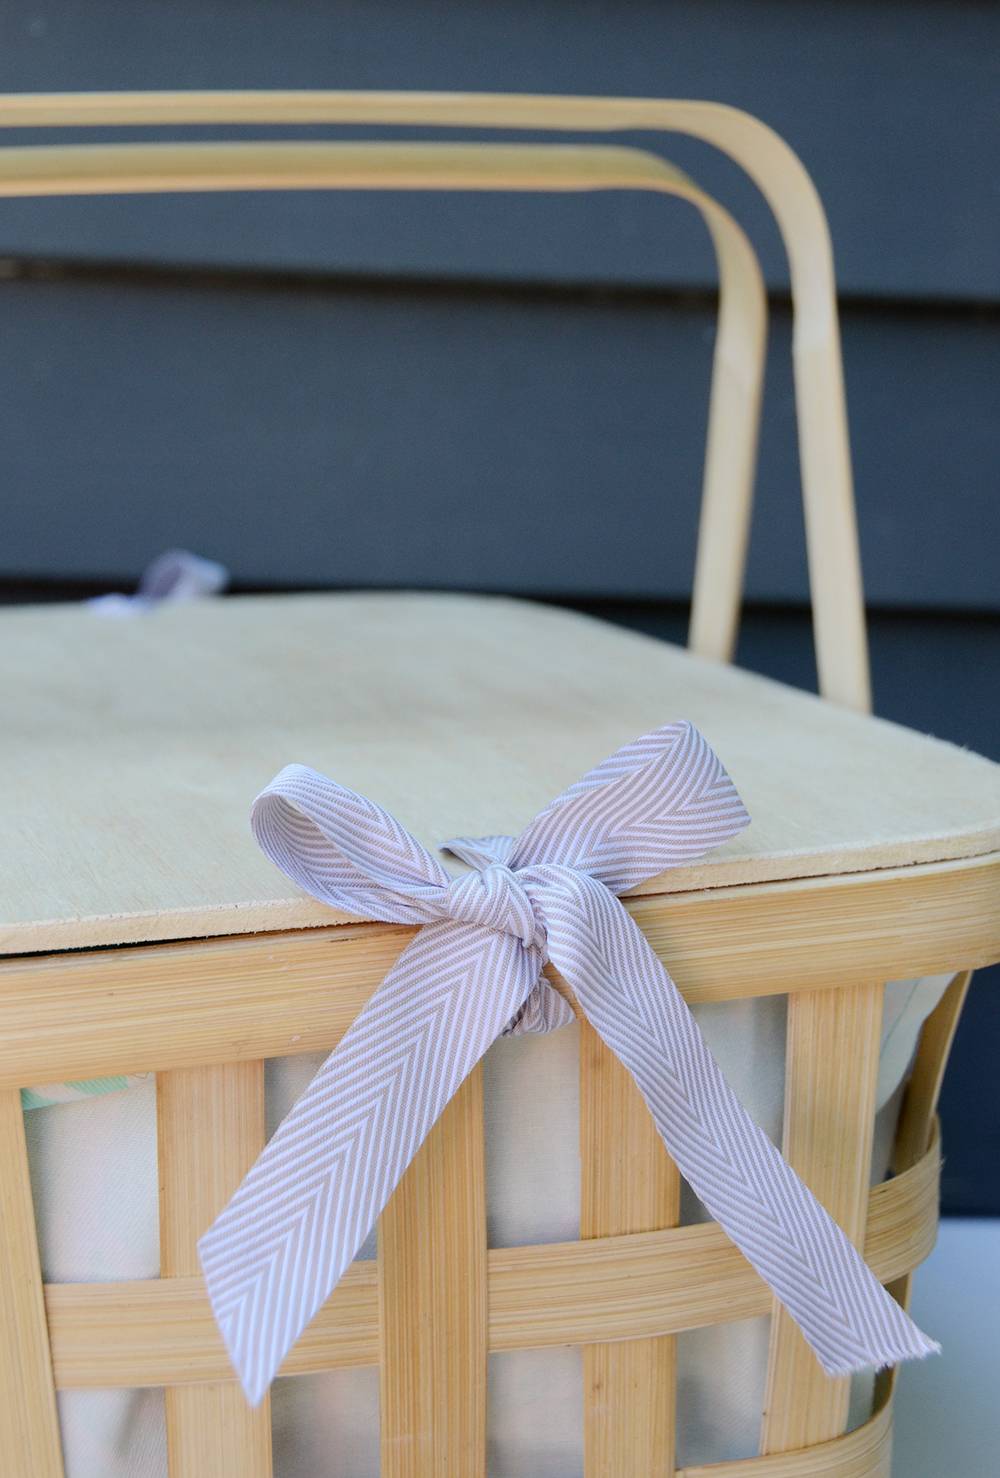
To attach the top, simply slip one piece of ribbon between the basket and fabric at the top edge and tie in a bow.
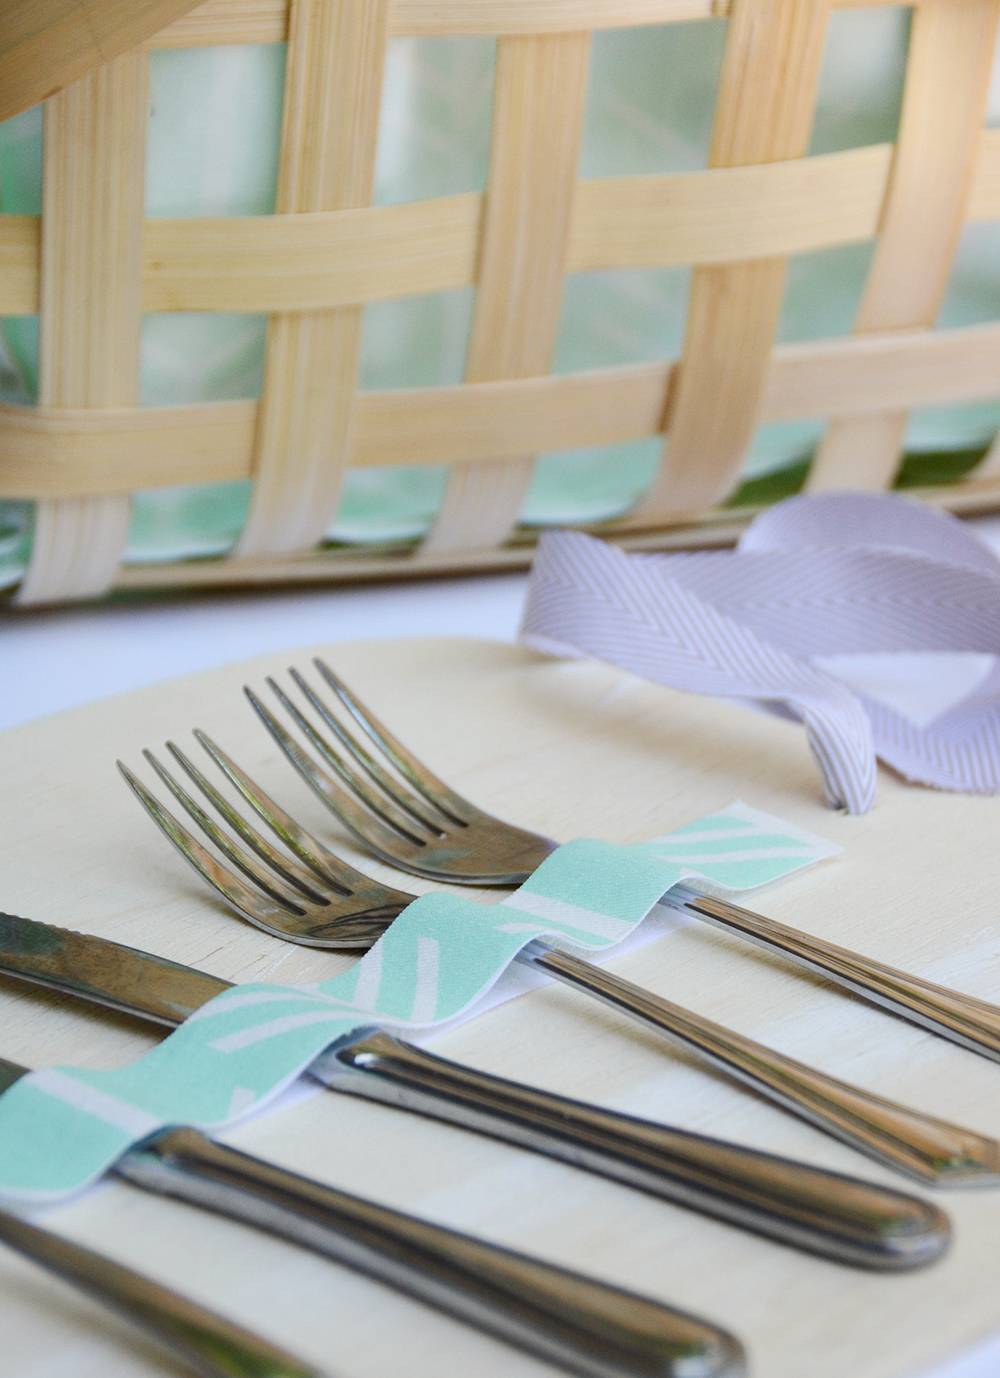
Here is one more optional step: attach a piece of adhesive velcro to the underside of the basket top so that you can store your silverware separately. Attach the top piece of velcro to a piece of fabric and cut off the excess for a more finished look.
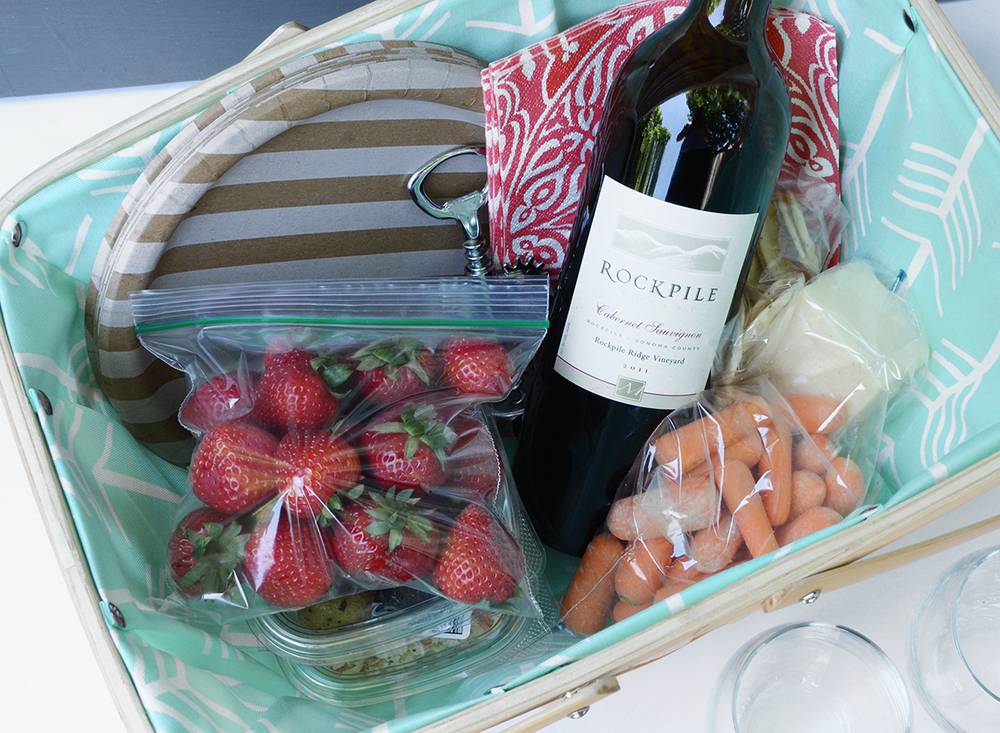
Now go pack up a picnic and head to the park!
