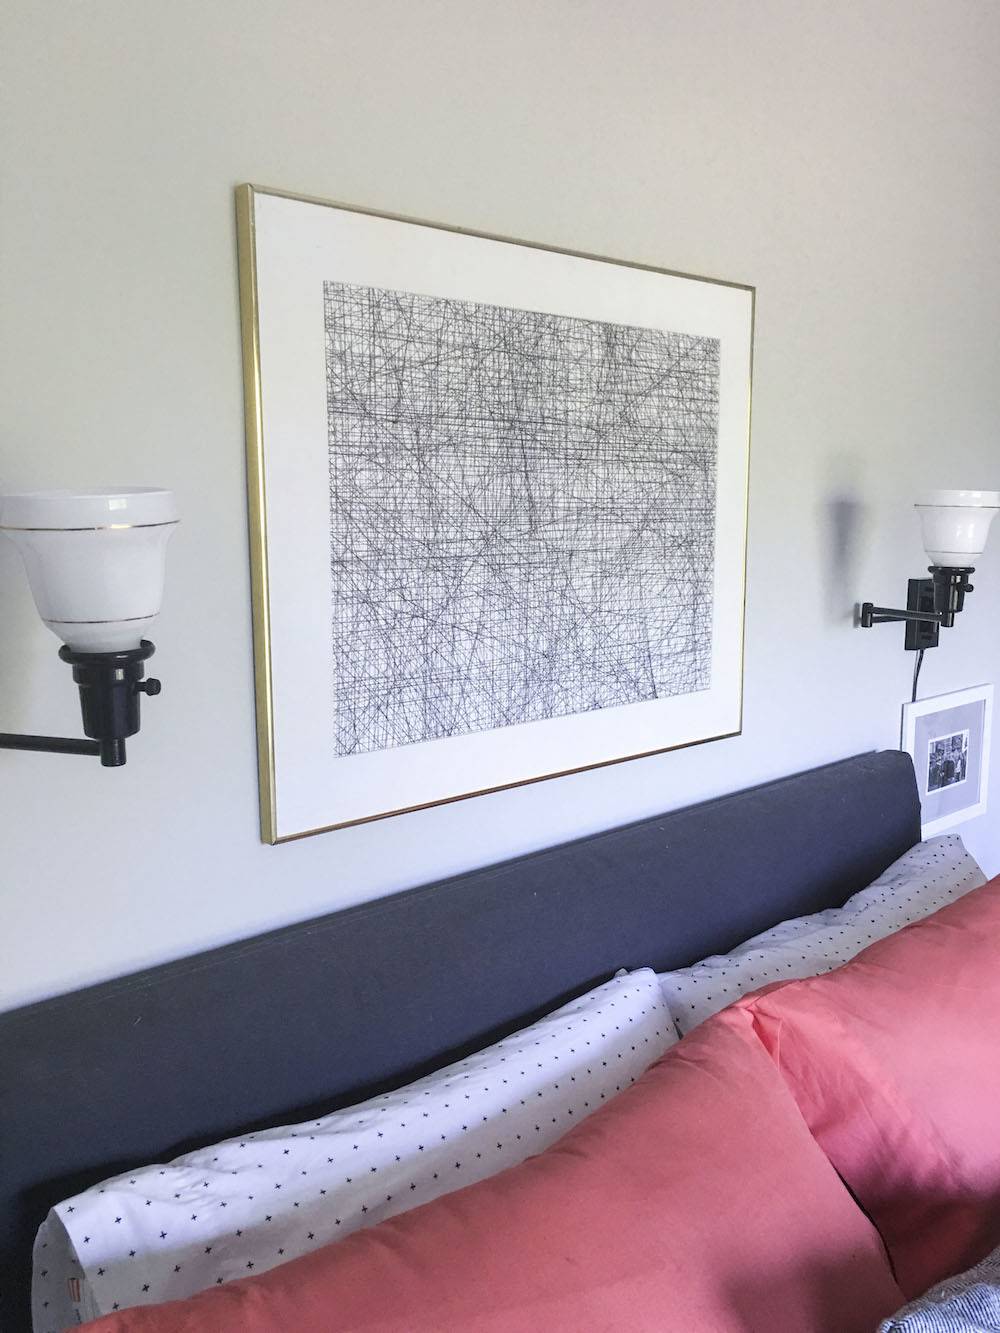
I really love simple art and I have been looking for something I could DIY for my guest bedroom. I am drawn to the movement of ink crosshatch. Artists do some seriously cool things with crosshatch, but my experience with it is what I doodled on my paper in college when I should have been taking notes. I decided to make a simple piece of art drawing lots of lines. Here is how I did it.
I found this image above from Made Mistakes and I decided I liked the more linear look. I decided to do a mixture of the top two left images.
Materials
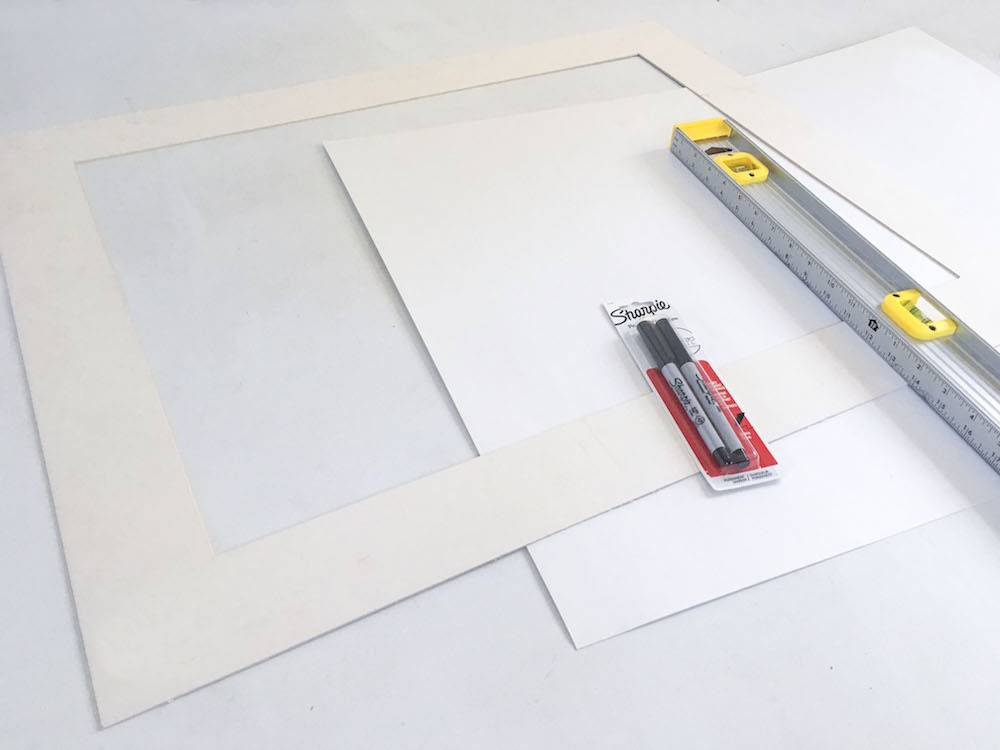
You need the following:
- Poster Board or Art Paper
- Ruler or straight edge
- Sharpie (fine tip) or black ink pen
- Photo Mat
- Frame (not pictured)
Step
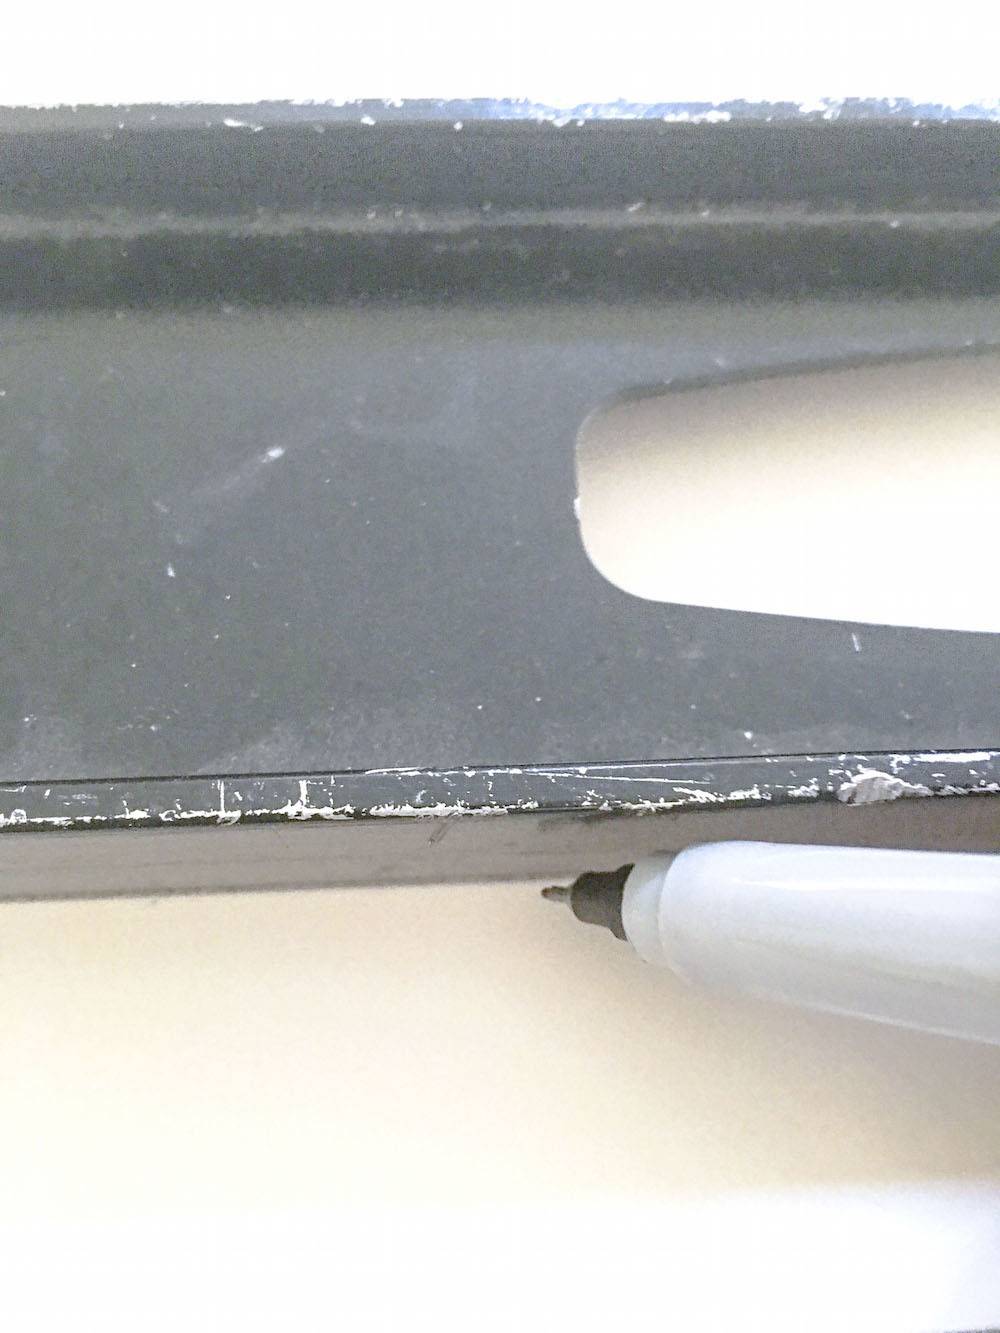
Start drawing your lines. This is an easy beginner level art DIY, but it will take time and patience. There was no method to my madness. I just started drawing lines.
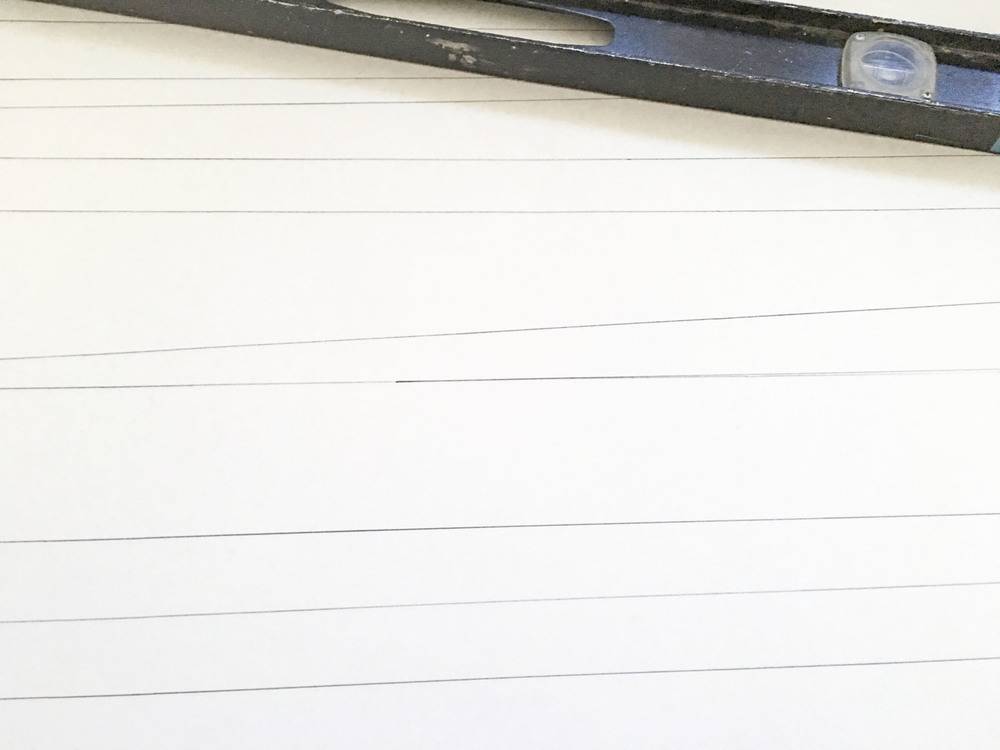
You can see above how my Sharpie was already running out. I could have used a thicker Sharpie but I wanted thin lines.
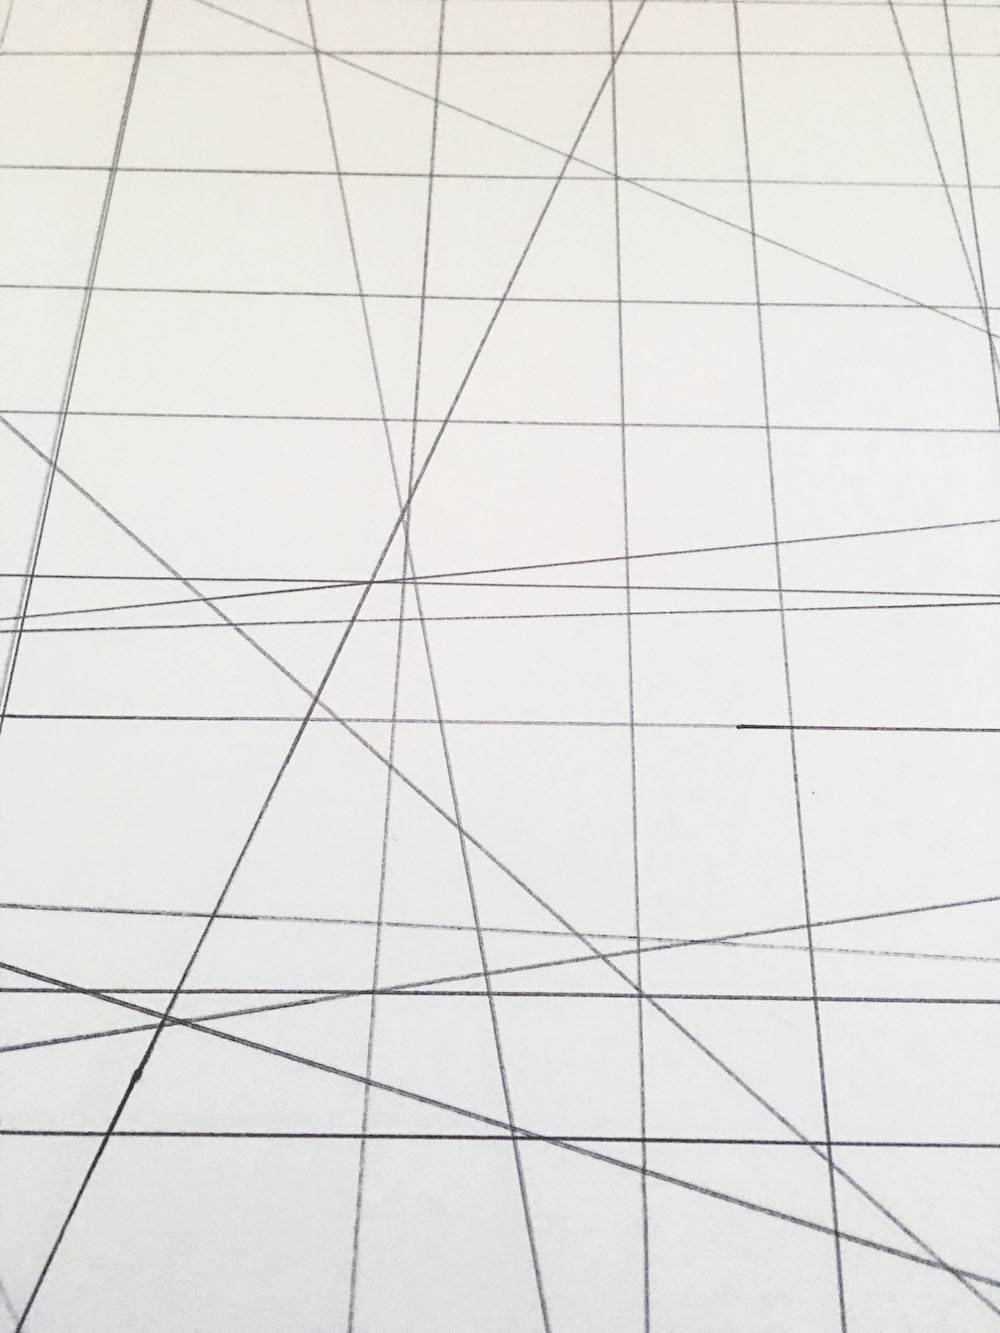
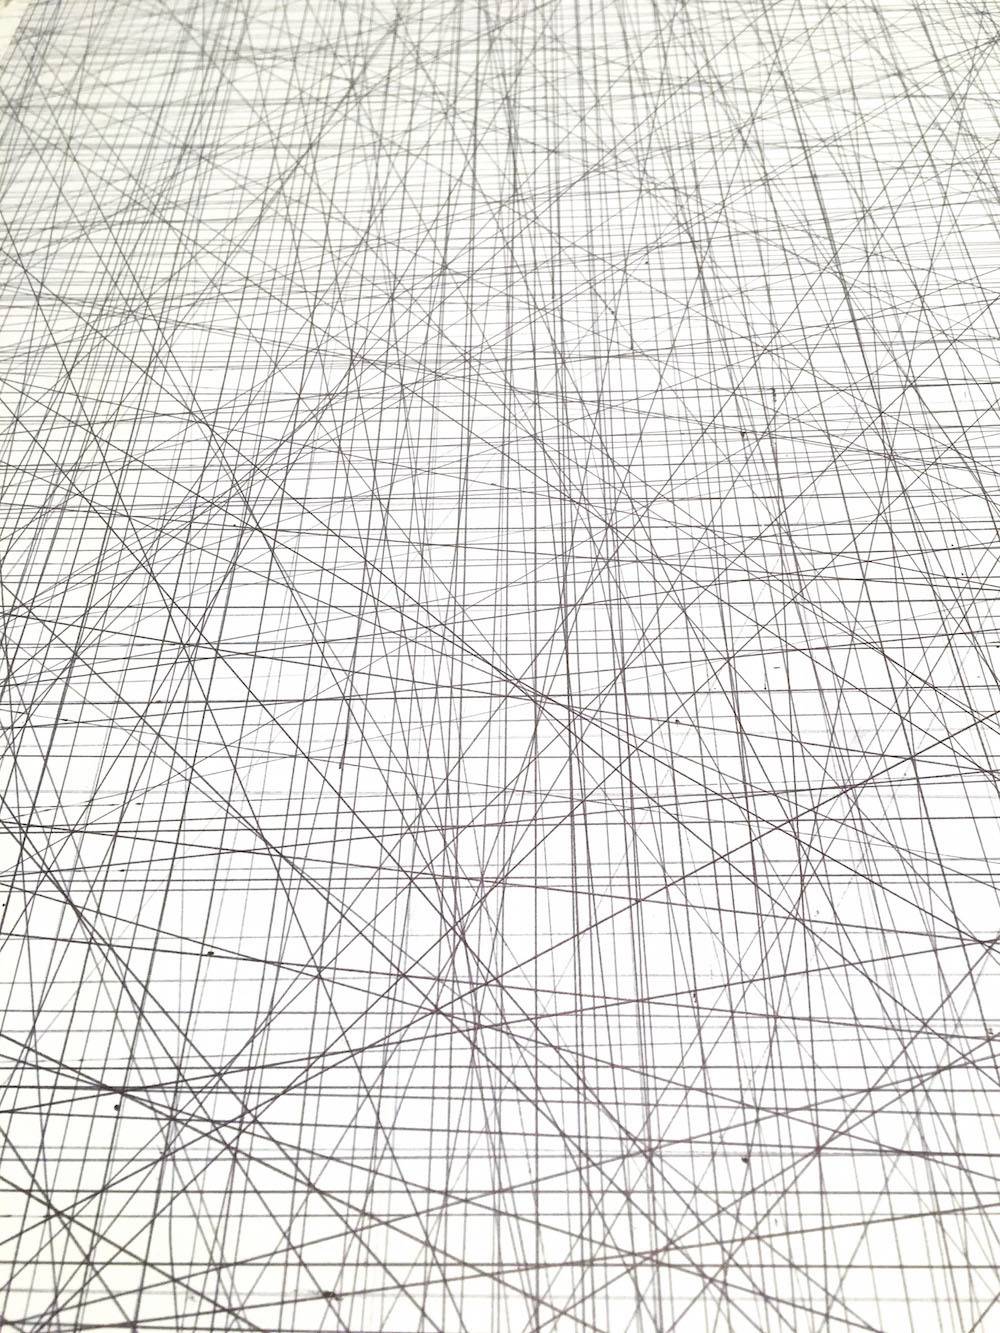
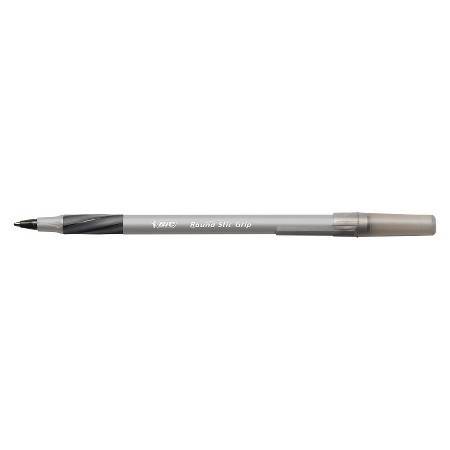
I finally switched to a ball point ink pen and the darkness of the thin lines never faded. Although, I do like the depth of the faded lines in the background.
I used this exact pen, a BIC Round Stick black ball point pin. You must be careful to watch your hands because you will get black ink on your hands and it will smudge.
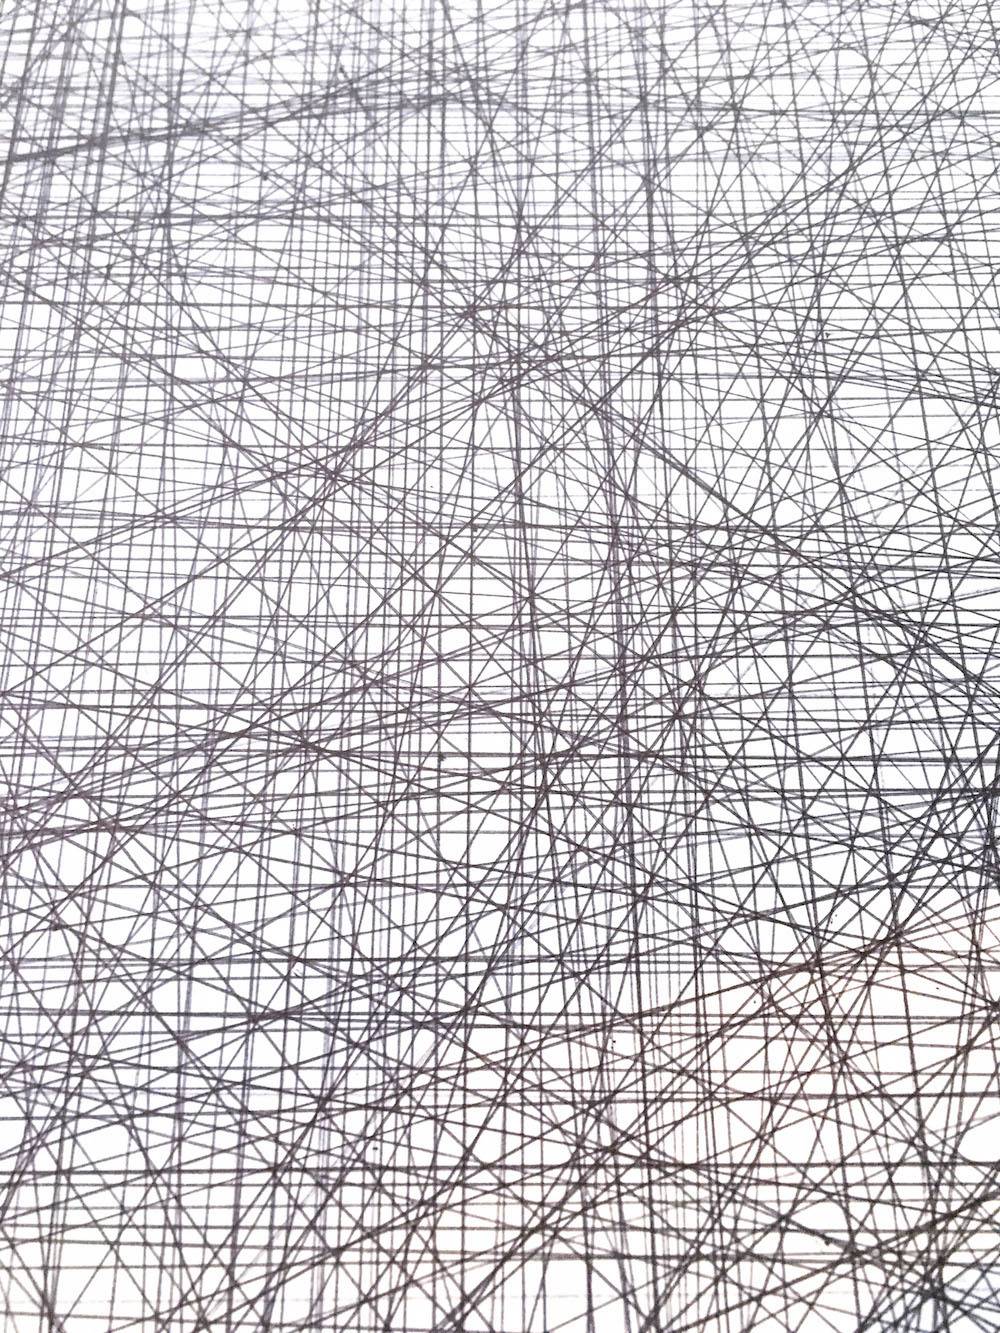
This project was therapeutic. I did this whole project while watching the NBA finals with my hubby.
Step
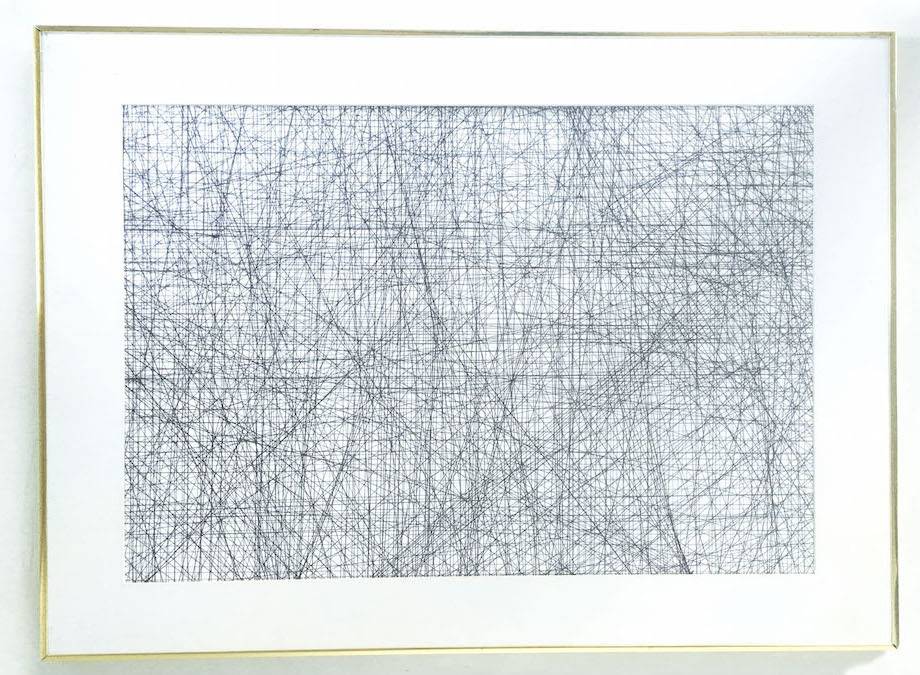
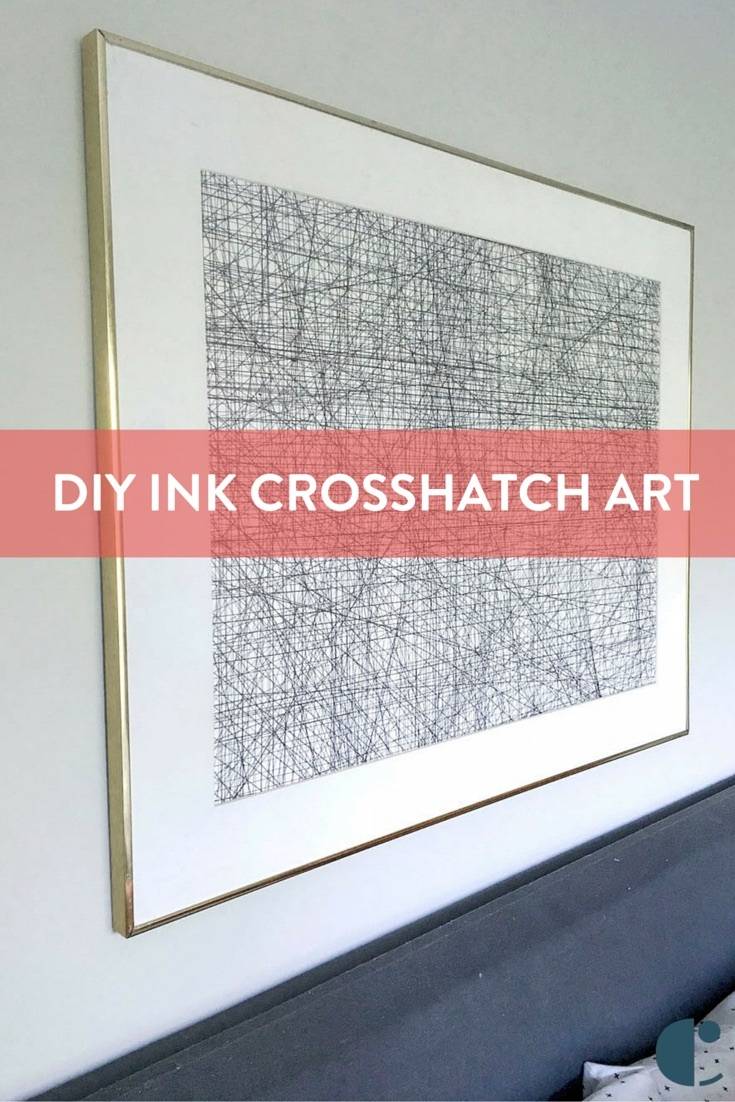
Frame you art and it is ready to hang.
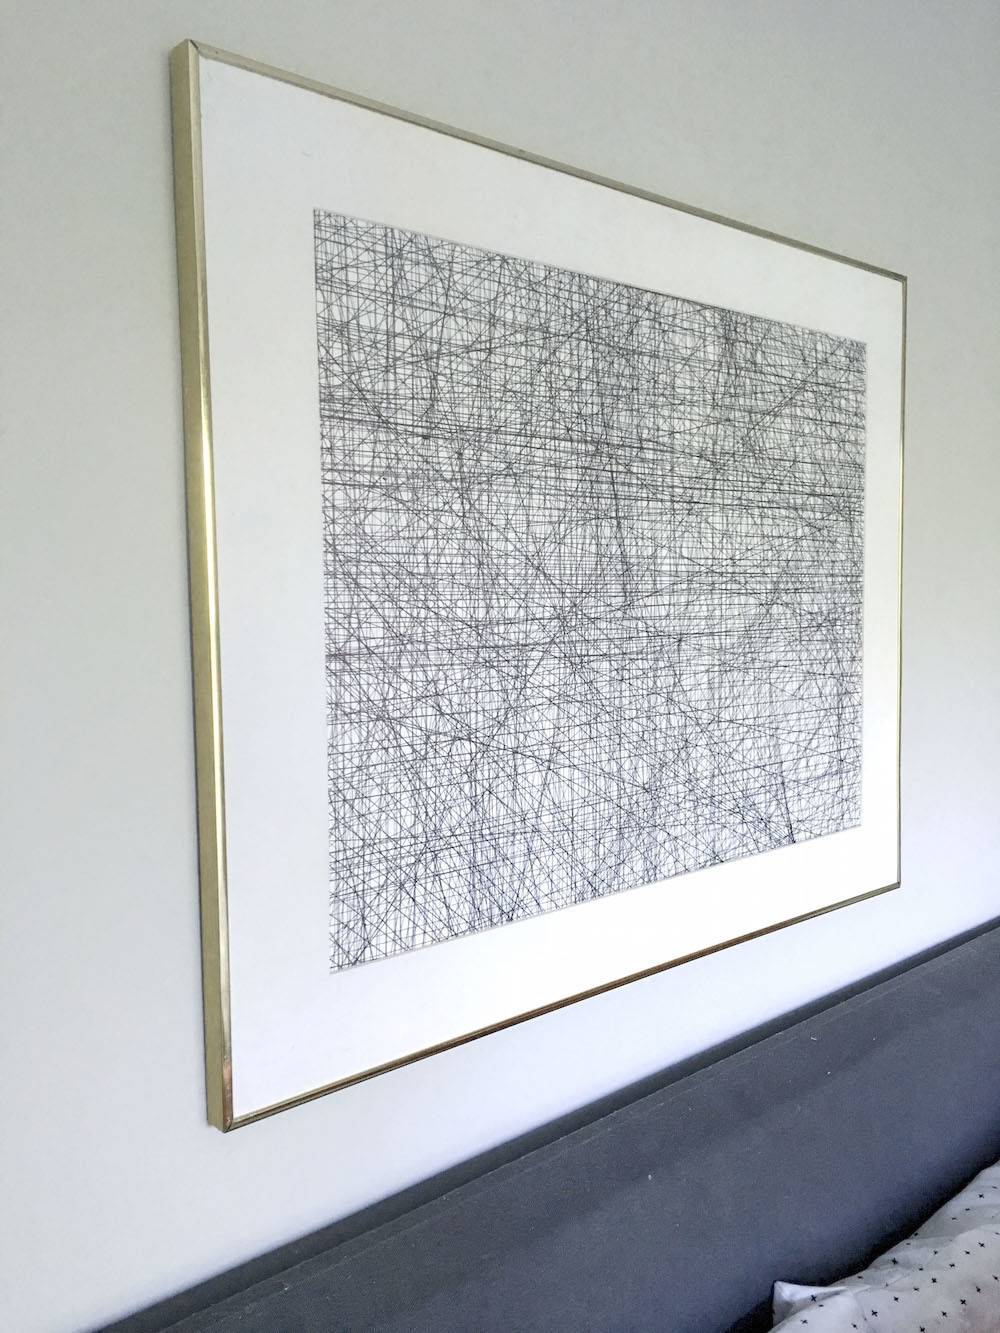
I love the movement the lines create when they intersect.
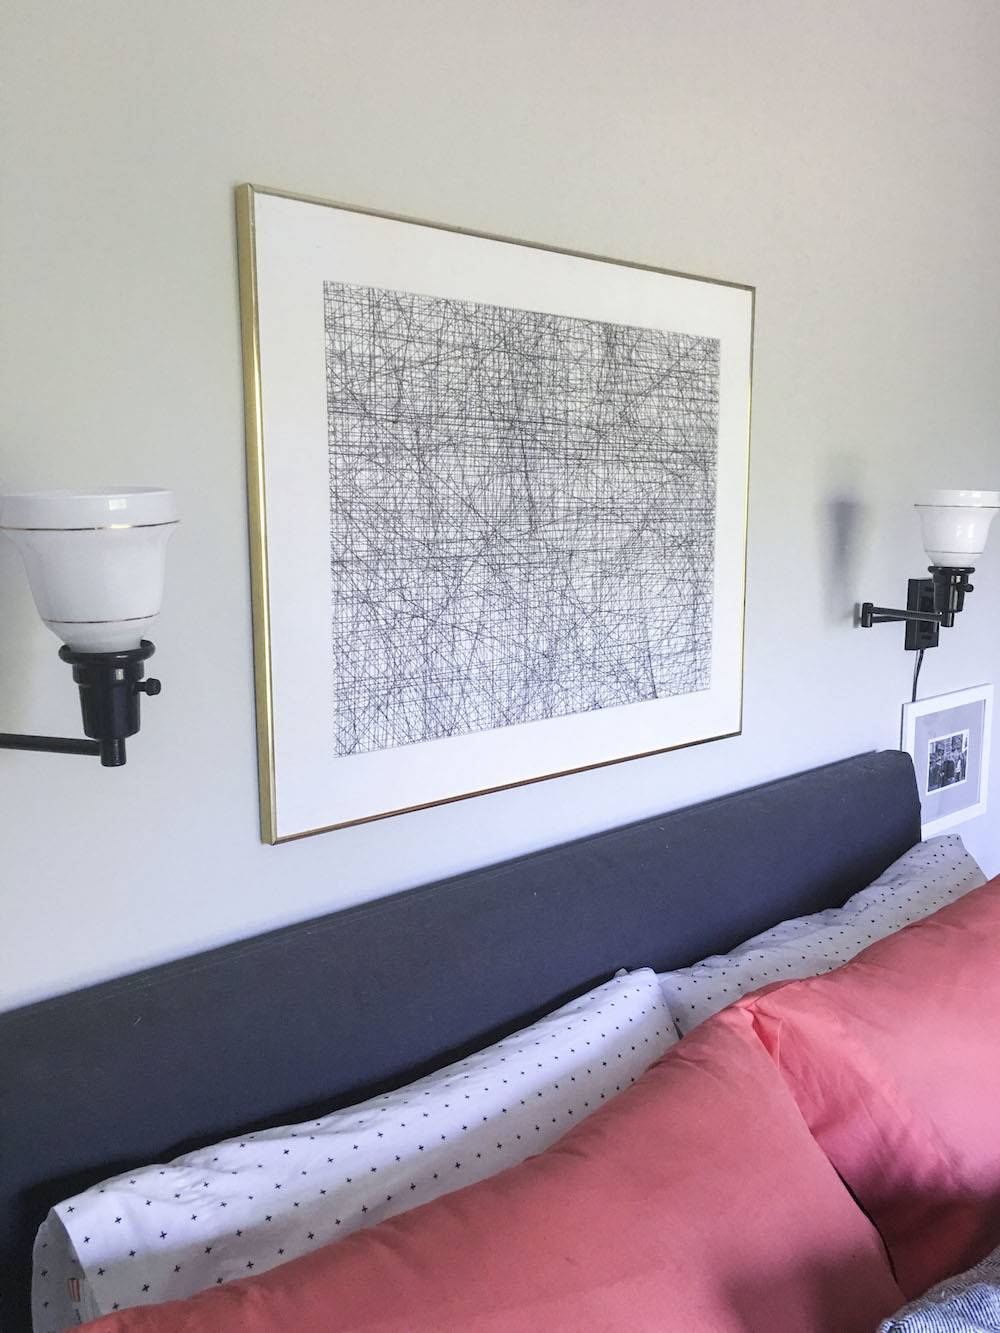
I have a black and white theme in my guest bedroom and colorful art could been distracting. This brings the perfect amount of detail but still remains neutral.
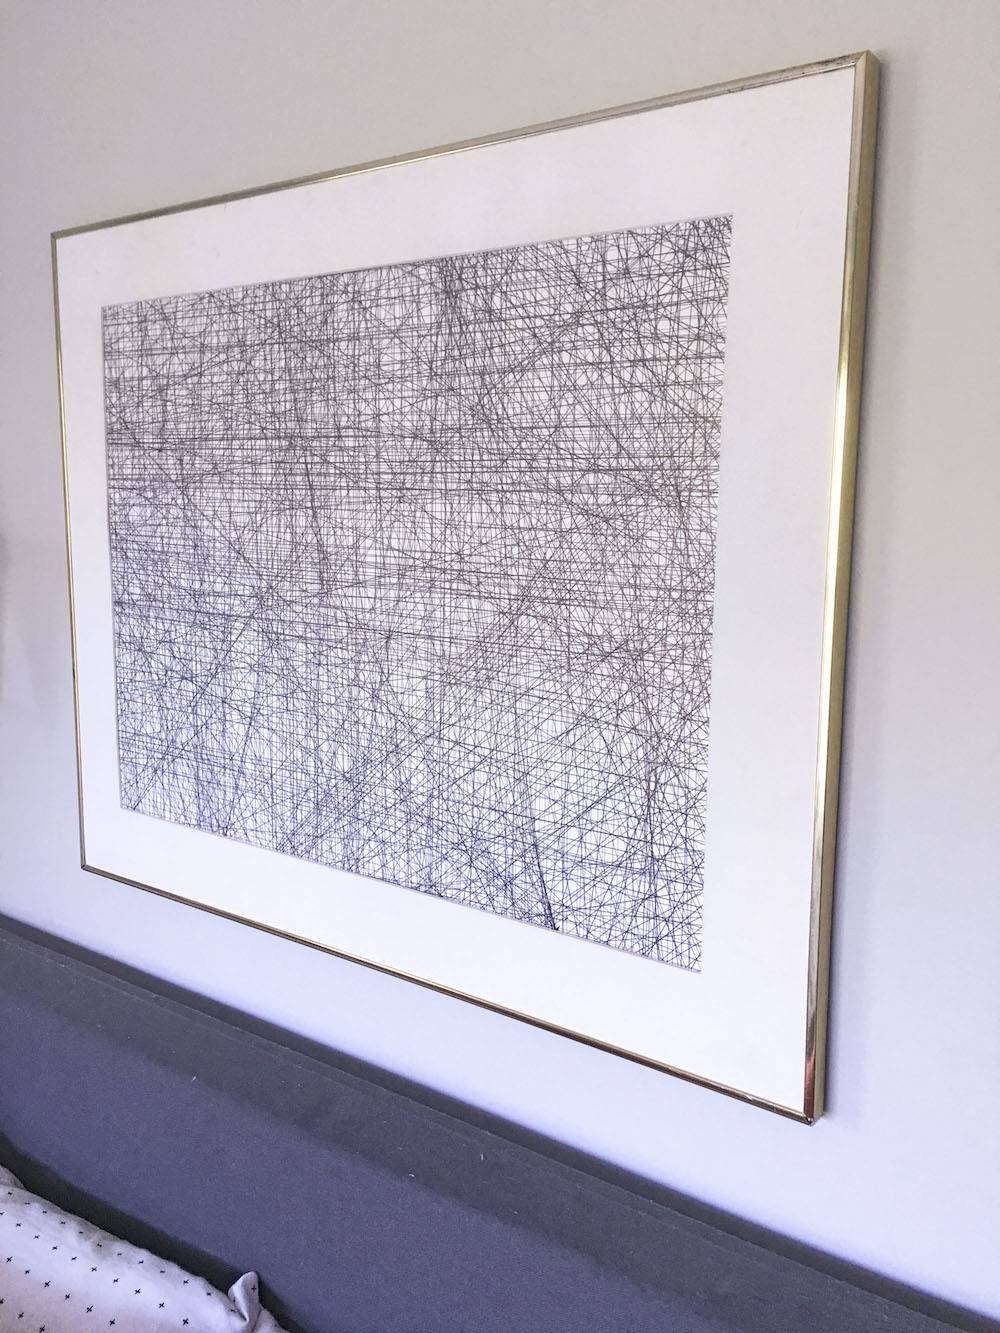
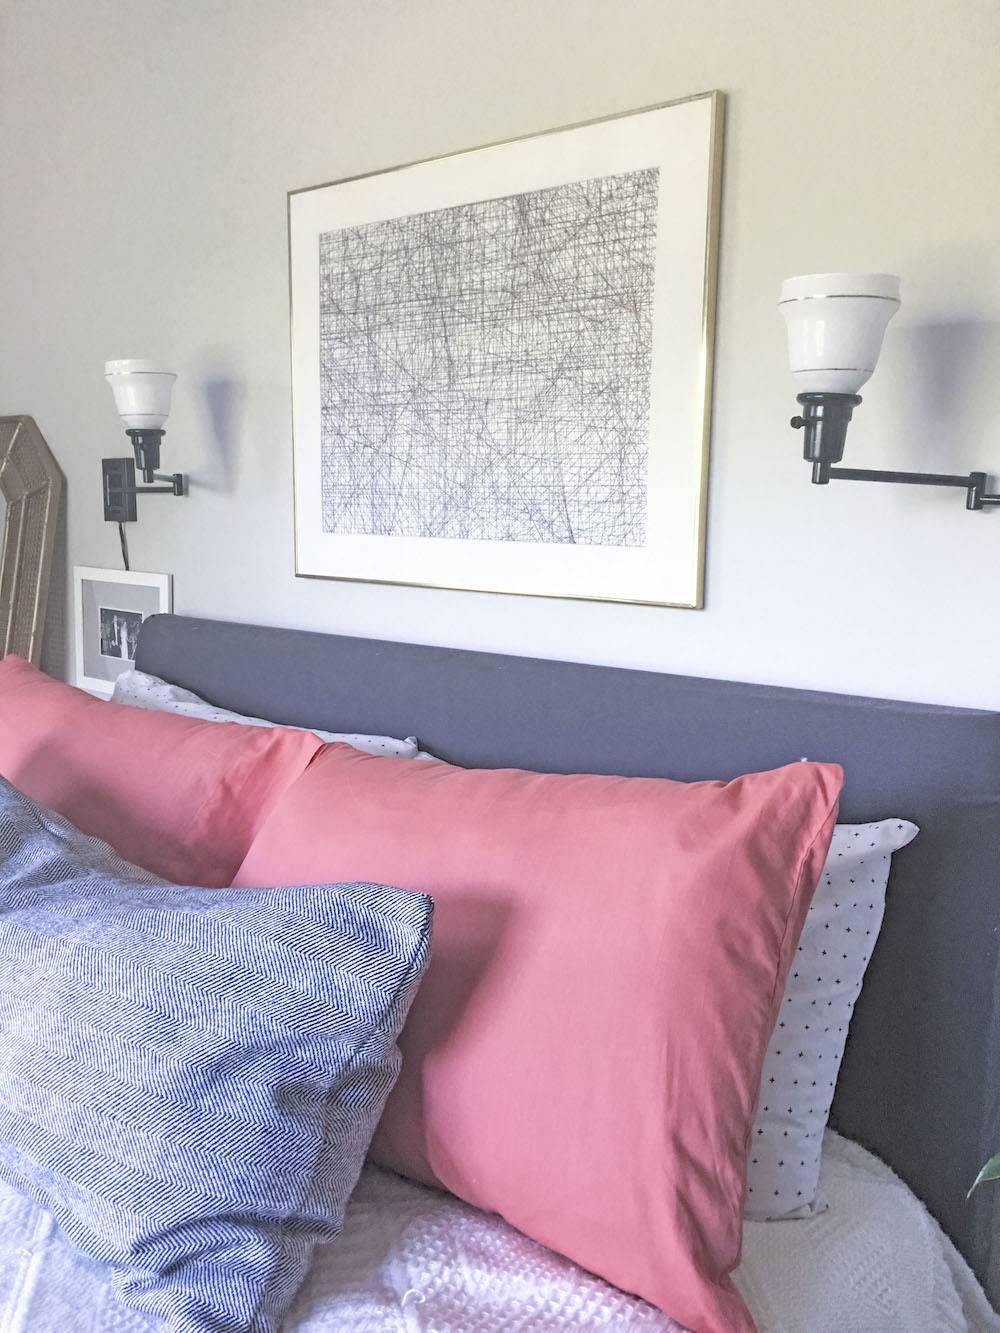
If the room looks familiar you might have seen it on this Curbly Makeover post.
If you would like more DIY art ideas. I love this post from Curbly.
