I know I say this a lot (I think I’ve mentioned it at least two times on Curbly before), but that’s only because it’s true; wall art is SO easy to DIY that there’s really no excuse not to have a go at making your own.
And when I say easy, I mean you don’t need any artistic skills to create something that’s really nice (and is guaranteed to fit in with your interior decor because you’ll be the one choosing the colour palette!).
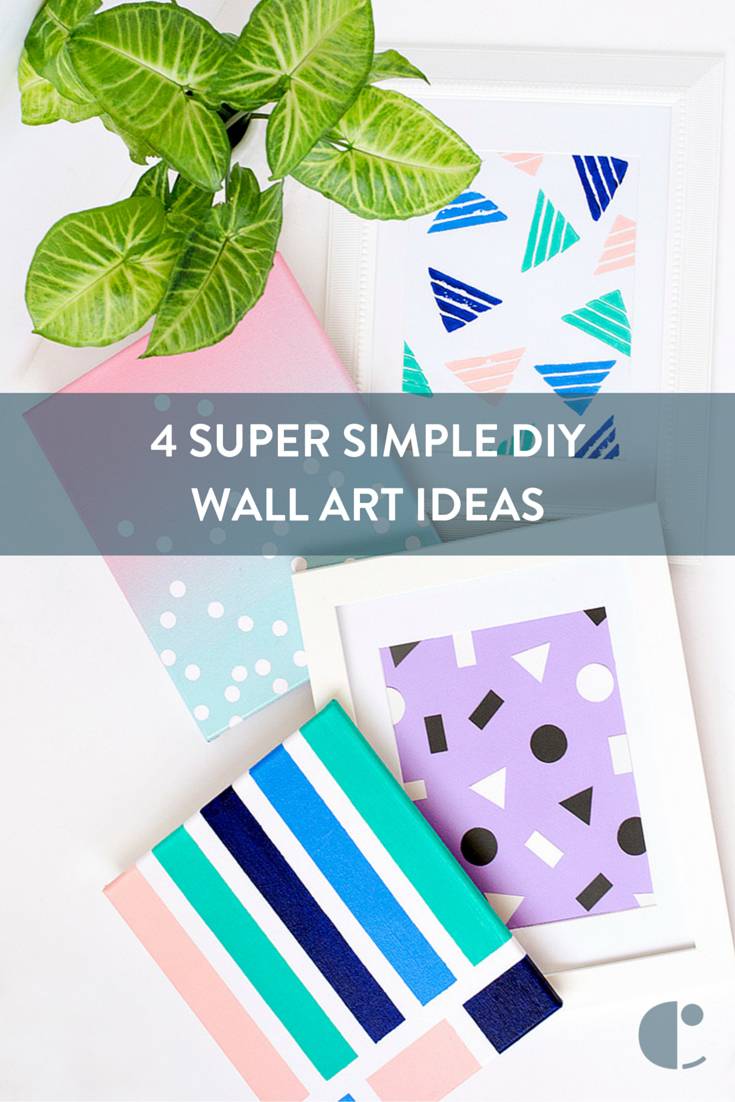
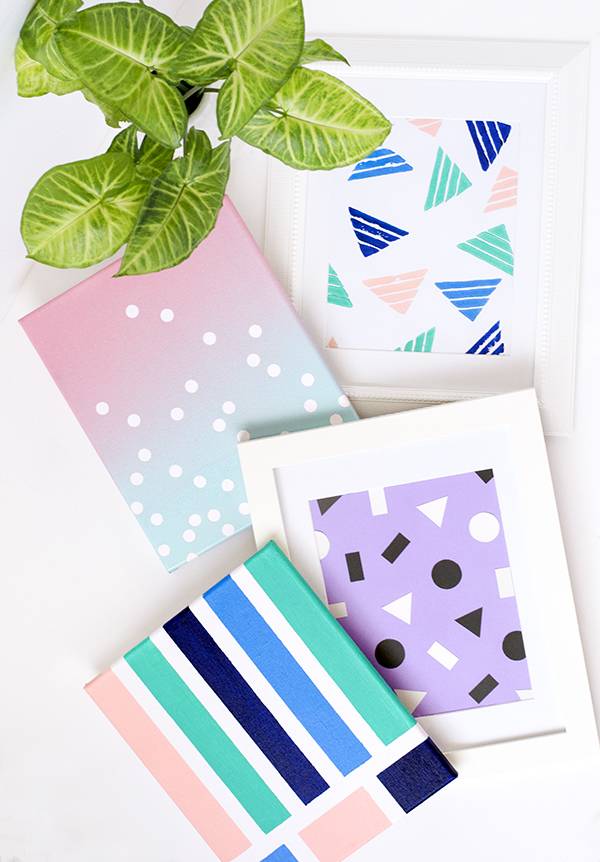
Don’t believe me? See below for four super simple ways to dress up your walls that require no drawing skills and that you’ll be able to complete in under half an hour!
GEOMETRIC shapes
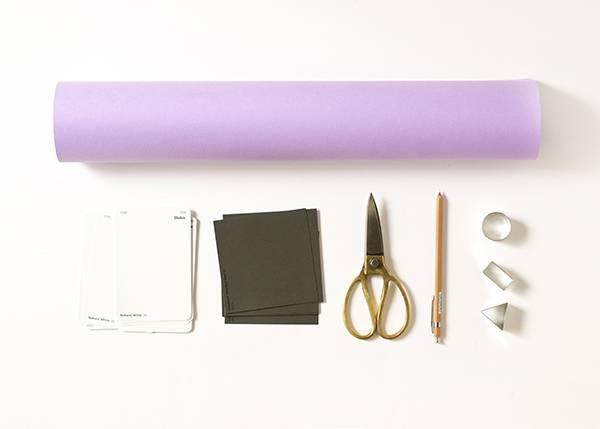
Materials
- A large sheet of coloured card
- Smaller pieces of coloured card (I used dark grey and white paint chips)
- Scissors
- Pencil
- Mini shape cookie cutters
- Glue or double-sided tape
Step
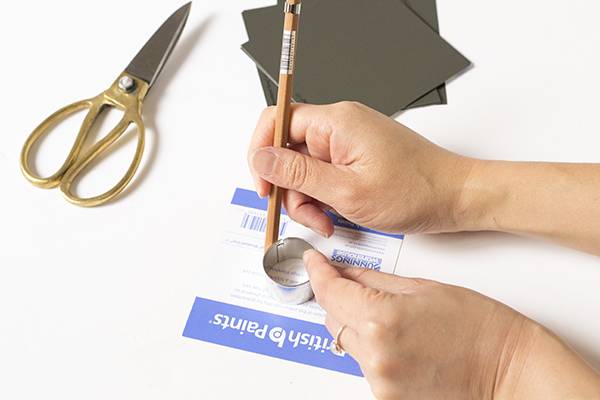
Flip over your paint chips and trace shapes onto the back using your cookie cutters as a guide. I worked with three shapes – a triangle, a circle and a small rectangle.
Step
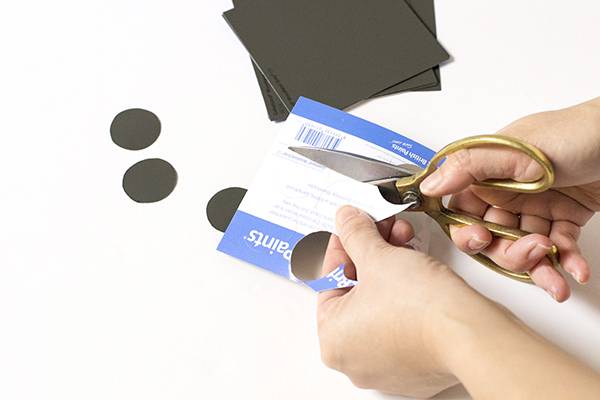
Cut out each of the shapes you traced with a pair of scissors.
Step
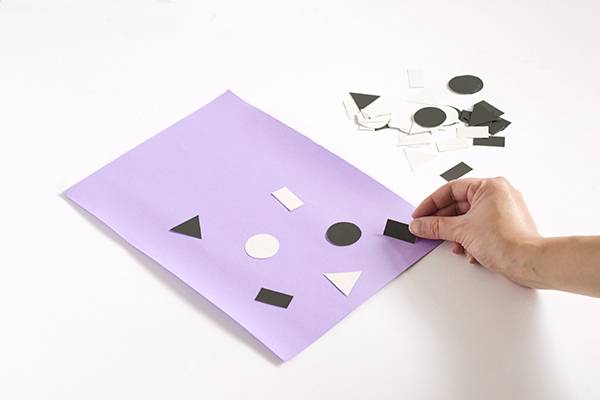
If your large sheet of coloured card isn’t yet cut to size (mine came in a big roll), trim it so that it’ll fit the frame you’ll be using to show off your artwork.
Then place your shapes on the coloured card in whichever arrangement you like best.
Step
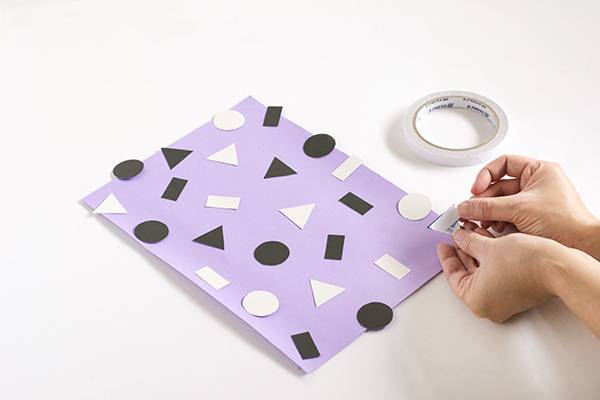
Once you’re happy with your arrangement, flip one of the shapes over, apply double-sided tape or glue to the back, then stick it back down. Repeat this with all the shapes in your artwork until they’re safely stuck in place.
Step
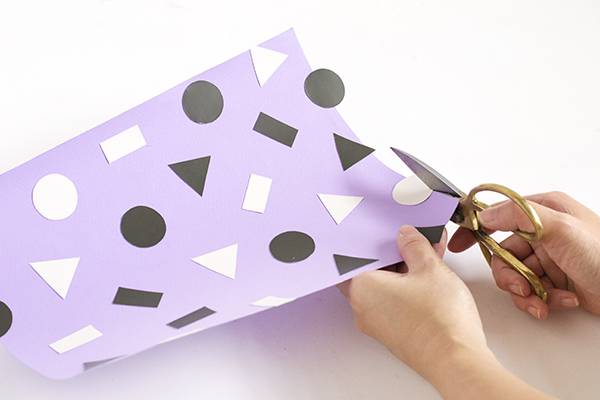
If some of your shapes were stuck down with edges that came off the coloured card, trim off the excess with a pair of scissors.
Voila! Easy peasy right? 🙂
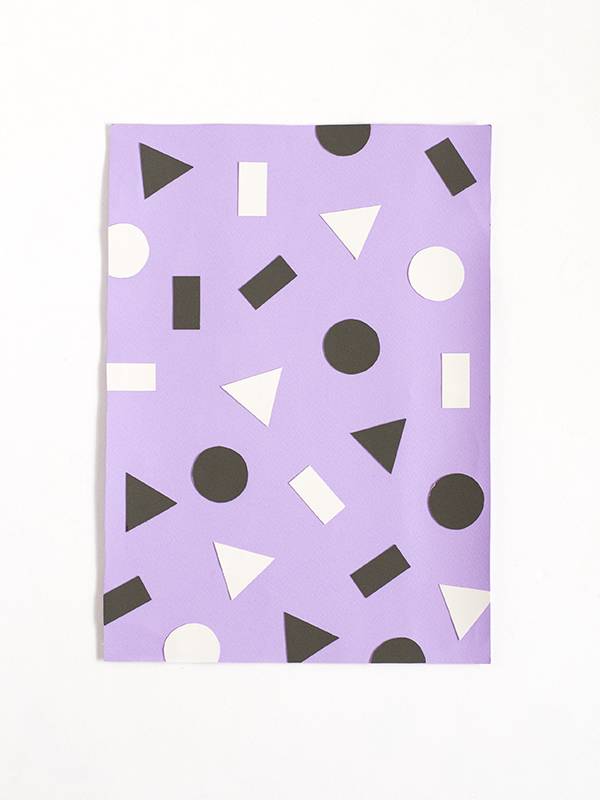
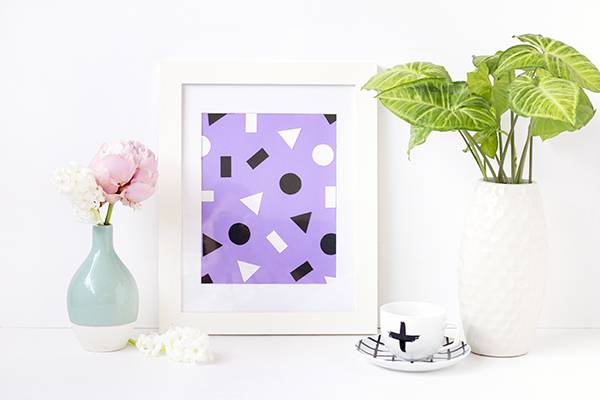
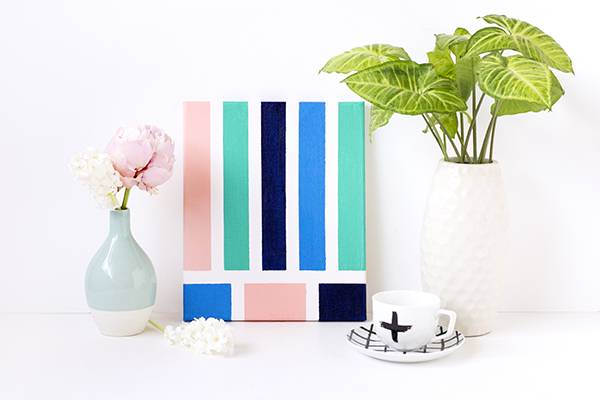
Dress this one up with a nice frame and hang on your wall for a very modern, fun looking art piece.
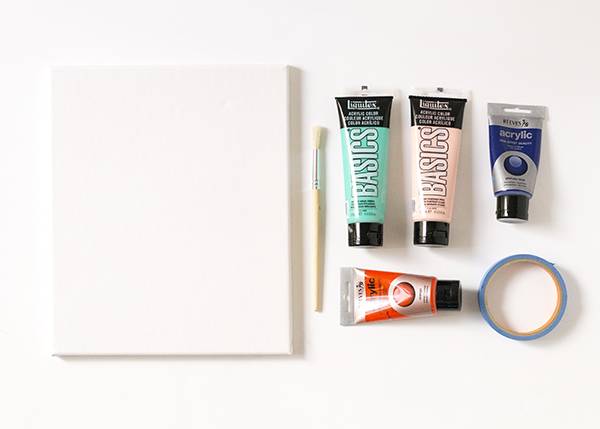
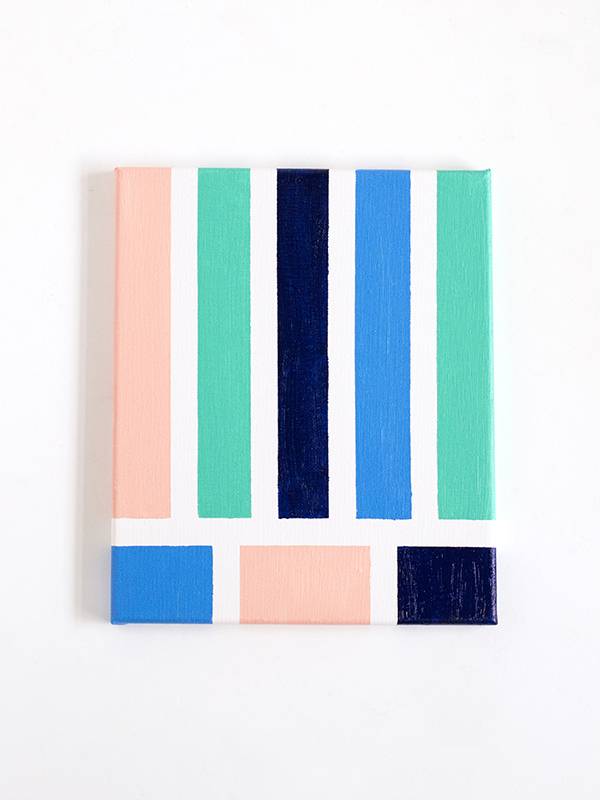
Color Block
Materials
- Primed canvas
- Acrylic paint in various colours
- Painter’s tape
- Paintbrush
Step
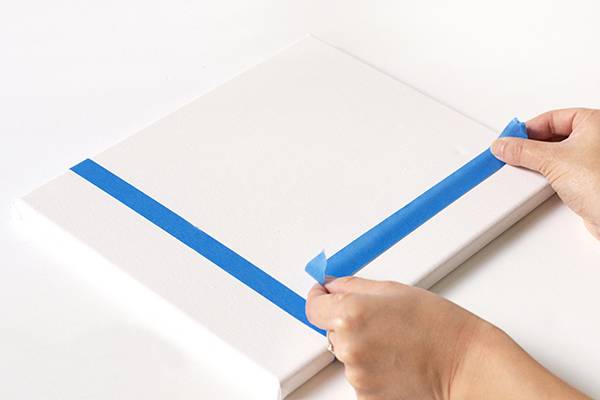
Place strips of painter’s tape on your canvas in whichever arrangment takes your fancy. There are no rules here – I went for a very straight striped look, but you can put the tape at angles, in shapes or whatever you prefer.
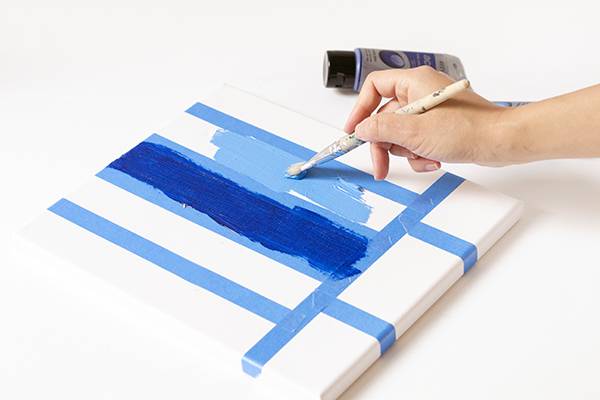
Step

Make sure the tape is well stuck down, then paint in the segments with acrylic paint. Don’t be afraid to get creative – the number of colors you choose and the order they go in is entirely up to you and can totally change the look of the finished piece!
Step
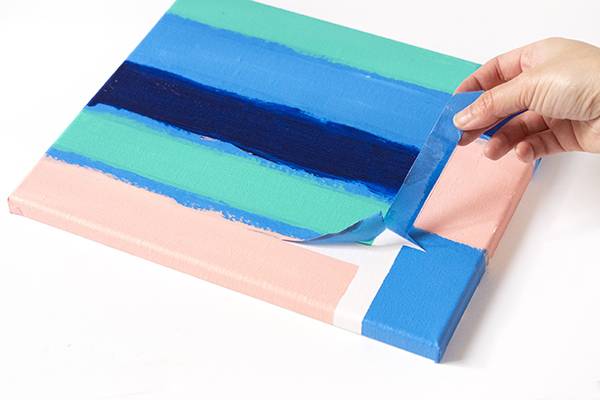
Once you’ve painted in all the sections and the paint has completely dried, remove the painter’s tape to reveal your finished artwork.
This method of creating wall art is so simple that you could easily knock over several of these in an afternoon. And having three or more of these little color-blocked canvases hung in a row would look really good don’t you think?
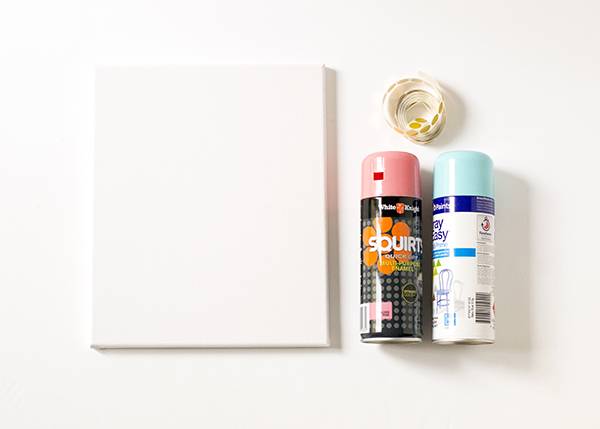
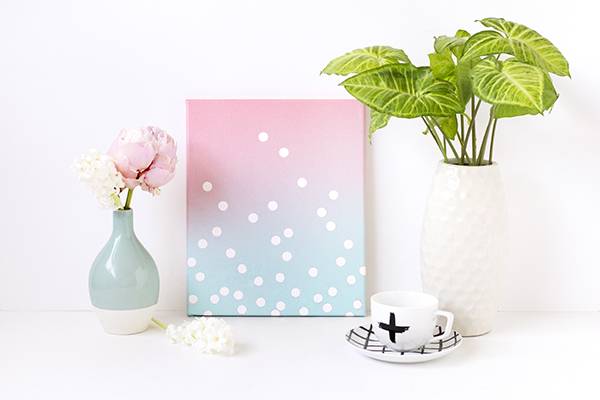
Ombre
Materials
- Primed canvas
- Spray paint in two colours
- Circle stickers
Step
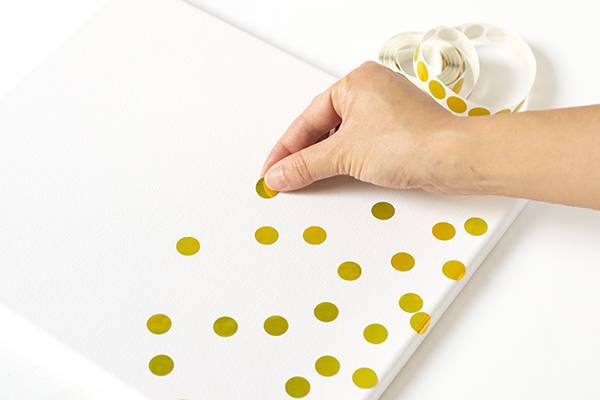
Place your circle stickers in random spots over your canvas. I started sticking them at the bottom in clumps and then placed them more sparingly at the top for that ‘floating bubbles’ kind of look.
Step
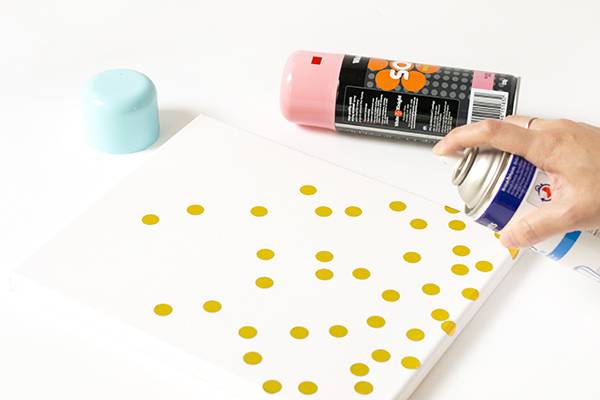
Choose one colour of spray paint and completely coat your canvas in that colour. When spraying, make sure you use multiple, light, even coats rather than one heavy coat – this way, the paint won’t pool and drip.
Step
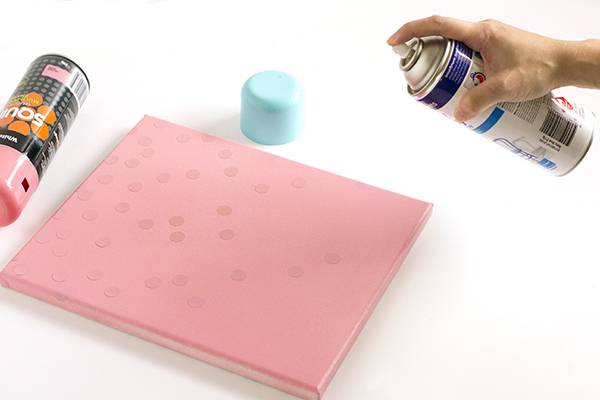
Once your first colour of spray paint is dry, start spraying the second colour on. The trick to getting a gradient look is to start from the bottom of the canvas and work your way upwards. Make sure you spray from further away so that the second colour is a light mist rather than a heavy coat.
Step
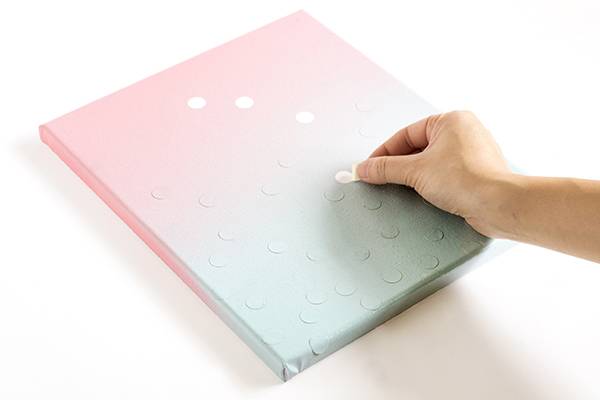
When the second spray paint colour has dried, peel off the circle stickers to reveal white dots underneath.
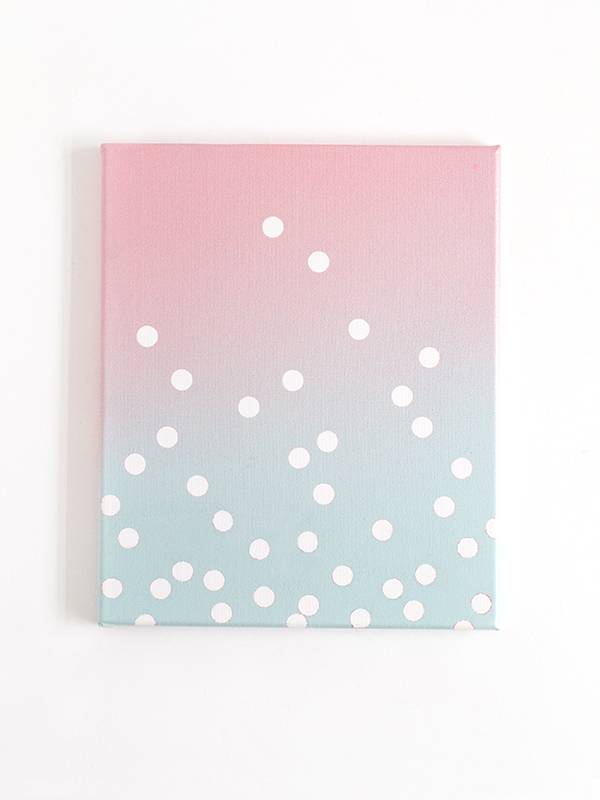
I love how airy and light the pastel colours and the white ‘bubbles’ look together, but don’t be restricted by this example – I think this concept would look just as good or even better with different shapes (diamonds perhaps?) and heavier colours like black and gold!
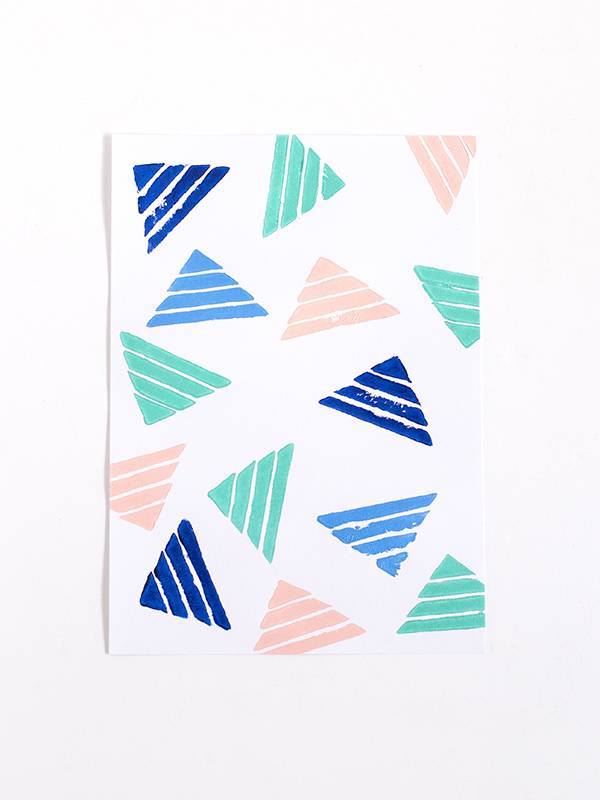
Stamped pattern
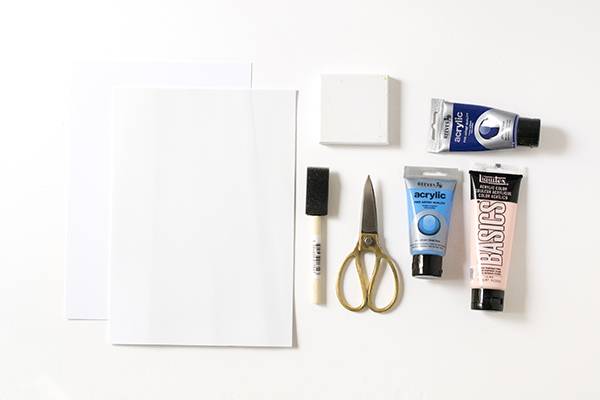
Materials
- White card
- Foam sheet
- Scissors
- Ruler
- Pencil
- Stamp mount (you can use a jar lid or small cardboard box lid as a substitute if you don’t have a proper mount)
- Craft glue
- Acrylic paint in various colours
- Foam paint brush
Step
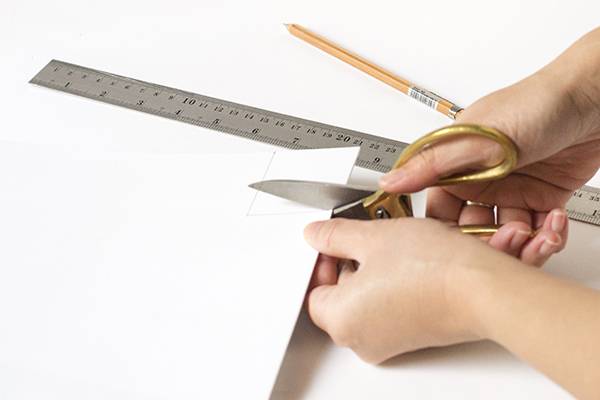
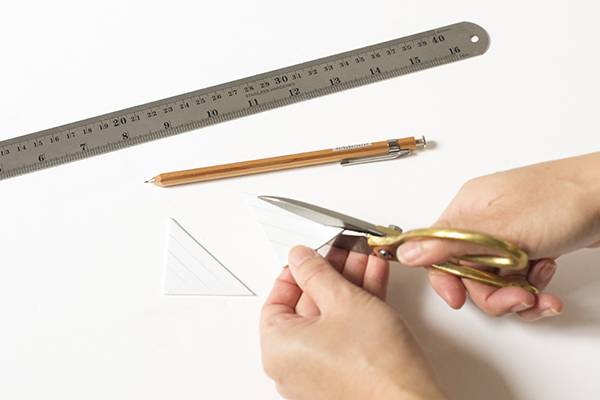
Measure and cut a small square out of your foam sheet. Mine measured 5cm x 5cm but you can make it pretty much any size you like, depending on how you’d like your final artwork to look.
Step
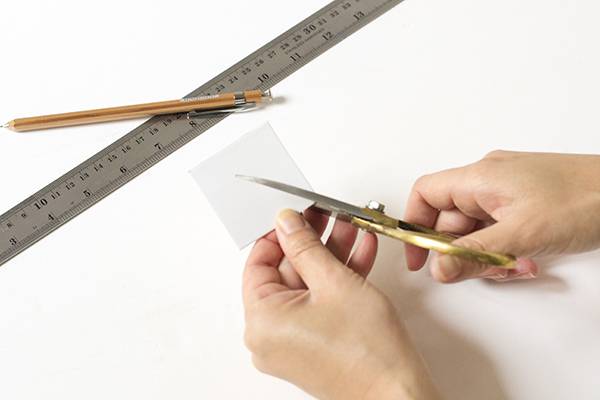
Cut your foam square in half diagonally to form two triangles.
Step
Cut one of the triangles into strips (you can draw the strips out in pencil first like I did if you want to make sure they’re even).
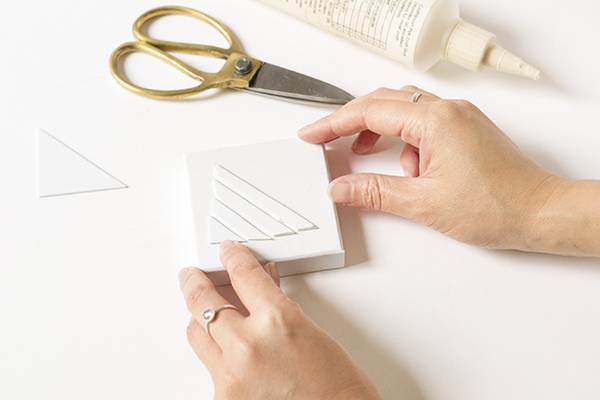
Step
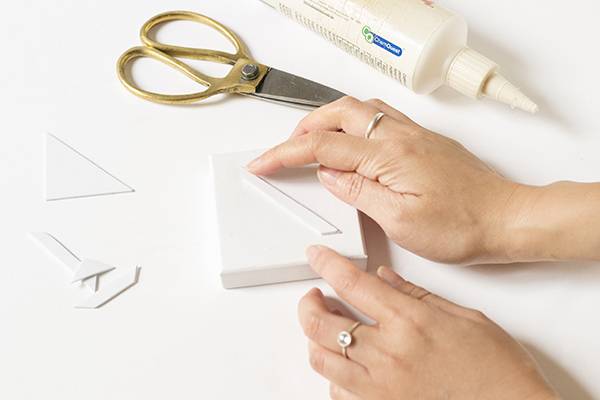
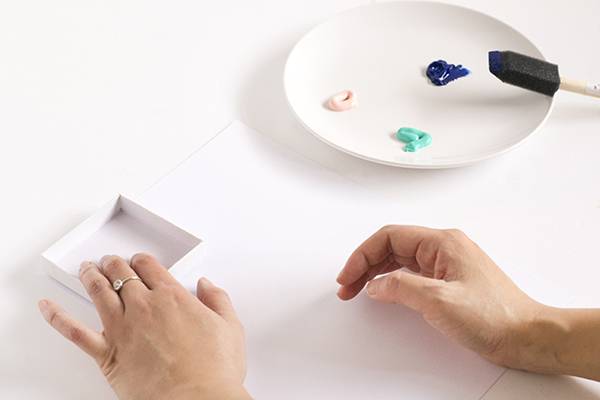
Place a bit of craft glue on the back of each foam strip and attach it to your stamp mount to recreate your triangle shape. Leave a gap between each strip so your triangle has a ‘cut-apart’ jagged sort of appearance.
Step
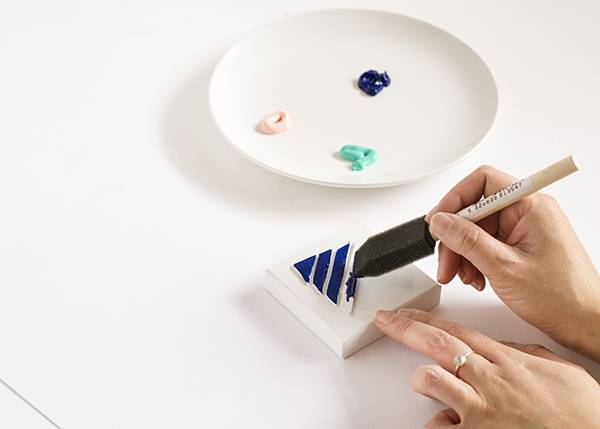
With a foam paintbrush, apply acrylic paint to your foam stamp.
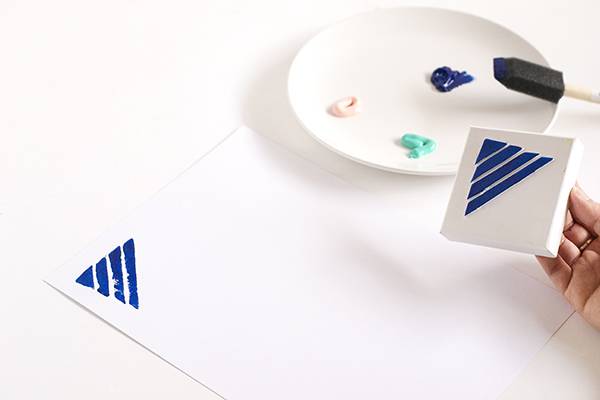
Step
When the stamp is evenly covered with paint, place it face down on your piece of paper and apply even pressure to the back. Then lift it up to reveal your print!
Randomly stamp triangles all over your sheet of paper. I found it easiest to complete one colour before moving onto the next – it saves having to clean the foam brush so frequently!
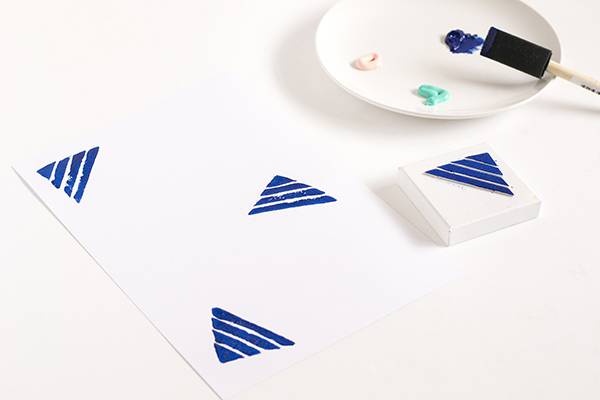
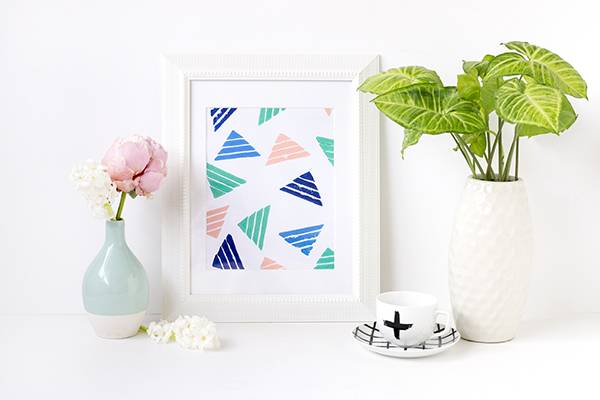
Once you’ve stamped triangles in all your paint colours, your artwork is complete! Simply let it dry and then pop it in a nice frame.