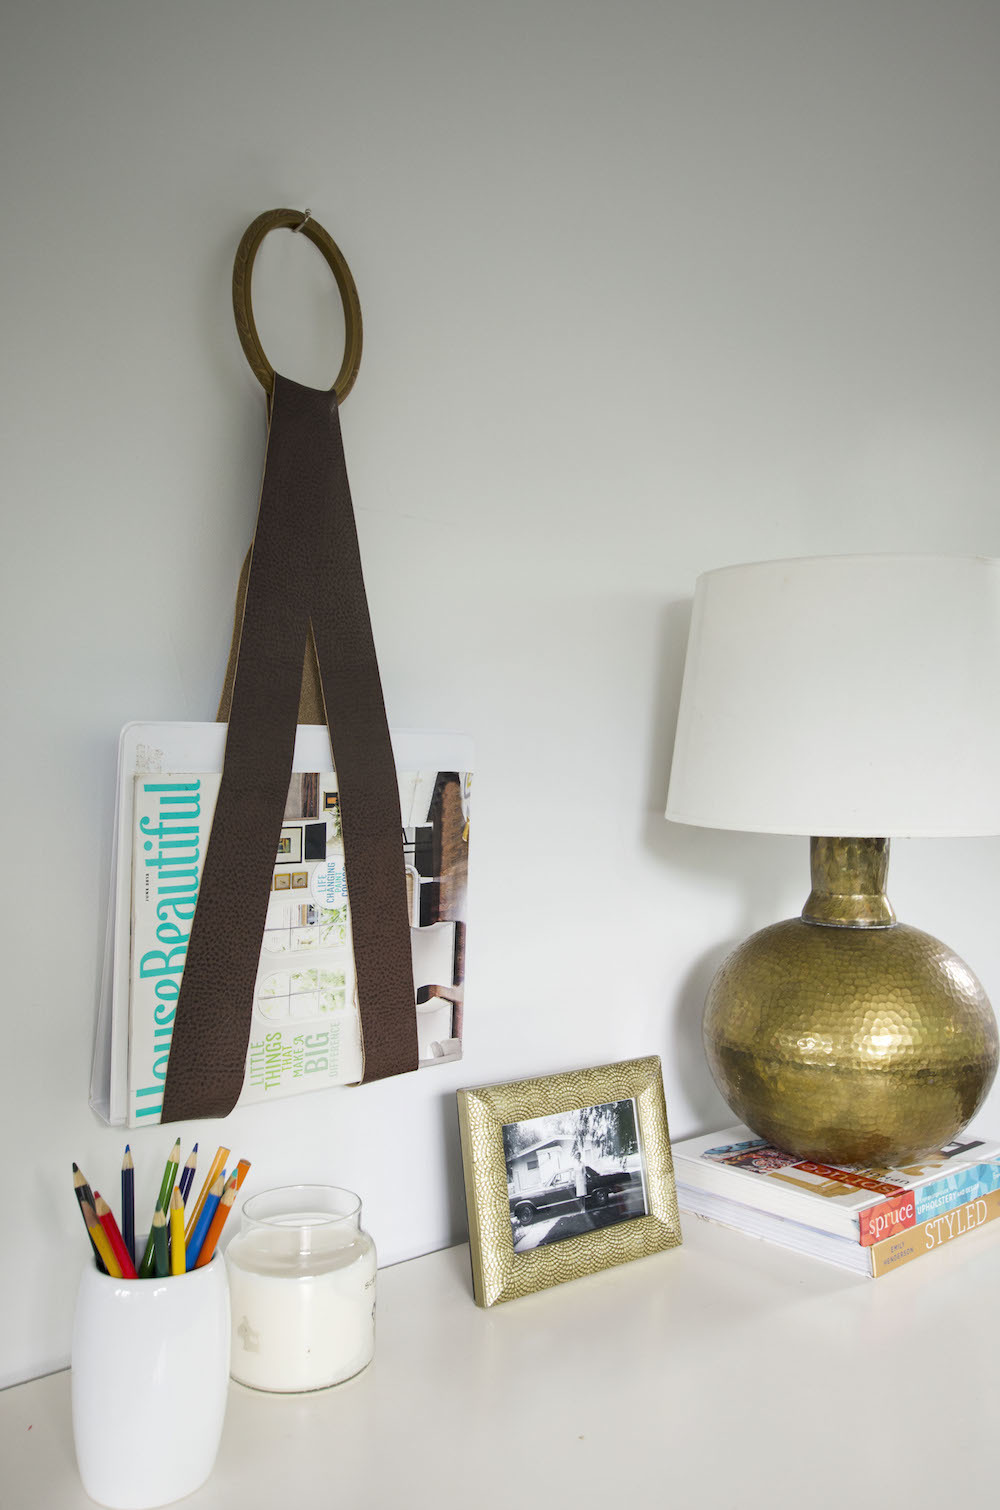
I have an an obsession with interior design books and magazines. There are stacks of them all over my house. I wanted to make a simple magazine holder for the ones I’m currently reading to keep them easily accessible. Read on to see my leather magazine holder tutorial!
Materials
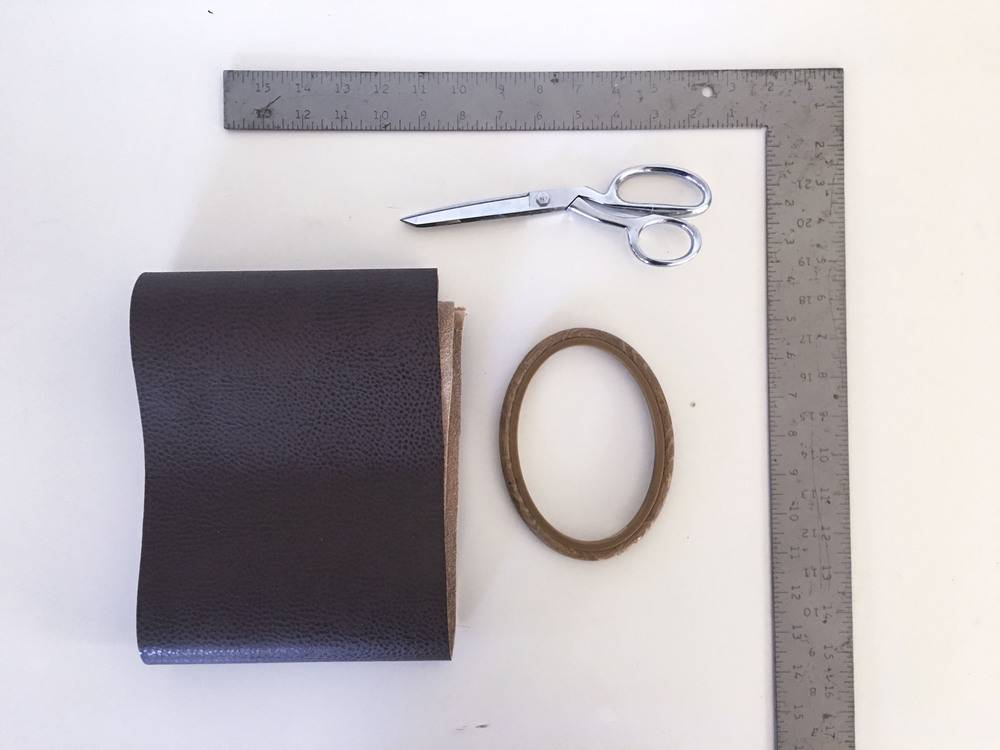
- Leather or faux leather. The faux leather I used was on sale at Joann’s Fabric. I only needed 1/8 of a yard.
- A hoop of some type. I found a wooden oval frame at a thrift store that was solid wood. You could use a drapery ring, a purse handle, an embroidery hoop, or a brass ring.
- Good scissors
- Metal right-angle ruler
- Sewing machine or needle and thread (not shown)
- Nail (for hanging)
Step
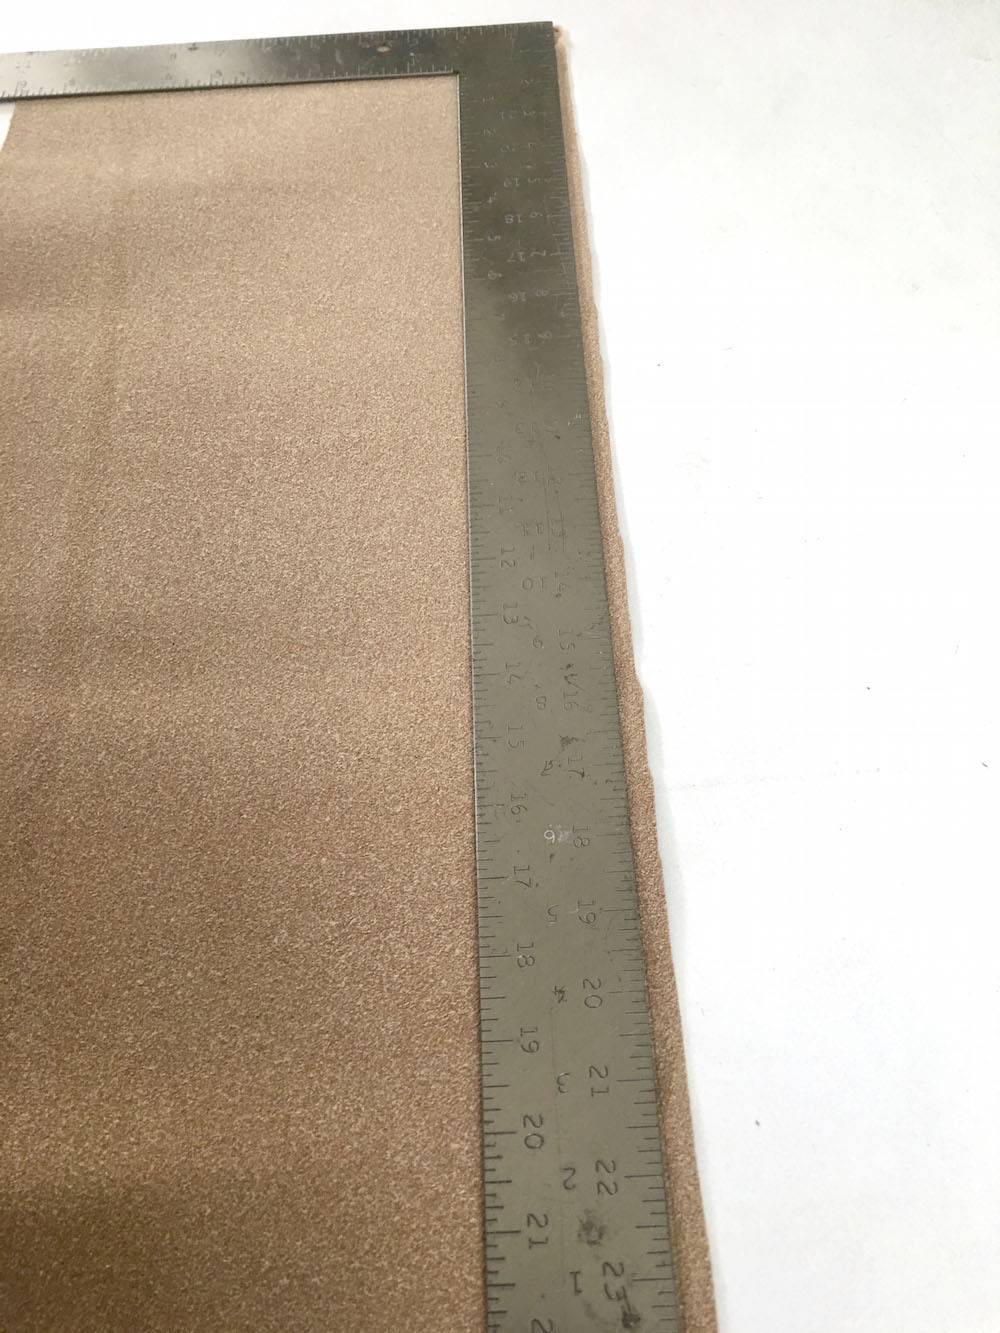
Use the right angle ruler to create a straight edge (on the cut edge) of your leather. Cut along your drawn line. I always line one side of the ruler with the selvage edge, draw a line on the outside, and straighten the cut.
Step
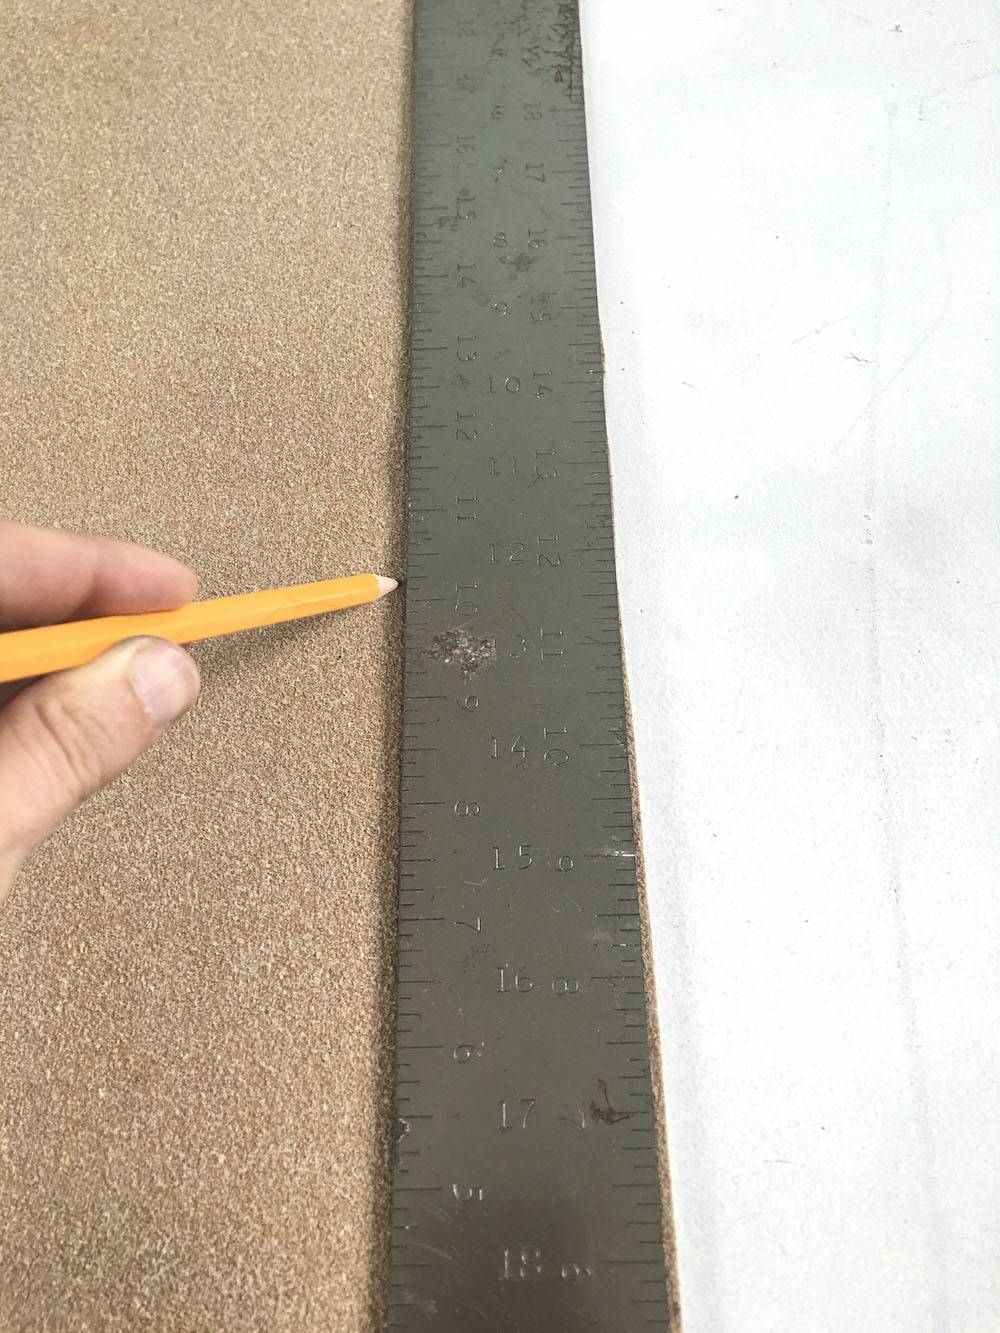
Use the ruler to measure and cut a long strip of leather. Since I used faux leather I had a 60 inch long piece. The width is your choice. I simply made it the width of the ruler to make it easy and straight.
Step
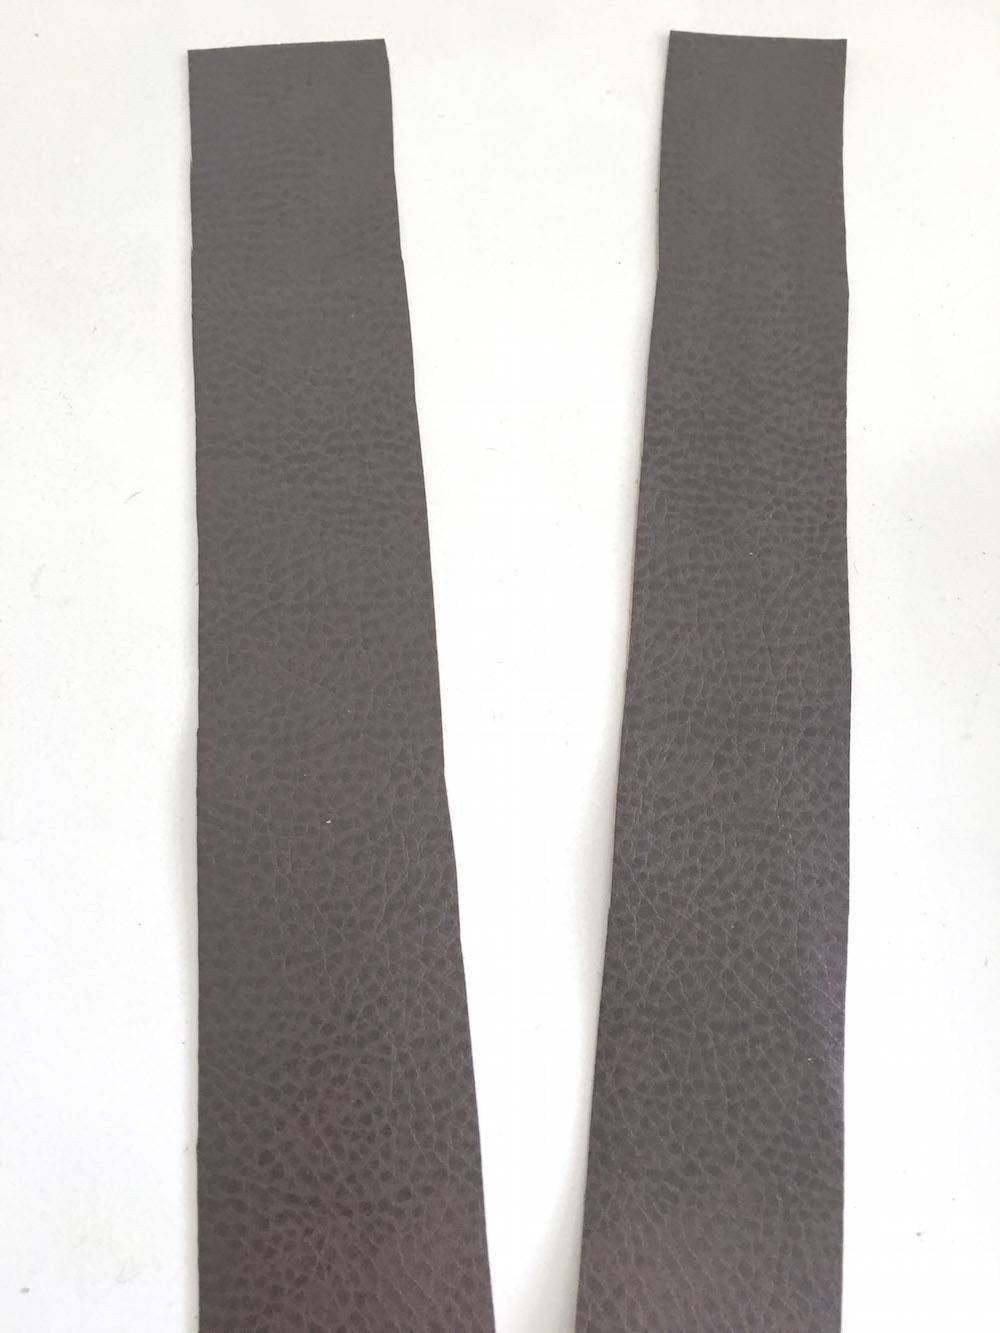
Repeat step 2 to get the second strap.
Step
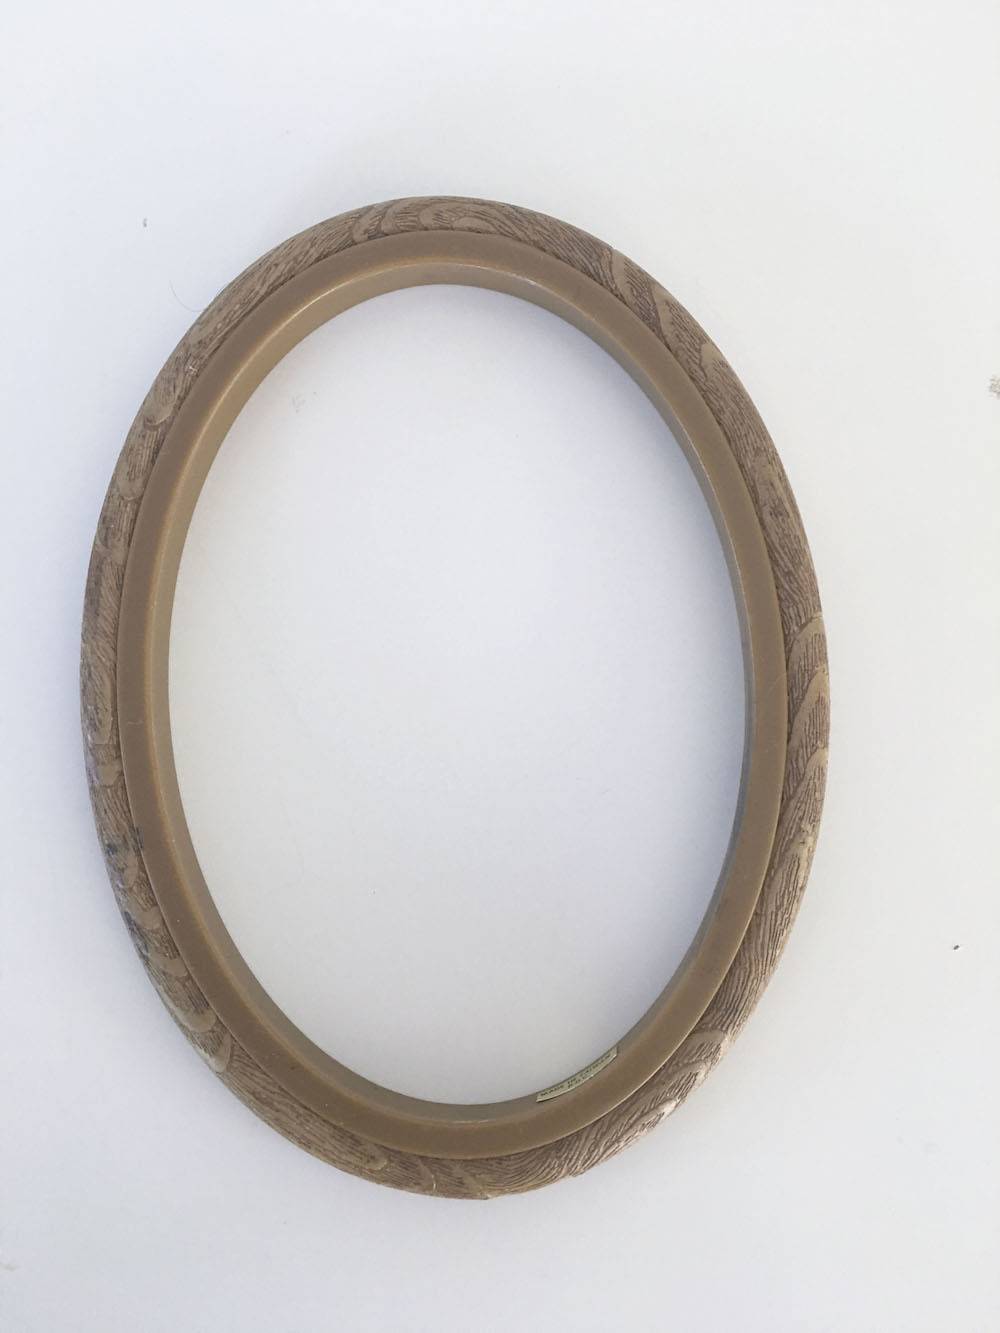

Since my hoop was an old picture frame, I first removed the glass and backing. Next, wrap the first strap around your hoop. Overlap your ends until you find the loop length you desire.
Step
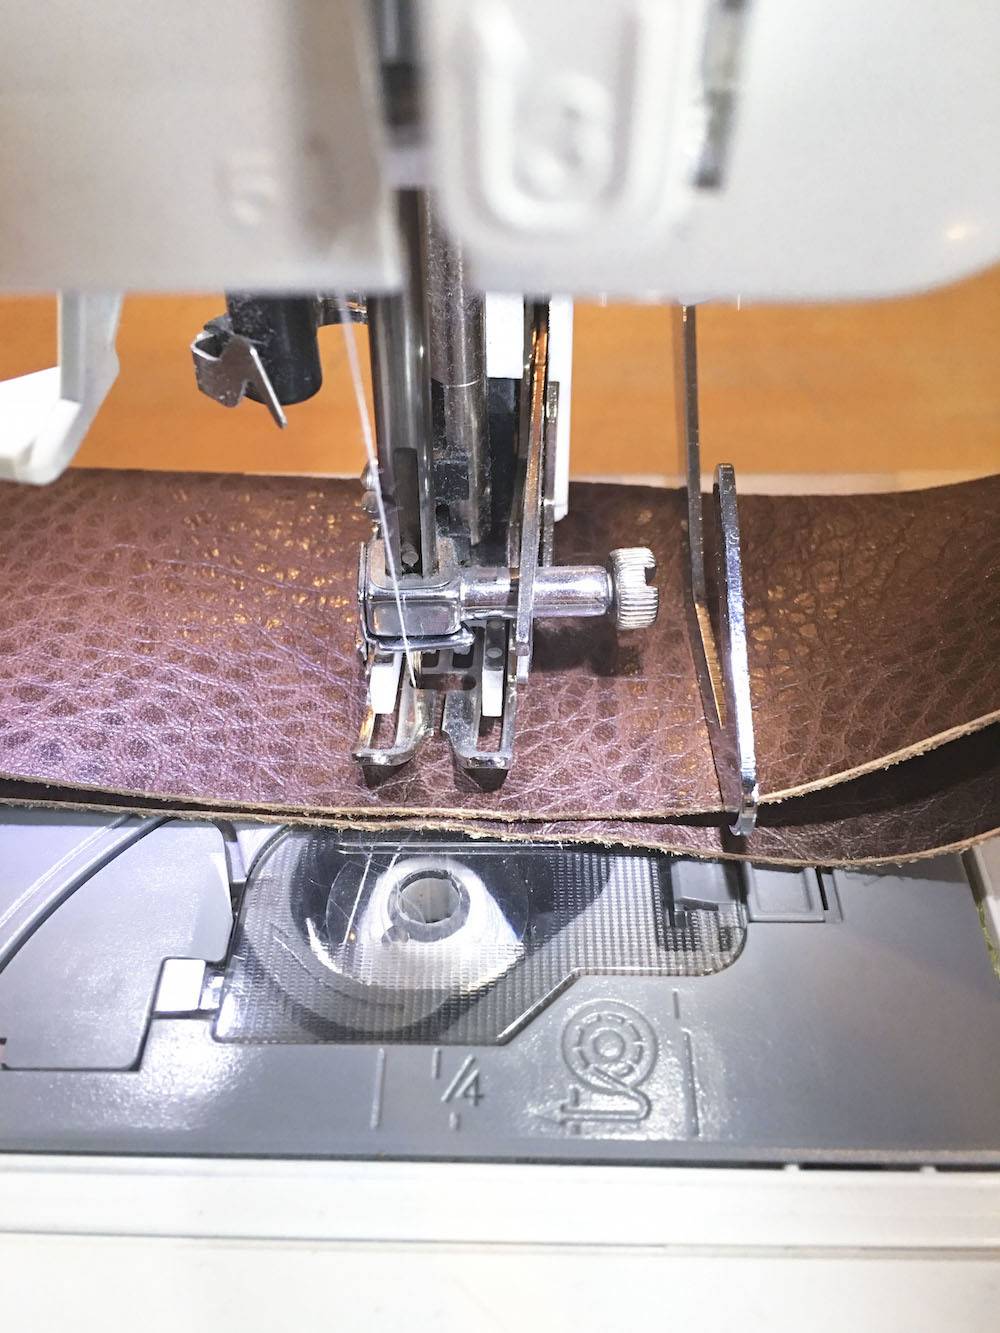
Sew the overlapping ends of your strap together. I used a walking foot to help sew through the bulk of the faux leather. I also backstitched to make sure it was sturdy.
Step
Repeat steps 4-5 for the second loop. Make sure the loops are the same size.
Step
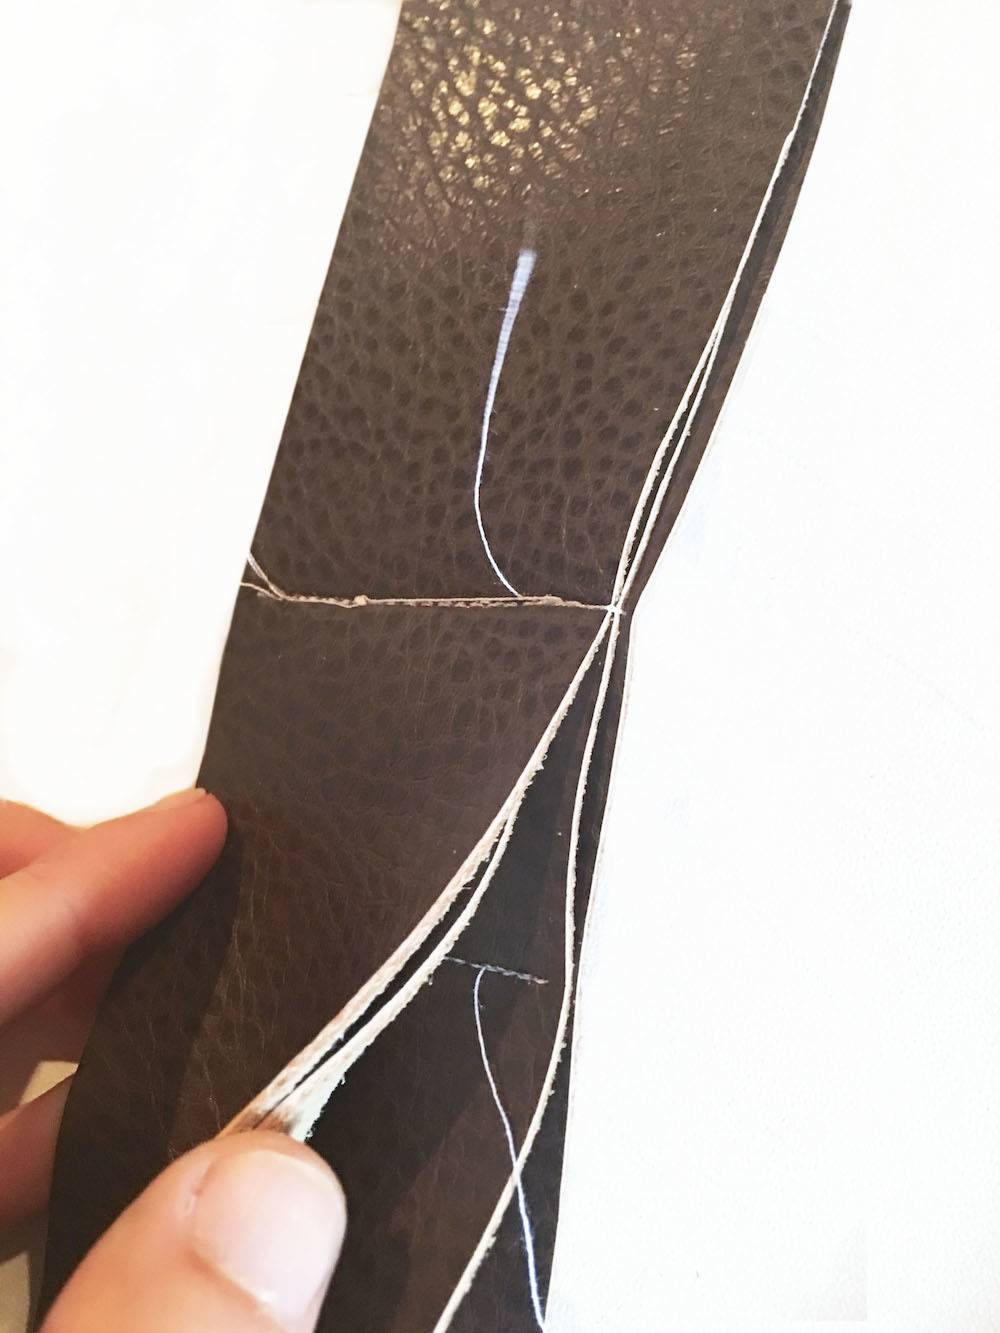
Once both straps are looped and sewn, you must sew them together, and cut the excess leather straps.
Step
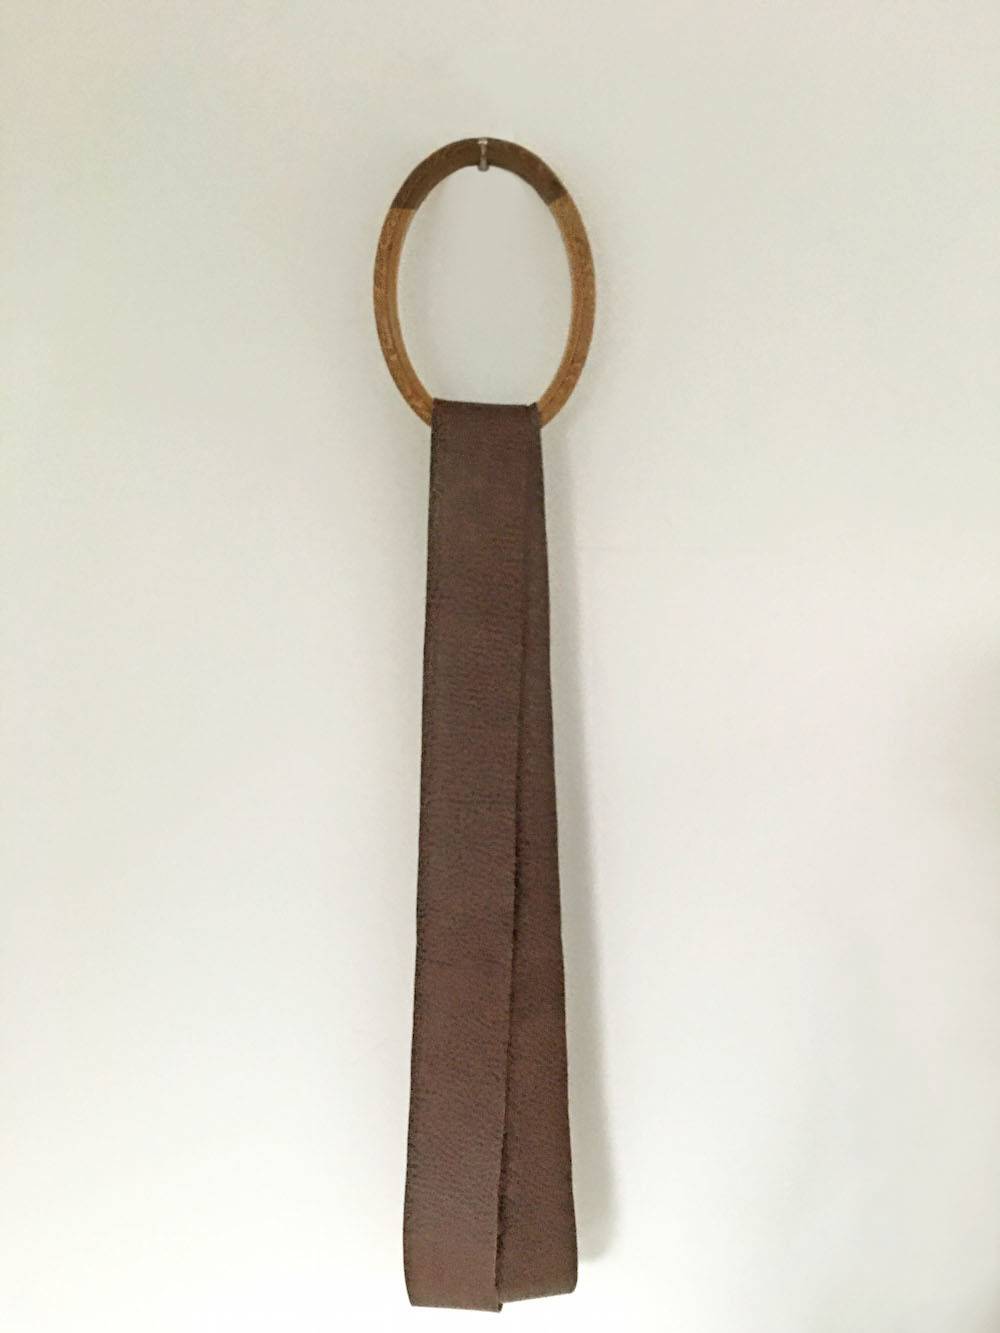
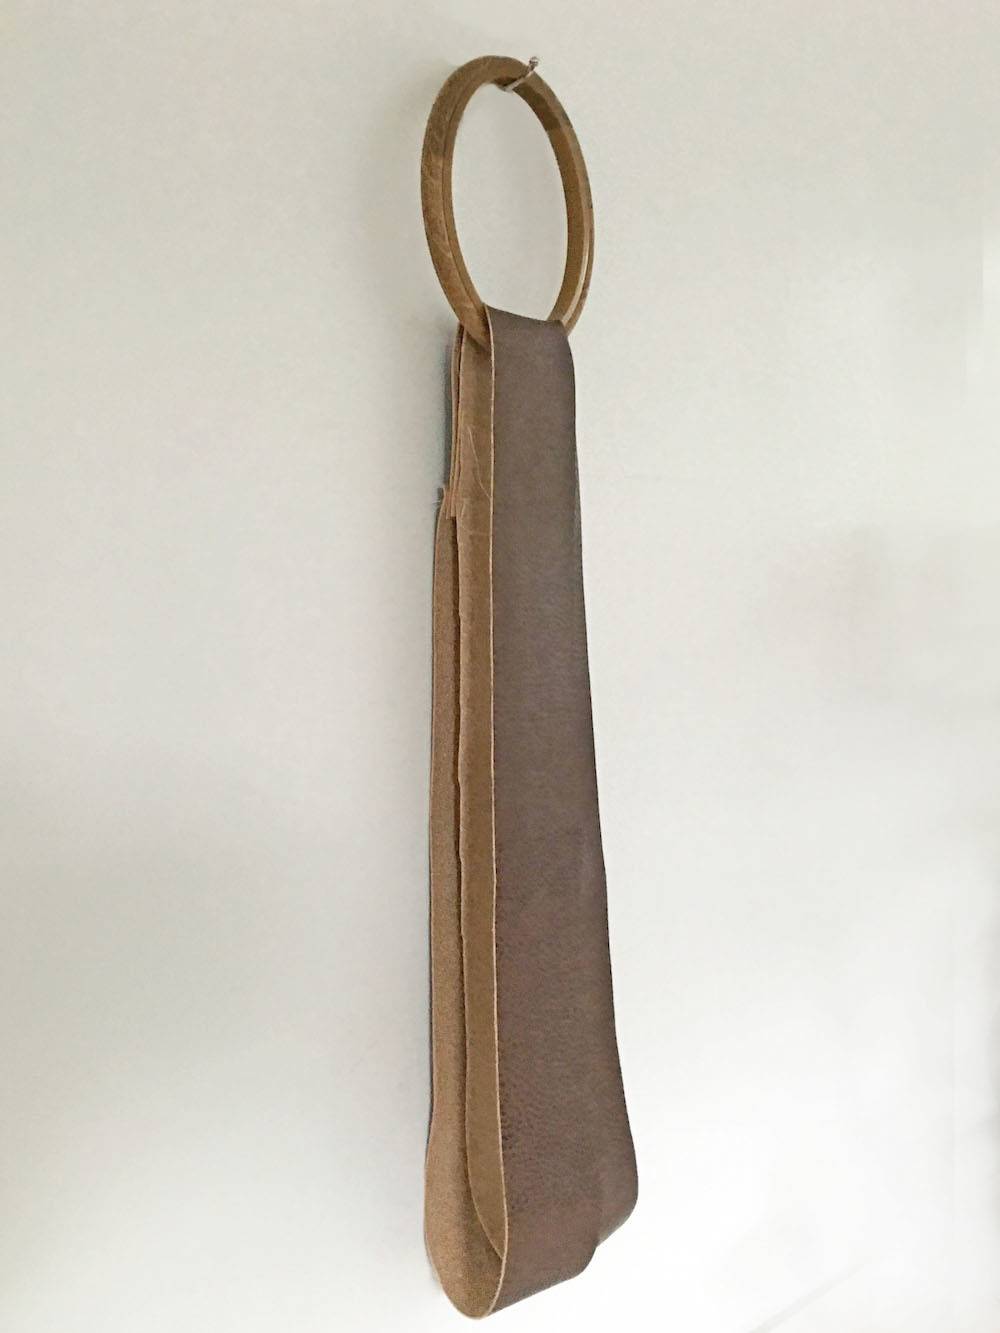
Use a nail or a hook to hang your loop. Position the sewn part to the back so it cannot be seen (in the second picture you can see it in the back).
Step
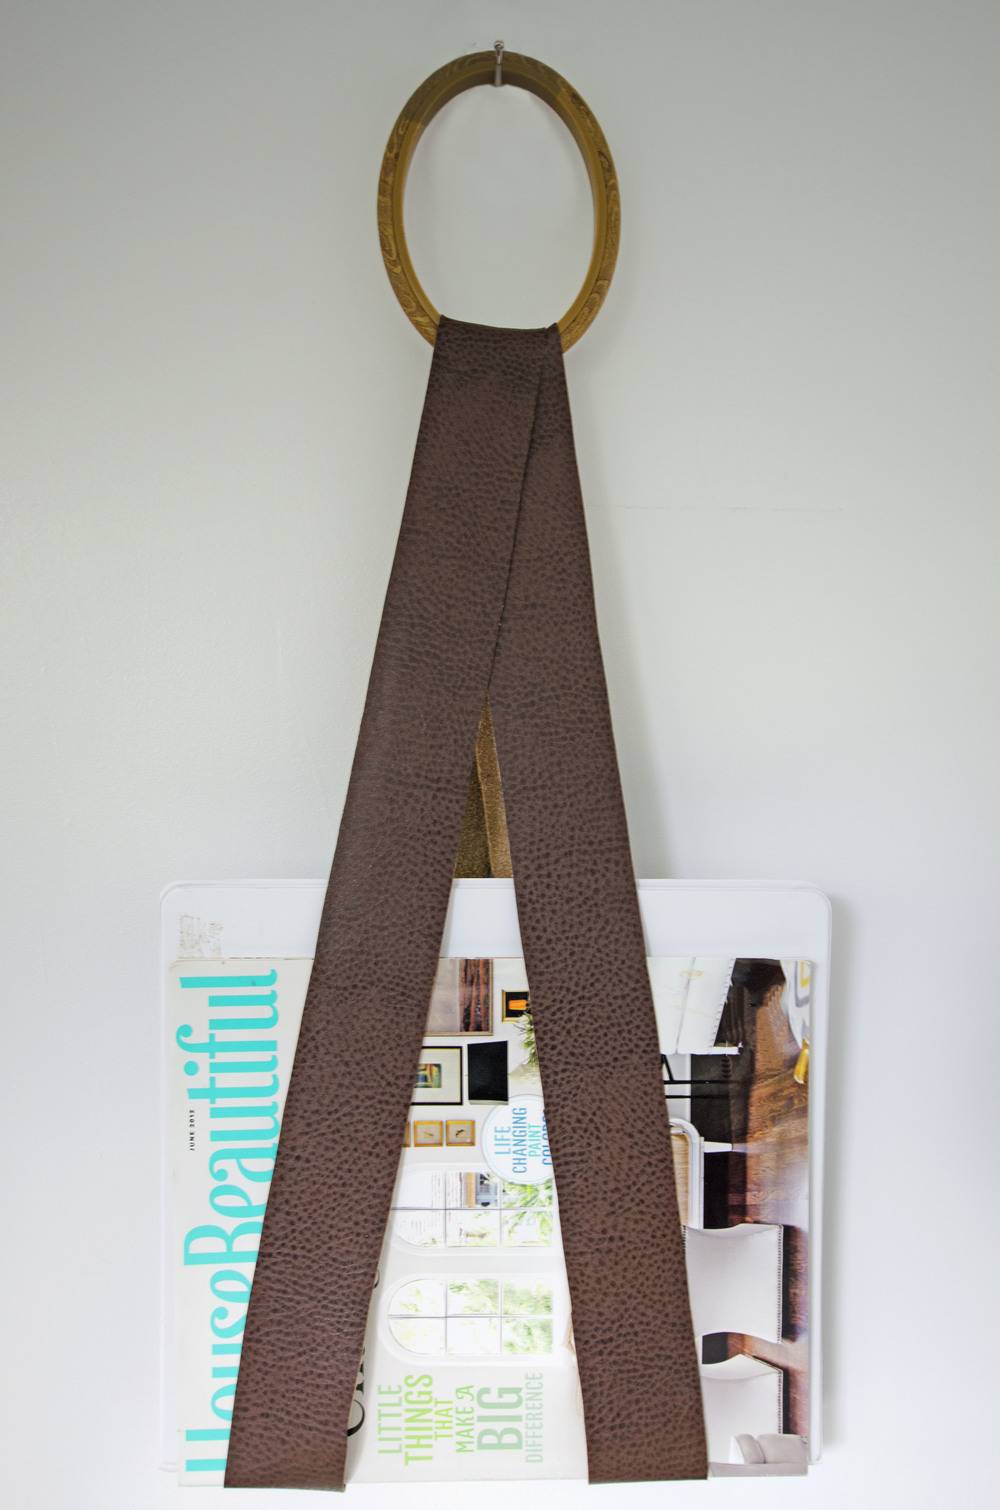
Slide your magazines in and you’re done!
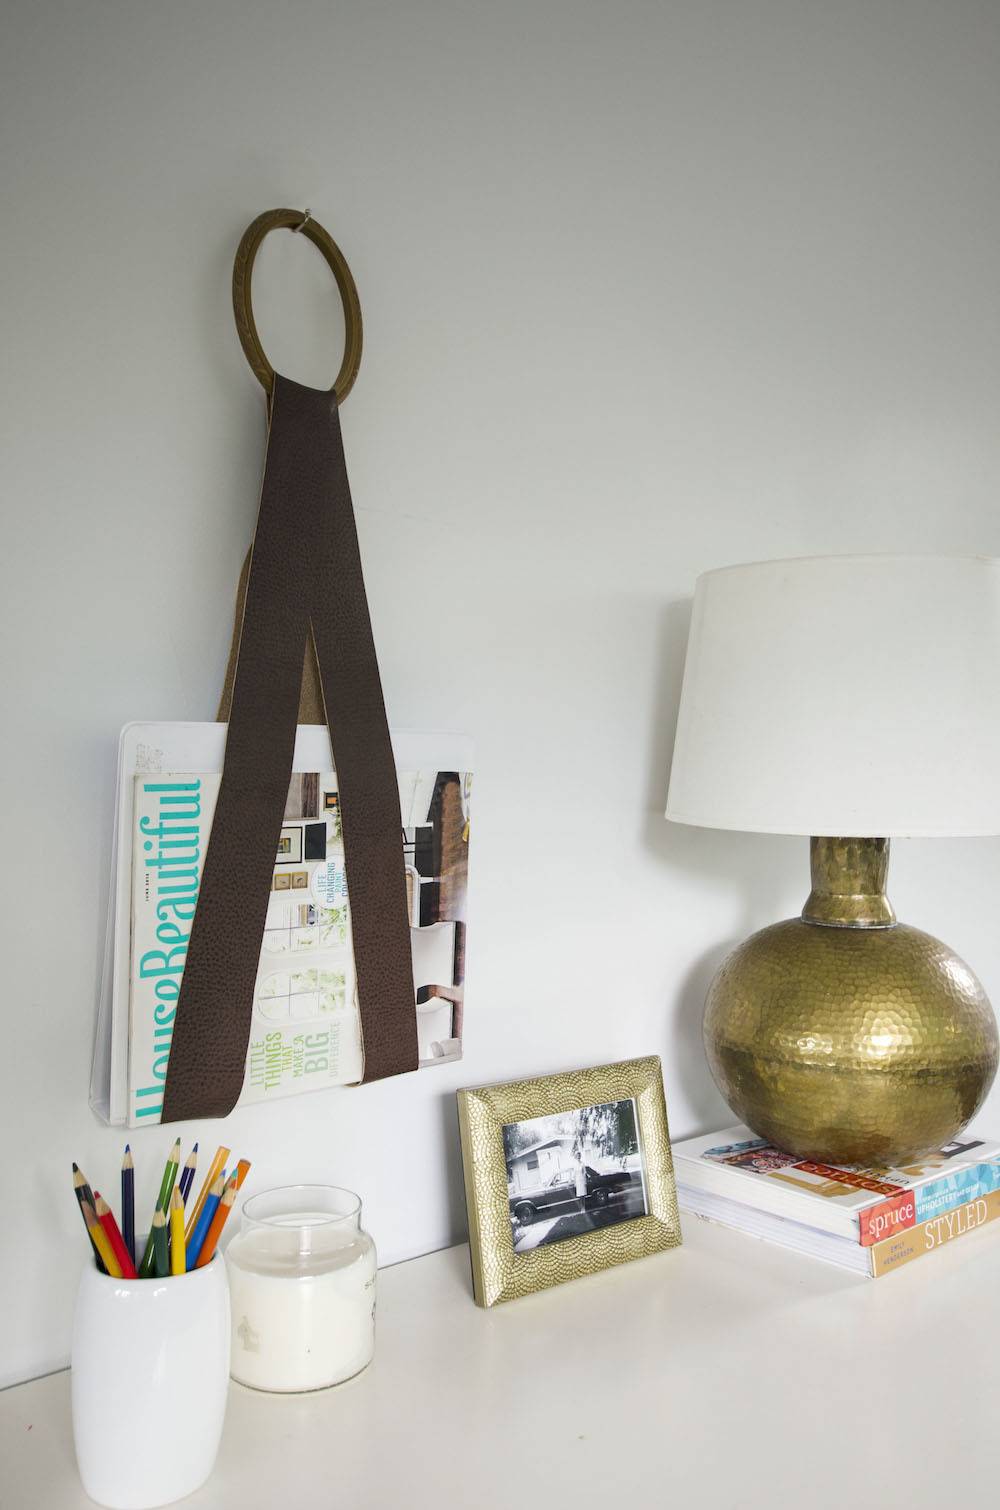
I love the simplicity of this project. It’s a functional and stylish way to keep my desk clear and organized. I might even make another one for my bedside table to clear off my stacks of magazines!
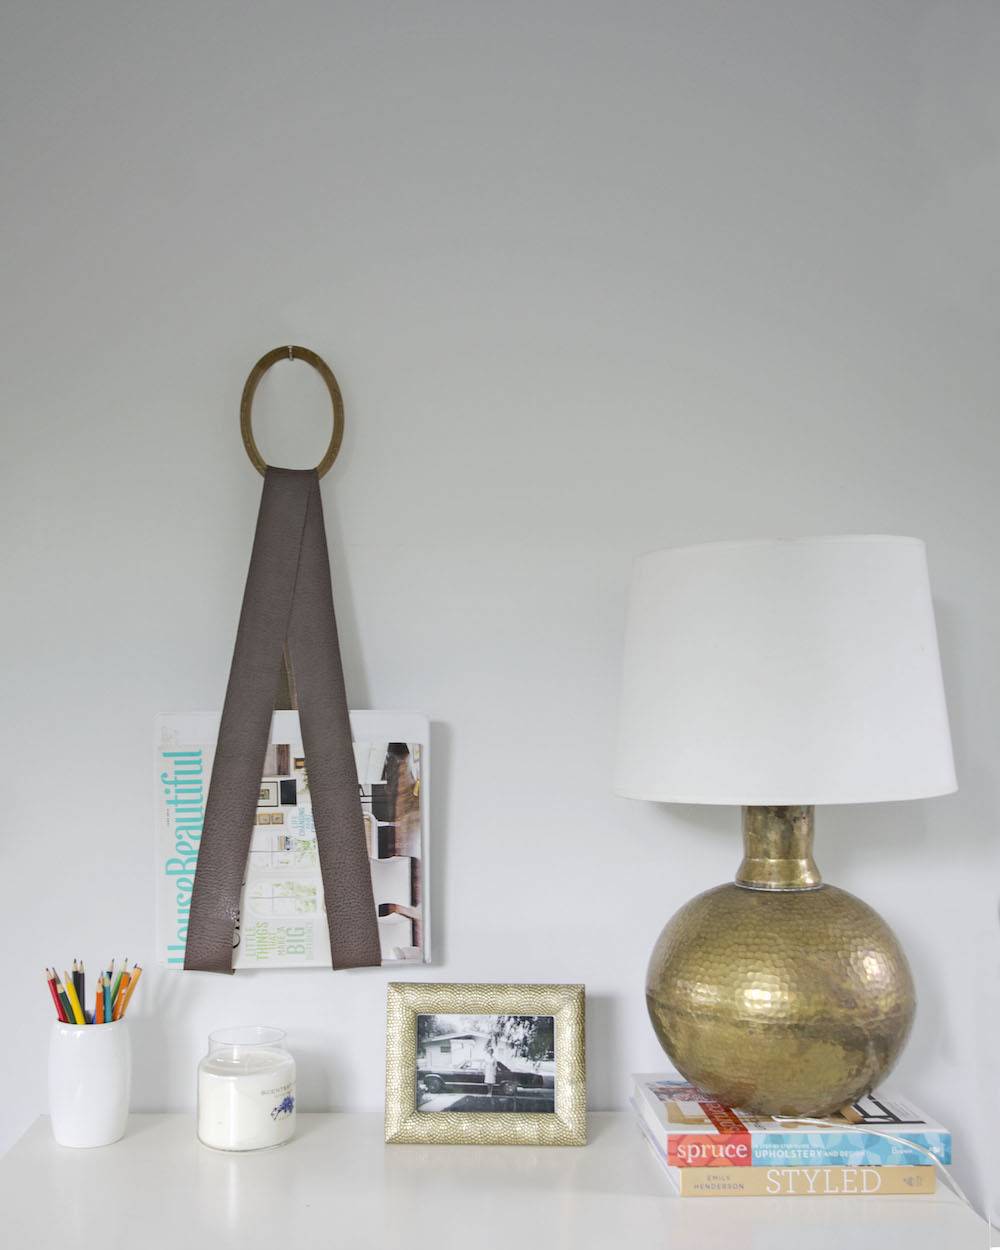
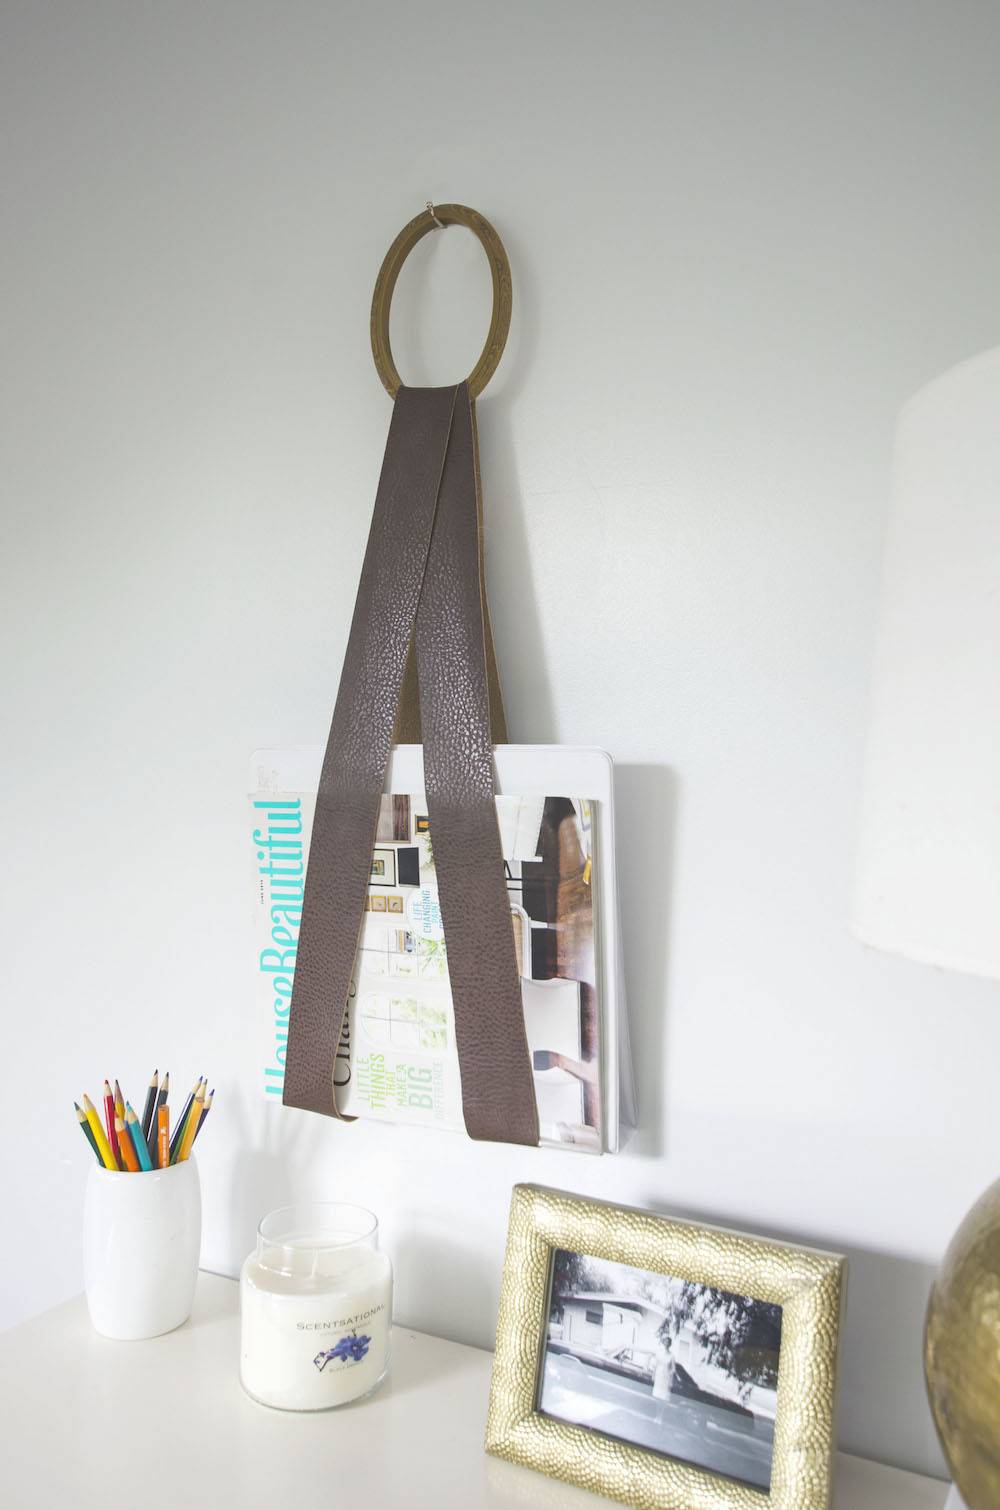
This project took me about an hour to make, so it’s the perfect weeknight DIY; give it a try!
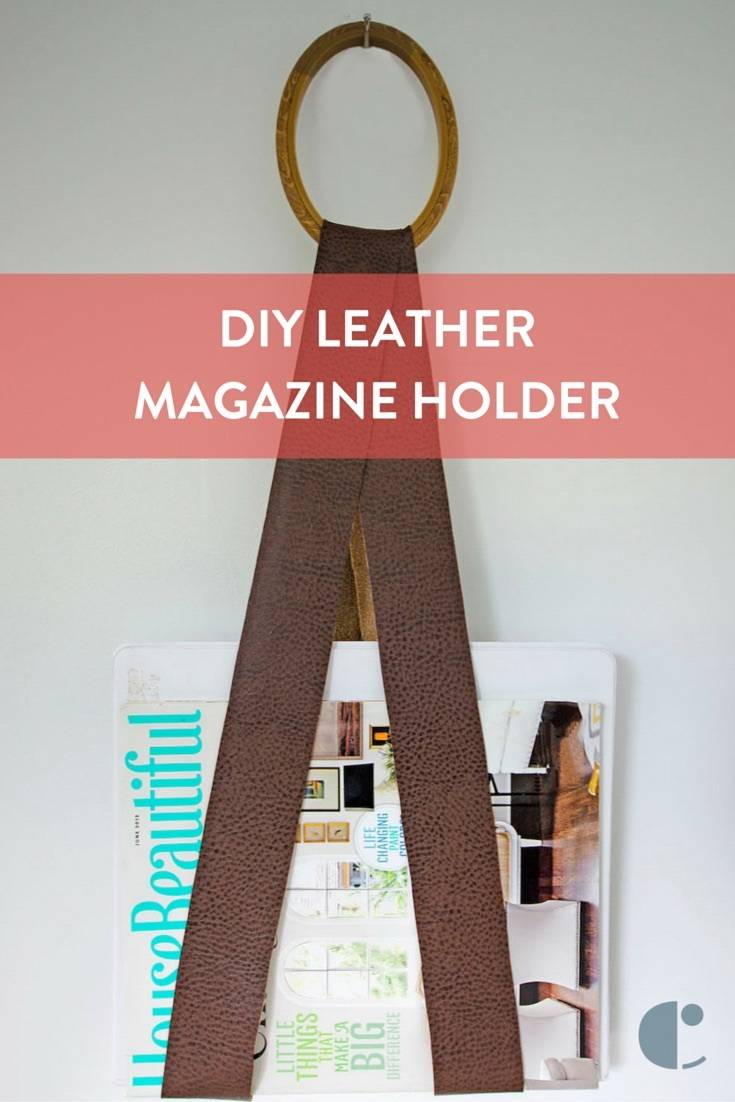
Want more storage and organization DIYs? Check out this Roundup post from Curbly.
