There’s so many brilliant DIY techniques in this world that I probably shouldn’t be surprised when one comes along that I haven’t yet attempted.
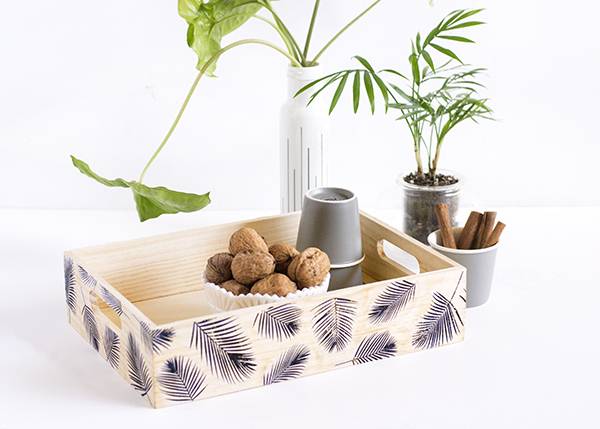
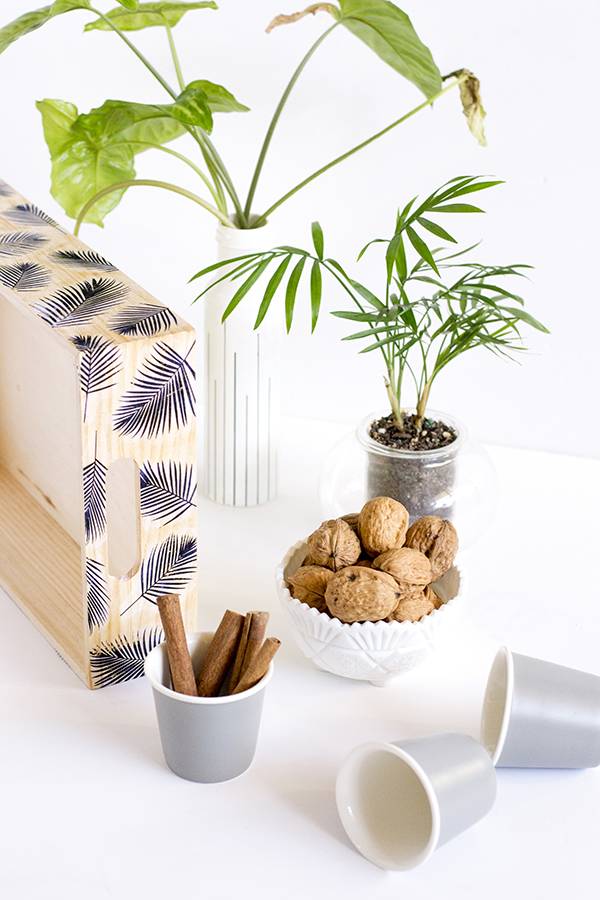
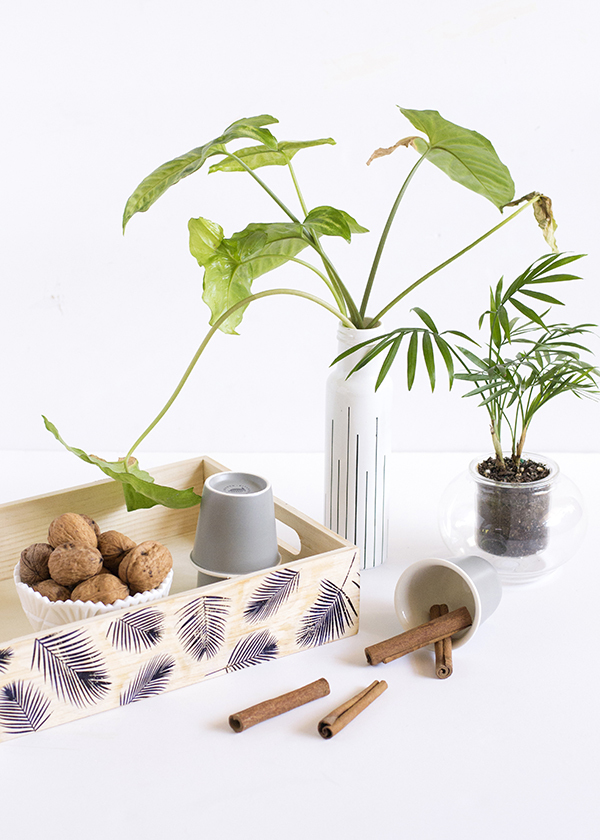
And yet here I am, gobsmacked that I hadn’t thought to try transferring images to wood before. This super easy and very versatile technique is one of the best ways I’ve seen to get patterns onto timber, and you needn’t draw the line at shapes – you can also transfer photos or text so there’s lots of room to experiment and have fun!
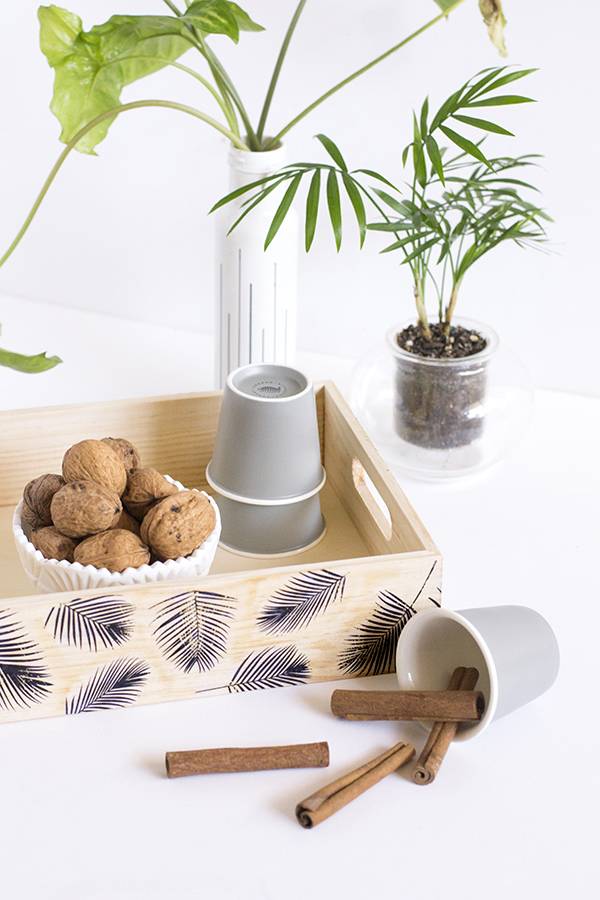
If you haven’t had the chance to give this method a go, you should definitely try it out… I’ve even got a nice, easy printable to get you started. What are you waiting for, find yourself a wood tray and let’s get making!
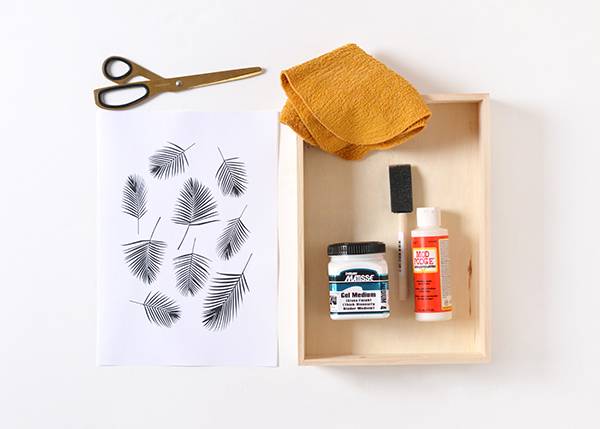
Materials
- Wood tray or box
- Palm frond file
- Laser printer
- Scissors
- Acrylic gel medium
- Foam sponge or paintbrush
- Cloth
- Mod podge or varnish
Step
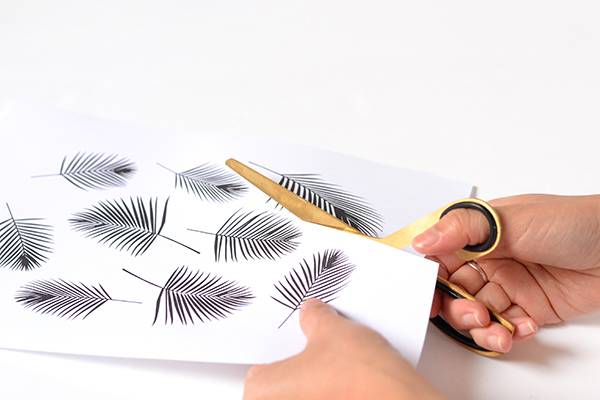
Print the palm frond file onto white copy paper using a laser printer. The laser printer part is important – if you use an inkjet, the image you’re transferring might bleed.
Once you’ve printed the file, cut out each of the palm fronds with a pair of scissors.
Step
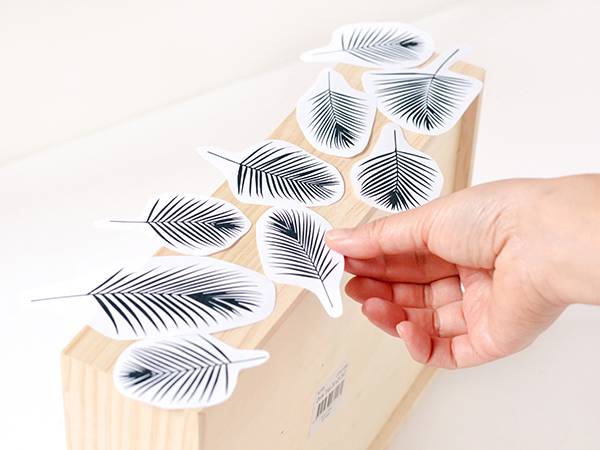
Make sure your wood box is nice and clean, then start to lay out your palm fronds on one of the sides. Keep playing around with the arrangement of your fronds until you’re happy with how the final pattern looks.
Step
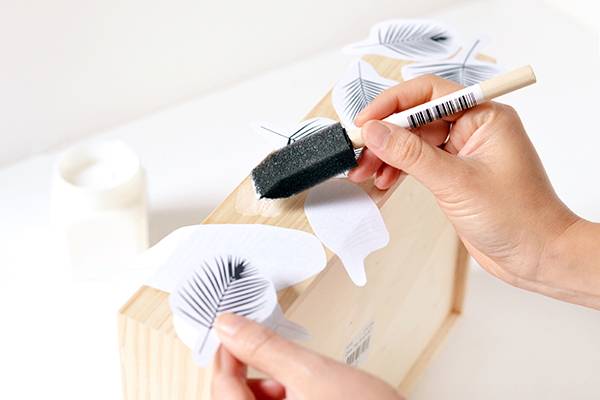
Lift up one of the palm fronds in your arrangement and apply gel medium to the area where you’d like to stick it down. Then place it back, this time face down so that the printed side sticks to the gel medium.
Smooth out any air bubbles with your fingers.
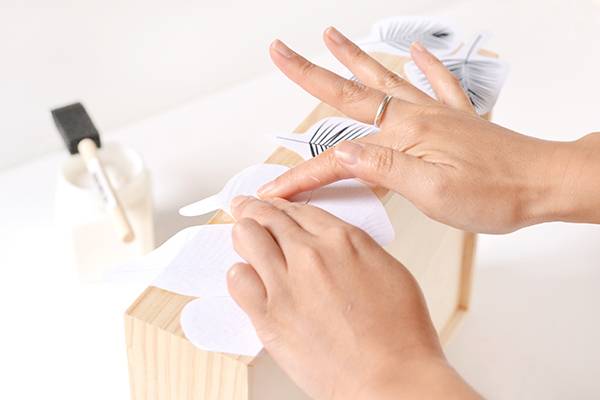
Step
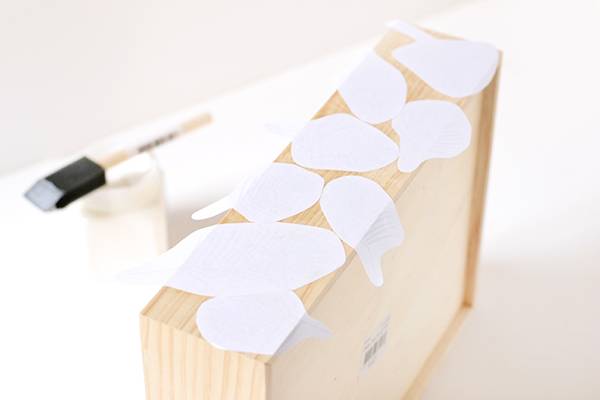
Repeat Steps 2 and 3 until the whole tray is covered in printed palm fronds.
When you’re covering your tray, it’s best to work in small sections – this way, you’ll have enough time to nicely smooth out each palm frond as you go. If you apply gel medium to your whole box at once you’ll be racing against the clock to stick all your palm fronds down before the gel dries!
Once all your palm fronds are in place, leave the box to dry overnight (or for at least 8 hours).
Step
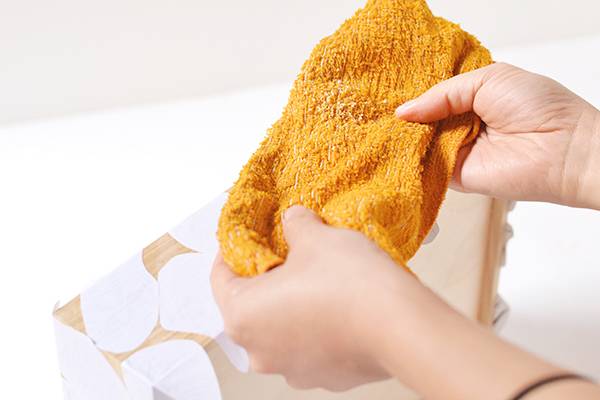
When the gel medium has dried completely, place a damp washcloth on top of the dried-on palm fronds. The cloth will dampen the paper.
Step
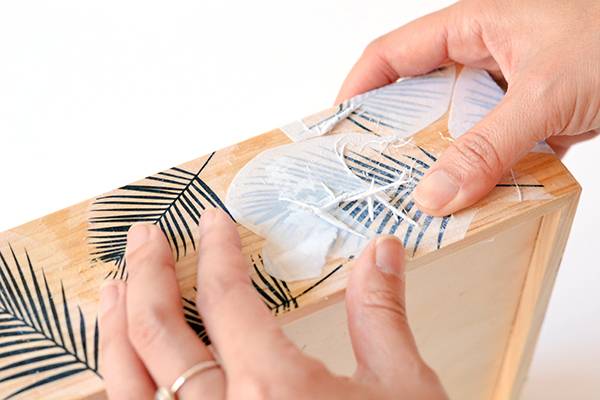
Once the paper is sufficiently damp, use your fingers to gently rub off the white areas. As you rub in circular motions, you’ll start see your print appear underneath.
Step
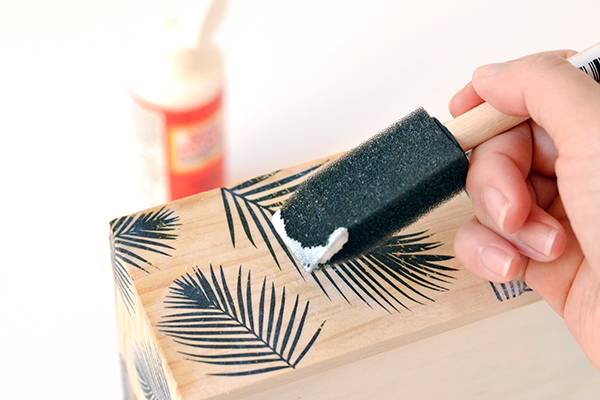
When all the paper has been rubbed off, give your wood box a coat of varnish or mod podge to protect the print.
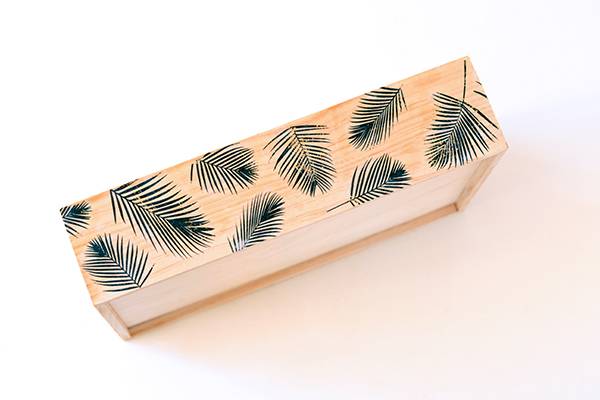
Job done! Pretty easy hey? Now that you’ve mastered this technique, don’t forget you can use it in a variety of ways for whole range of projects. For example, try experimenting with other kinds of wooden objects (like wood containers or chopping boards) and use different images like photos or printed quotes in your favourite fonts to decorate the wood.
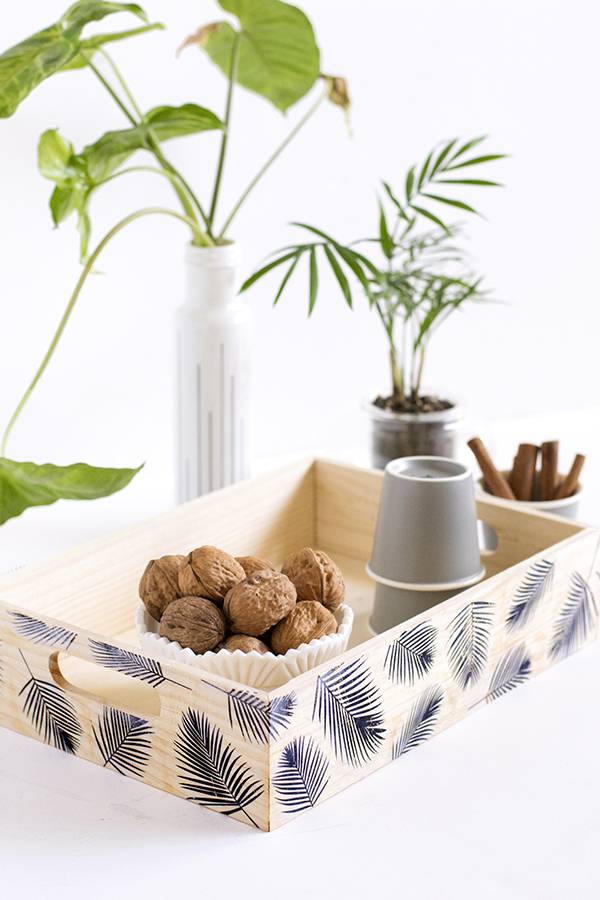
Also, this is a great project to get the kids involved with – they can choose the images to transfer and help rub the paper off to reveal the finished print. Fun for the whole family!
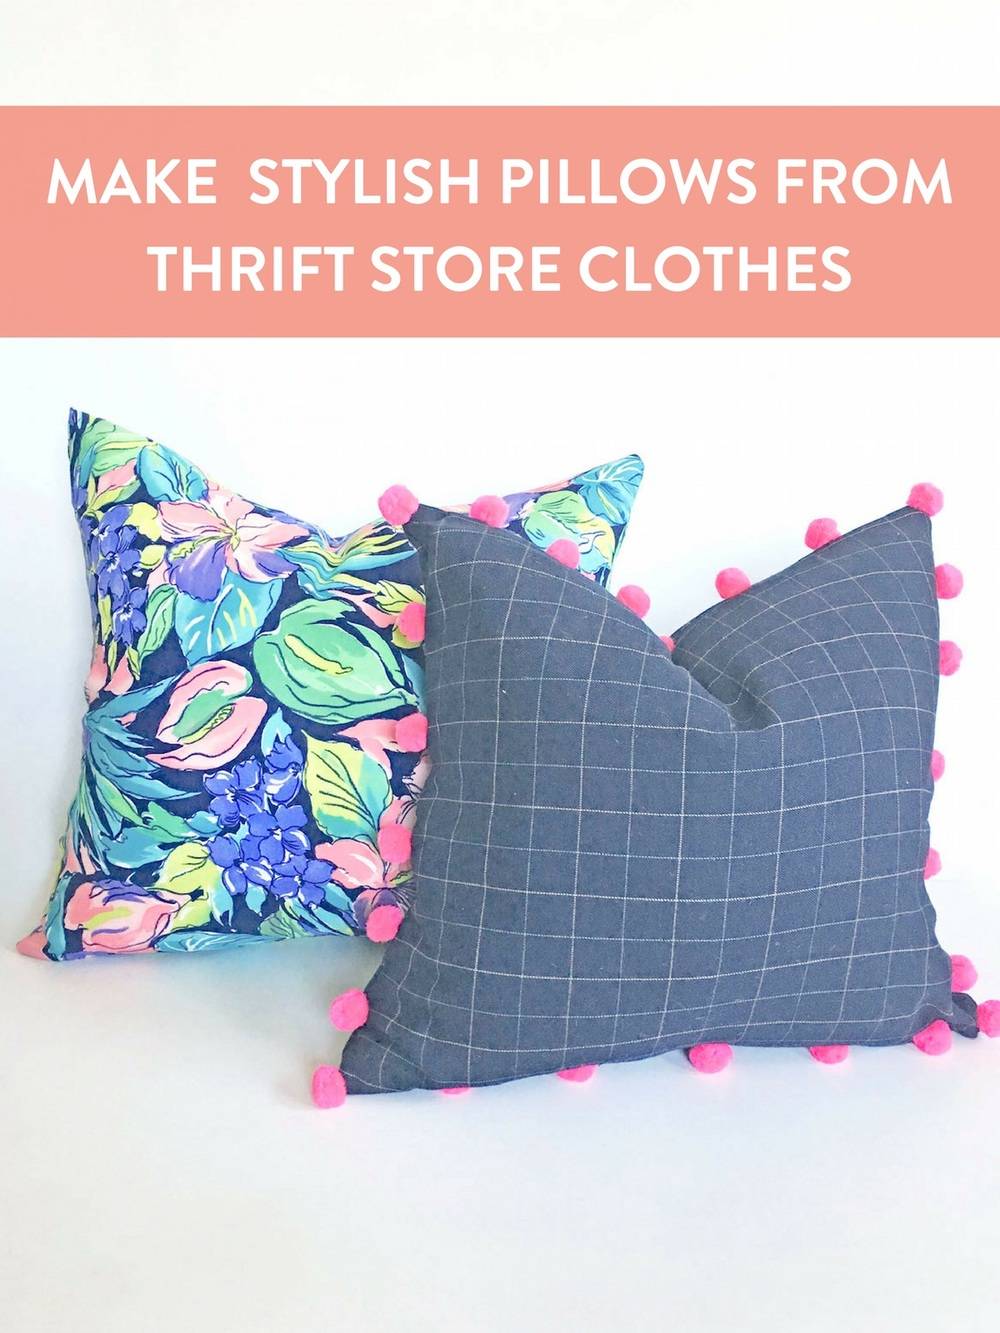
Looking for more DIY? Click here to learn how to make awesome pillows from thrift store clothes!
This is awesome!
Thanks Bruno and Handyman Stratford – I’m so glad you like this project!