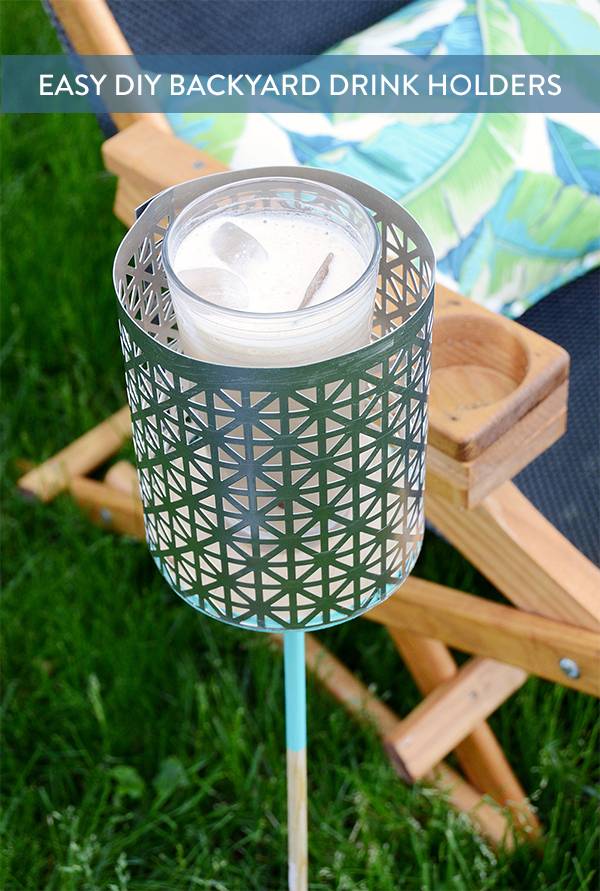
It’s probably happened to you before… you try to balance your drink on a wonky area of grass, and it spills all over the lawn. What a waste of a perfectly good beverage! So today I’m sharing an easy project that will prevent this from happening ever again – a backyard drink holder that will help you hold your drinks in style.
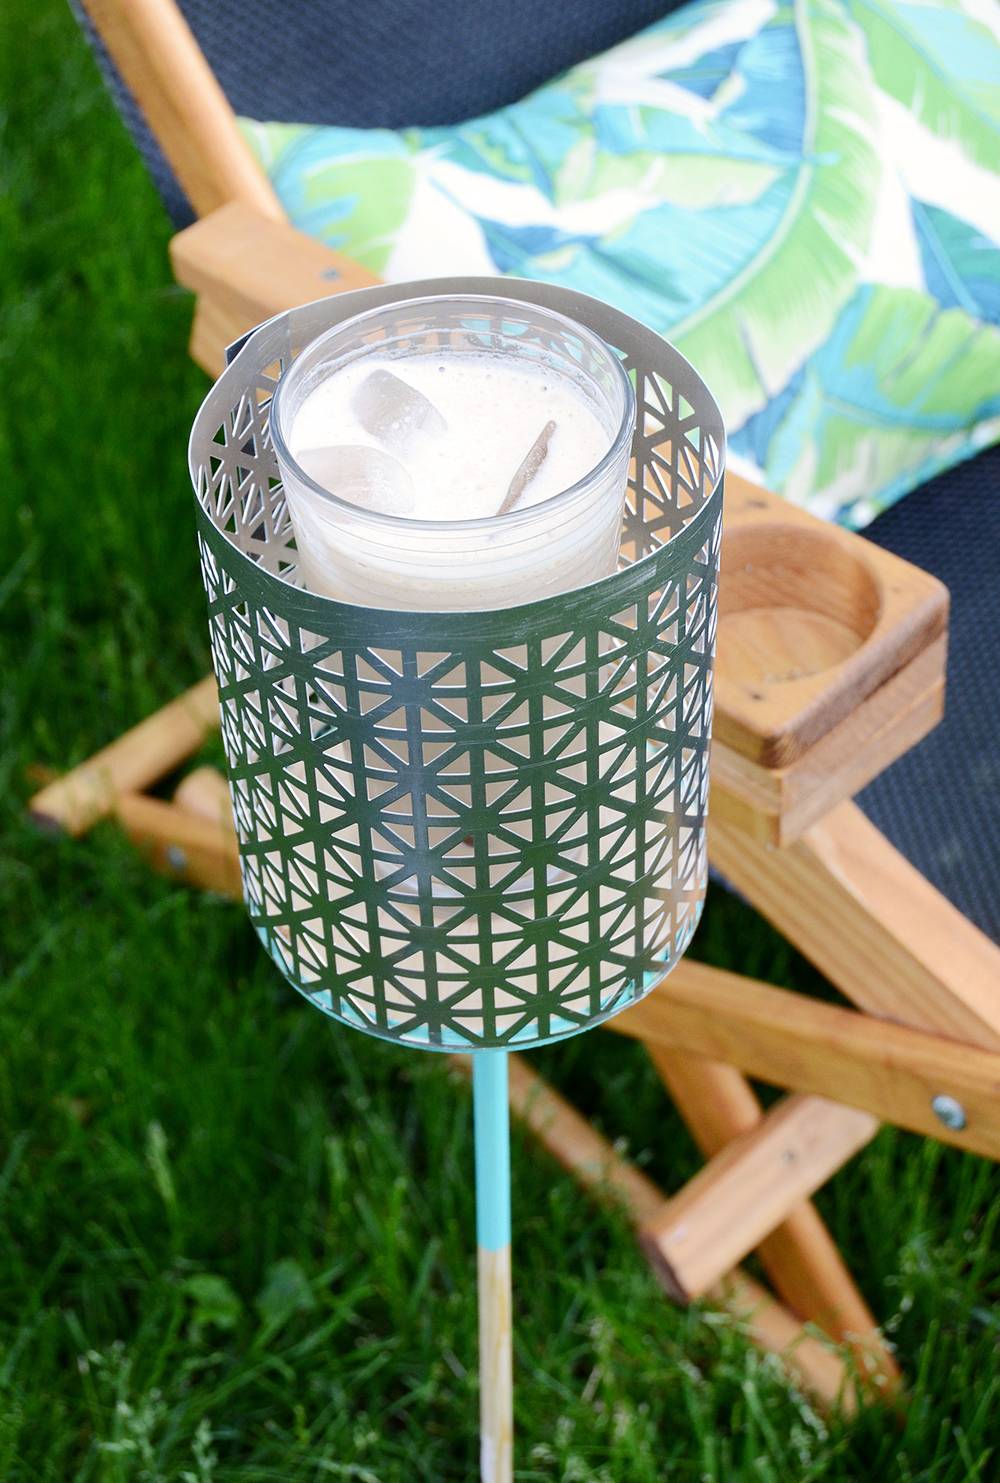
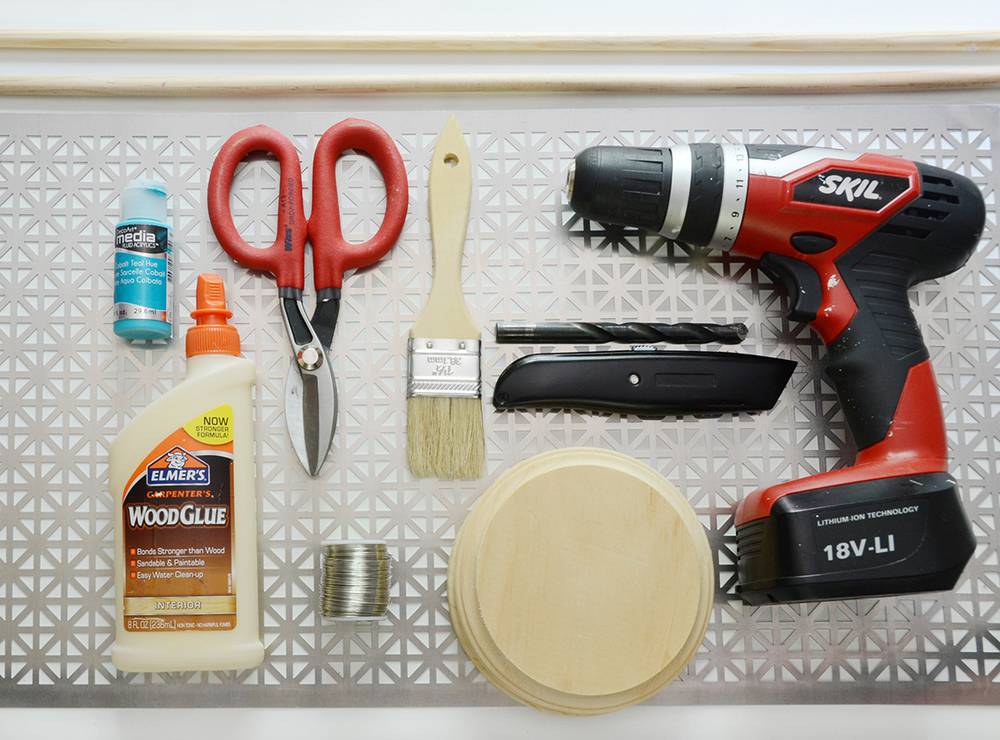
Voilà, no more spilled drink tragedies! And you can customize these completely to your needs. Also: I designed it to accompany my wall-mounted bottle opener that I shared with you a while back… check that out here. Here’s what you’ll need for this project:
Materials
- (2) 5″ diameter round wooden plaques (I got mine at Michaels)
- (2) 3/8″ diameter wooden dowels, cut to 2′
- (1) 12×24″ aluminum radiator cover
- Thin, malleable wire
- Drill with 3/8″ drill bit
- Acrylic craft paint and brush
- Wood glue
- Tin snips
- Box cutter
Step
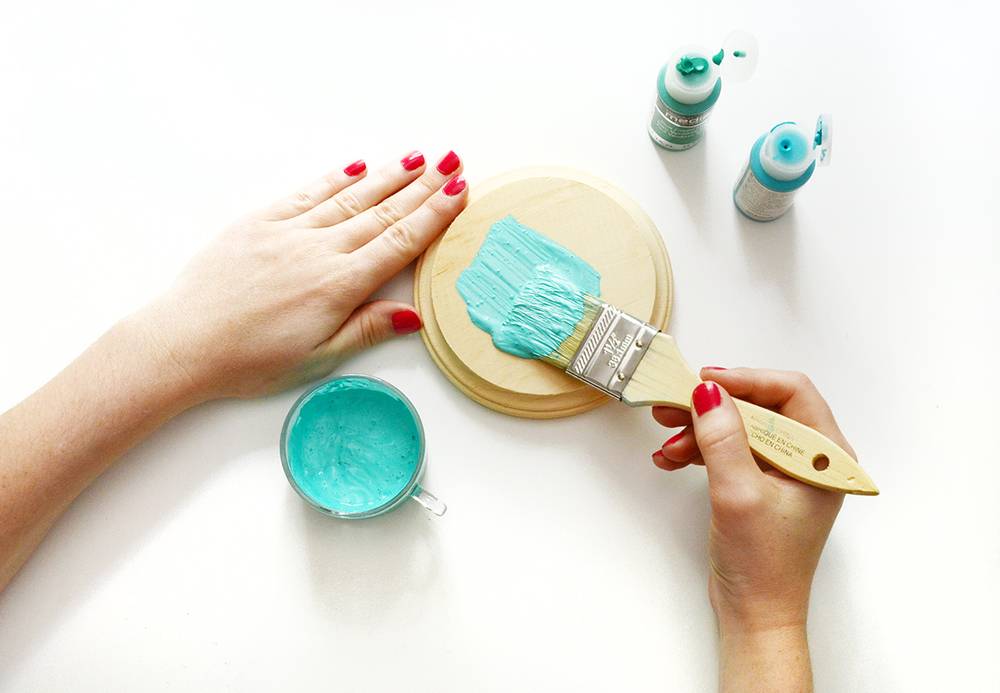
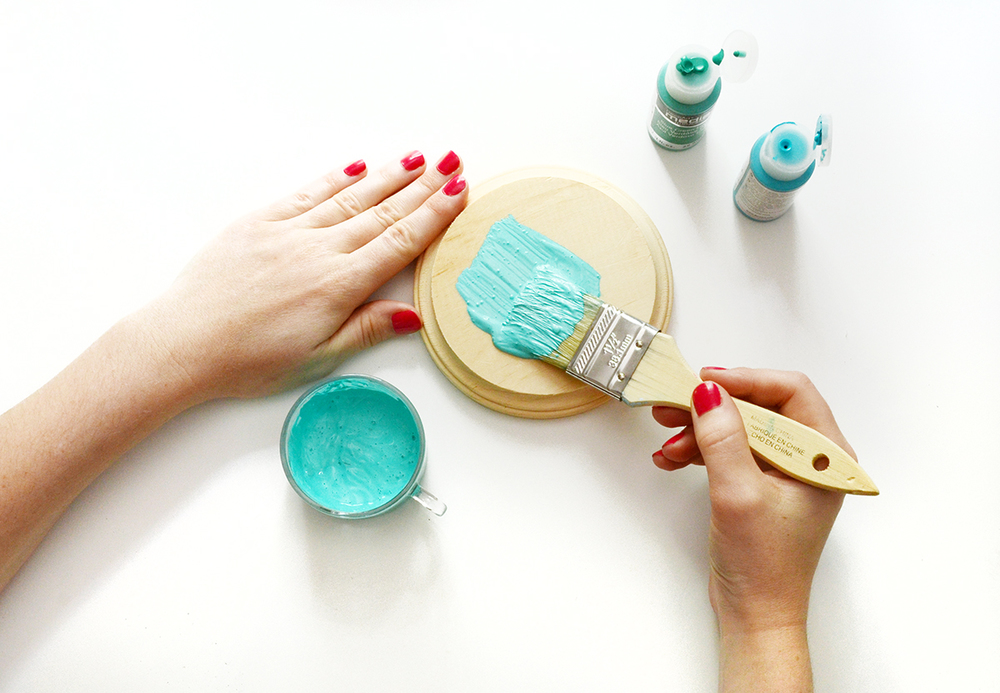
Begin by painting the tops of the wooden discs using your acrylic paint. I chose a pretty turquoise color to go with the color scheme of the rest of my patio. Set them aside to dry.
Step
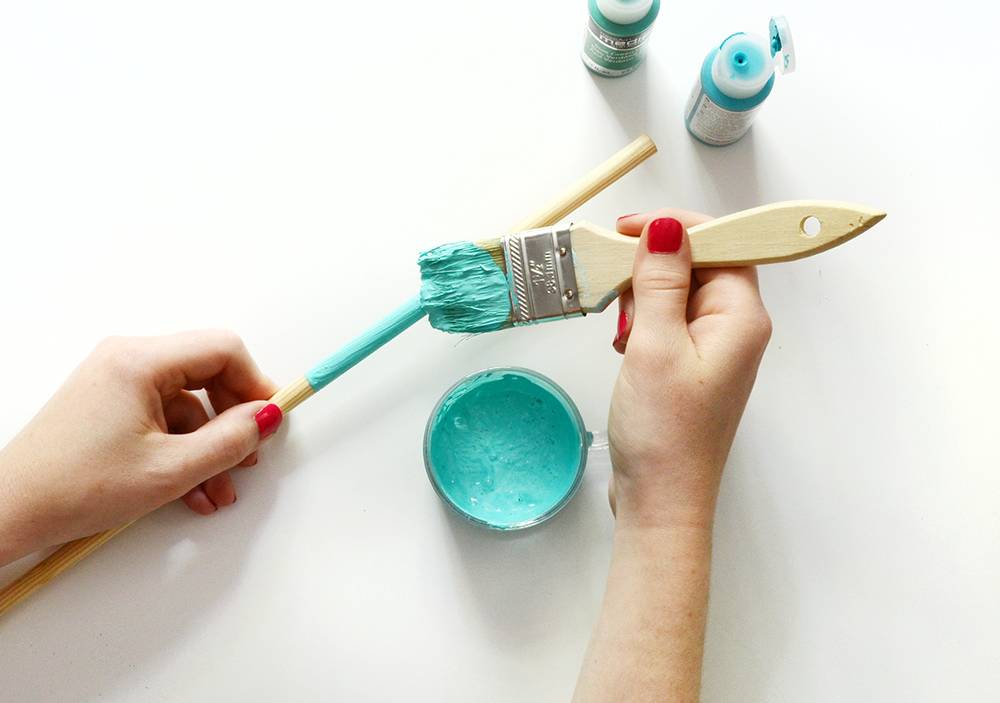
Next, paint the top 8″ of your wooden dowels the same color and put them aside to dry as well.
Step
Once the paint is dry, drill a shallow hole in the center using the 3/8″ drill bit. Do not drill all the way through – try to drill about half way through the wood.
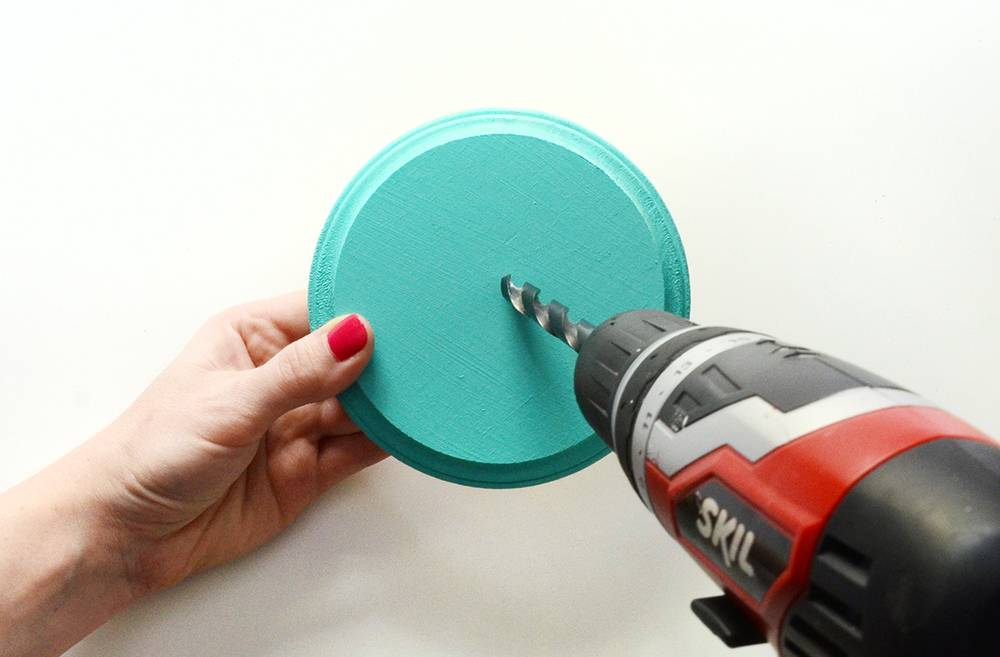
Be sure to position the drill so that it is at a 90 degree angle with the wooden disc.
Step
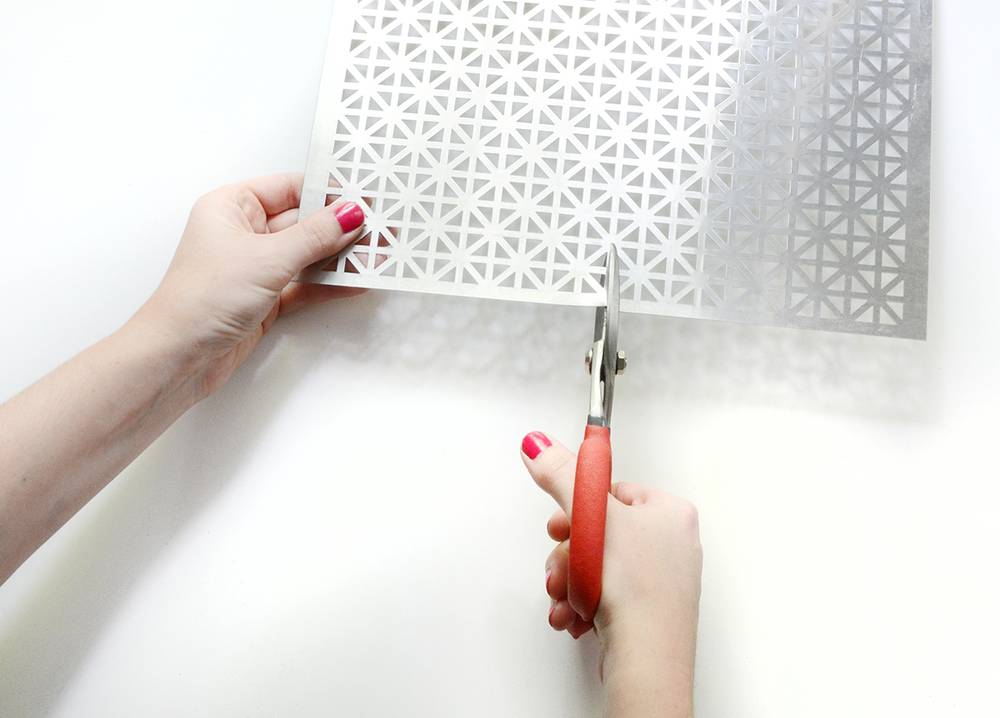
Now it’s time to cut the radiator cover using your tin snips. I cut my pieces to 17×6″ because I wanted a tall drink holder for my large iced coffees (and tall wine glasses!). But feel free to cut it to 17×3″ or 17×4″ if you prefer the look of a shorter holder (but be sure to cut the strips along the outer edges of your radiator cover, however, so one edge of each is not the cut edge (which is sharp).
Step
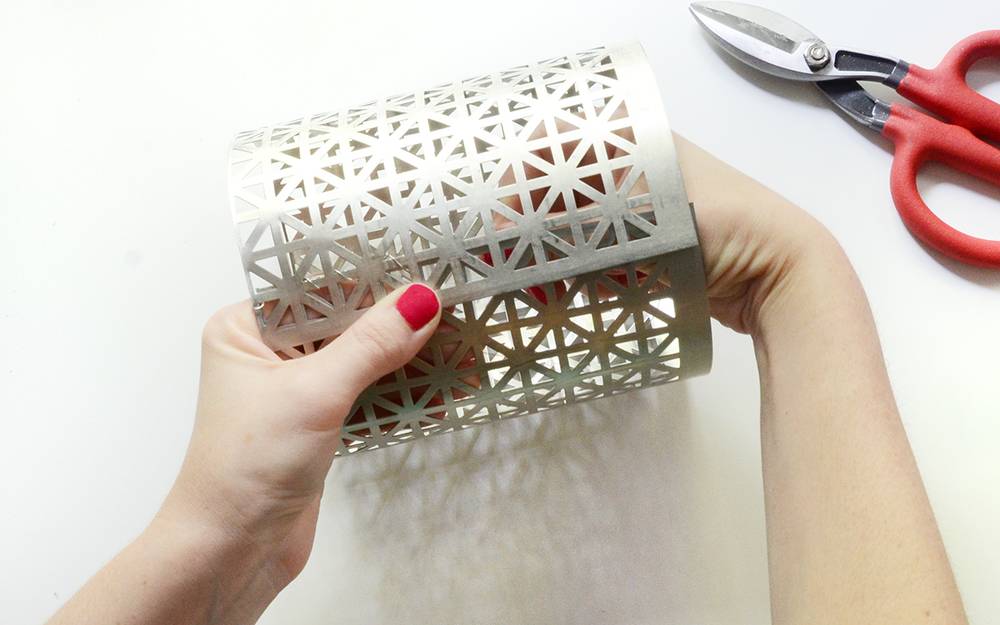
Next, carefully transform your radiator cover strip into a cylander as shown above. Be careful not to cut yourself on the sharp edges. Line up the pattern and insert the wooden disc inside to make sure that it fits snugly inside the cylinder. Take it out again and weave a 10″ piece of wire around the overlapping edges of the radiator cover to secure them in this cylindrical shape.
Step
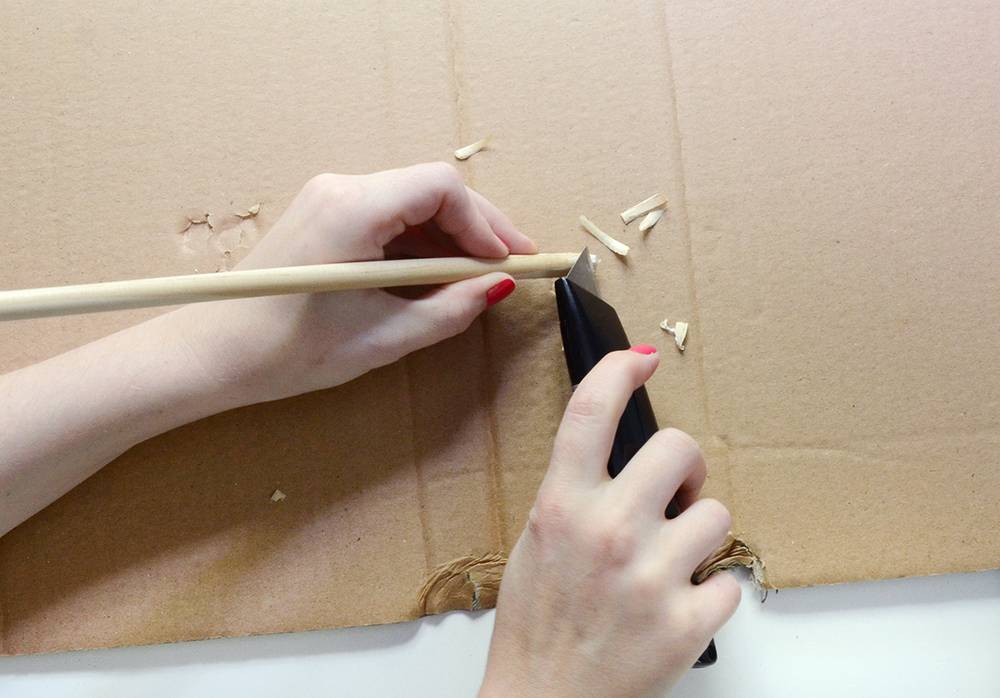
Now you’ll create points on the ends of the dowels. Use a box cutter to whittle a point on the unpainted ends of the dowels. Go slowly, and be sure to put a piece of cardboard or wood underneath your work surface to protect it.
Step
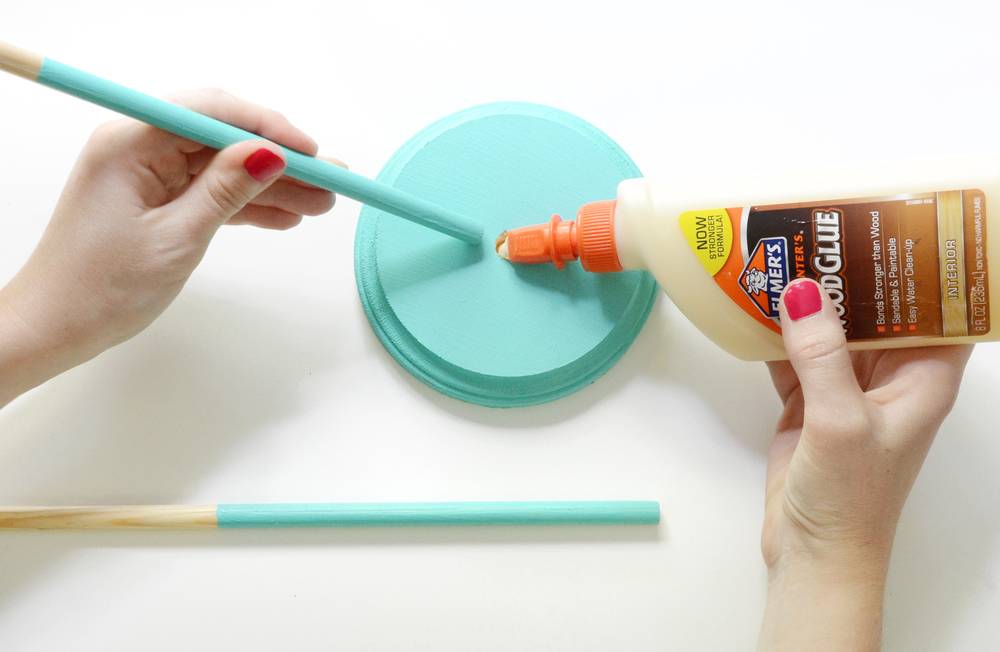
Next, put a small dab of wood glue in the holes and insert the dowels into them. Push them in firmly until they feel secure. Let dry.
Step
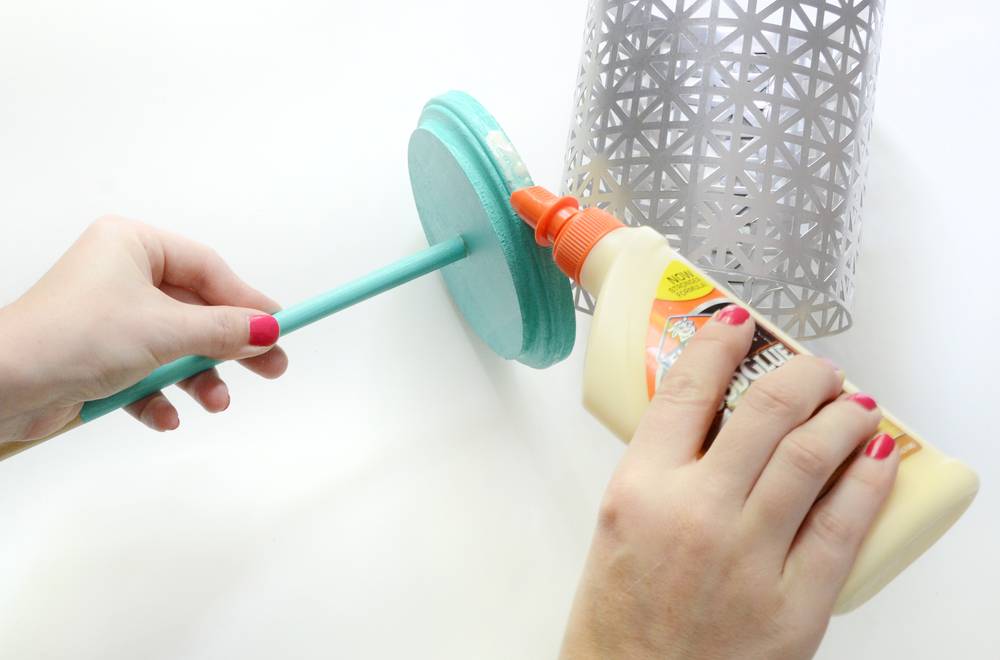
Then line the outermost edges of the discs with glue and slip the cut edges of the cylinders onto the discs. And you’re finished! Let them dry and then go try them out in the backyard!
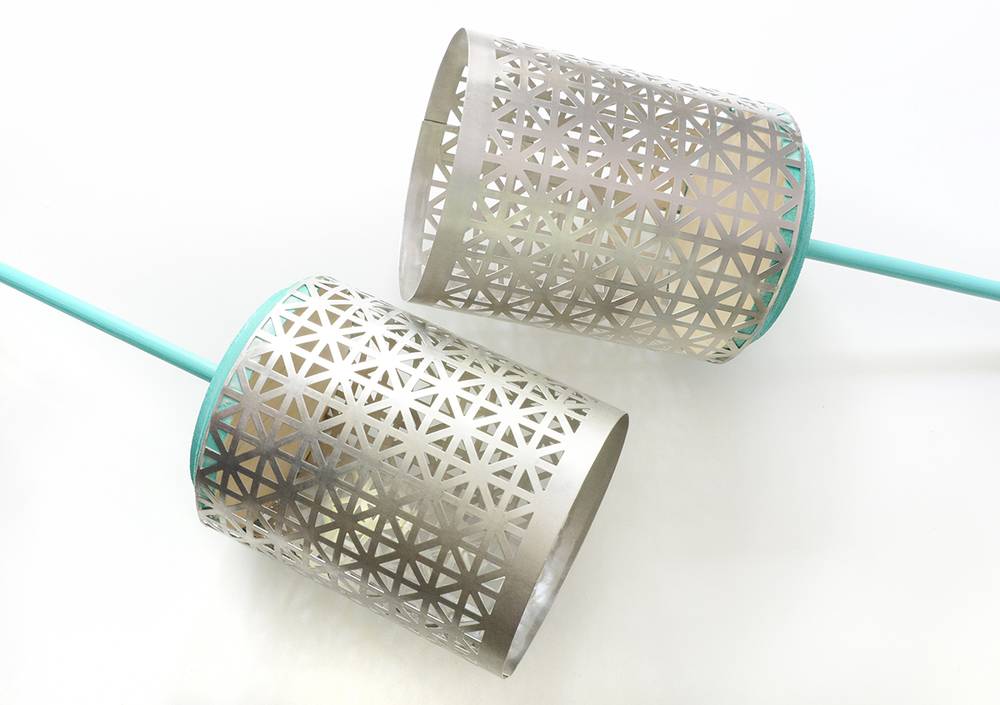
Here are some pictures of the finished product….
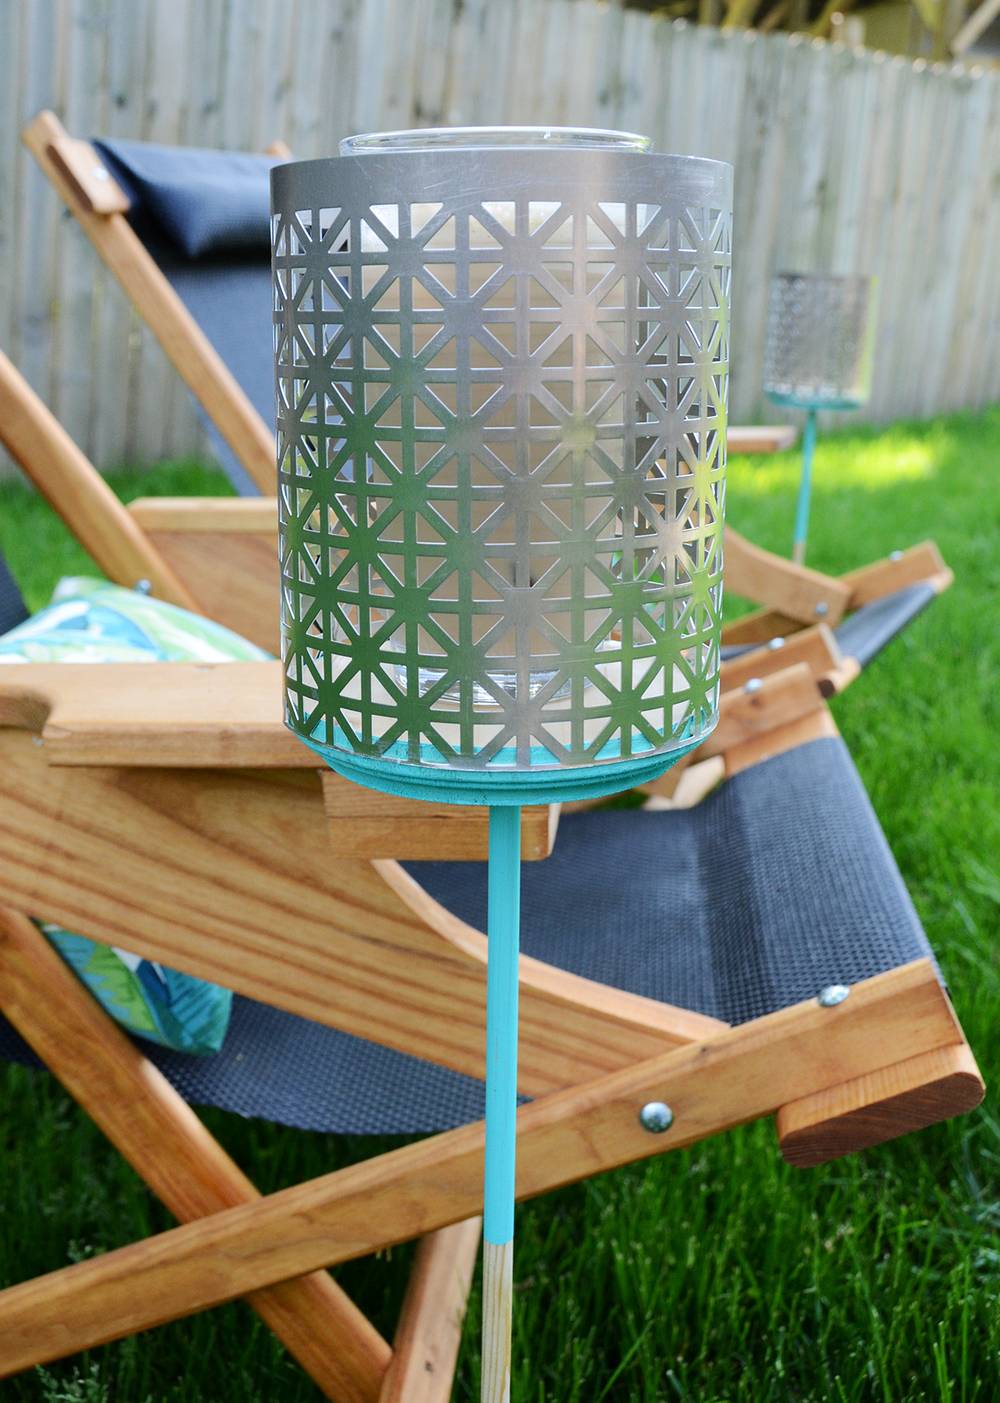
These are great because they can really be customized according to your needs – colors can be changed, sizes can be adjusted and you can even try other types of radiator covers (they come in different patterns and finishes).
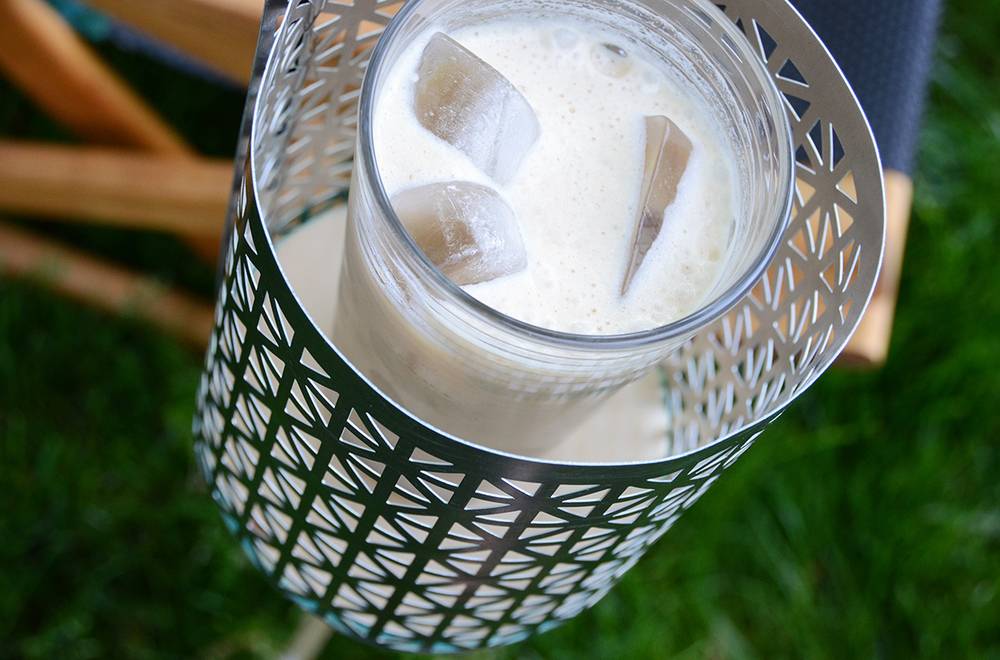
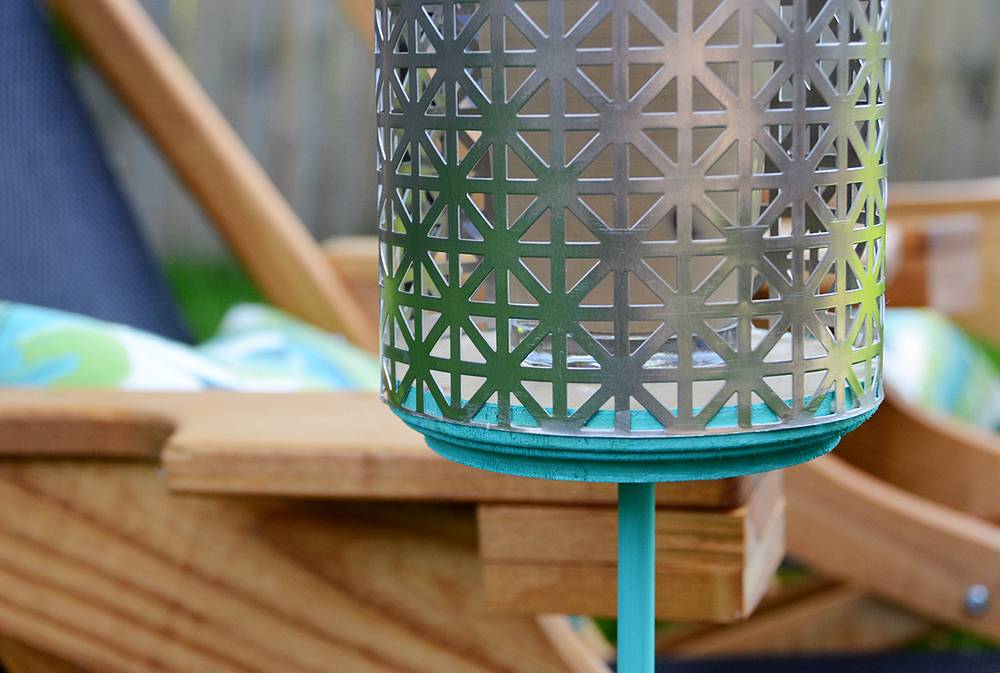
And if you’re concerned about the sharpness of the remaining edges of the metal, you can cover the edges with an aluminum film tape like this one.
Now go enjoy your backyard barbecue!
