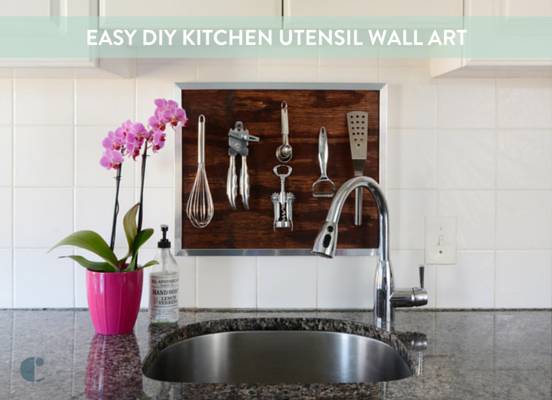
Ever since we moved into our new house, I had been searching for a fun piece of art that could hang in the empty space above the sink. And then my utensil drawer started getting too full… and I had an idea. Why not make a functional piece of artwork that could store utensils right on the wall? Then all of your often-used tools would be handy – no need to search through a drawer to find the peeler anymore. Keep reading to check out the final piece and to find out how to make one of your own.
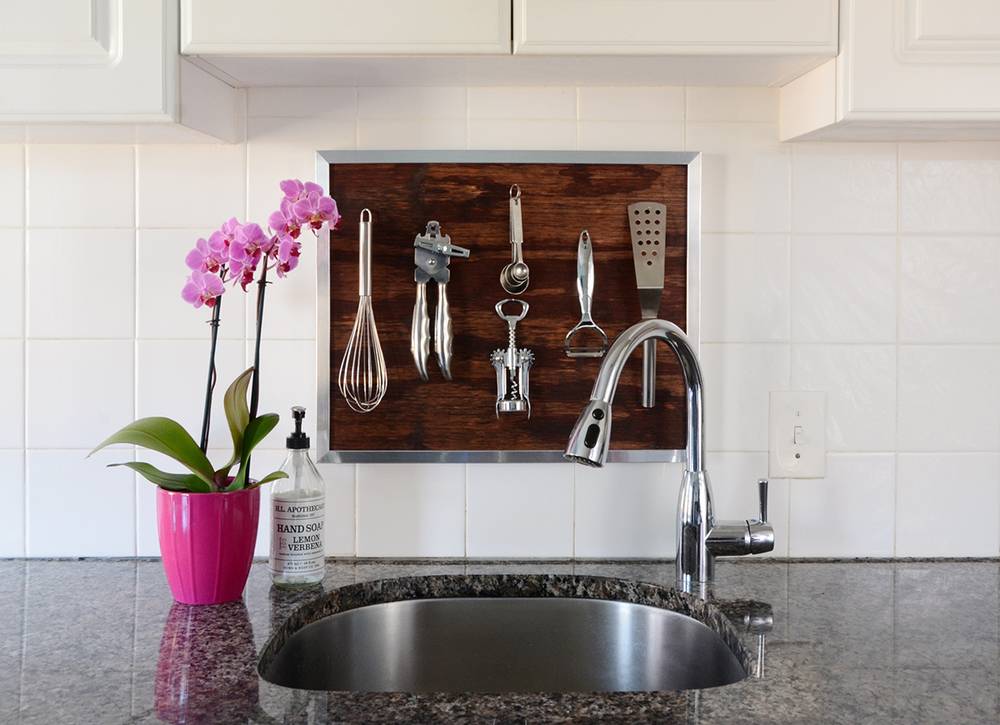
A functional piece that looks pretty, too… what could be better than that? And here’s the best part – it’s incredibly easy to make.
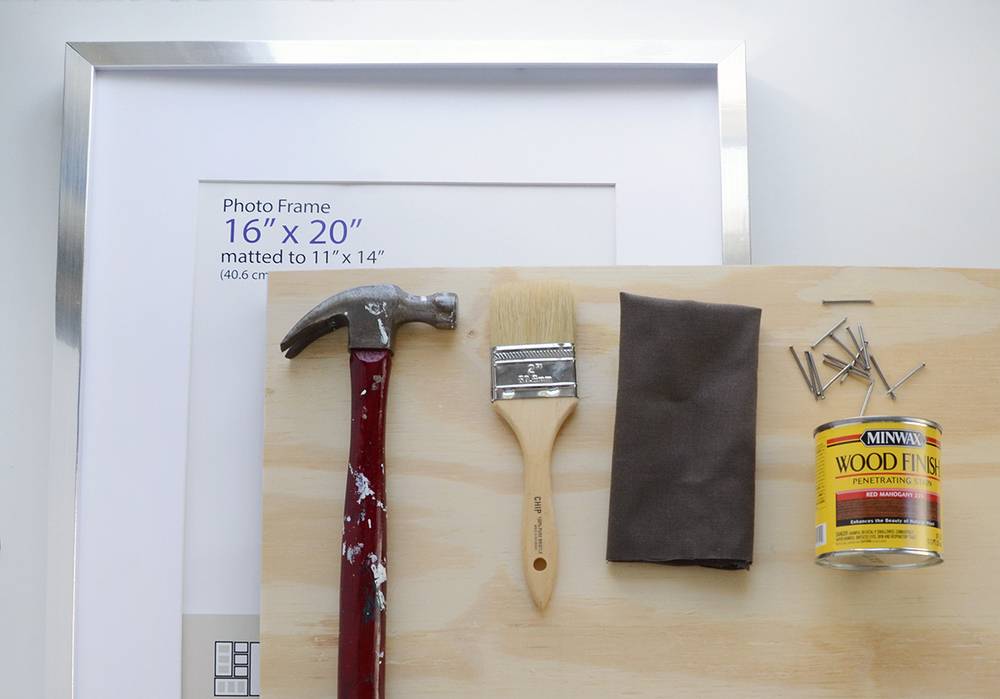
Here’s what you’ll need to make your own kitchen utensil wall art:
- 16×20″ silver tone frame
- 16×20″ piece of wood, 3/8″ thick
- Penetrating wood stain
- Hammer
- Paintbrush
- Rag
- Rubber gloves (not pictured, but highly recommended)
- 1″ long nails
- 5-7 kitchen utensils, all stainless steel (or some type of silver tone)
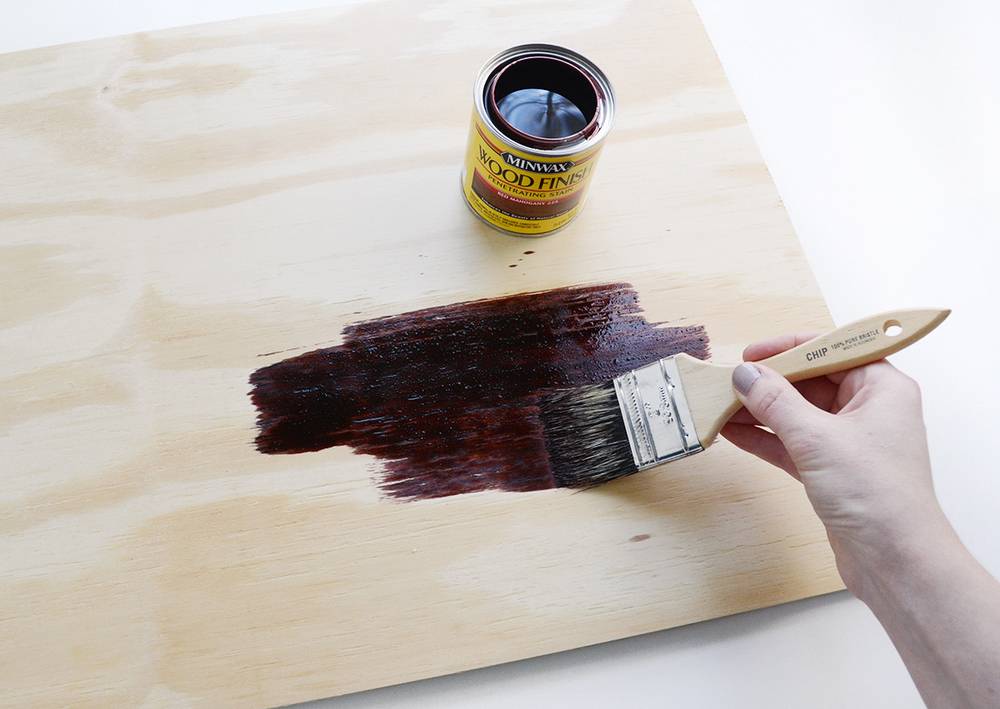
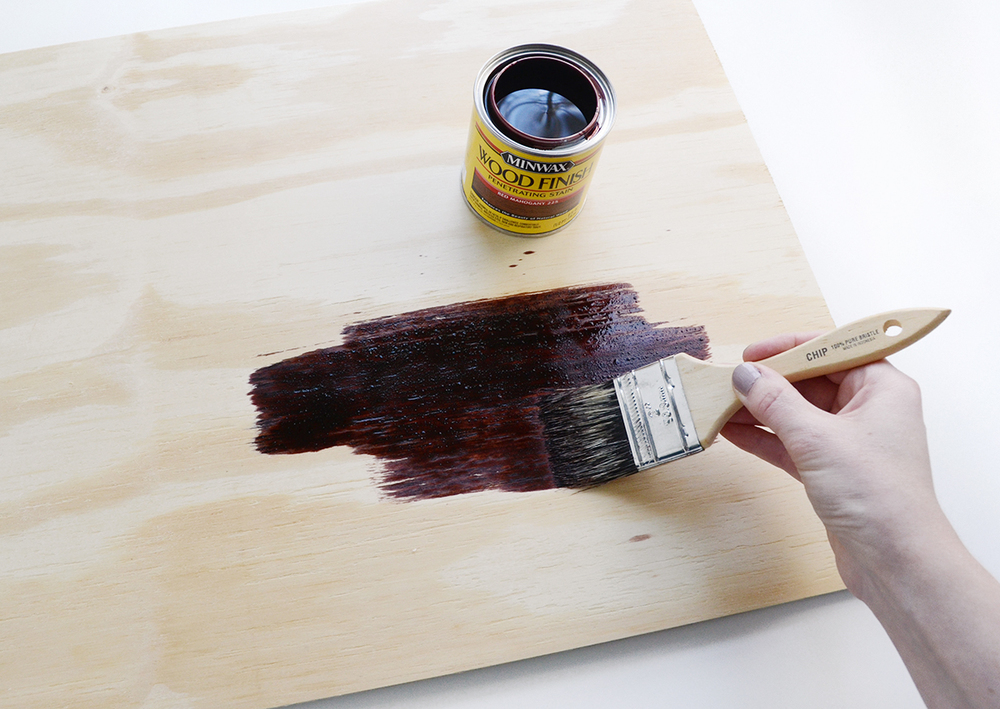
Begin by staining your wood according to the directions on the can. You’ll want to wear a pair of rubber gloves to protect your skin from the stain. Trust me. I learned the hard way… they call it “stain” for a reason!
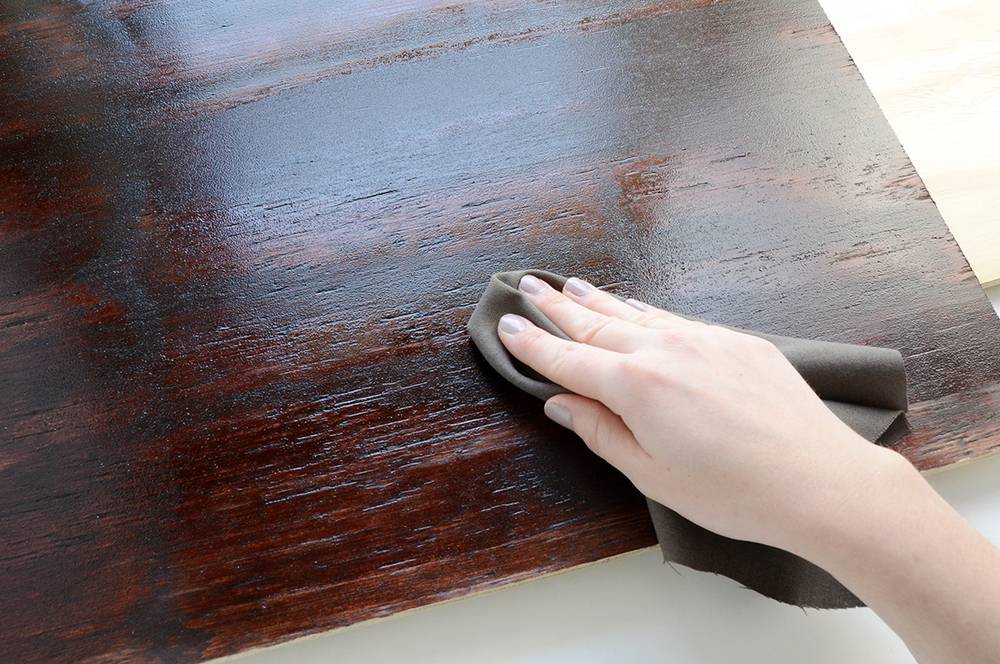
Next wipe off any excess stain with a rag after the proper amount of time has gone by (whatever your brand of stain recommends). Let it dry thoroughly overnight.
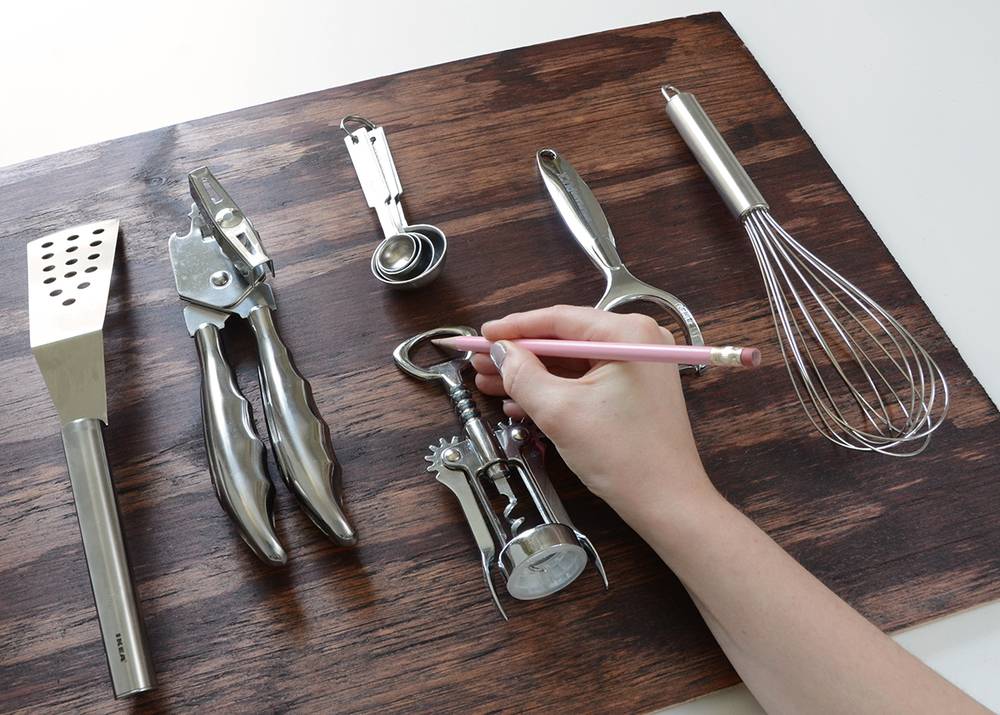
Next, lay out your utensils on the board the way you’d like them to look in the final piece and mark where the nails should go.
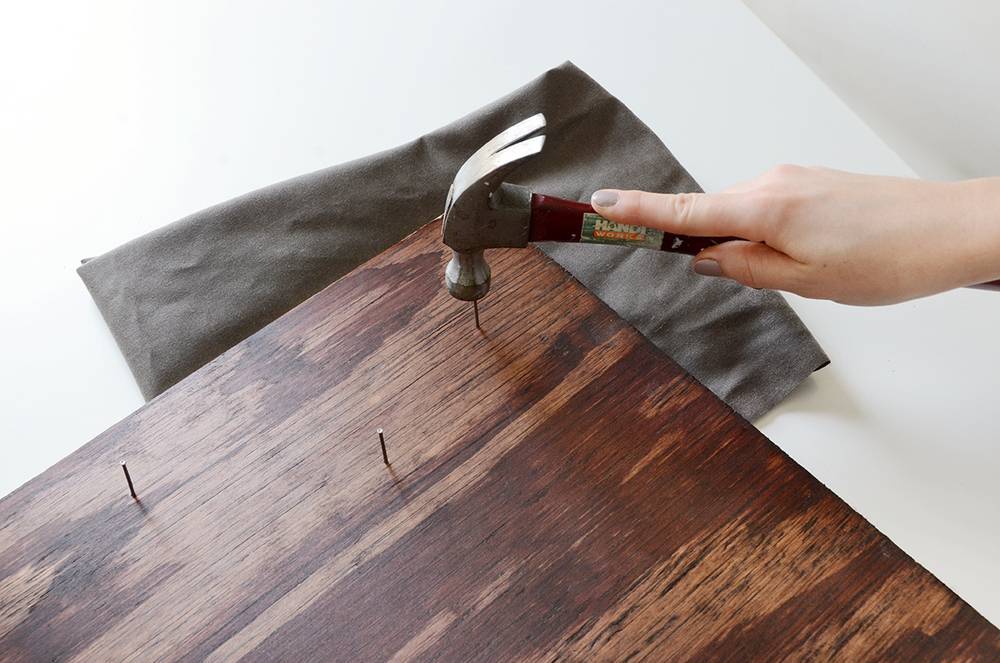
Hammer the nails into the board in their designated spots. Be sure not to hammer them all the way through, and do protect your work surface if you’re using something that you’d rather not ruin. Hammer them in at a slight upward angle so the utensils don’t slide off when you hang them up.
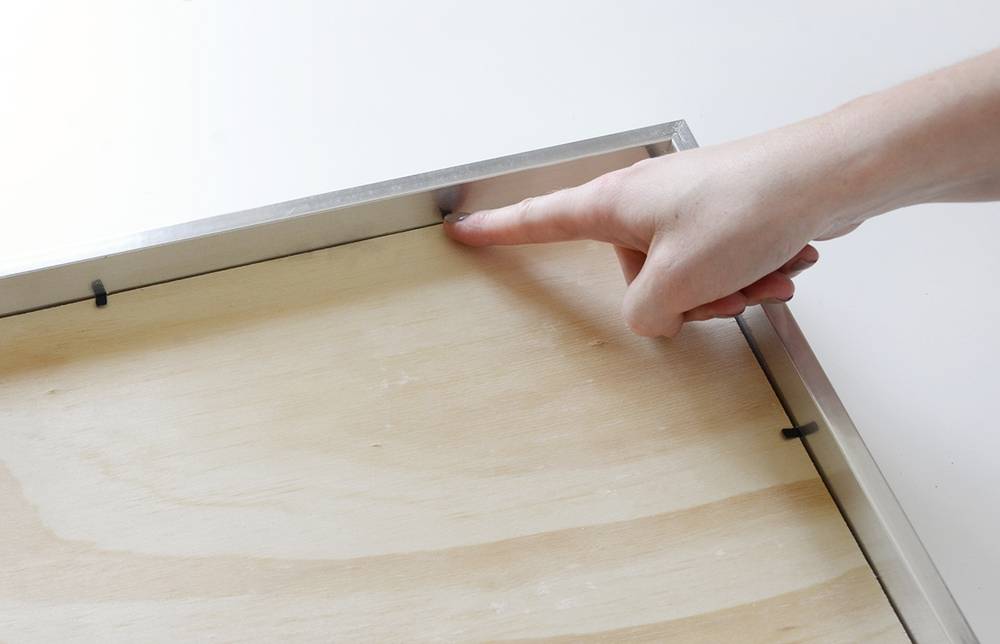
Open up the frame and take the glass out (save it for another project!). Remove the utensils from the wood momentarily and insert the wood into the frame. Bend the metal prongs down so the hold the wood in place.
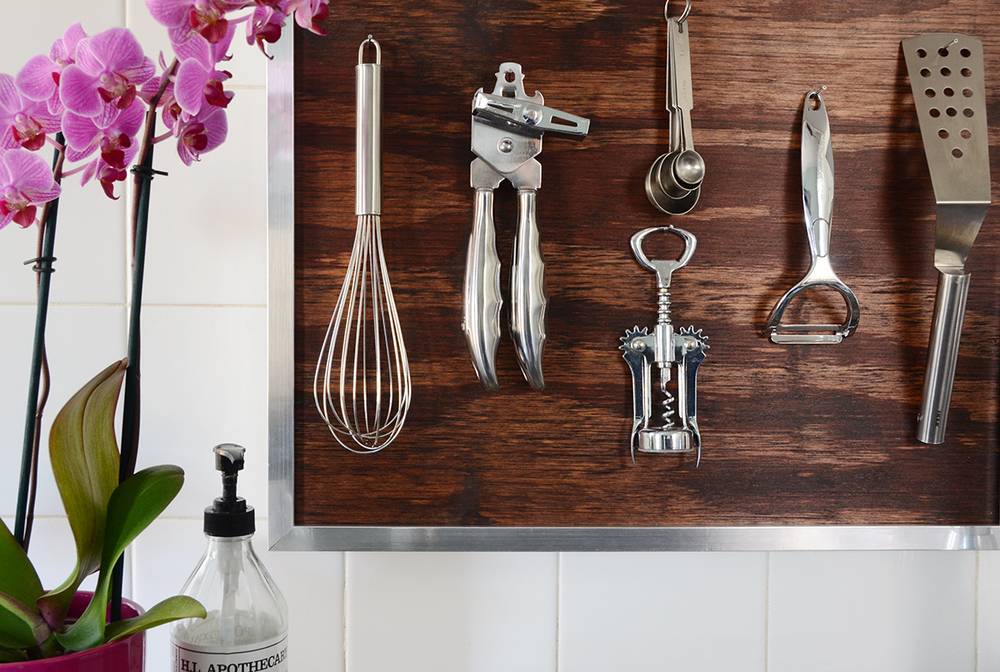
And you’re done! Mount it on the wall in your kitchen without the utensils on it, then hang them up after. Because I wanted to mount mine on tile, I used strong 3M Command Strips (the velcro style) to mount a 2×1/2″ piece of 1′ long wood which I then hung the frame on.
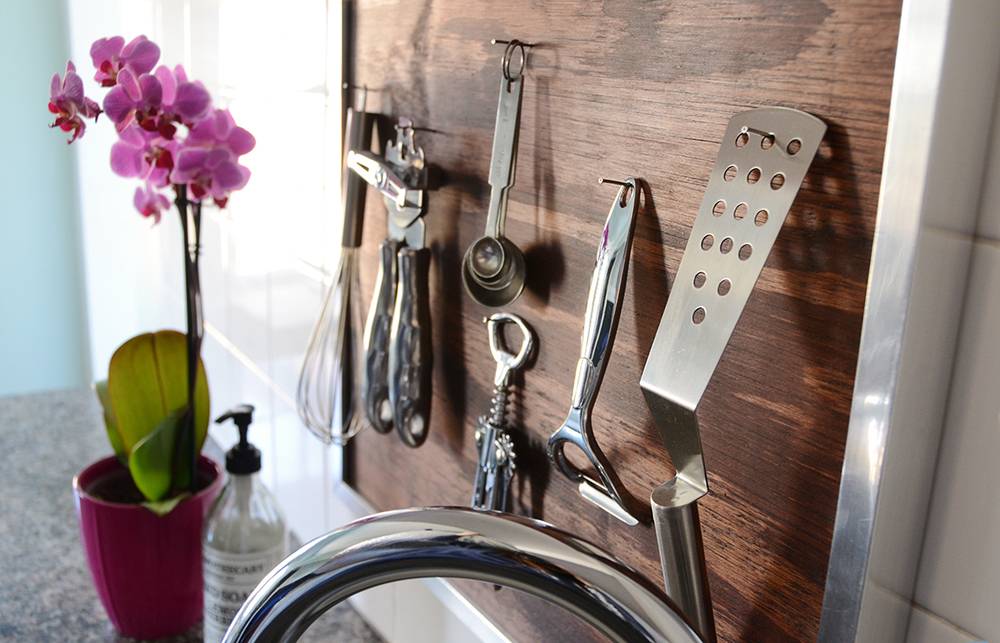
Now every time I go to make pancakes or open a bottle of wine, I have everything I need within arm’s reach. And now my kitchen looks a little bit cooler too.
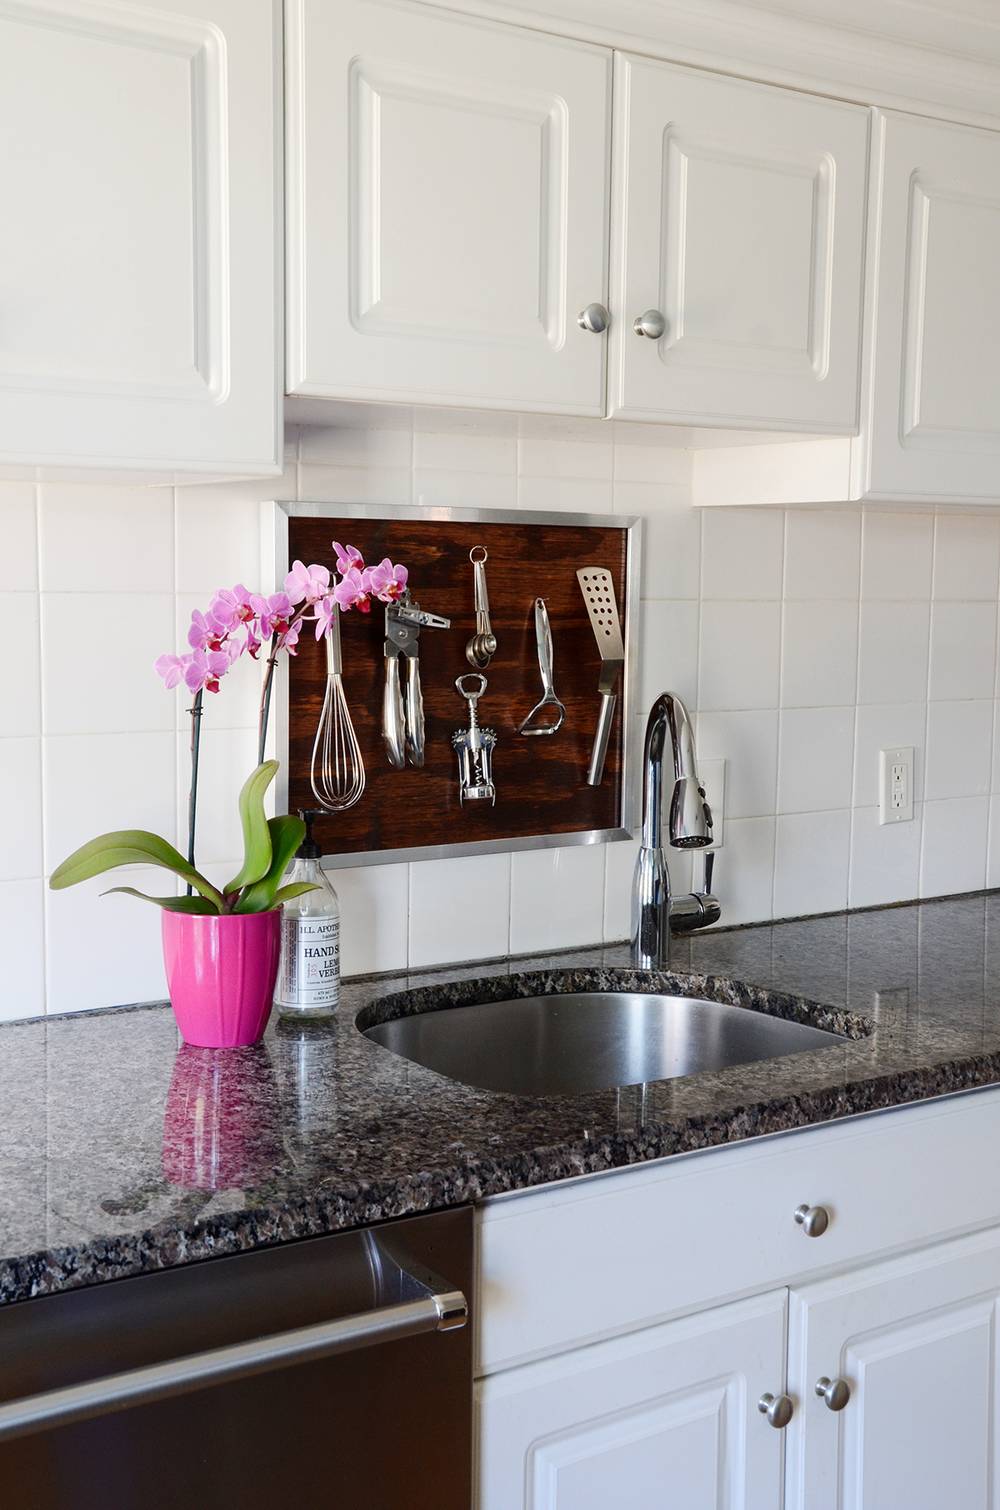
If you decide to make your own kitchen utensil wall art, feel free to share the link to it in the comments section below. Happy crafting!
How fun, Faith! I love how design-y all that stainless steel looks. Great job.
Thanks Chris, glad to hear you like it!