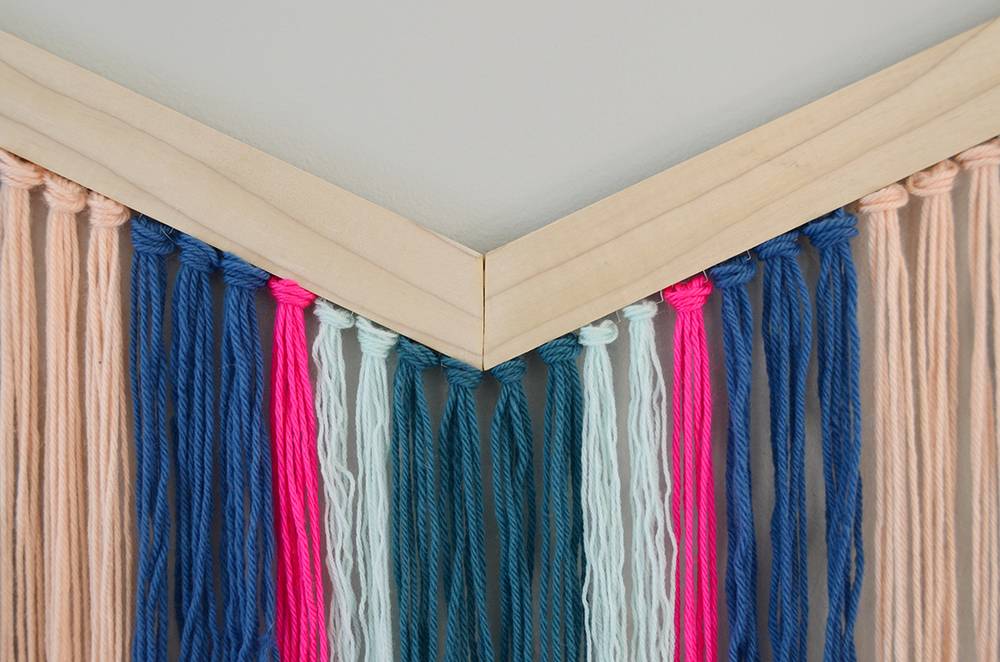
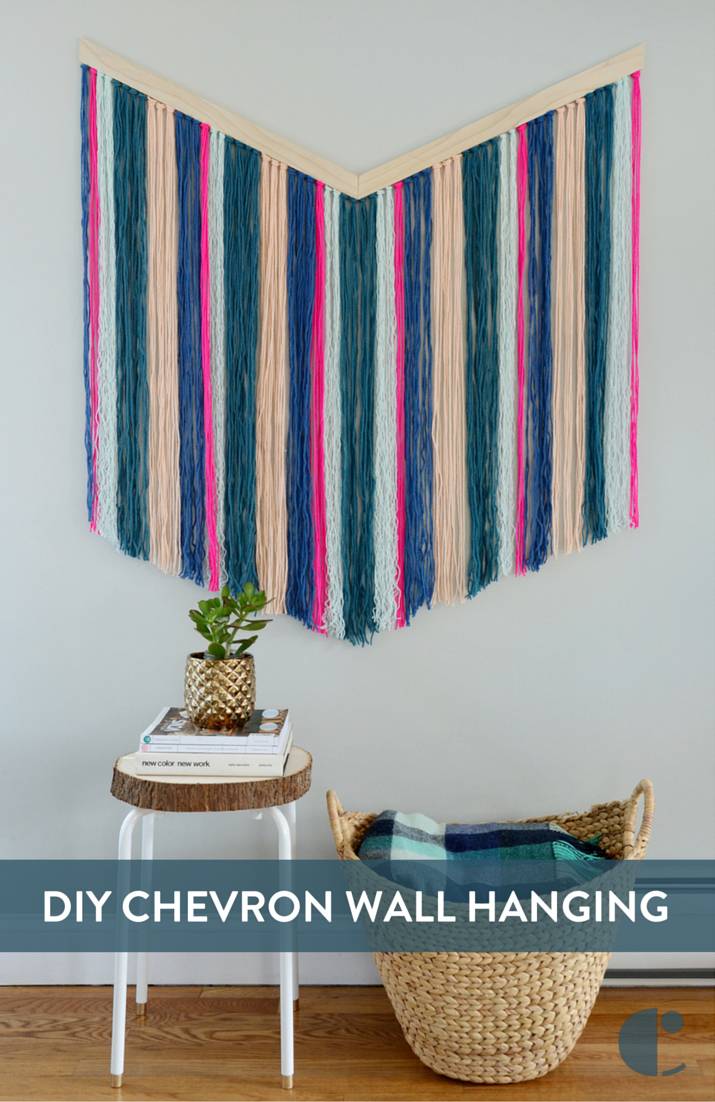
Do you have tons of yarn but no knitting or crocheting projects in mind for it? Well, I have the perfect solution for you! Use it up by making a cool wall hanging in a unique chevron shape. Read on to find out how to create this colorful tapestry for your wall.
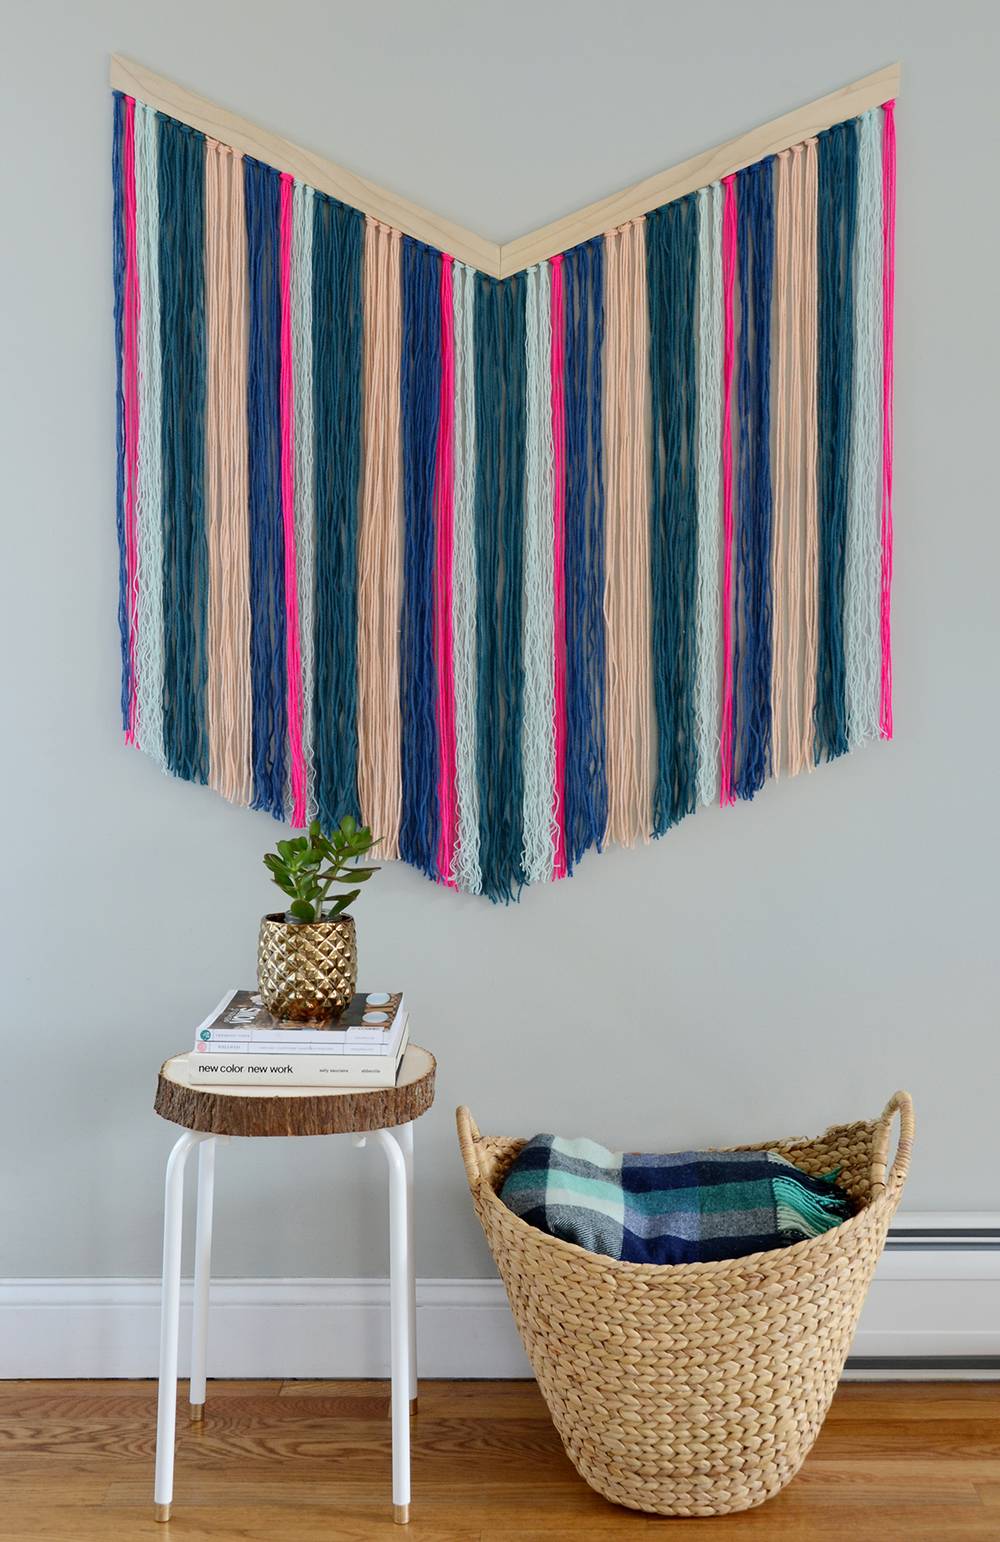
The finished piece is colorful, textured and super fun. Continue on to check out the tutorial!
Materials
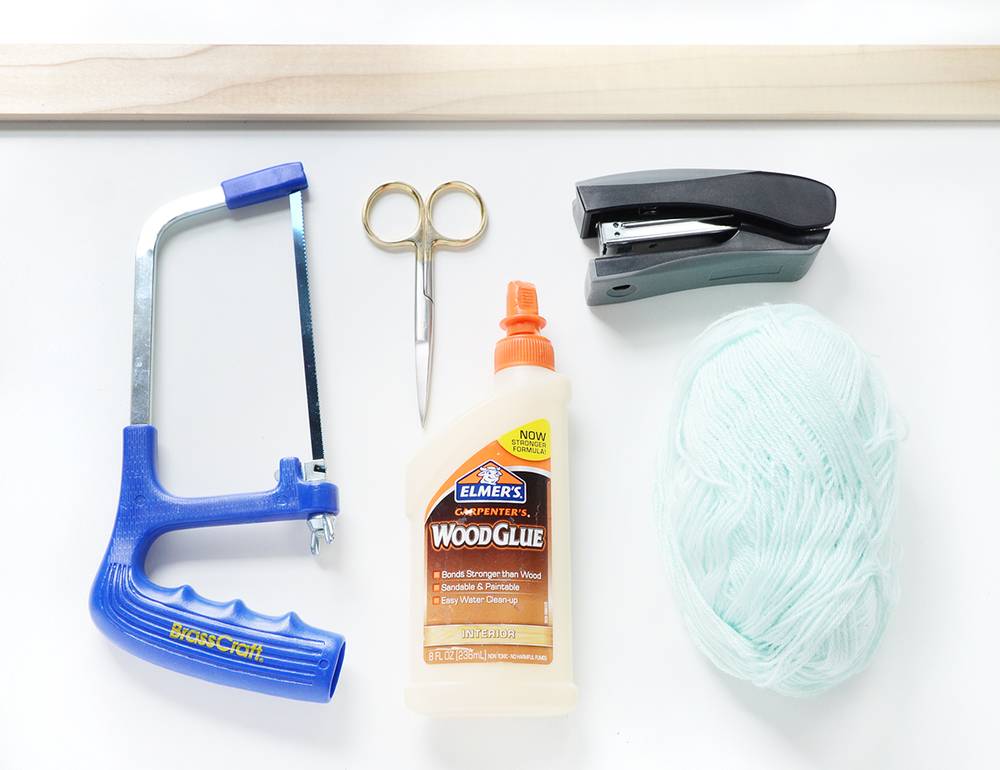
- 1 piece of lightweight wood, 2″ wide by 5′ long and about 1/4″ thick
- Lots of yarn, about 1 skein for each color
- Stapler
- Scissors
- Handsaw
- Wood glue
- Sandpaper (not pictured)
- 3M Command Mounting Strips, or similar (not pictured)
Step
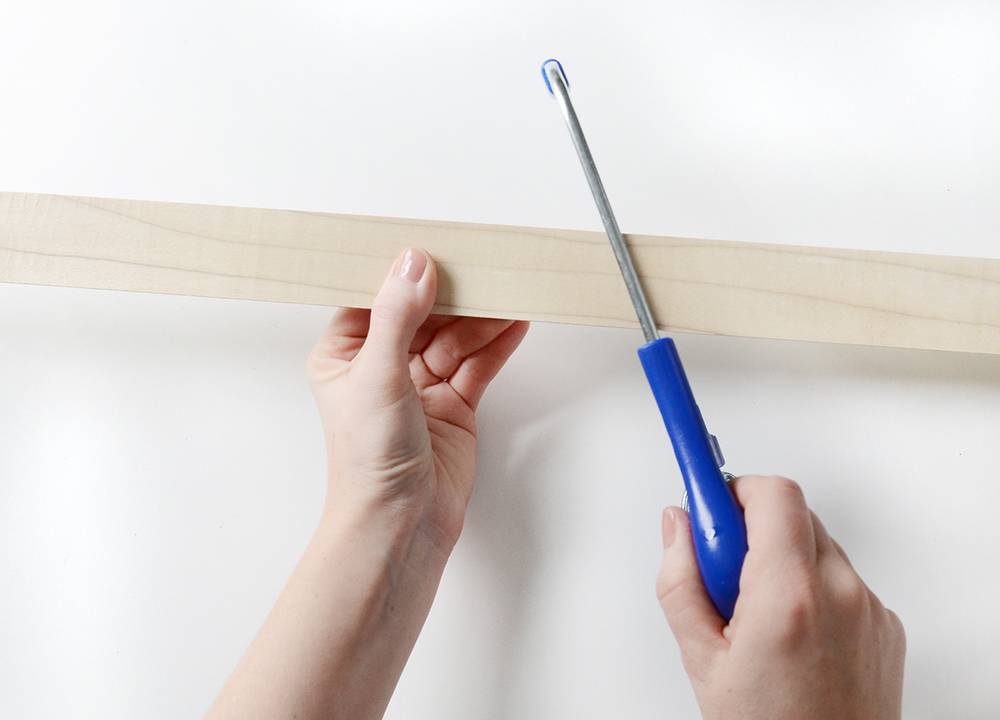
Begin by sawing the middle of the wood in half at approximately a 60 degree angle. Soften the edges with sandpaper. If you flip one piece over, the two cut ends will come to a point, forming the chevron shape.
Step
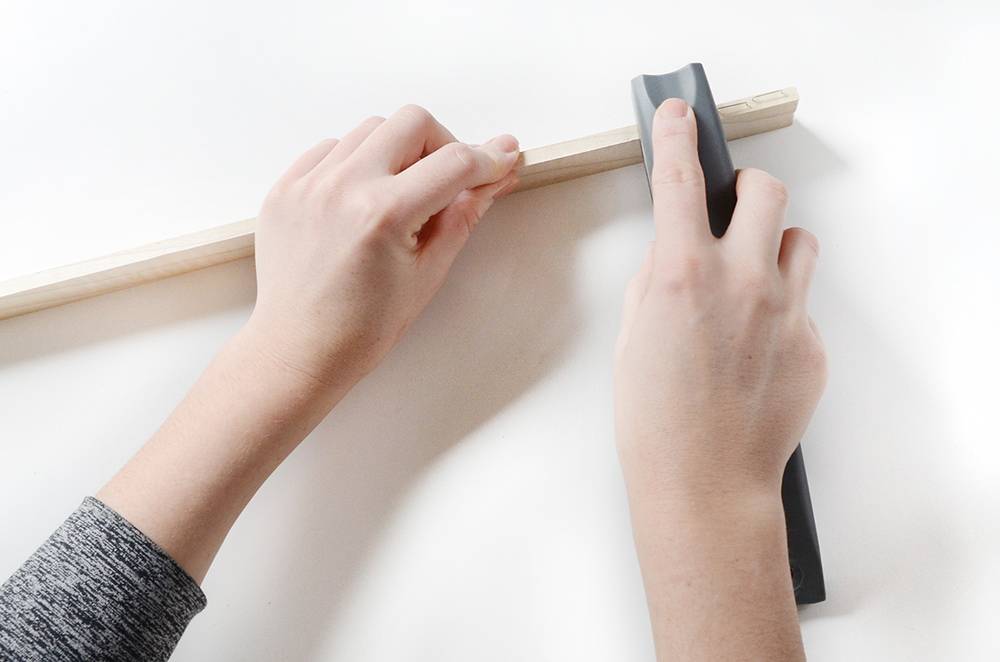
Next, start adding staples to the bottom edge of the wood (the longer edge). Don’t insert the staples all the way into the wood – push down gently, and rock the stapler back and forth just a bit.
Do the same all the way to the end of the wood, and on the other piece too.
Step
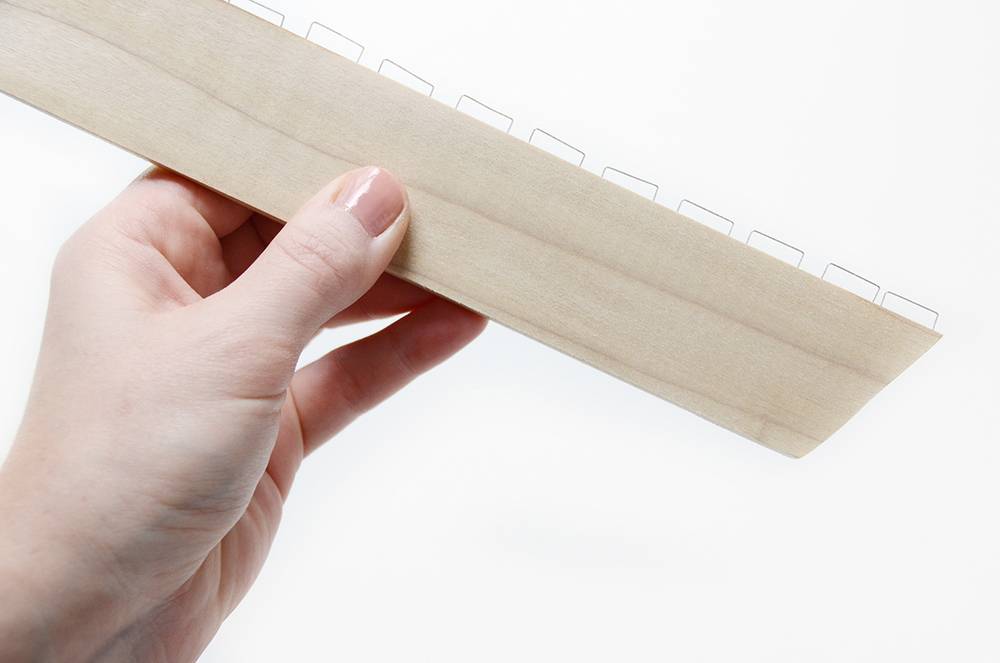
It should look something like this. The staples should stick out about 1/8″ and there should be about 1/8″ between each staple as well.
Step
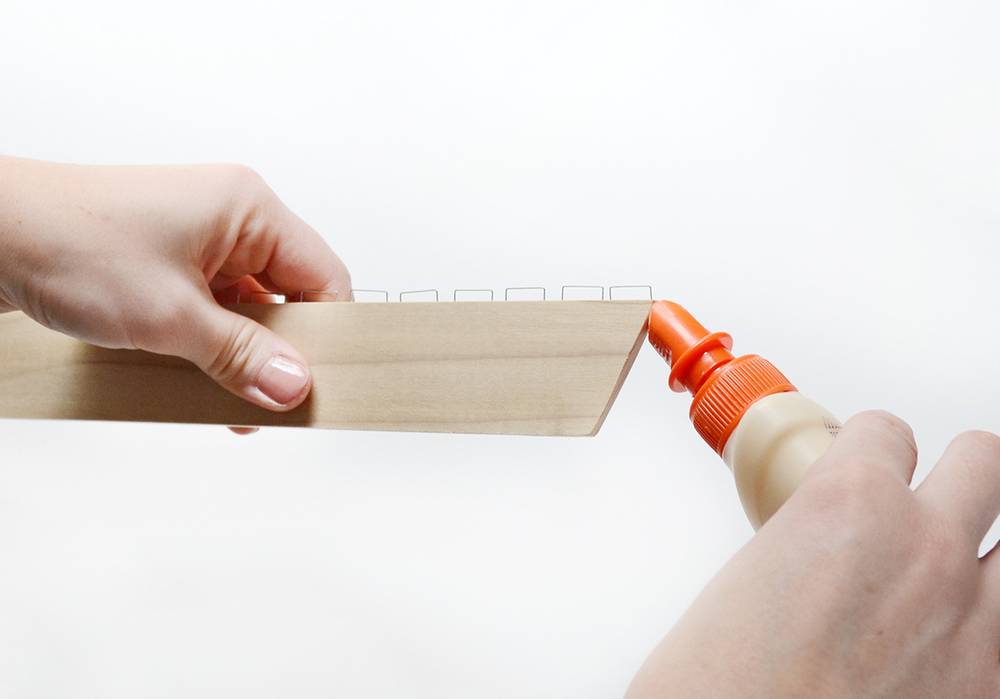
Now, glue the two pieces of wood together using wood glue. Clamp it together so it forms a tight bond.
Step
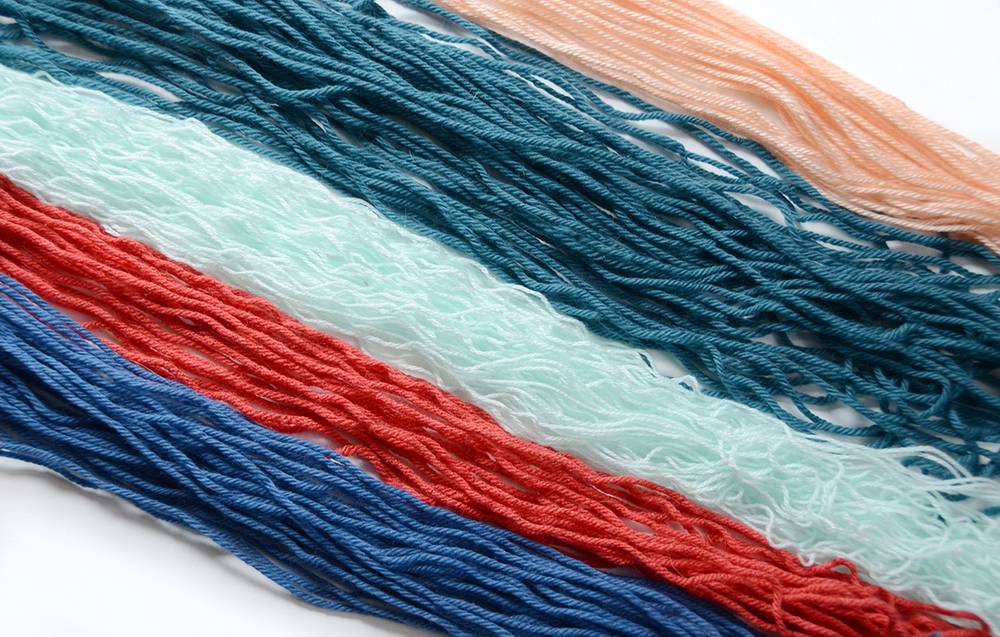
While the glue is drying, begin cutting your yarn. Each piece should be about 4′ long. Fold them in half as you’re going, and pile them up accorning to color. I used five different colors (don’t mind the red yarn in this photo, I later switched to hot pink because I liked the color scheme better) and repeated them with varying amounts.
Step
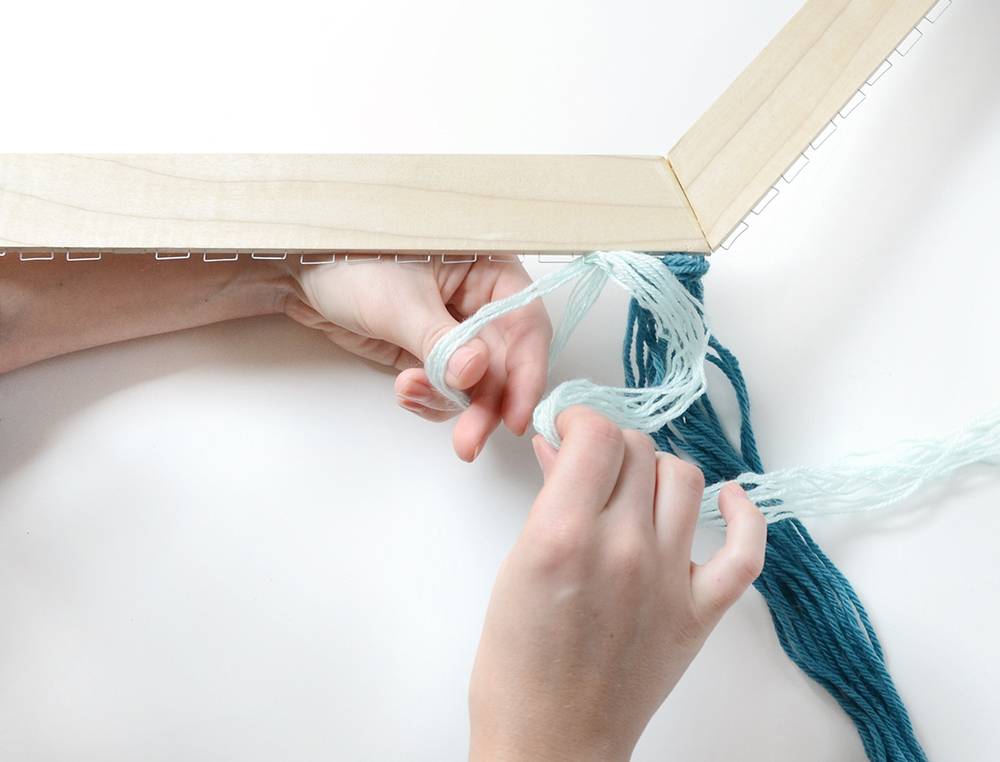
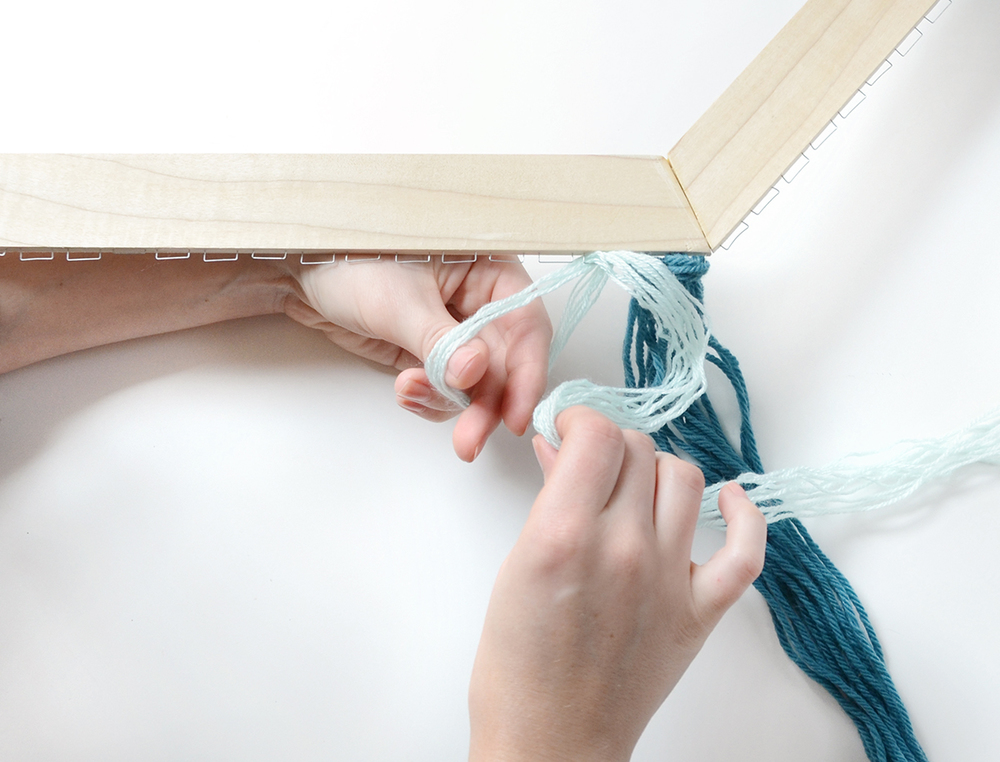
Once you have a good amount of yarn cut and your glue is completely dry, it’s time to start assembly. Choose 3-6 pieces of yarn (less if your yarn is thicker, more if it is thinner) and thread the folded end through the staple. Stick your thumb and forefinger through the loop and pull the rest of the yarn all the way through. Pull tightly but gently to secure it.
This is a great project to use up all that extra yarn that you’ve undoubtedly accumulated!
Continue this process, alternating colors, until every staple has yarn through it. You may need to cut more yarn as you go along. Mount the whole thing to the wall using the 3M Command Mounting Strips. Gently comb the yarn so that it all lays flat. Lastly, trim the bottom of the yarn mirroring the shape of the chevron above. And you’re finished!
Here are some pictures of the finished product:
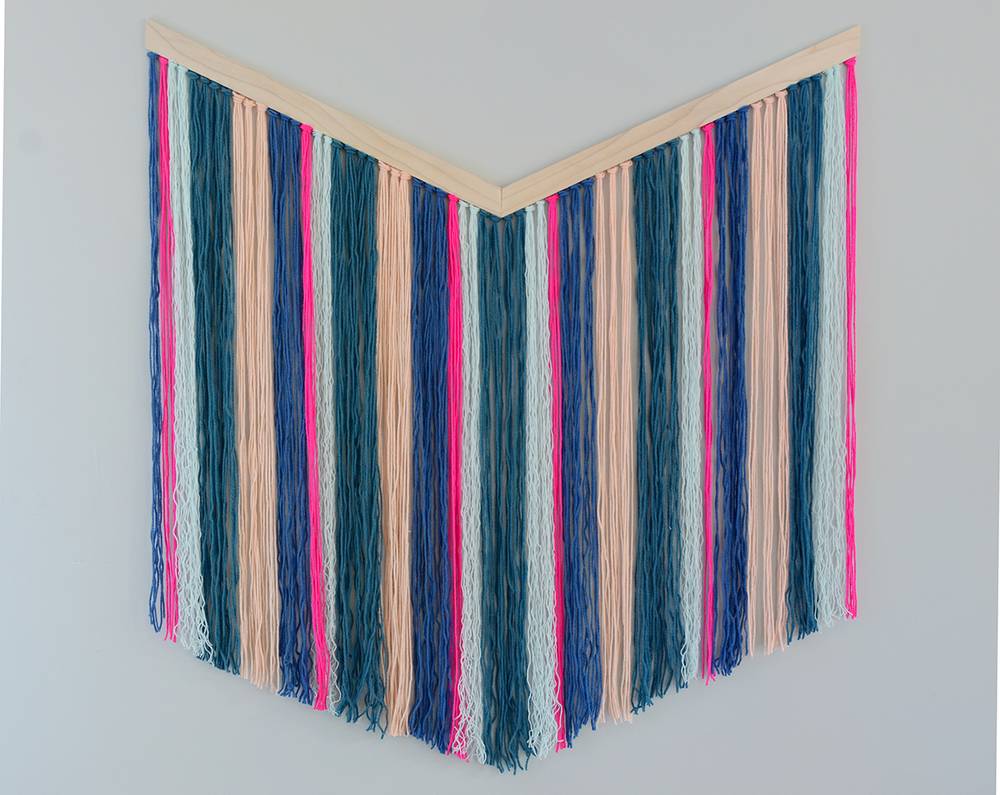
The finished product is a real showstopper, with its substantial size and unique look. It’s also very tactile – you’ll find that your guests will want to touch it!
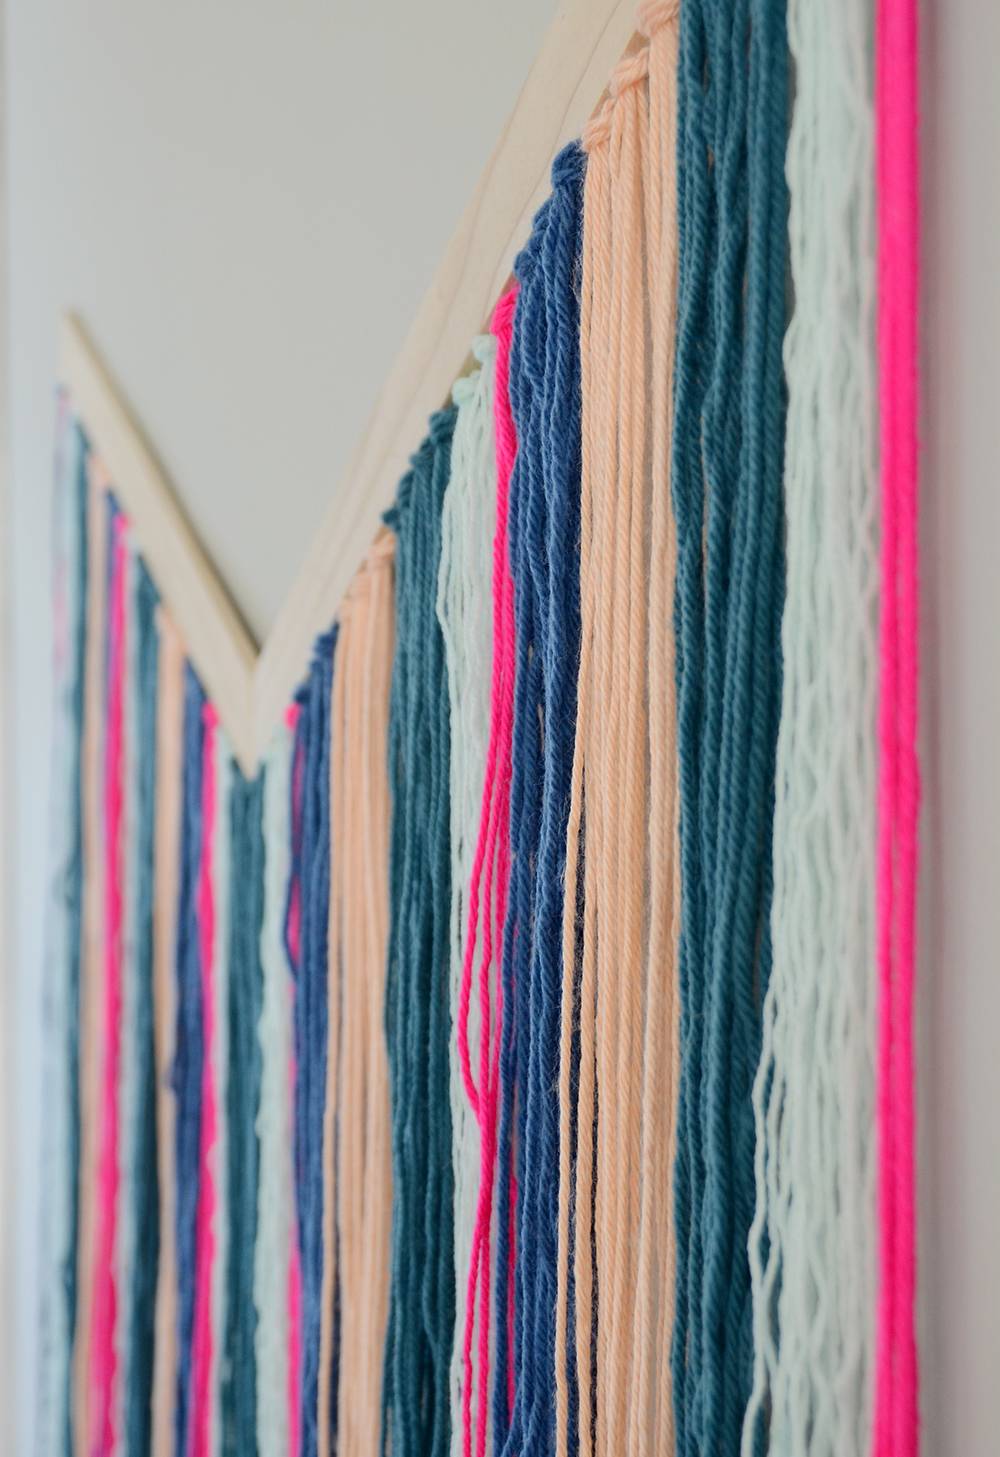
Photo: Faith Towers
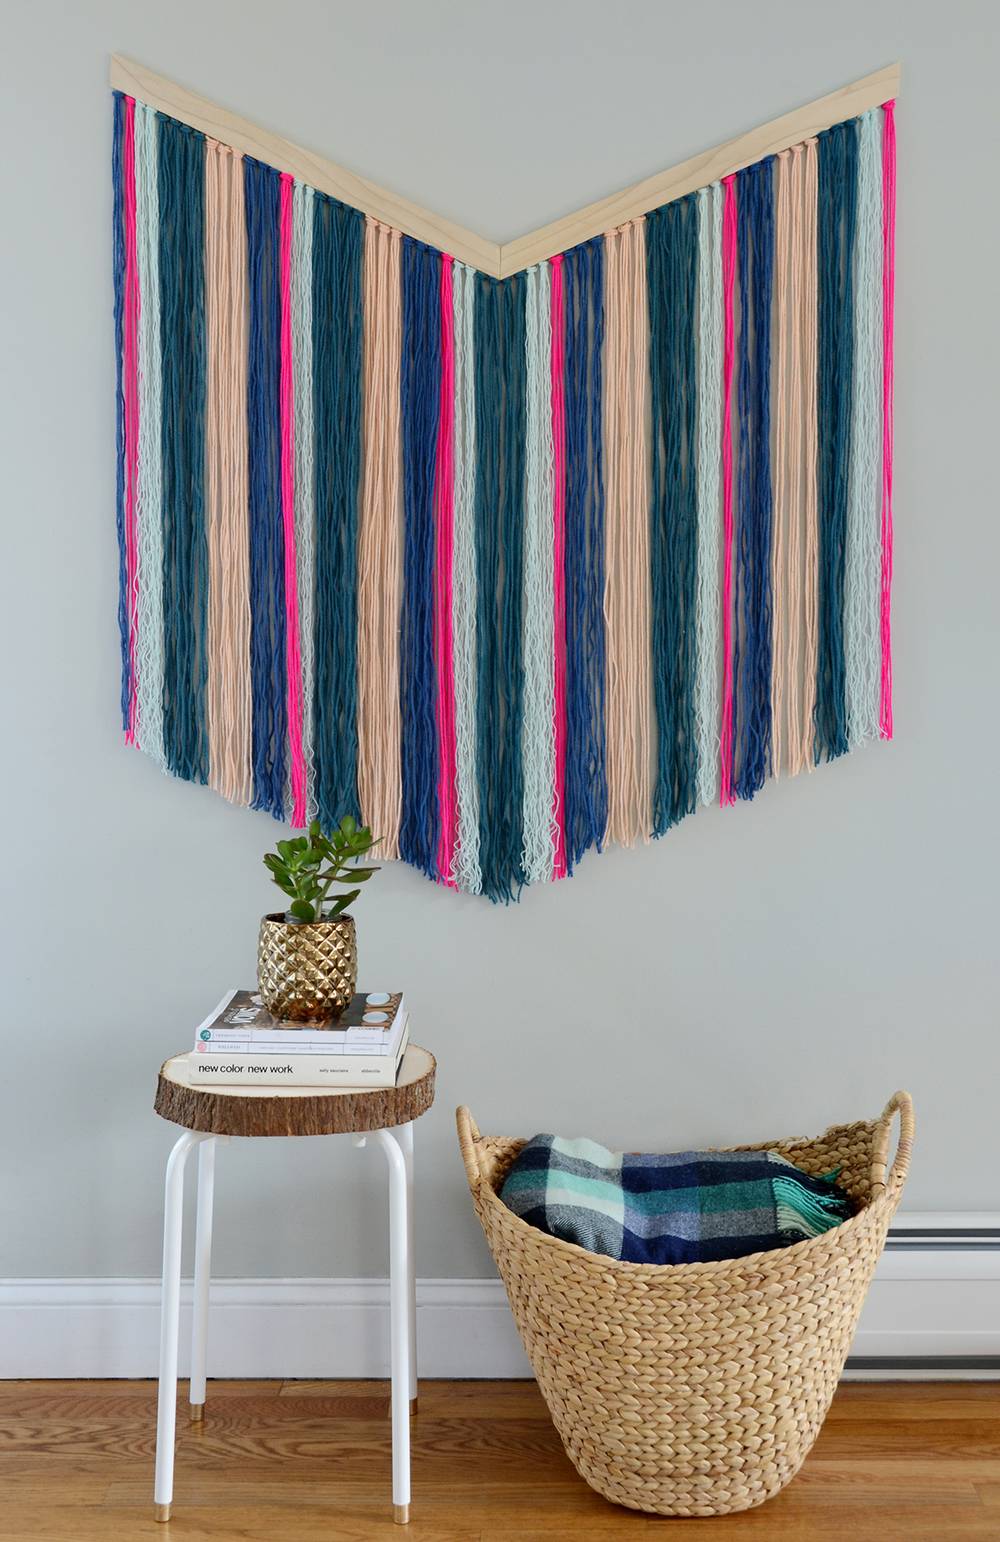
Photo: Faith Towers
This project feels slightly bohemian, but also quite comtemporary thanks to its shape and fun color scheme. And it’s a great way to fill up that empty wall that you’ve been wondering what to do with!
