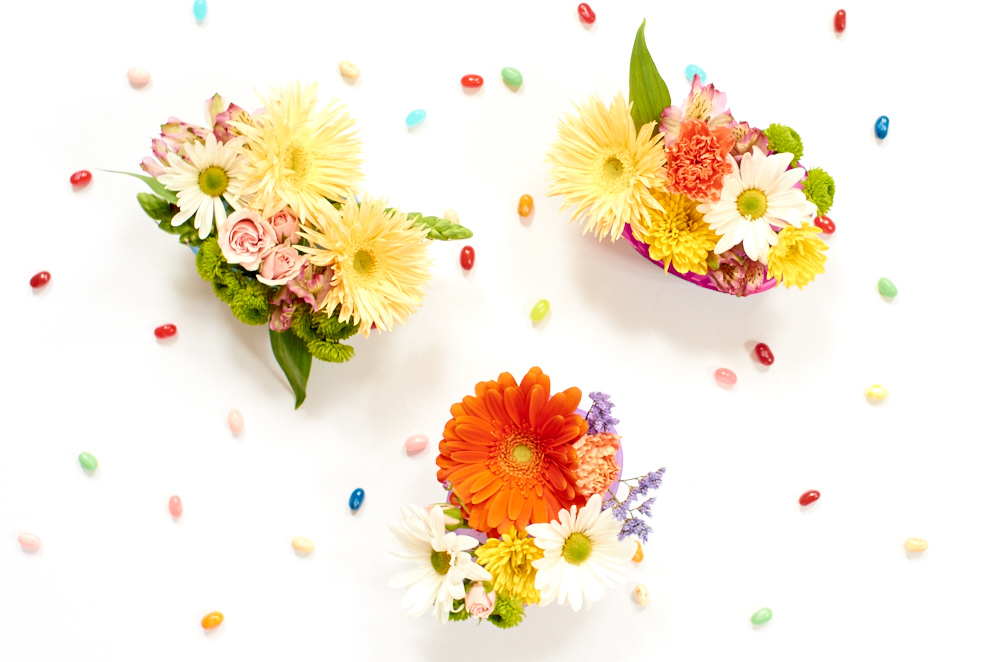
Plastic Easter eggs are abundant this time of year. You can find them in a variety of colors and sizes, and with a medley of super-heroes and princesses plastered across their round bellies. But when you strip Batman and Cinderella away, you’re left with a beautiful shape – the incredible egg. And, it turns out, it’s the perfect vessel for lovely arrangements of spring flowers!
Here’s everything you need to know about how to take a store-bought, treat-stuffed, plastic character-laden Easter egg from average to fantastically floral – in three easy steps.
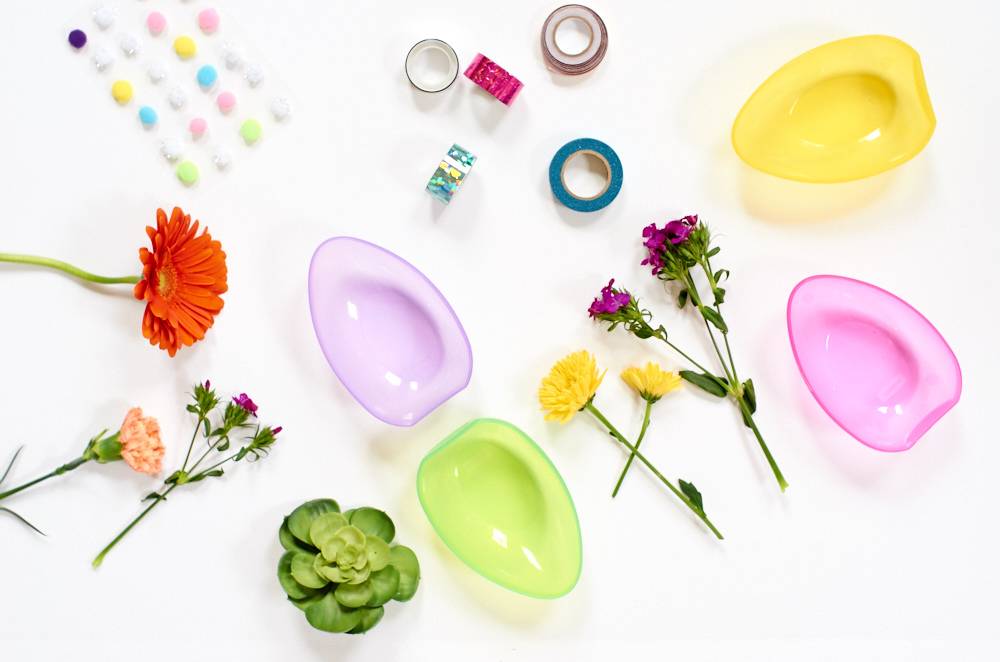
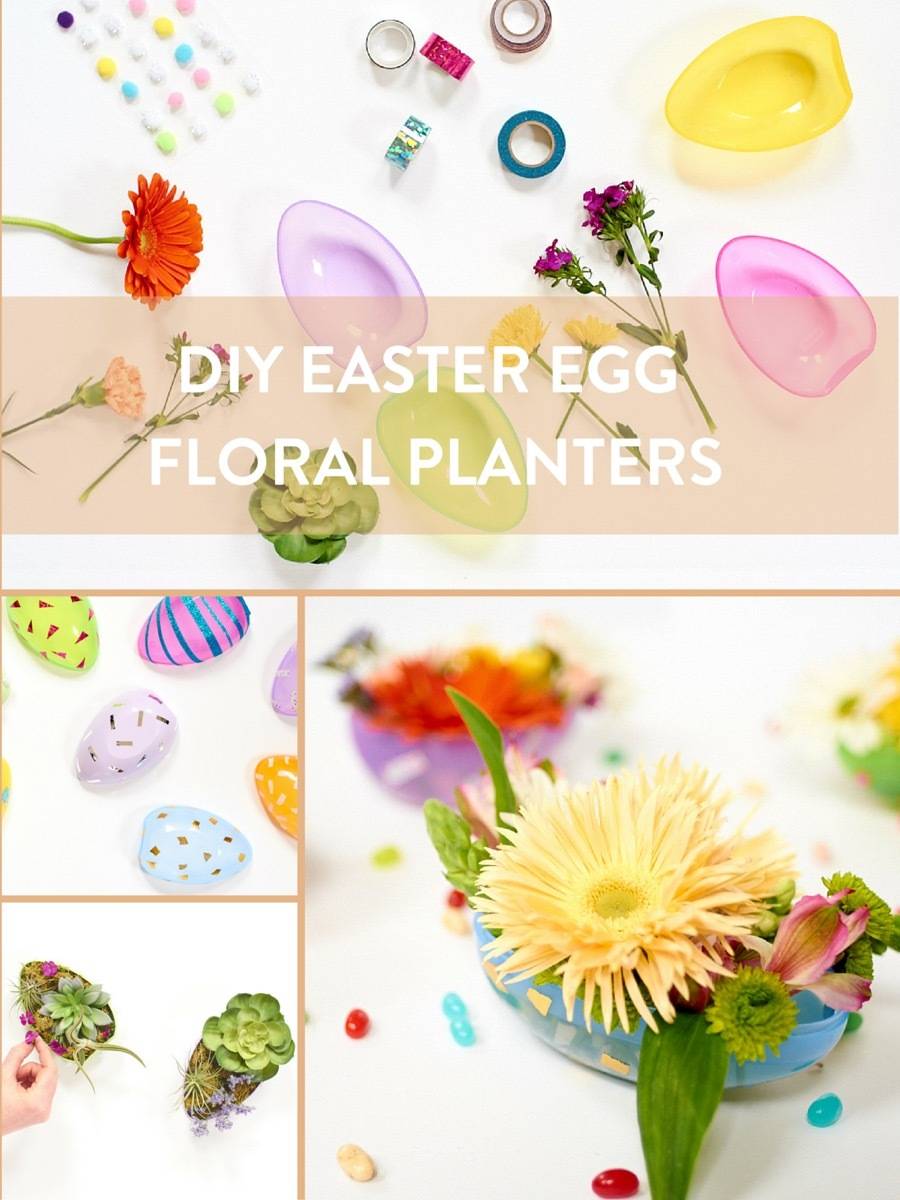
Supplies
- Large plastic eggs that split in half the lengthwise (ours were 5 1/2″ tall). They’ll probably sport ponies and hulks, but rest assured, they are easily stripped down. You’re just looking for a good, solid base.
- Washi tape, vinyl sheets, or pom-poms.
- Scissors
- Flowers. Pick your faves!
- Succulets or airplants
- Moss
Step
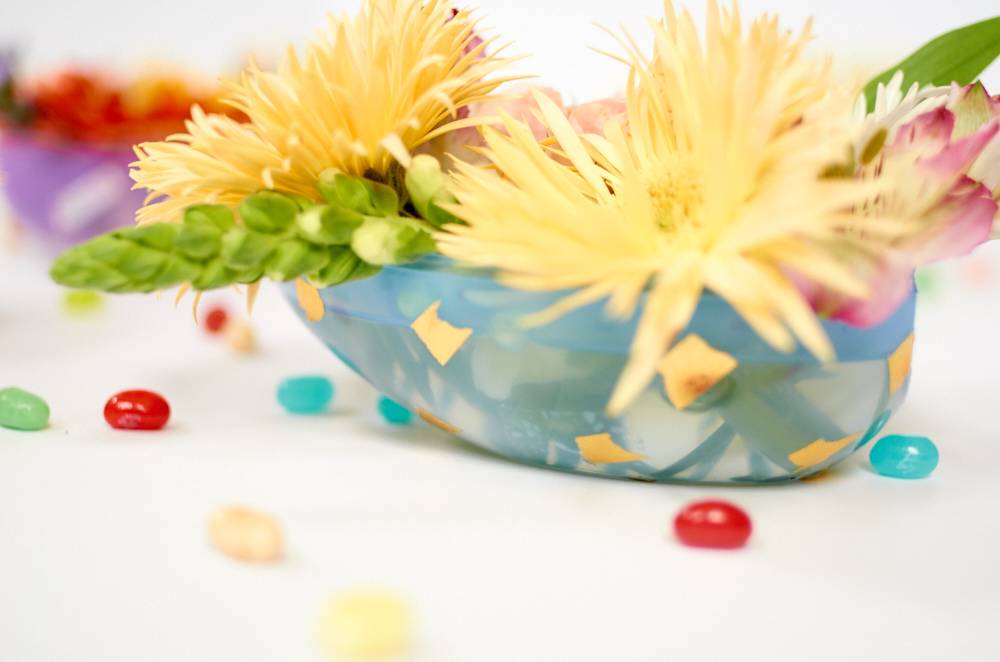
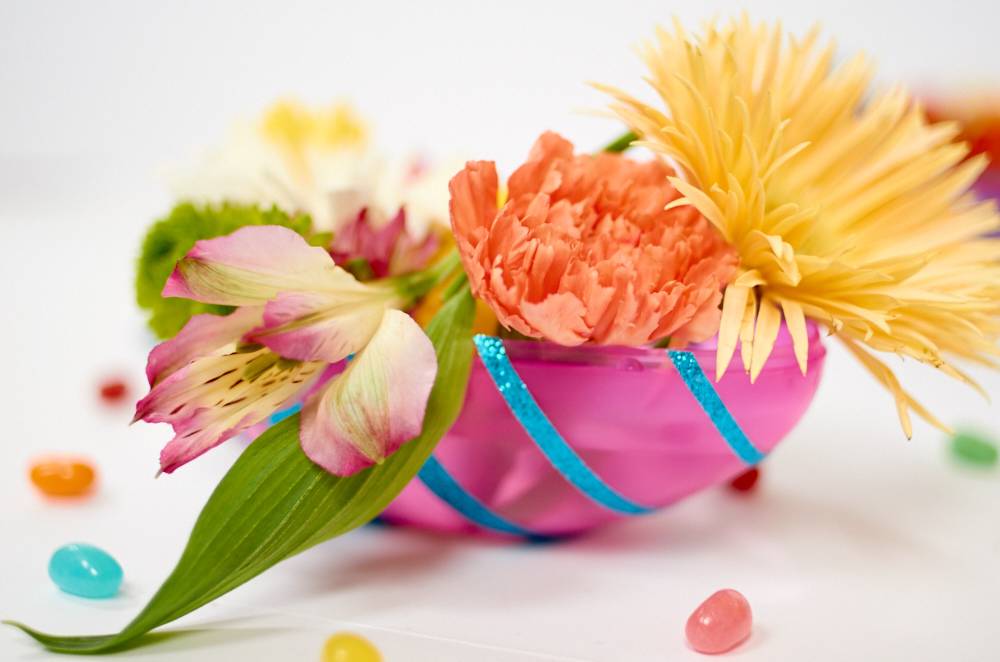
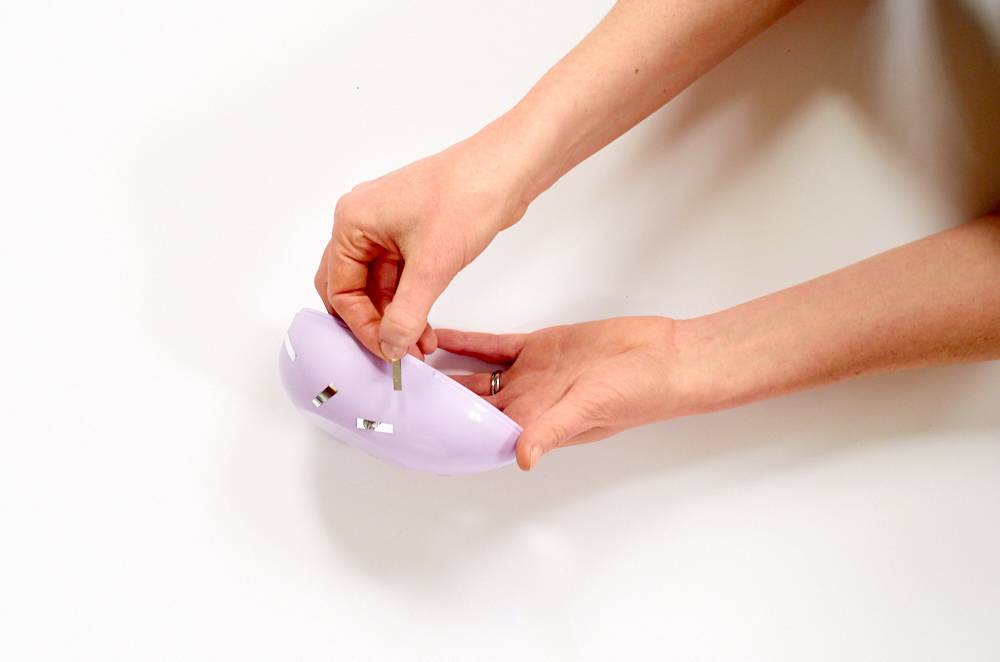
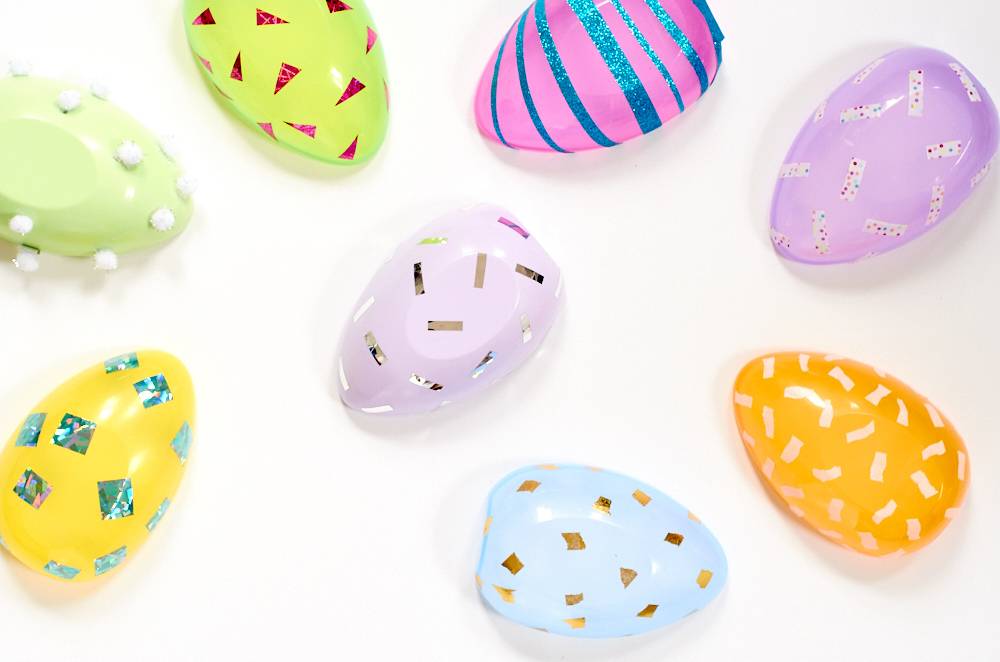
Empty out all your character-embossed eggs and toss the tops. The bottoms are the only part you’ll need for this project, and they work well because they have a flat base. Decorate them with Washi tape or vinyl. We cut some shapes out of vinyl for crisp lines, and tore strips of Washi tape for a more organic look.
Step
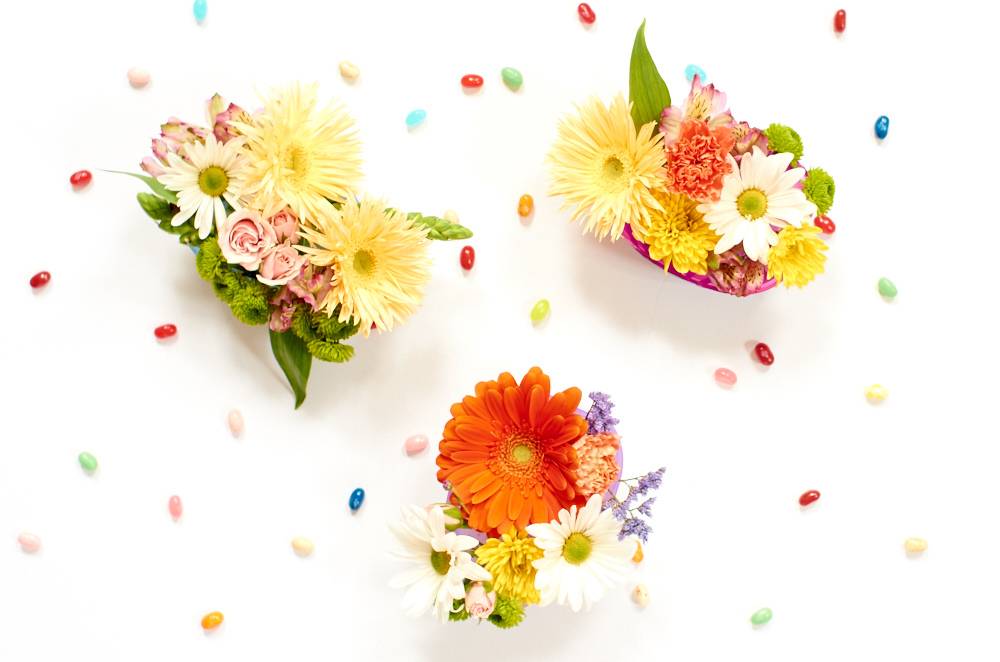
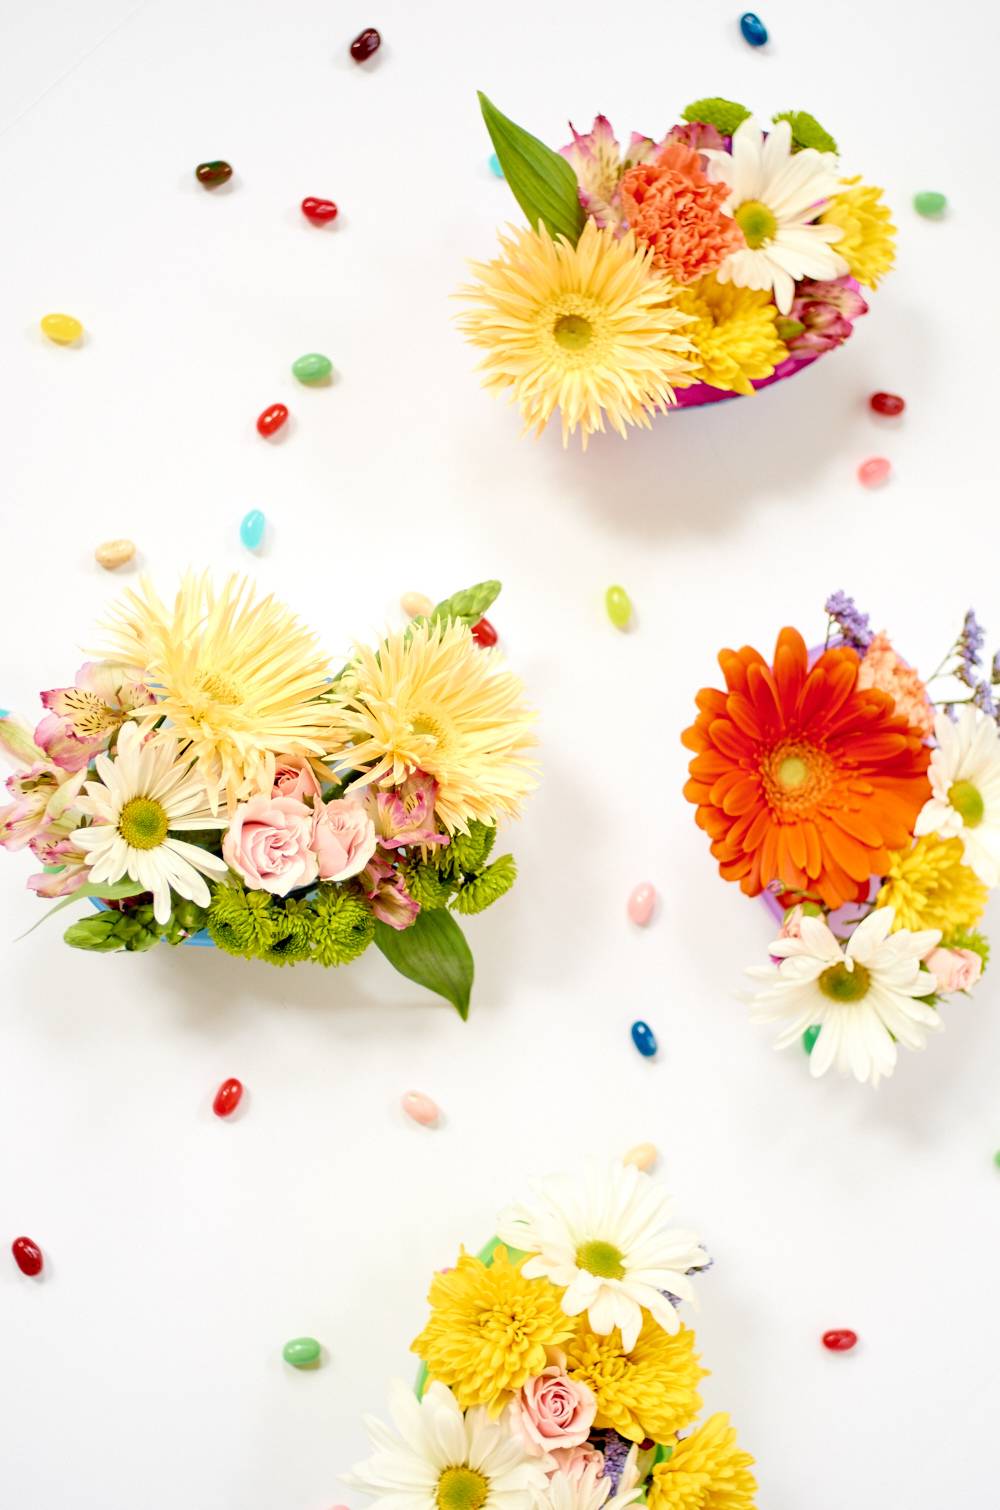
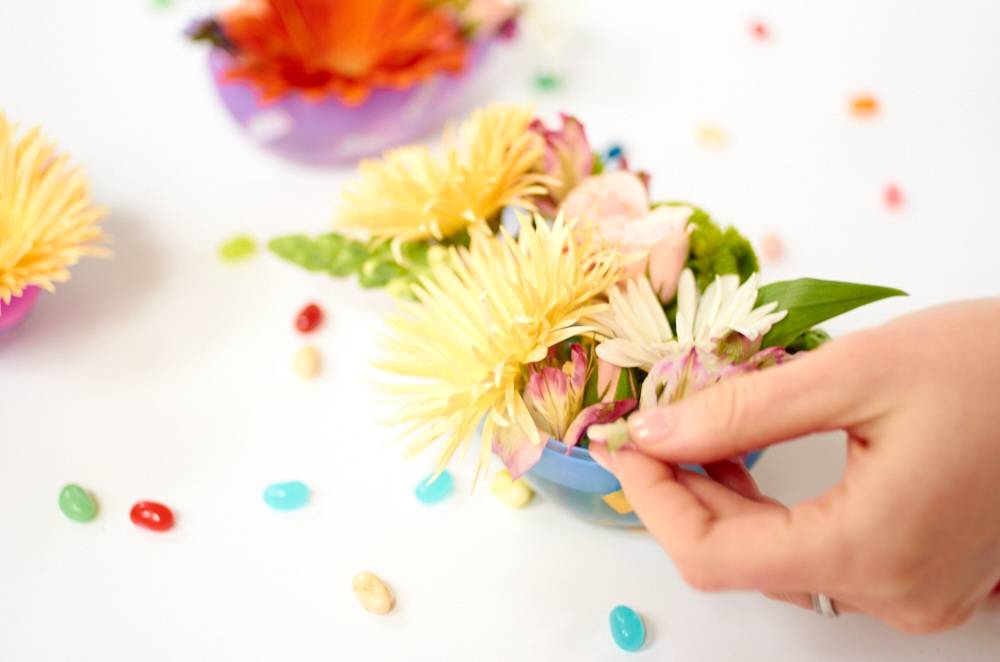
Fill your eggs with water and fresh flowers. Have fun with this part! It’s really beautiful to mix and match a variety of flowers here.

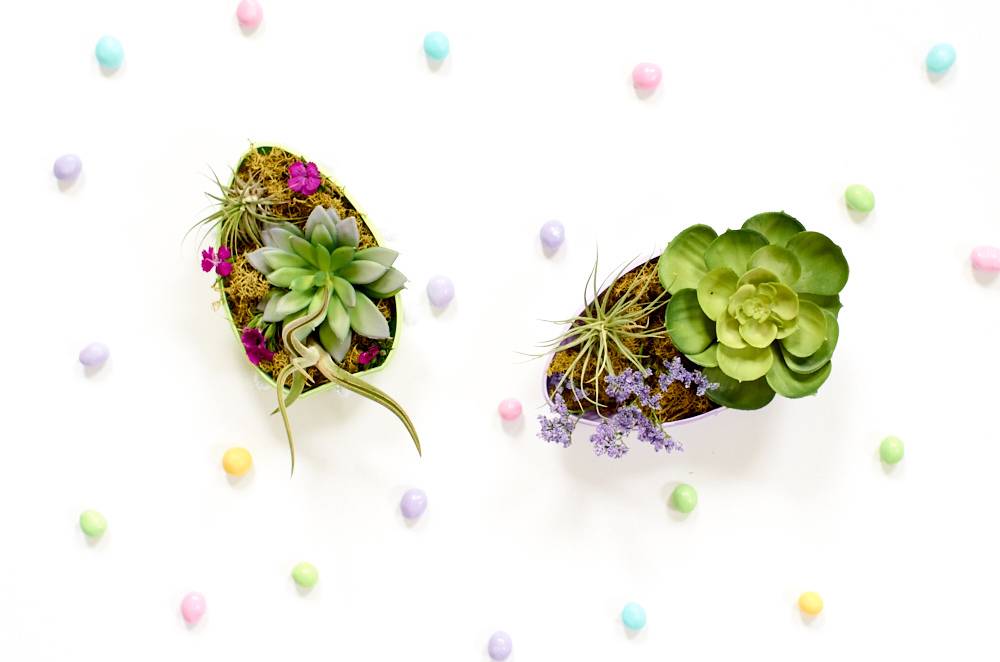
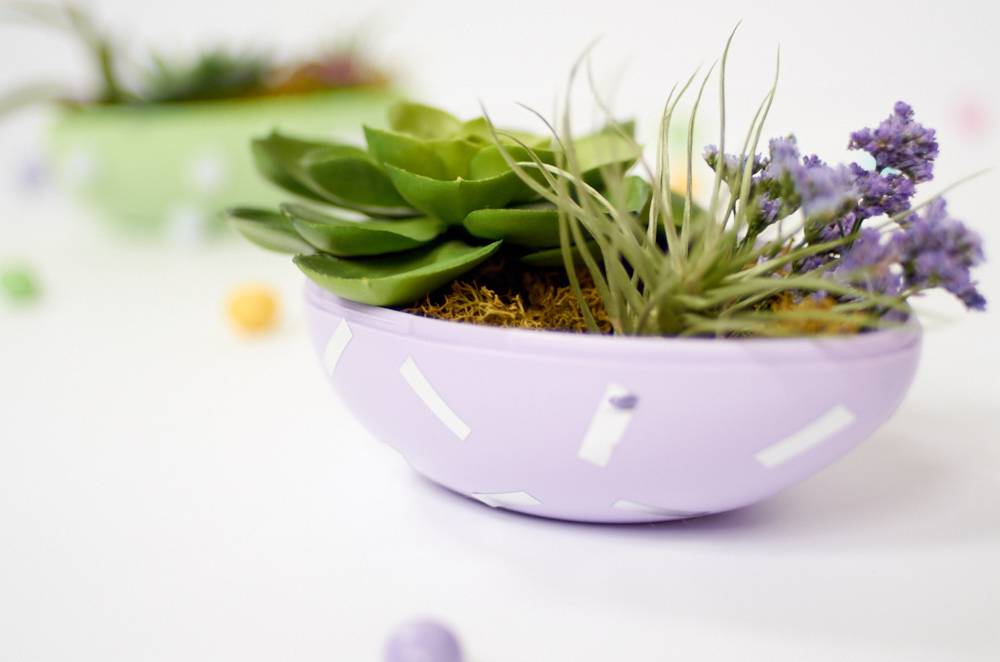
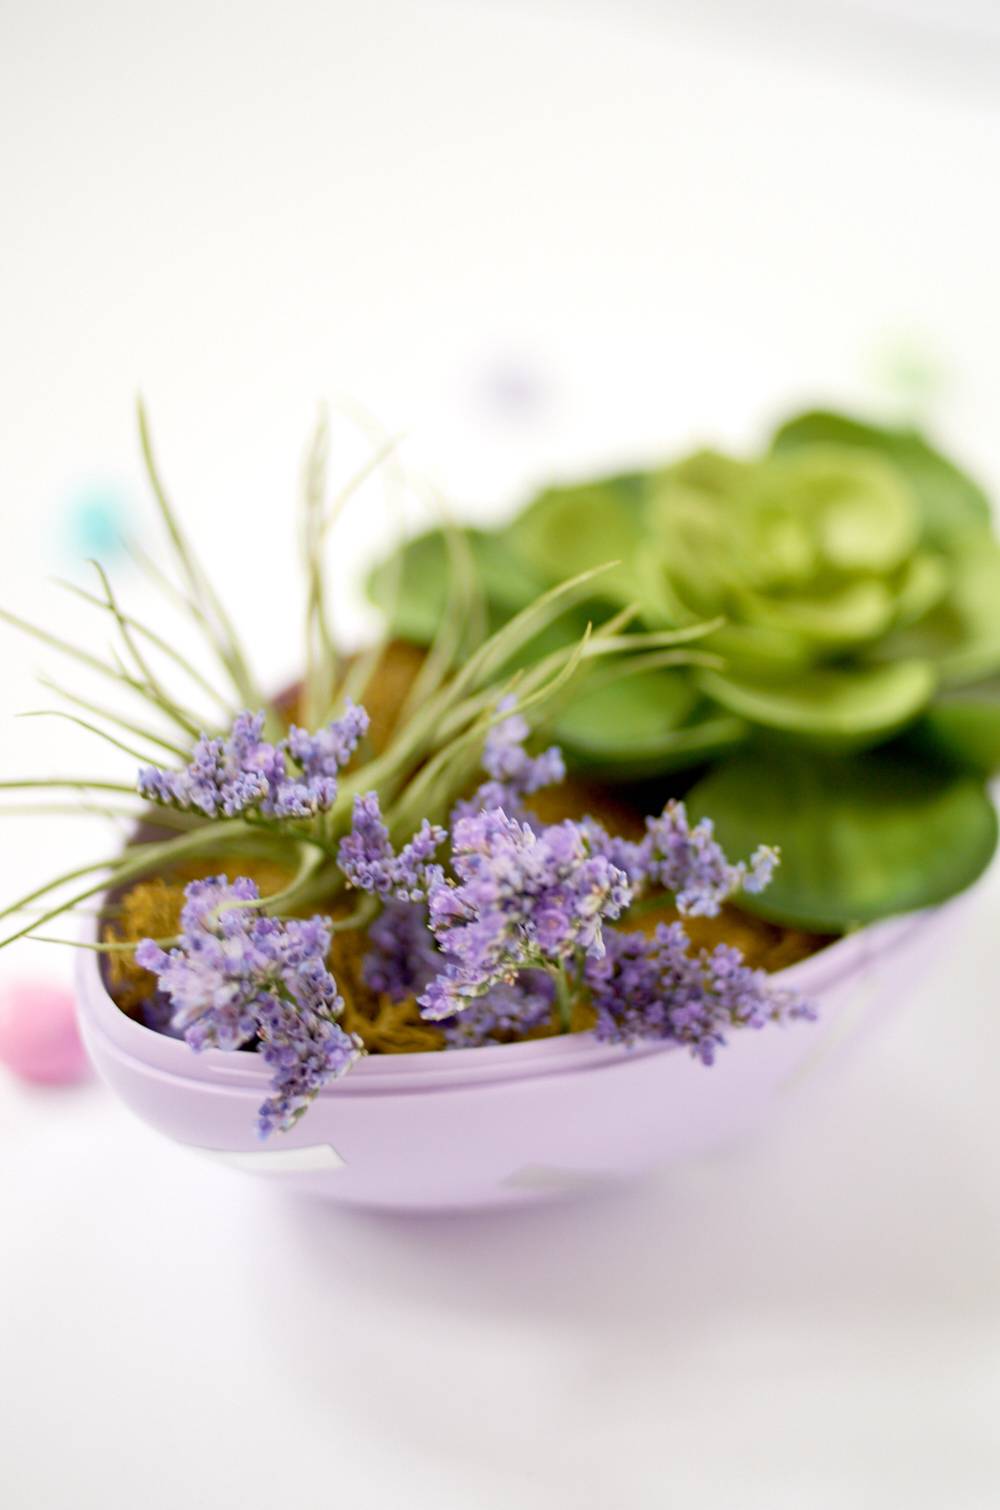
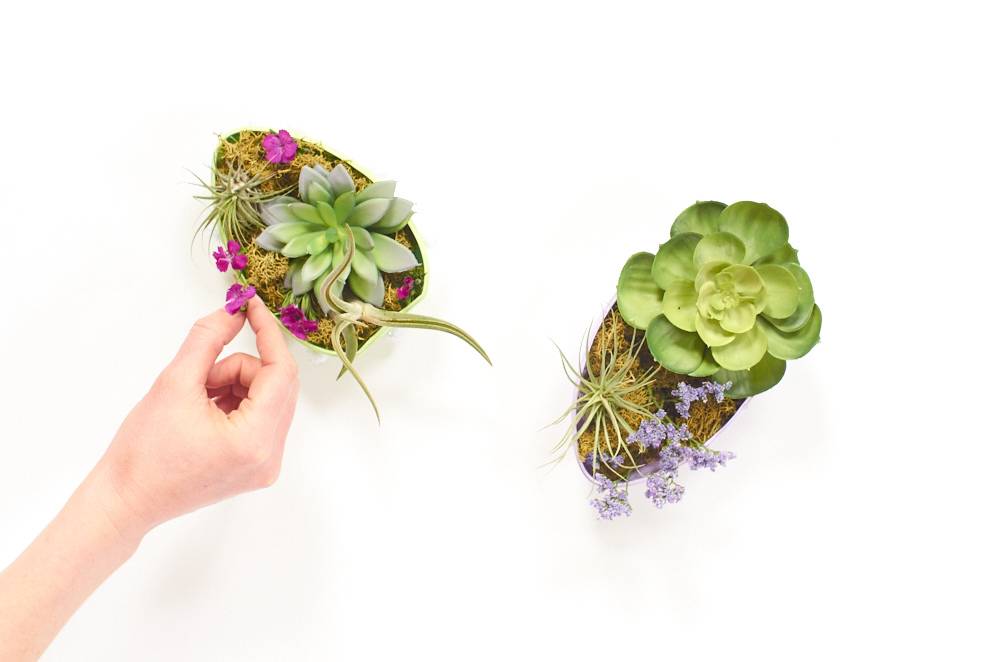
If flowers aren’t your thing, you can create a more subtle arrangement with succulents and air plants on a bed of moss.
Step
Display your eggs. Put ’em on a windowsill, as a centerpiece, or on the mantel!
