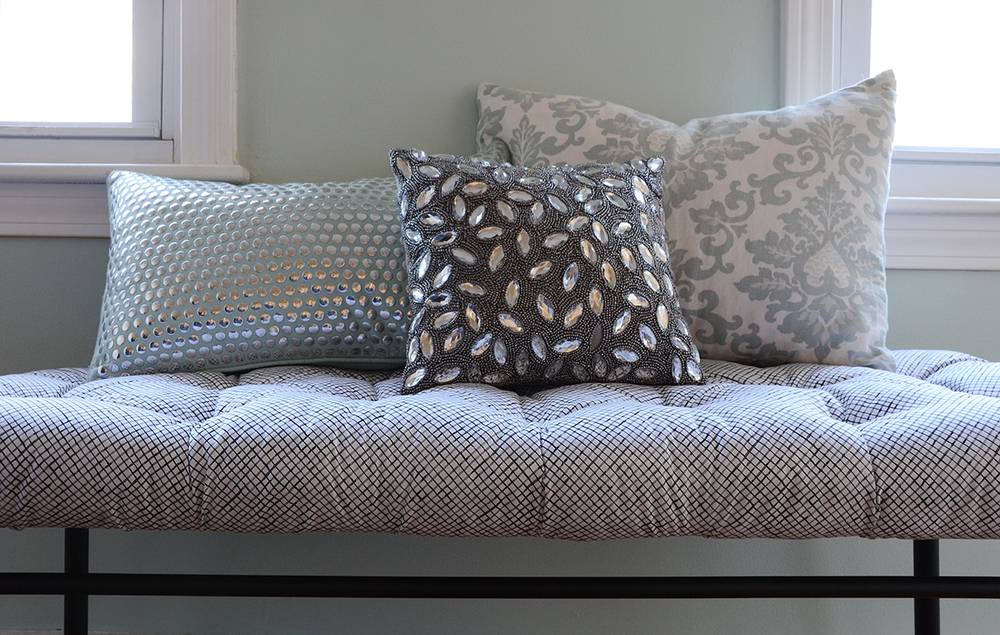
Upholstery has always been intimidating to me. I love the look of tufted furniture, but I always expect DIY upholstery to be one of those long, frustrating projects that takes weeks to complete. So I was pleasantly surprised when I finished this IKEA bench in under two hours with minimal annoyance! Read on to find out the trick.
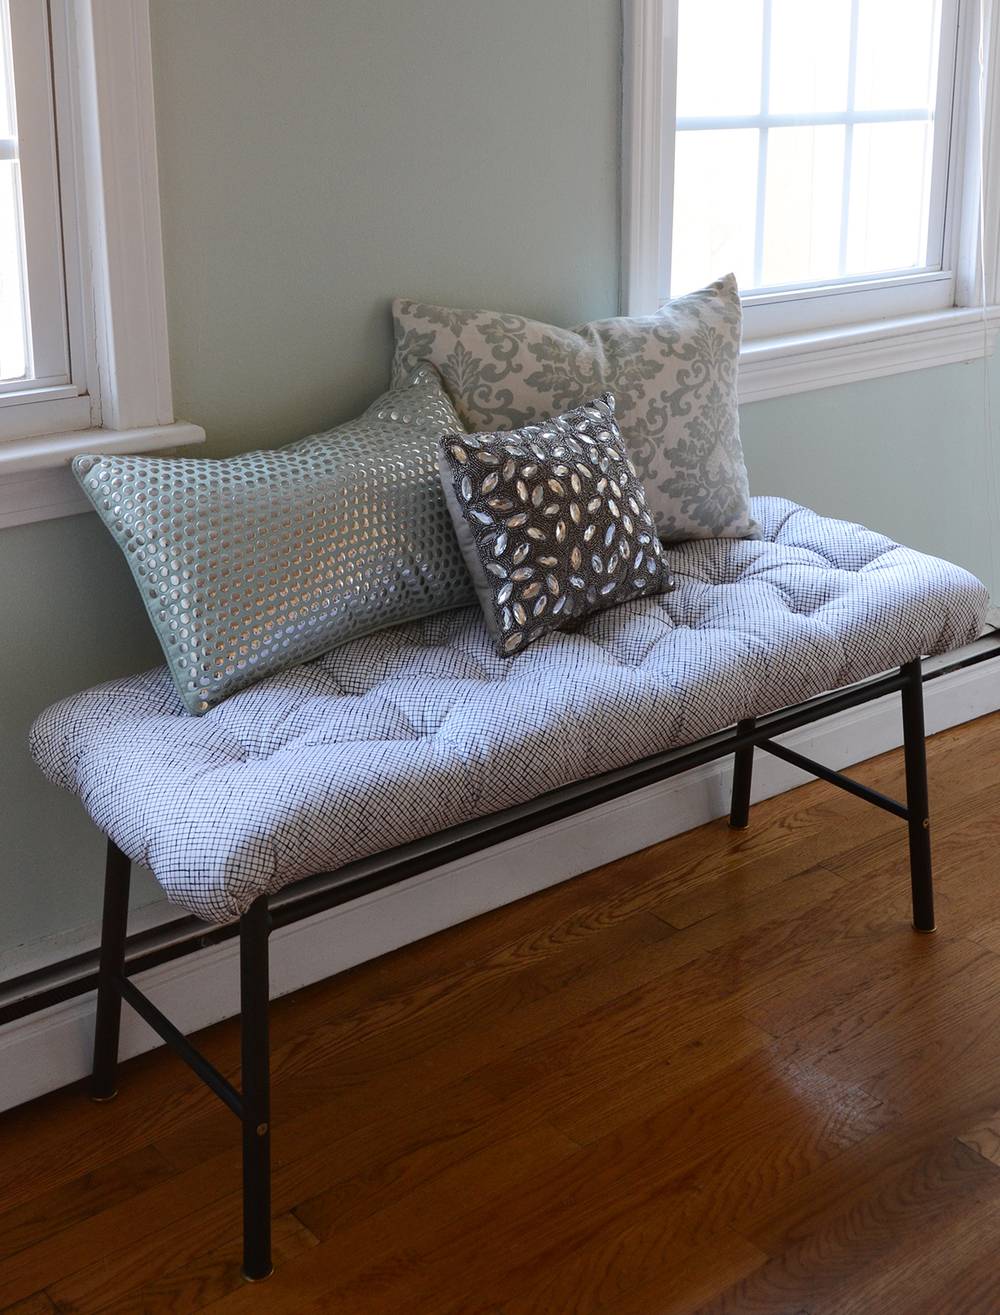
The trick is to use long nails to create the tufted effect. Here’s what you’ll need for this project:
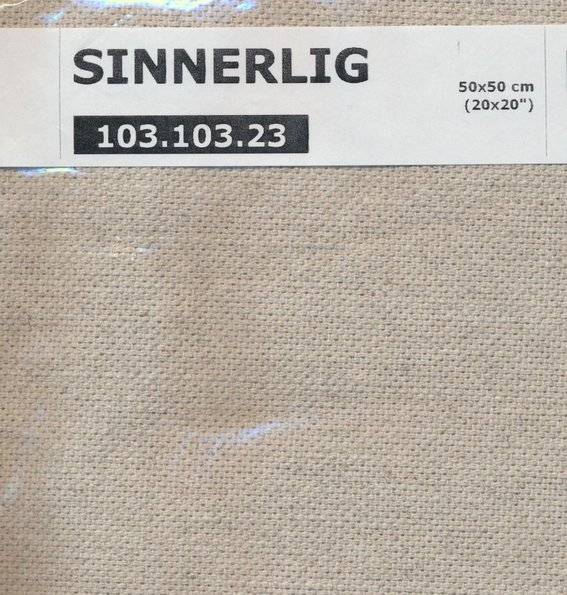
- IKEA Sinnerlig Bench
- 2 yards of non-stretch fabric
- 1 roll of batting
- Hammer
- 17 2″ long nails with a large 1/4″ head
- 17 1/2″ wide buttons
- Glue gun with extra glue
- Scissors
- Measuring tape or ruler
- Staple Gun
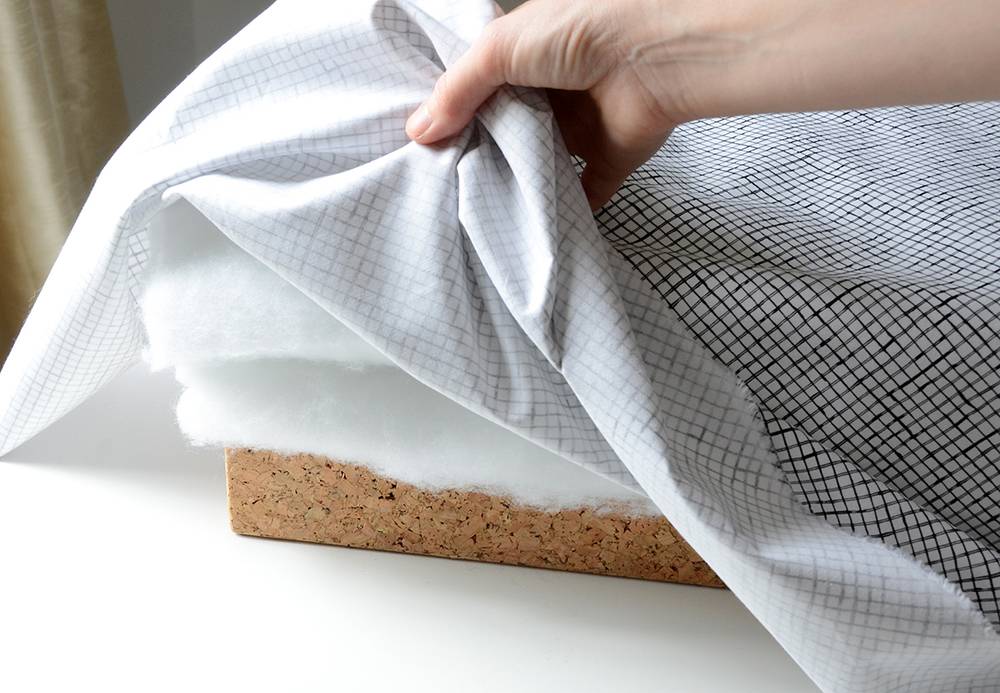
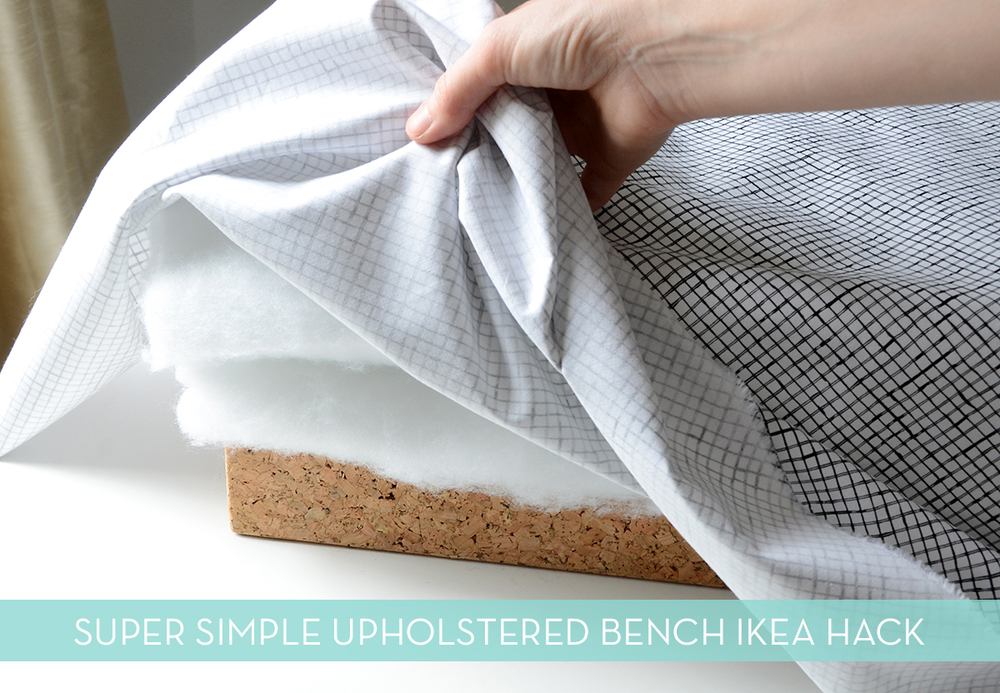
Begin by cutting your batting to the correct size. You’ll want 4 or 5 layers of batting on top of the cork, and it should be about an inch wider than the cork on all sides. Lay everything out on your work surface. One side of the cork board has holes in the corners to attach it to the legs – make sure that the side with the holes is facing *down* to avoid some serious frustration later on. Place the batting on top, and the fabric on top of that.
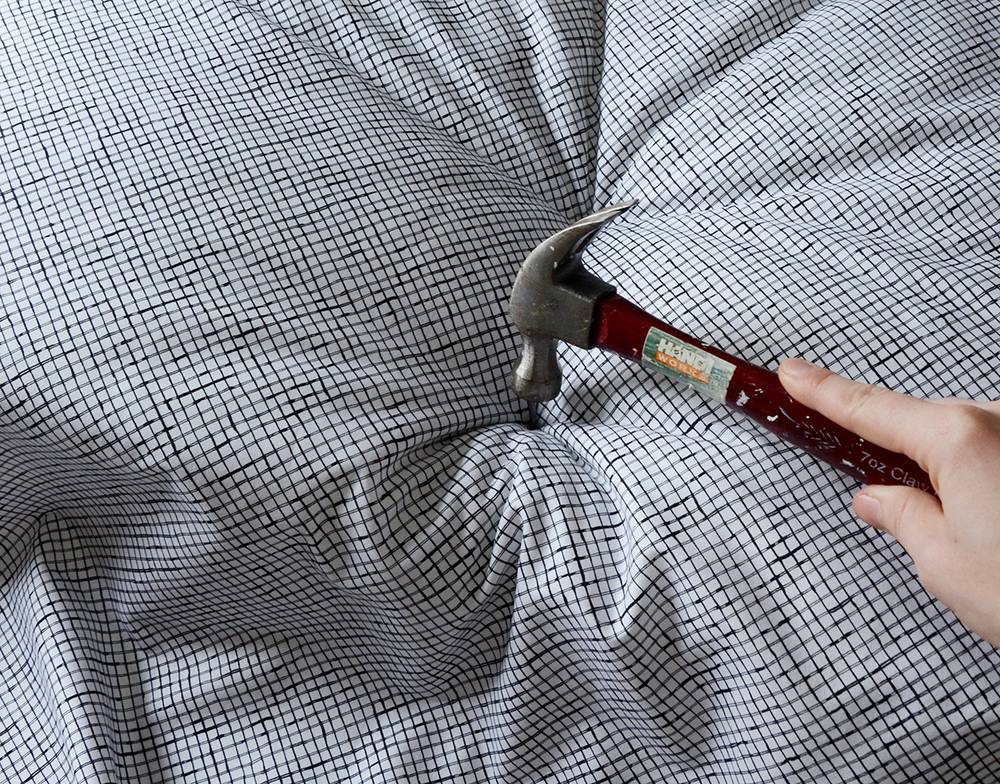
Find the exact middle by measuring the length and width, and hammer a nail into that spot. The nails should have a wide head so the fabric doesn’t slip up over the nail head. Make sure to hammer it all the way down as far as it will go. Measure 4″ down from there toward the edge of the bench, and pull the fabric taut – enough to create a bit of a ridge in the fabric. Hammer in another nail. Then measure up 4″ from that center nail and hammer in another one.
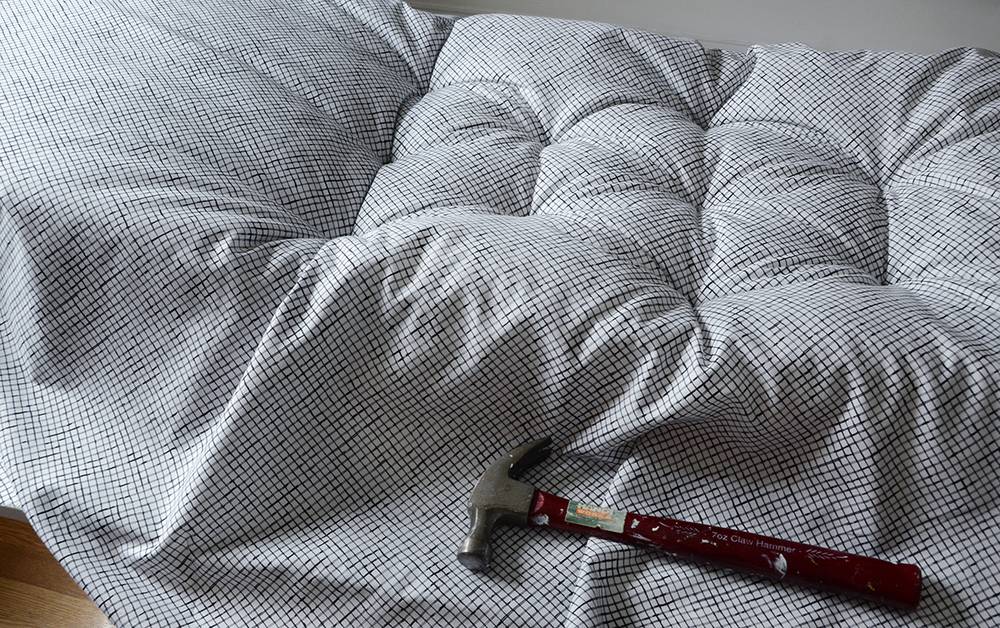 Next, you’ll do another row of nails but this time only 2 – and they’ll be placed 6″ over from the first row. Then the third row will have 3 nails, and the fourth row will have 2 as shown above. Repeat the process on the other half of the bench as well.
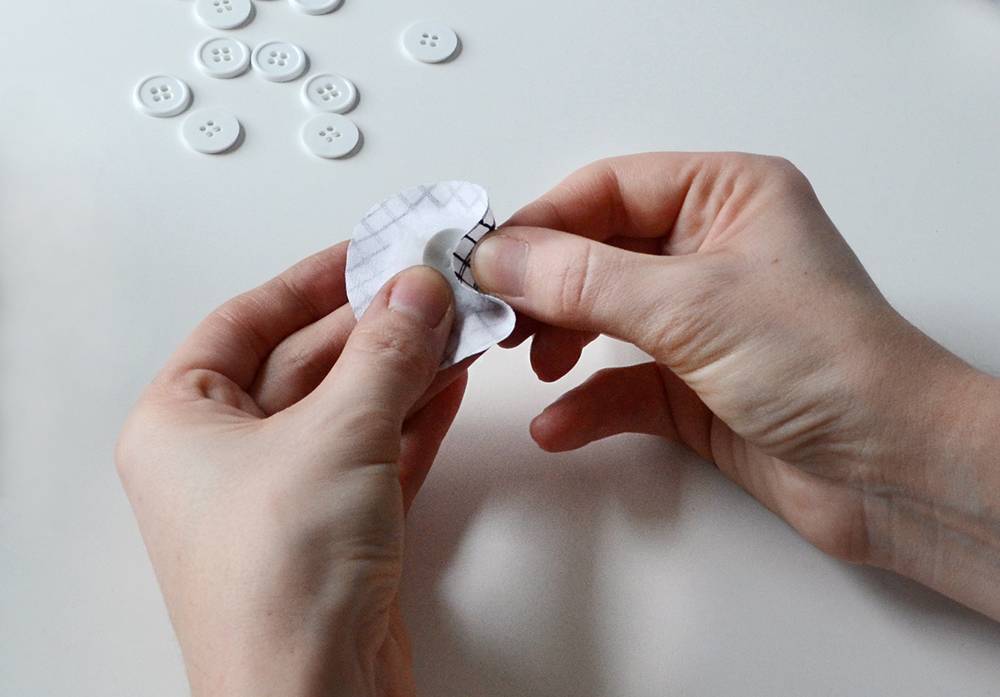
Now, you’ll make your buttons. Cut a circle that’s about 2″ in diameter. Place a small bit of batting on it, then place a button on top of that.
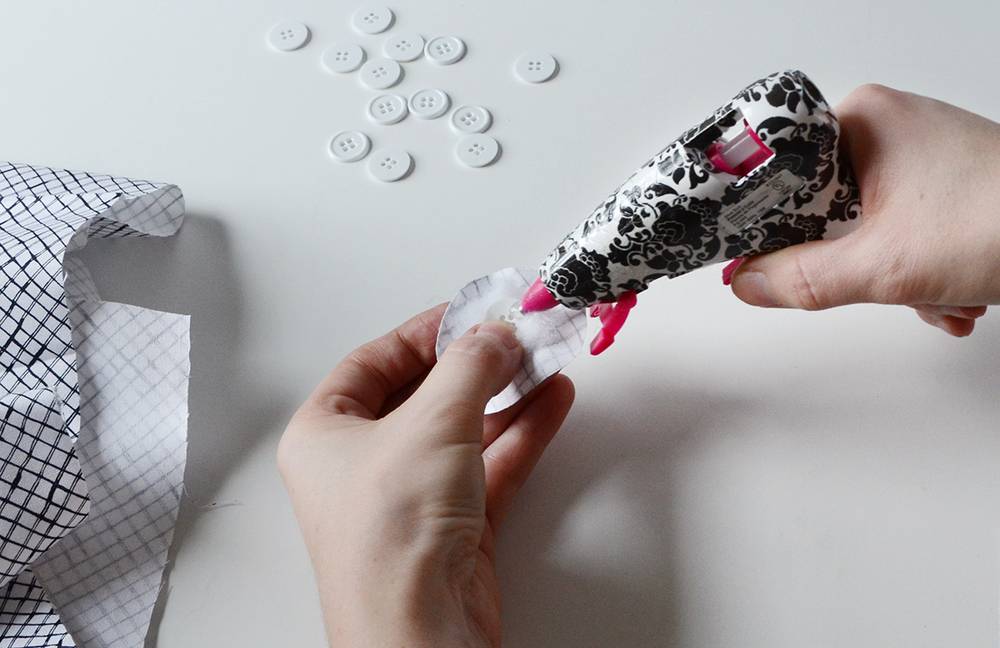
Fold the edges over repeatedly, using the hot glue gun to adhere everything together. Now you have a padded button. Make sure not to burn your fingers like I did! Make 17 of these.
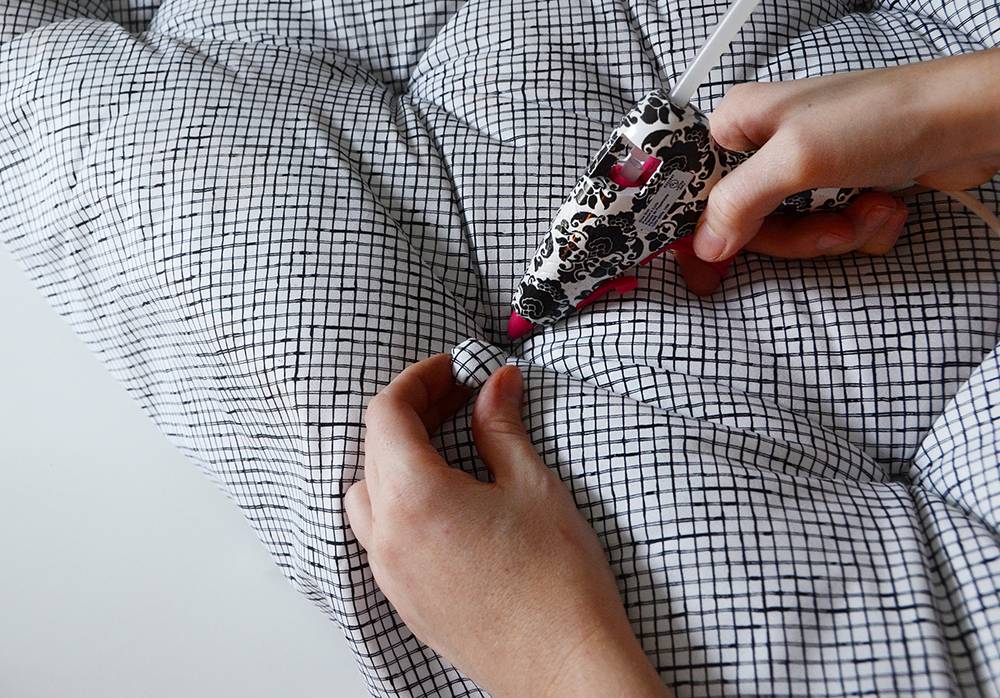
Use the glue gun to attach them to the bench on top of each nail. A little blob about the size of a pea should do the trick. Press the padded button down firmly.
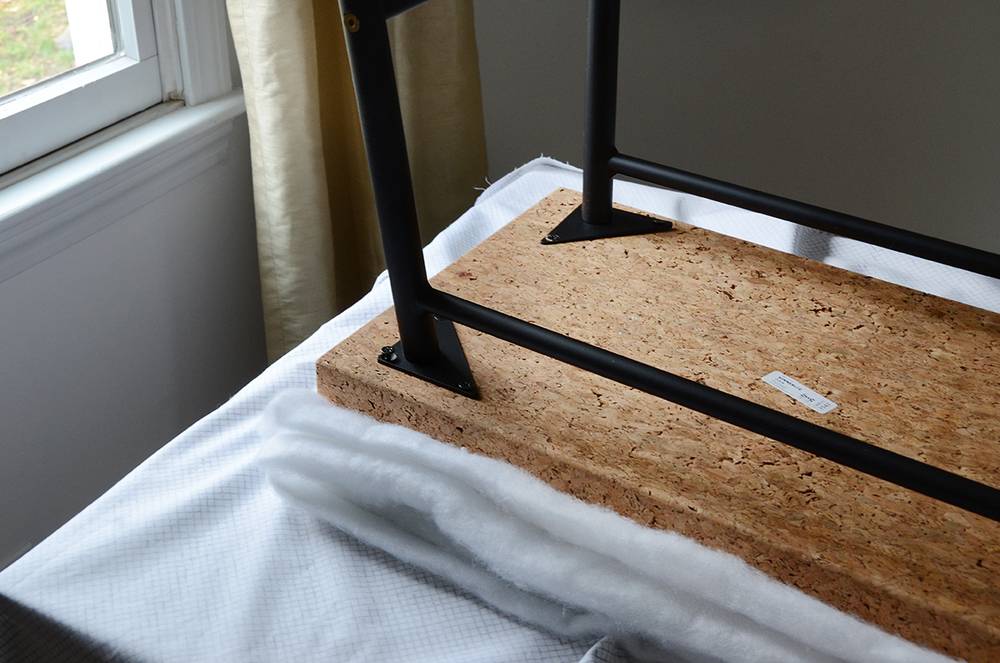
Next, flip the whole thing over so the cork is facing up, and assemble the bench according to IKEA’s instructions.
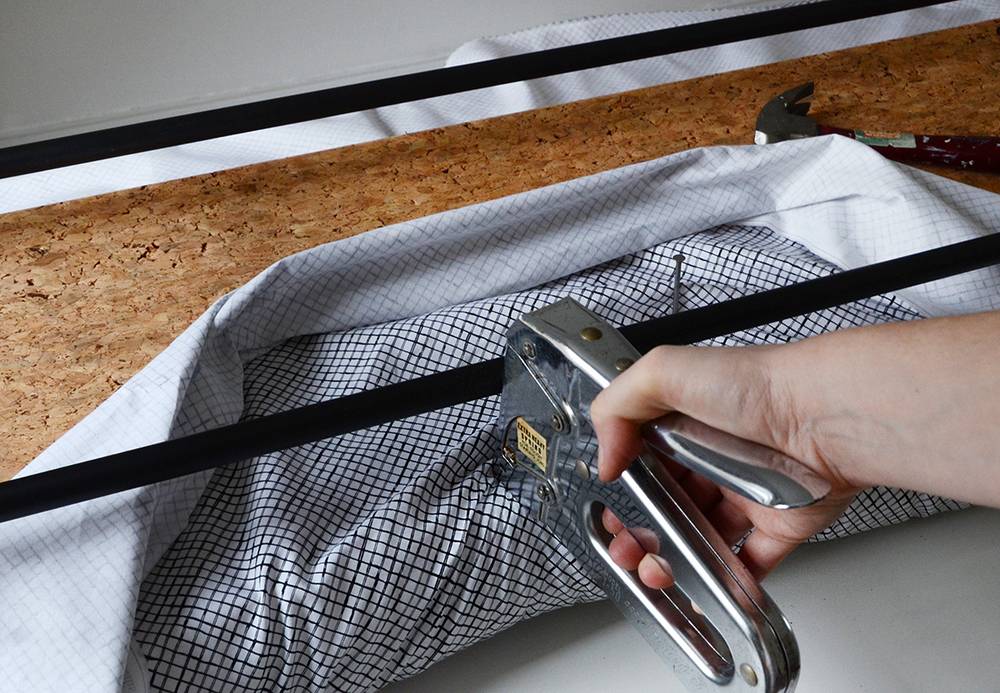
Now it’s time to staple the excess fabric to the underside of the bench. Begin in the middle of one of the long sides again, pulling the fabric taut. Make sure to place the staples in line with the nails that are on the other side. Once you’ve stapled all the way around, begin stapling in between each existing staple – but don’t pull it quite as tightly this time. Trim all the excess fabric away.
If there are any pieces of fabric in between staples that don’t want to stay down, use the glue gun to flatten them down.
Optional: honestly, I don’t care what the underside looks like – but if you would like to give the underside a more “finished” look, cut a piece of felt or other fabric into a rectangle that’s slightly smaller than the cork board and glue it down to hide the rough edges.
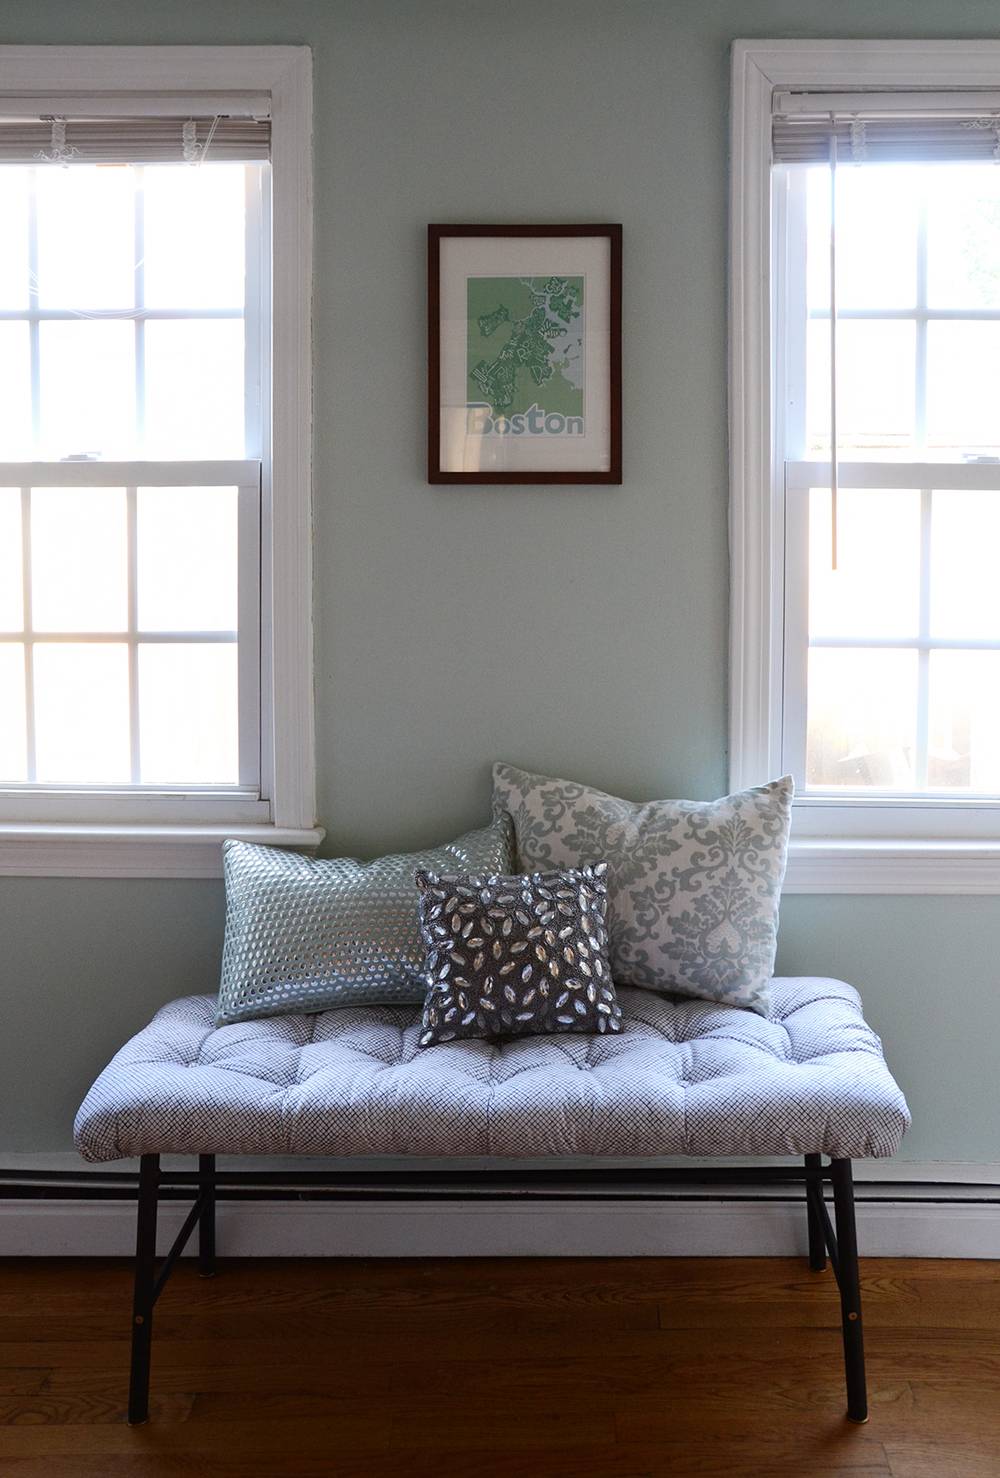
And you’re finished! Wasn’t that surprisingly easy?
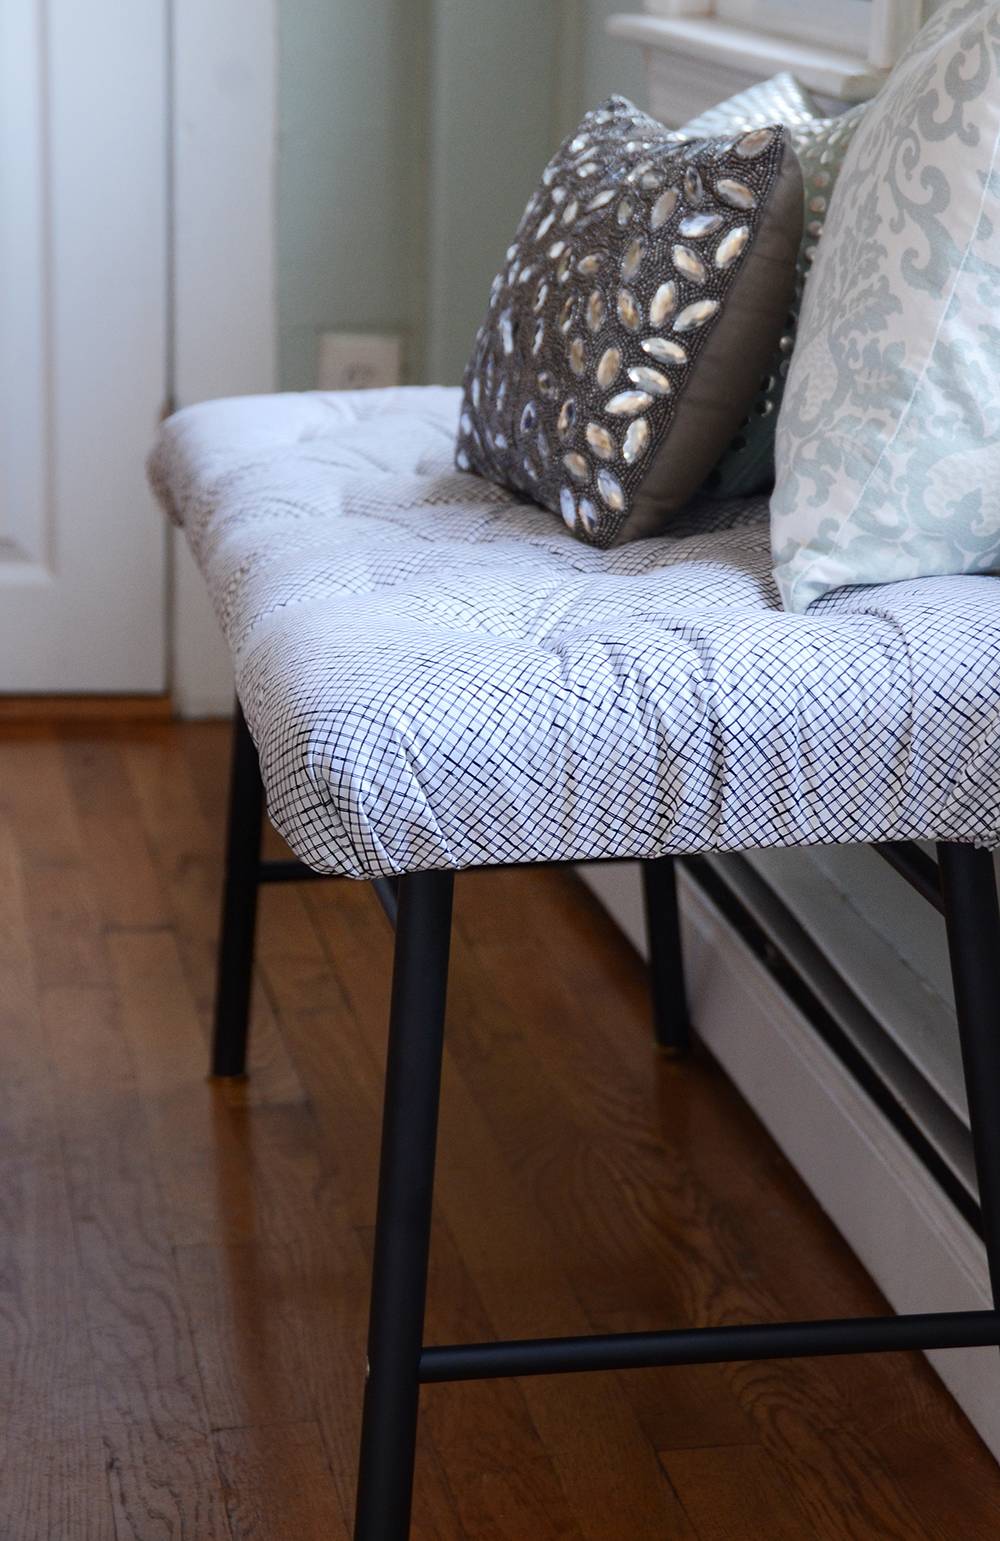
We placed ours on an empty side of the kitchen since we needed more seating (people always seem to congregate in the kitchen) but it would be a lovely addition to any entryway or even a little nook in the living room.
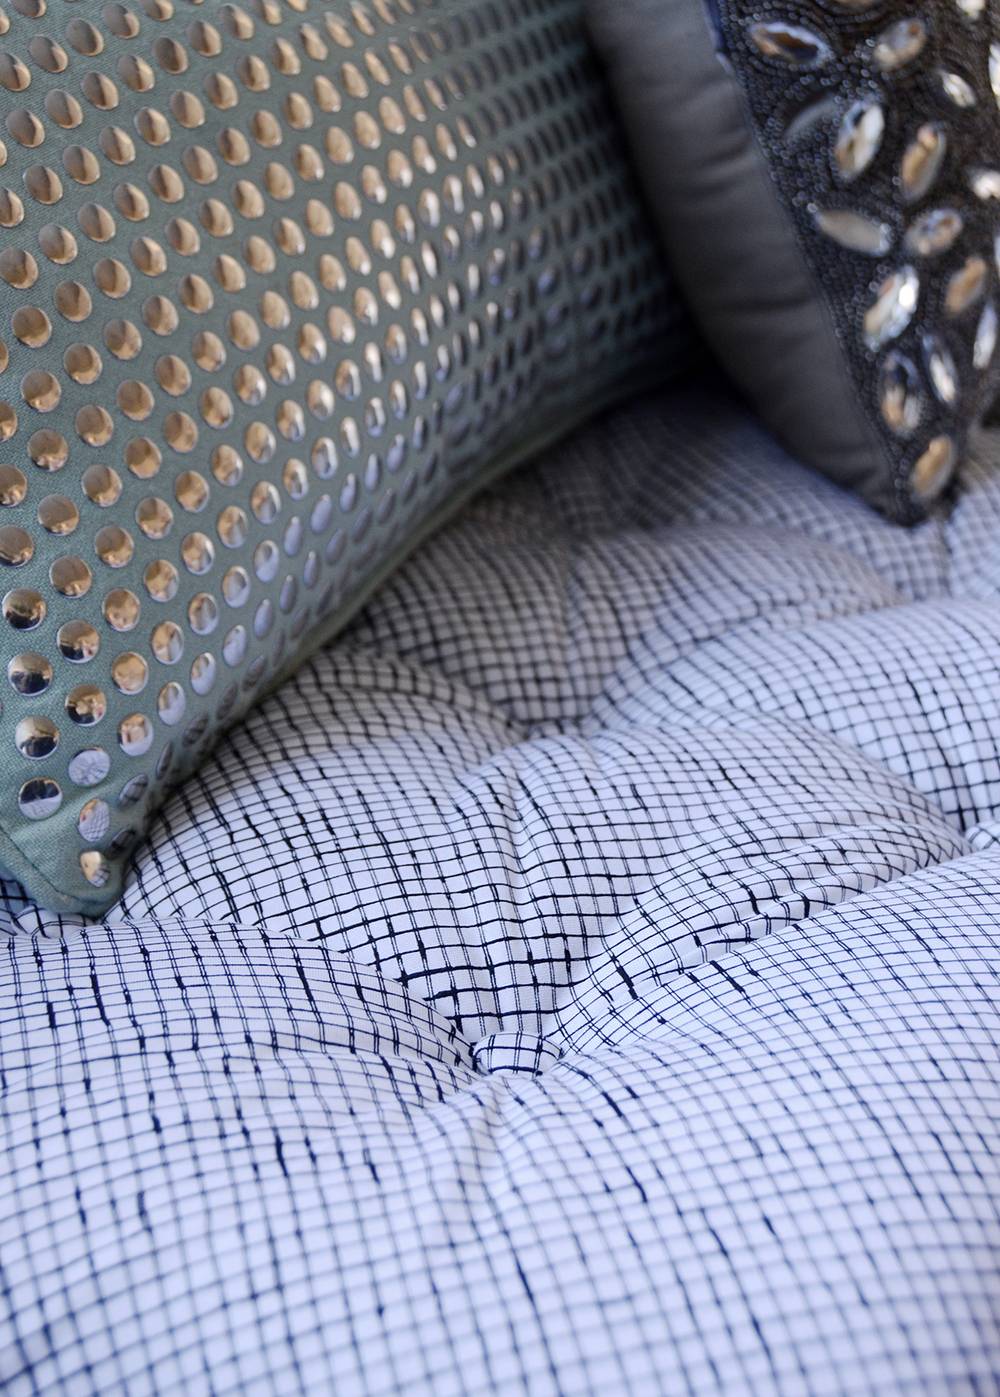
I used a light cotton material, but this would also look great in a tweed or some other type of woven fabric. No matter what you choose, it’s sure to add an inviting touch to any space. Happy tufting everyone!
