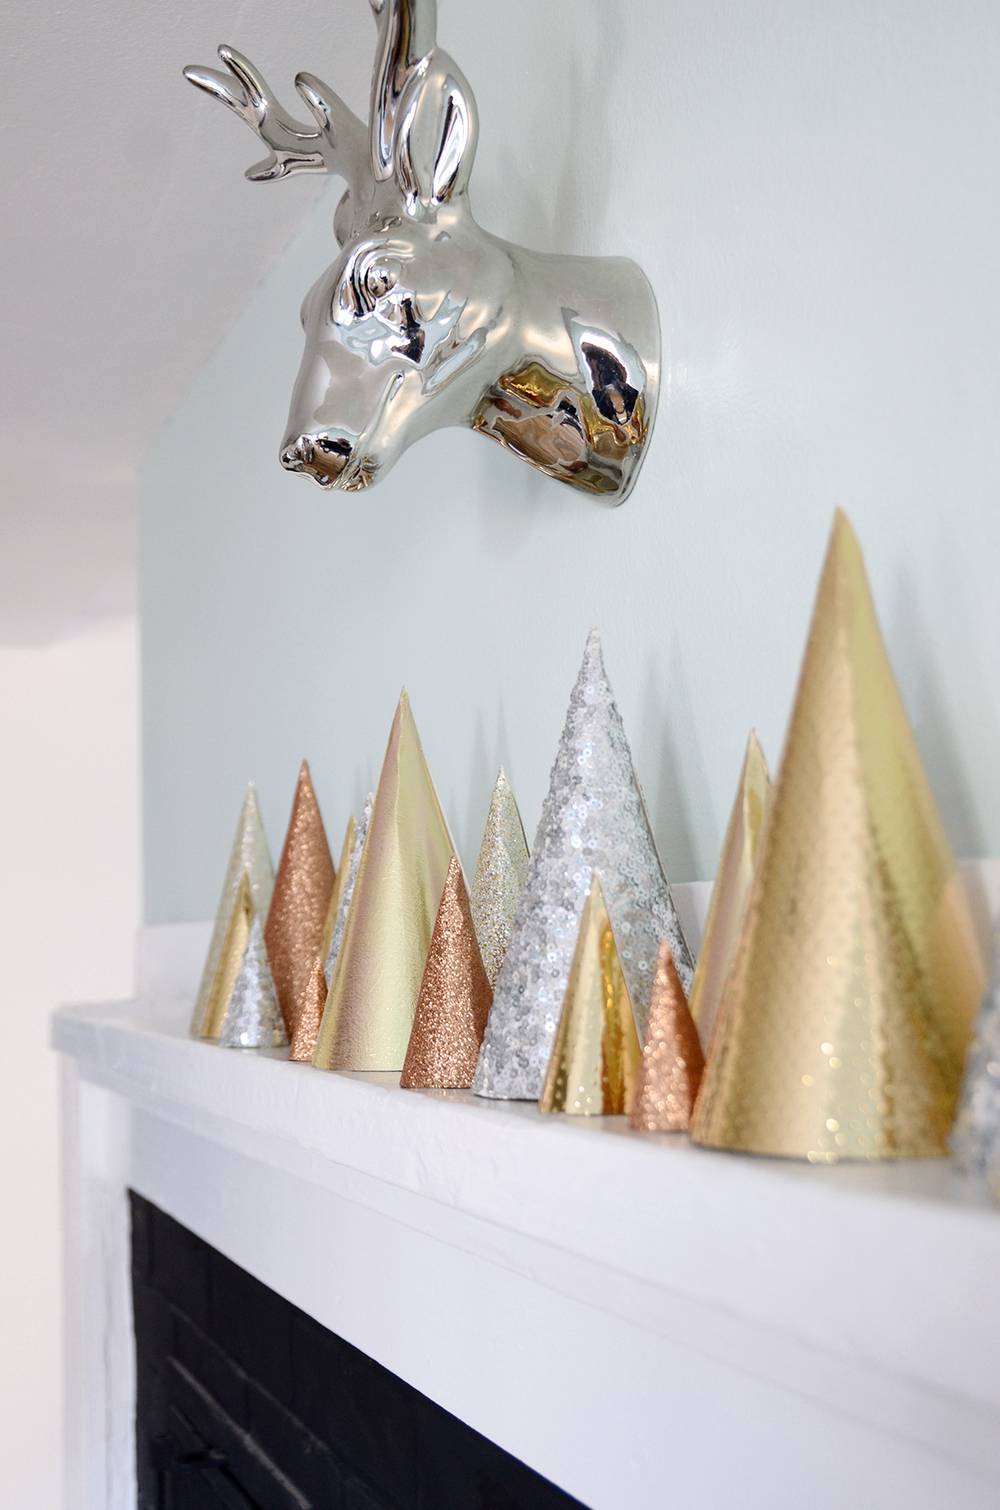
I’ve had a minor obsession with metallics this holiday season. Okay, a major one. So when I spotted these textured scrapbook pages at the craft store, I knew I had to have them. I began experimenting with a pencil compass, and I came up with a fun metallic Christmas tree.
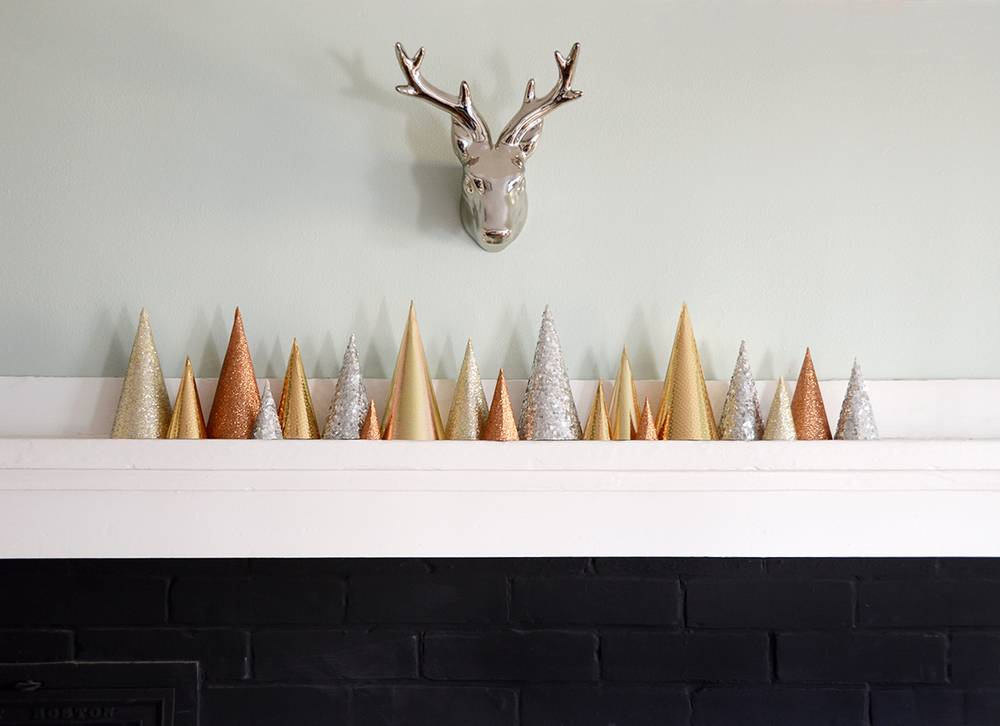
And then I kept making more and more, and suddenly I had an entire forest. And the best part? These are super easy to make.
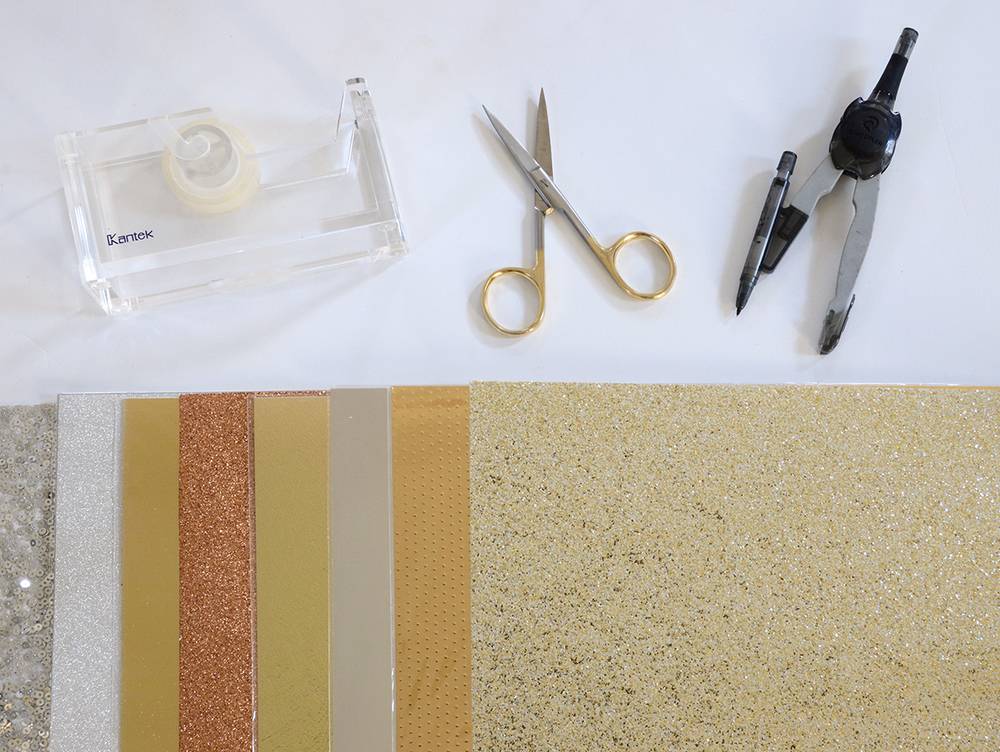
Here’s what you’ll need:
- A variety of textured metallic scrapbook paper
- Tape
- Scissors
- Pencil Compass
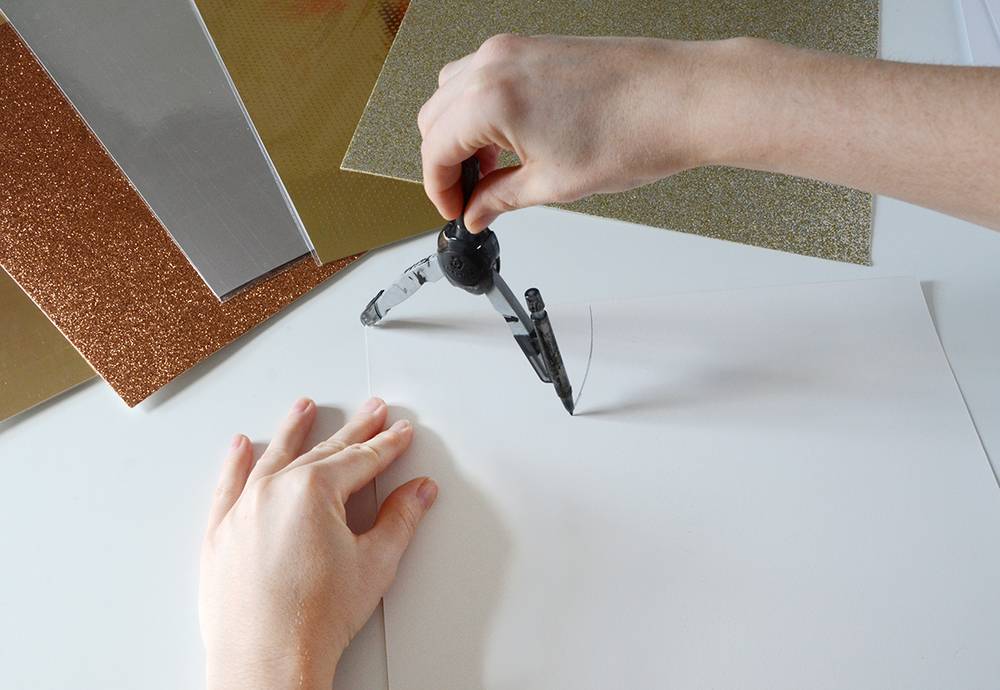
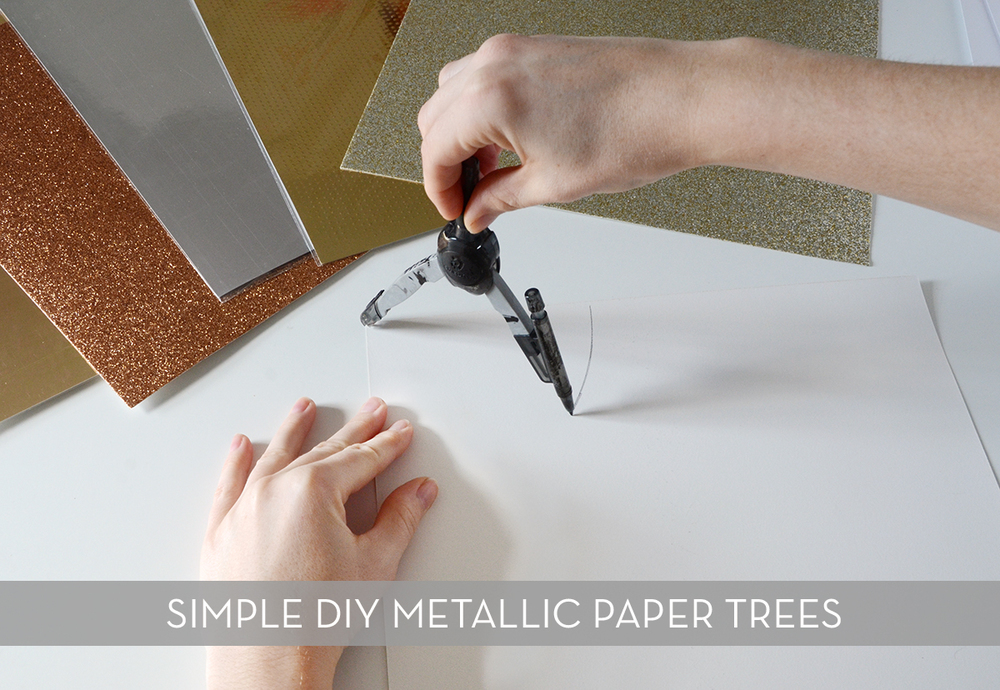
Begin by flipping your paper over and placing the point of your pencil compass in one corner. Adjust the width of the compass to your desired size (mine varied between 2 and 5 inches). Draw a semi-circle from one edge of the paper to the other.
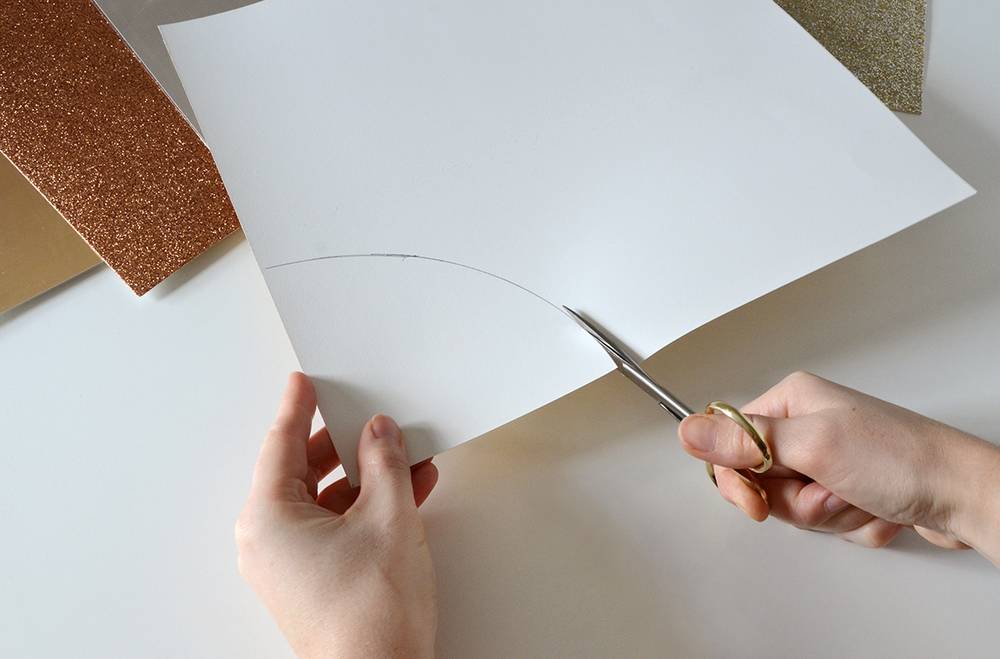
Next, cut along the pencil line to create a pie shape.
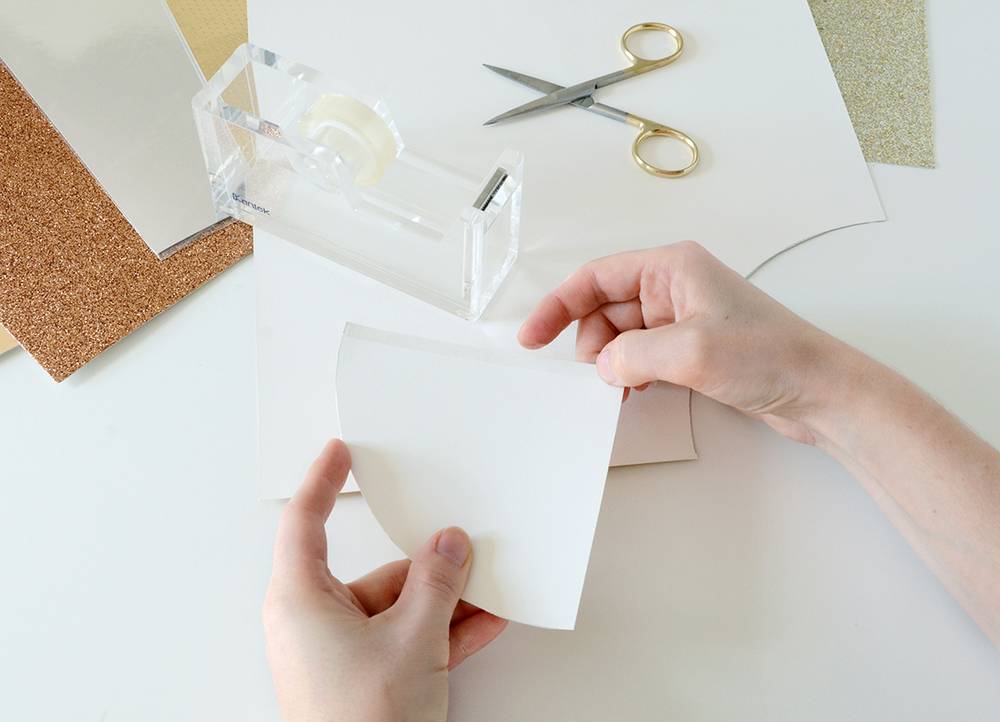
Place a strip of tape along one edge with the sticky side facing down.
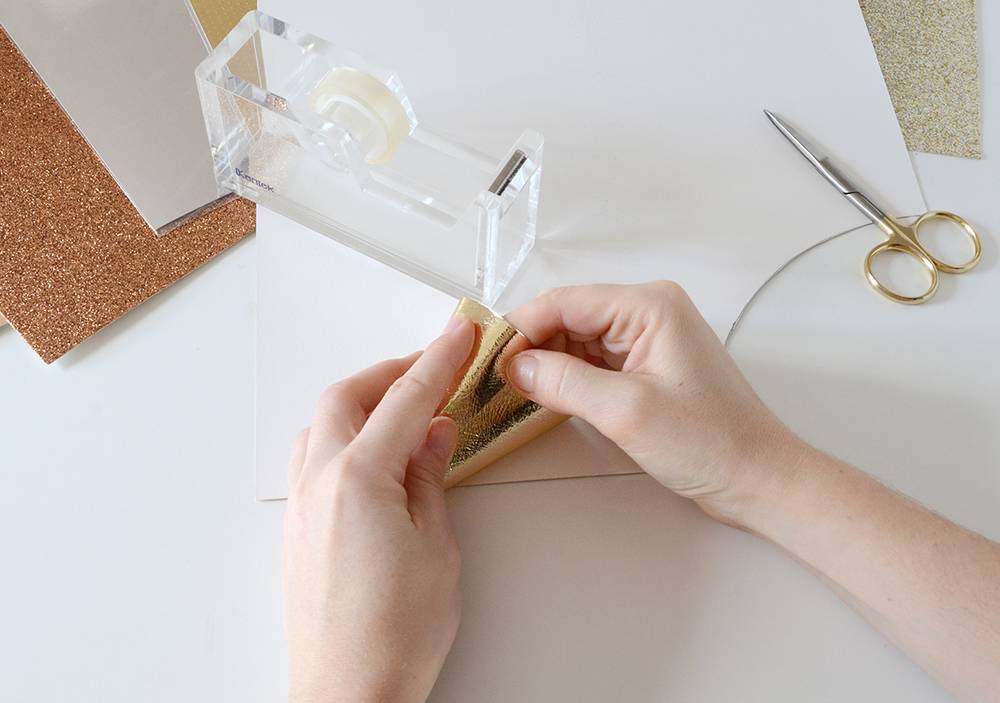
Form it into a cone shape. The tape will end up on the inside of the cone so you won’t even see it. Since these papers are fairly thick, you’ll likely have to adjust it once it’s taped so it ends up being round.
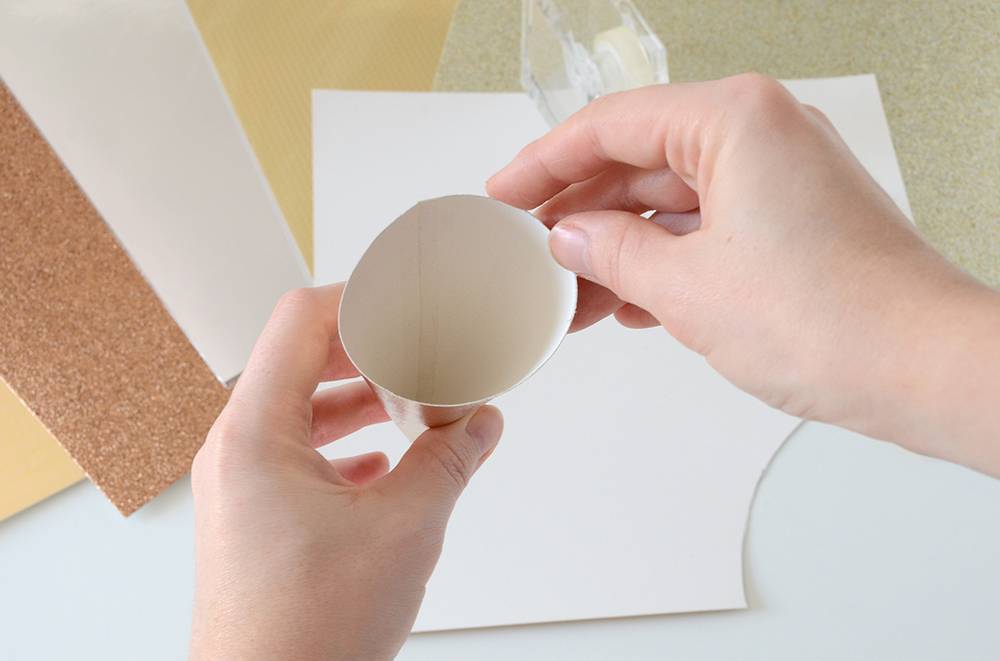
It should look like this on the inside. Depending on the thickness of the paper, you may want to reinforce it with some horizontal pieces of tape on the inside.
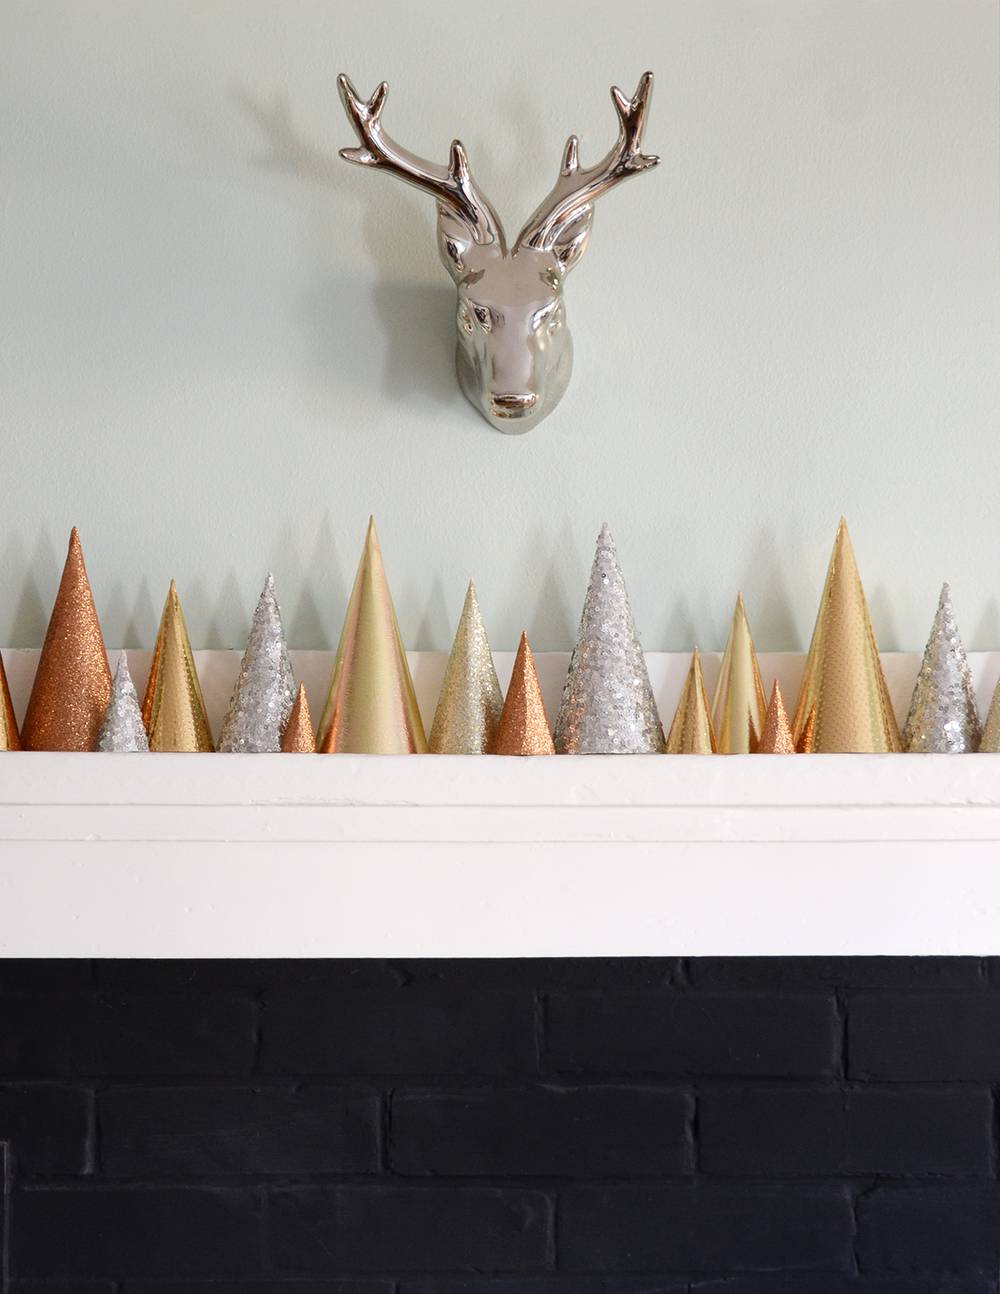
Now make a bunch more of them, and you’ll have your own metallic tree forest! They’re so easy to make that you really could go a little crazy with it. I’m tempted to make even more.
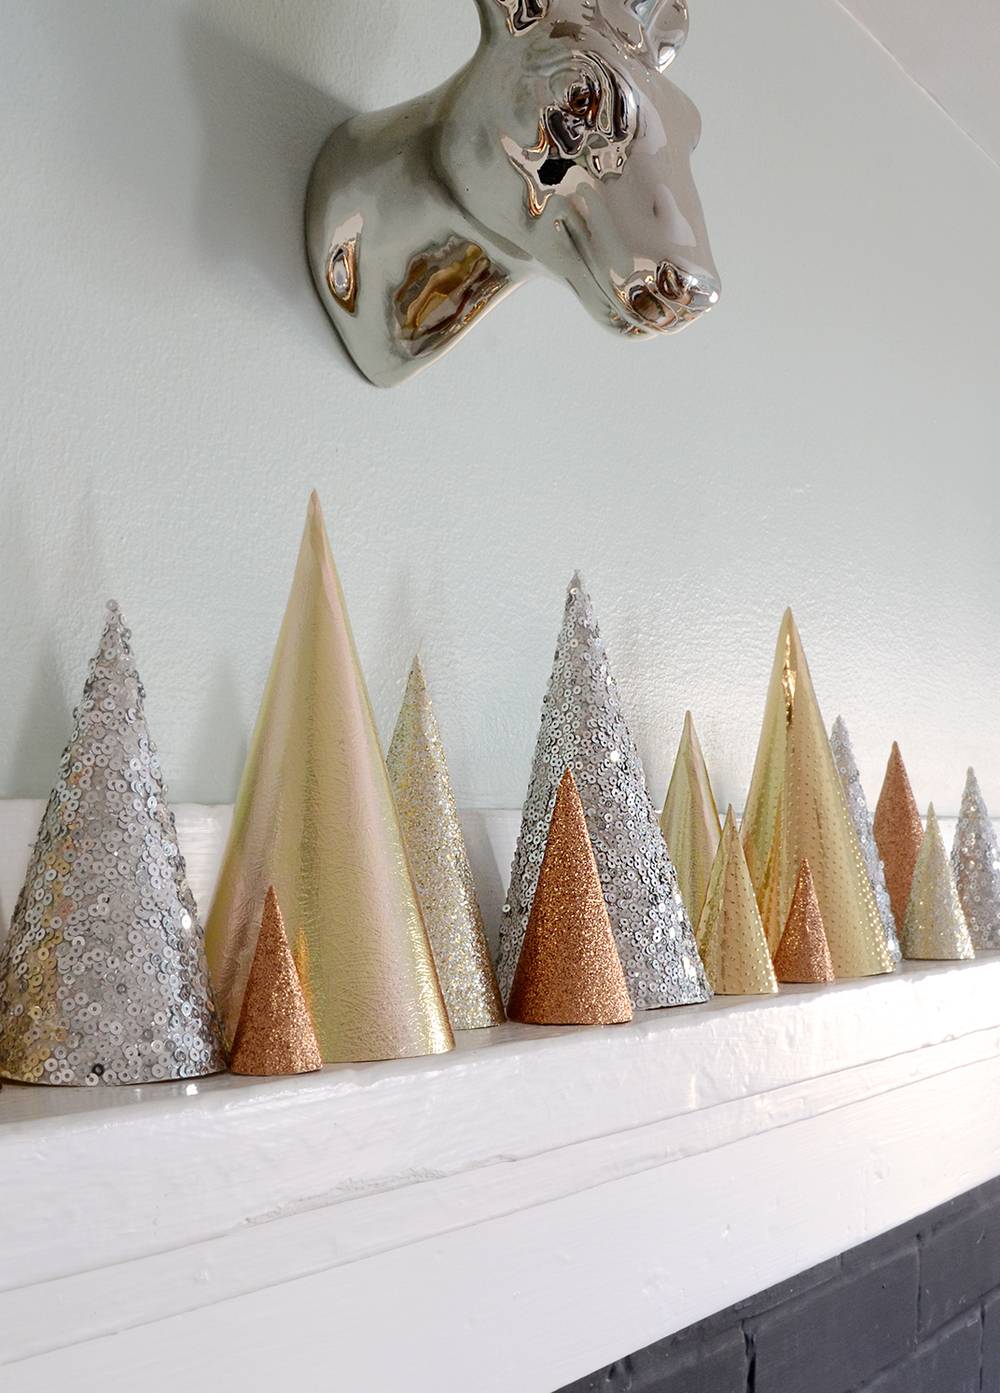
You could play with the scale of the trees if you have a larger pencil compass… larger trees would look lovely on an entryway or coffee table.
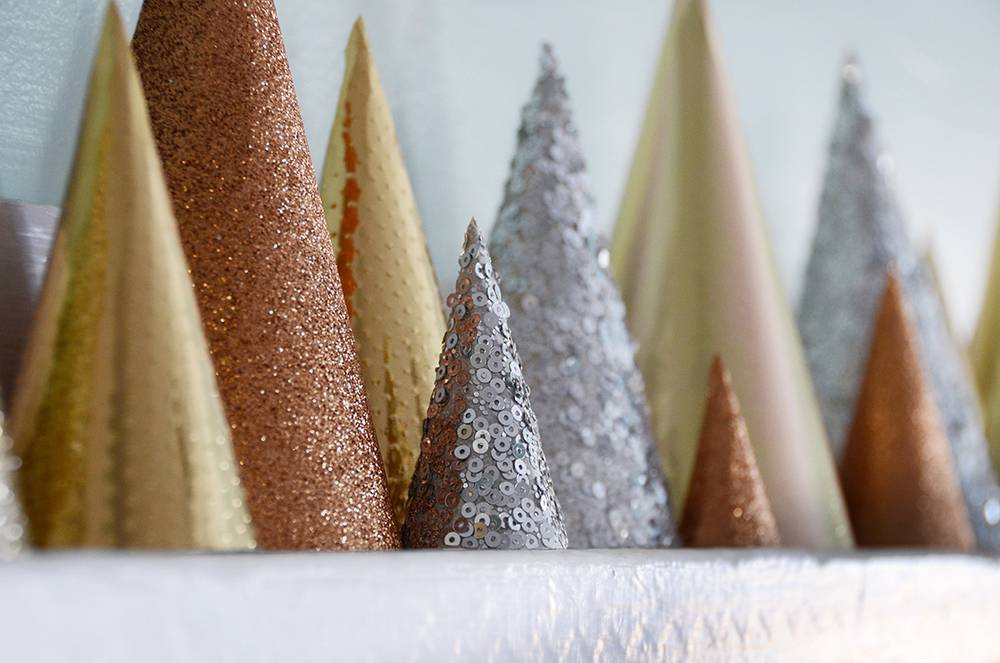
And while I did make these with the intent of using them as Christmas decorations, I think that they would be appropriate winter decor as well. So I might just leave them up for a few more months!
