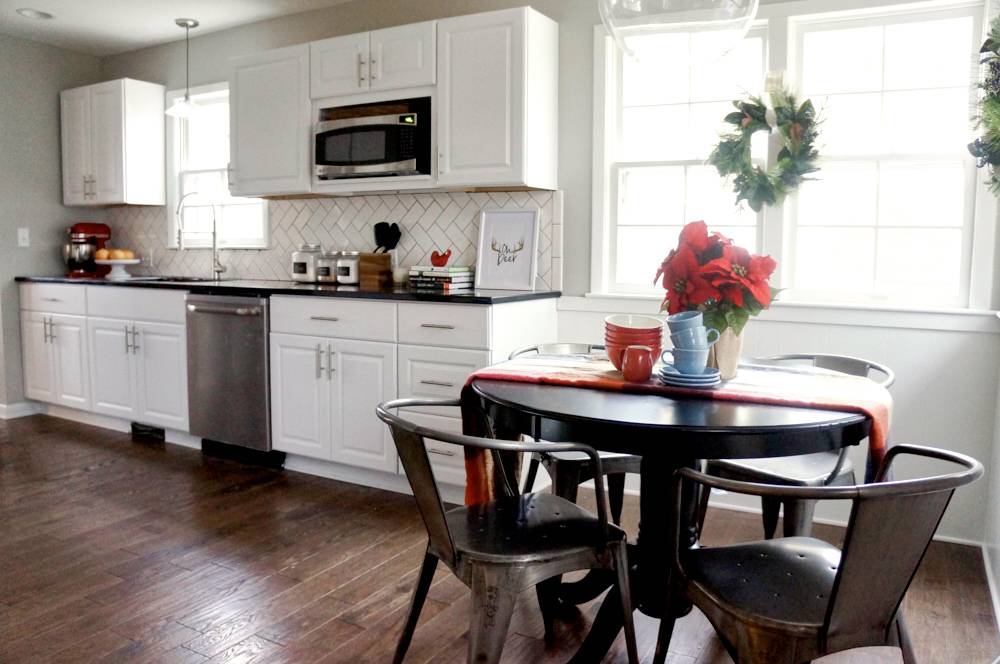
Besides writing for Curbly, my everyday job is to help make homes happen for people. This ranch home was built in the mid 1960s. During the initial walk through, where we come up with the renovation plan, I told the general contractors this kitchen needs to be opened up and brightened up. Here is how it turned out.
Sometimes we use the original cabinets if we know we can paint them. The problem was that they just didn’t fit after we tried configuring them a few times. I work with flippers, so cost is a main deciding factor and my favorite inexpensive new cabinet is right down the street at Home Depot.
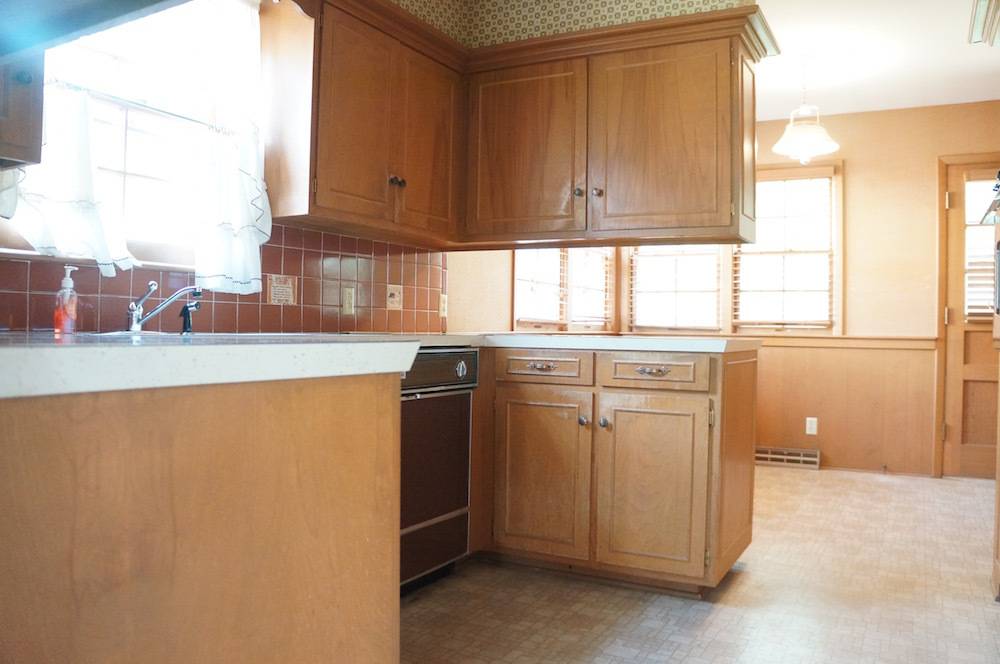
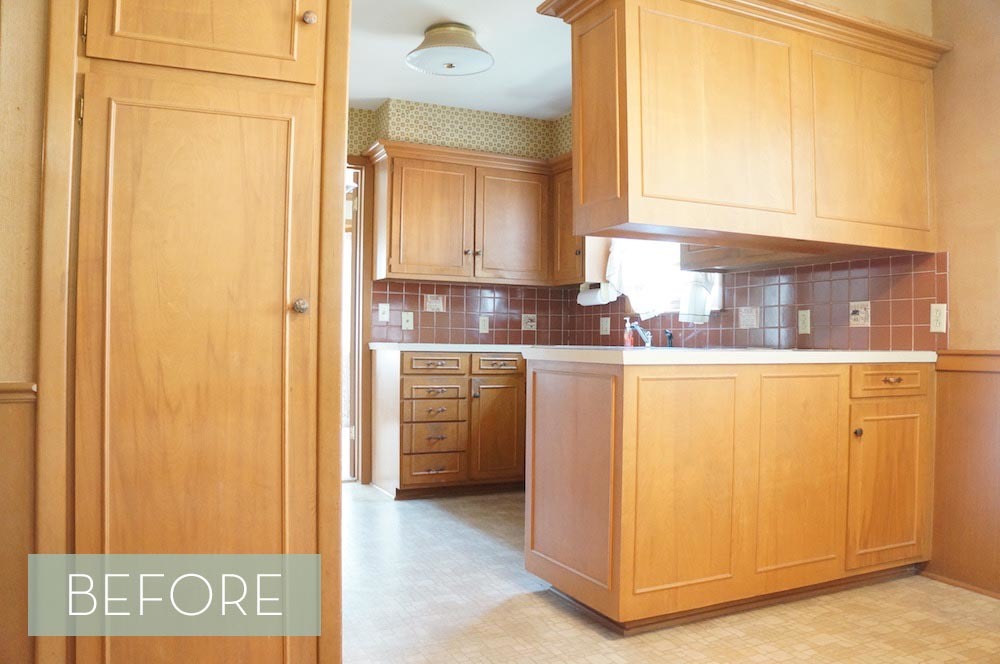
The kitchen is a smaller kitchen and when the home was built they probably wanted to put as many cabinets in as they could for storage. The result was a closed off space. Too many cooks in the kitchen would be a problem here. Sometimes you can only work with what you have. We couldn’t make the kitchen bigger by taking square footage from another room, but we could make it smarter. By doing so, we could open it up, maintain funtion, and bring it into the modern world where families and friends gather in the kitchen together.
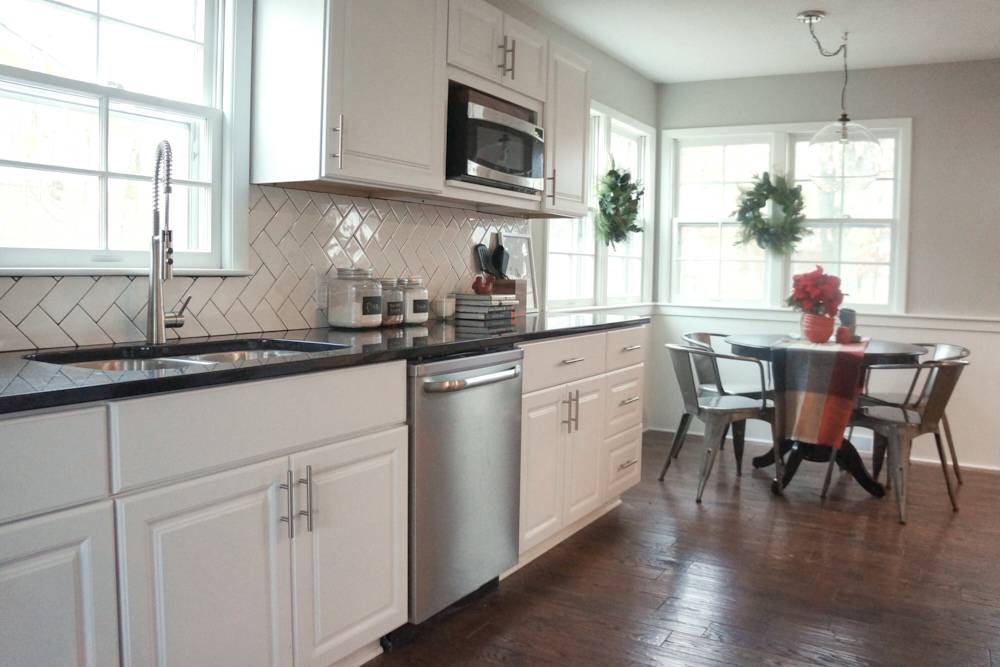
Getting rid of the upper and lower cabinets that rounded the corner gave more space for an eat-in nook. We actually didn’t lose cabinetry because there was enough room to fit the once cornered cabinetry along the back wall.
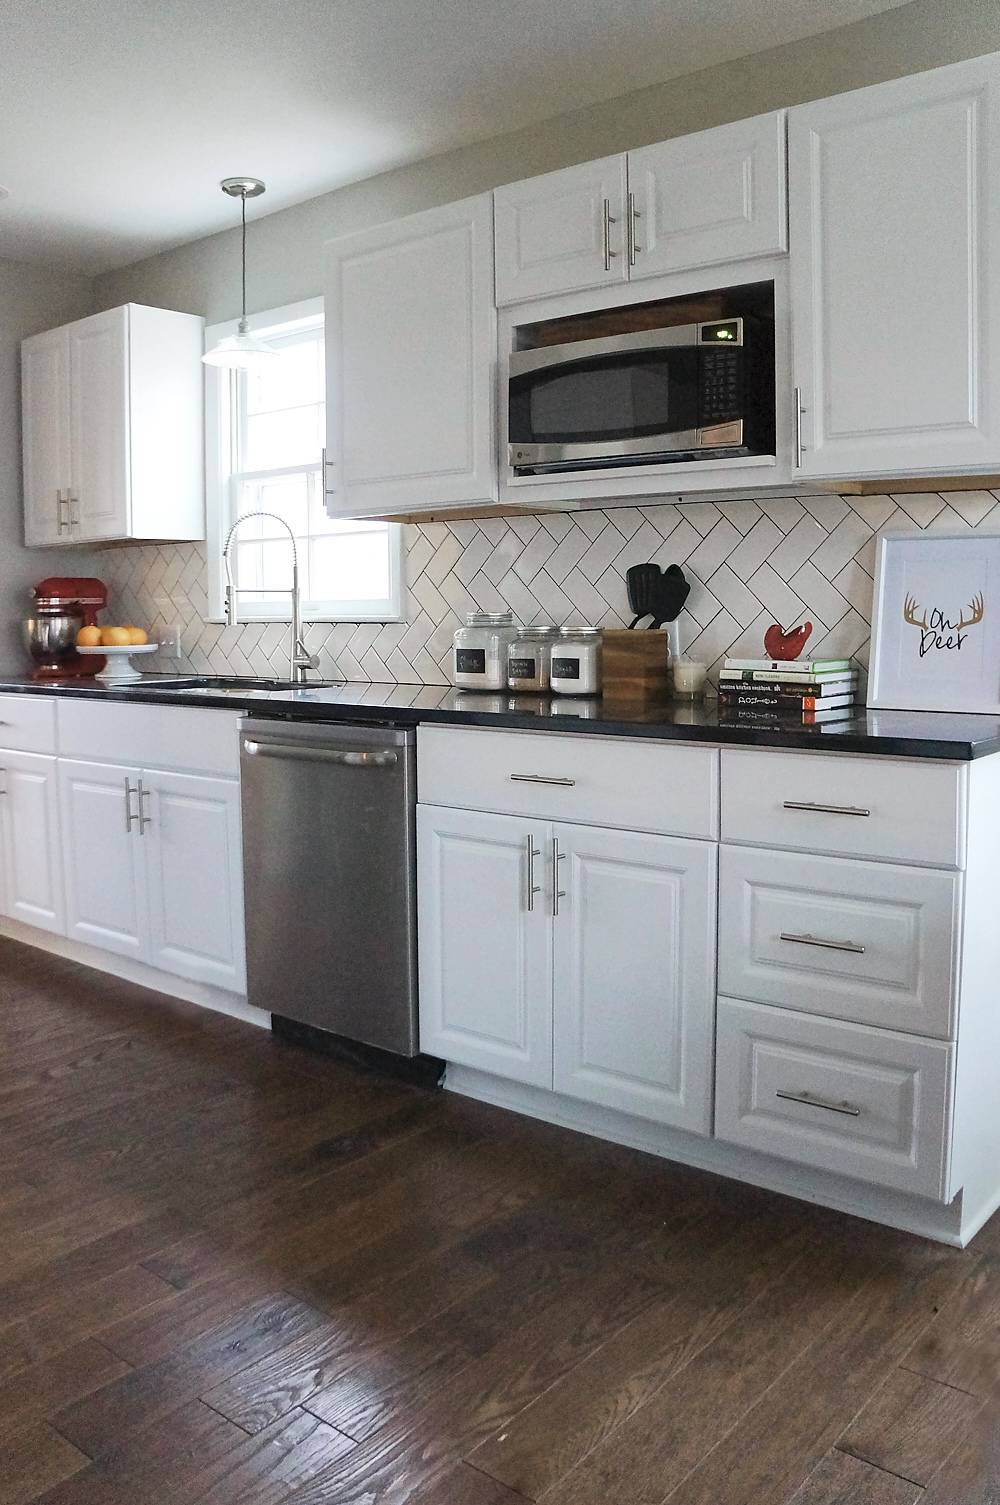
In making the kitchen “smarter” we had to be picky about the lower cabinet funtion. Choosing a lower unit with three deep drawers gives the homeowner more flexibility. A unit with more smaller drawers limits the type of things you can store. We also made sure the lower cabinet’s had ajustable shelves and the ability to add interior cabinet fittings.
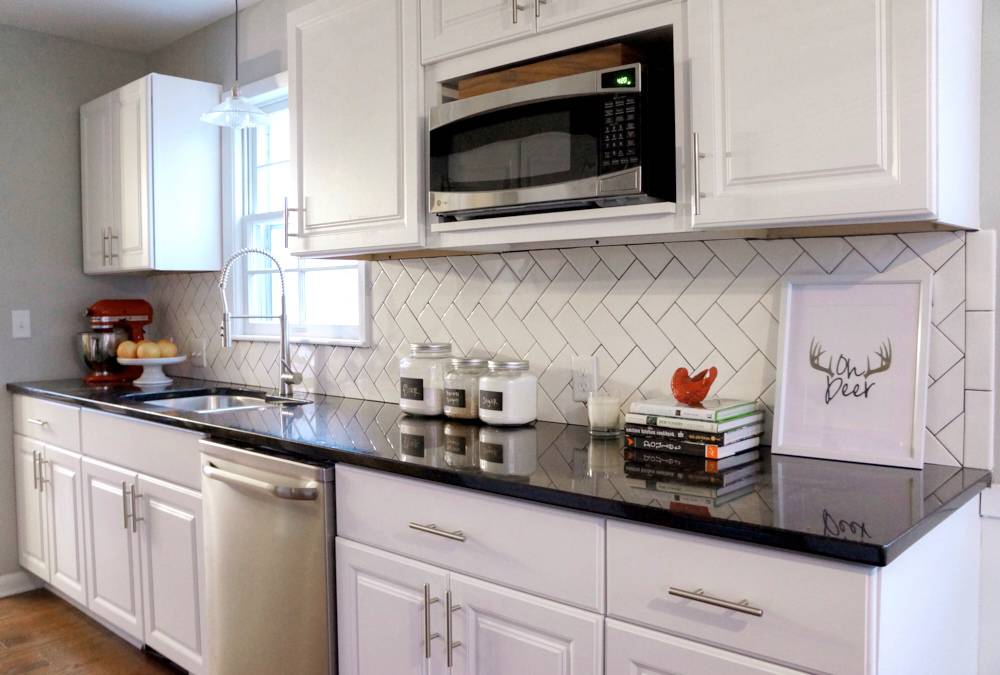
The range (not pictured) was nestled into a bar area on the opposite side that opened to a family room. We had to find a place for the microwave. The counter space was limited so we ordered an upper cabinet that could accomodate an upper cabinet depth microwave.
I am a big fan of giving an all white kitchen a little texture so we tiled inexpensive subway tile in a herringbone pattern. We turned the pattern on its side and added the texture with black grout.
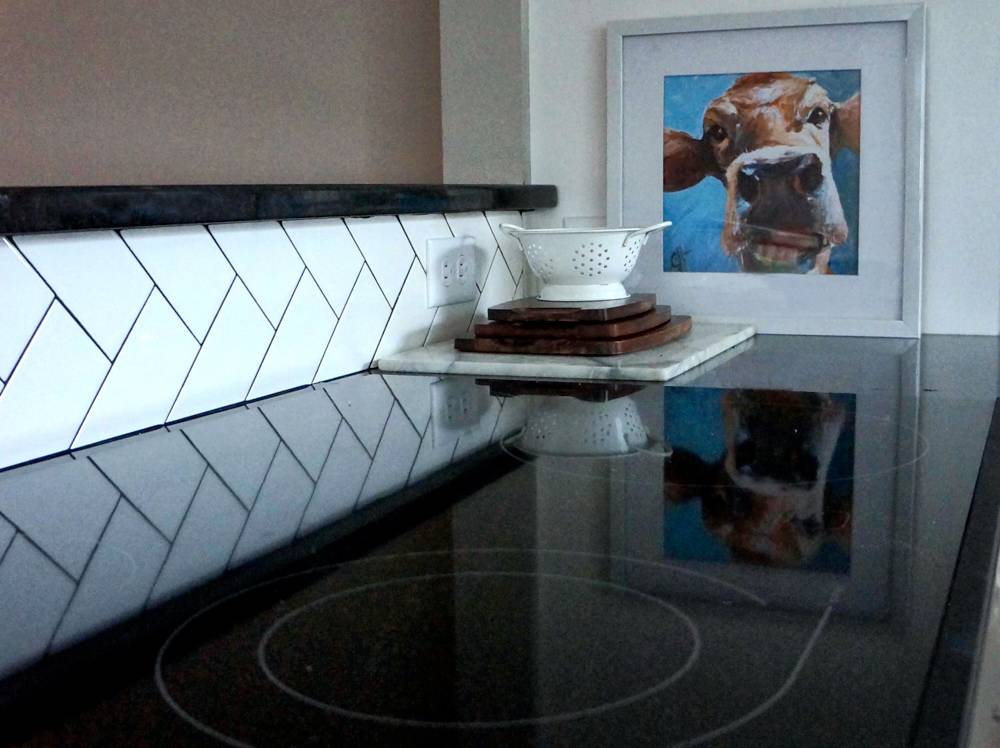
The other side of the kitchen was a little tricky with the herringbone tile. If you don’t start it right in the small area then you won’t be able to see the pattern and it will not look cohesive with the other side. You really have to decide where the pattern is going to start on the smaller side and start it in the same place on the opposite wall. To figure out where to start the tile, we patterned it out on the floor and I taped off the part I wanted seen on this smaller side. The tiler started the opposite side in the same way. The extra cuts cost a little bit more in labor fees, but the details make the kitchen.
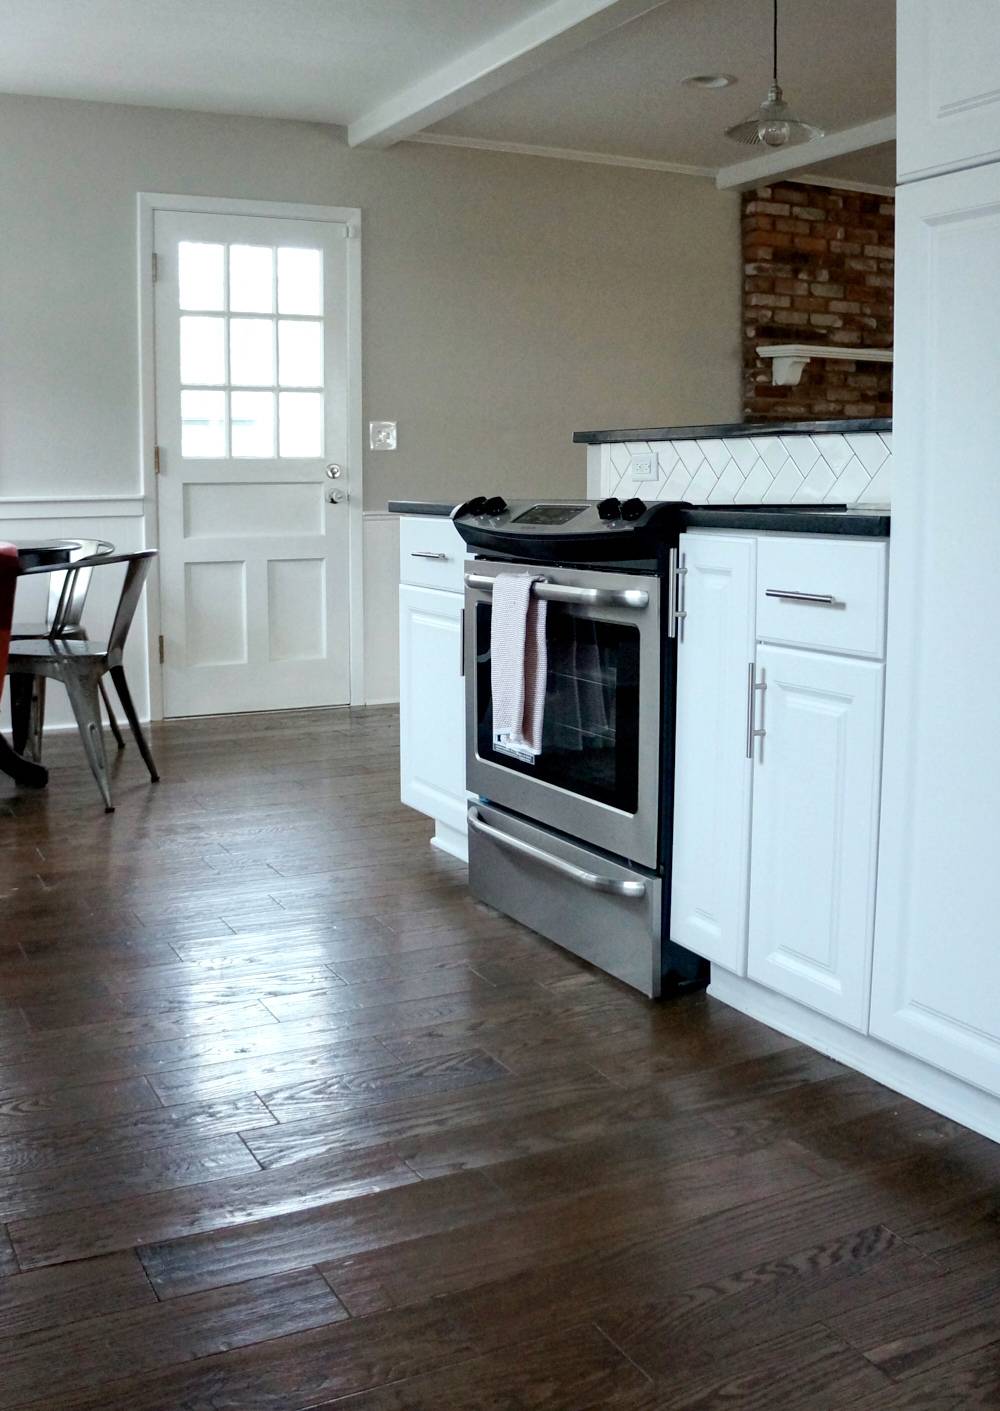
Here is the other side of the kitchen. I included this shot of the range and the bar area so you could see how we oped up the wall. This is little photo shoot versus life reality. The home was pre-sold and the new owner was moving in…lurking over that bar top were tons of moving boxes and moving men. You do get a glimpse of how open the kitchen is to the place where the family will hang out.
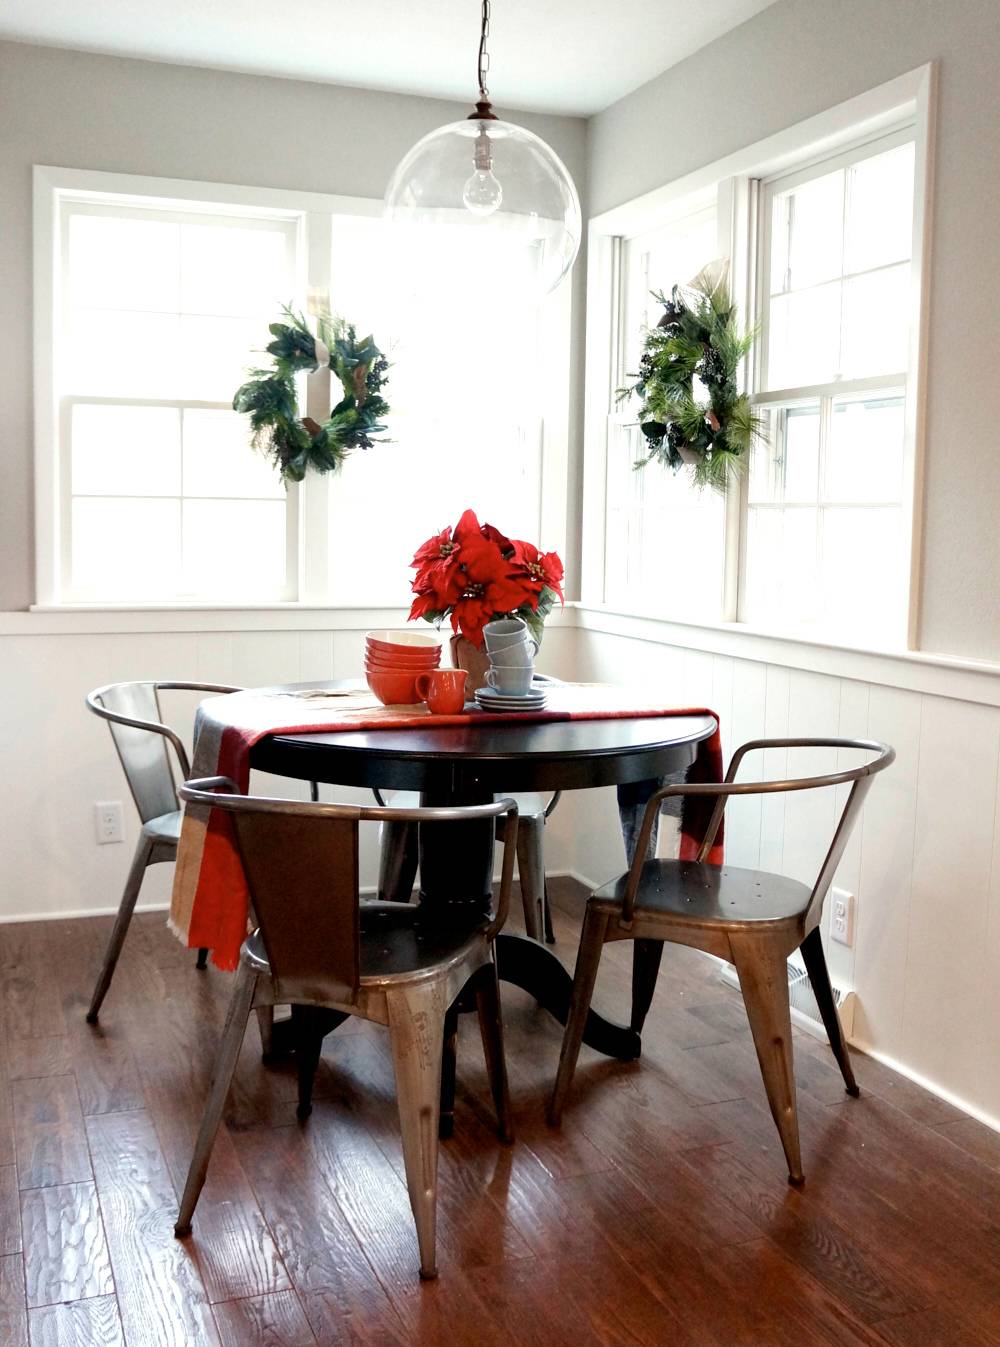
I love the eat-in nook. There was techincally one there before but the cornered cabinets cut off the sunlight and the space. This little 40 inch round table would have fit before but there would have been no room to pull any chairs out. Now you can actually use the eat in space.
Bright and open sells these days. If you are looking to sell your home or renovate your kitchen you can add appeal and possbily value by figuring out how to make the space more bright and open. Don’t let your small kitchen hinder you from making these changes. A small kitchen can become a smart kitchen by simply making good functional and space saving choices in your kitchen’s foundational elements.
LOVE LOVE LOVE this kitchen! Seriously it is such a change!!
As a plumber I do a lot of reno jobs like this. The new kitchen looks great. I’m sure the homeowners will enjoy it for years to come.