This season we partnered with Dremel to bring you a pair of tabletop holiday trees you can add to your winter decor. We wanted to come up with a project for all of you folks who are tight on space, but still wanted to bring in lots of seasonal cheer.
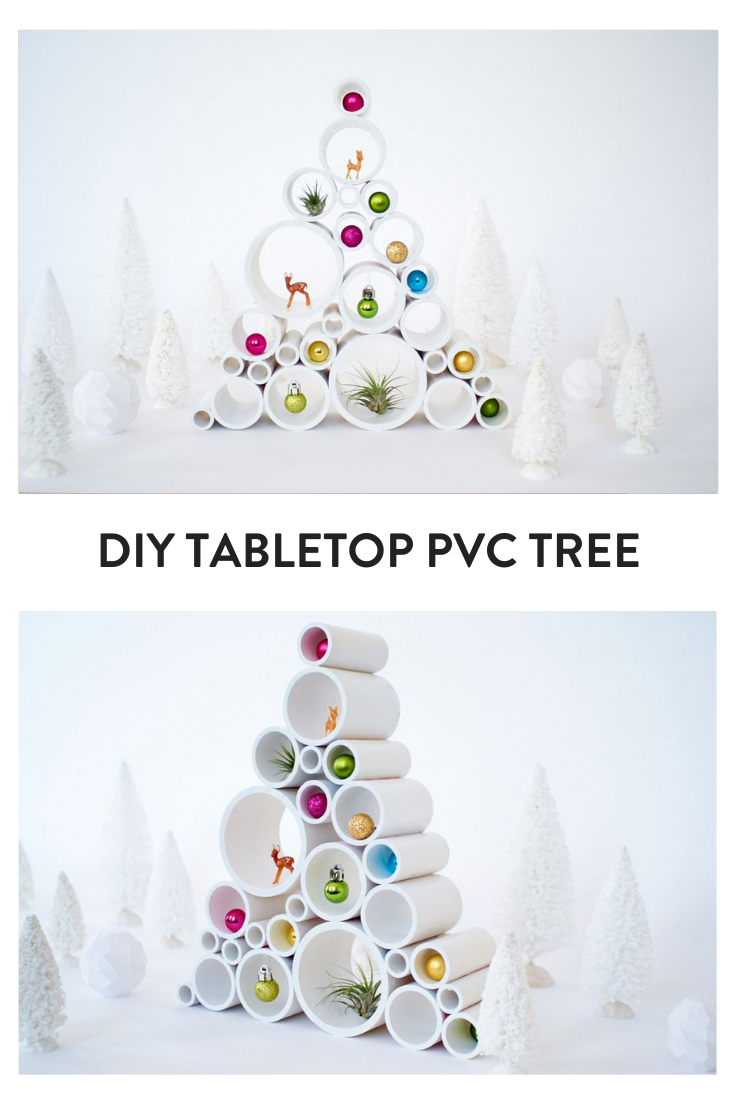
Using several tubes of PVC, you can quickly fashion a unique tree (on a small scale) and spruce it up to your liking. We love this tree’s versatility; it can house ornaments or trinkets (like a curio box), or it can stand alone, as a minimal, modern piece. Let’s make one!
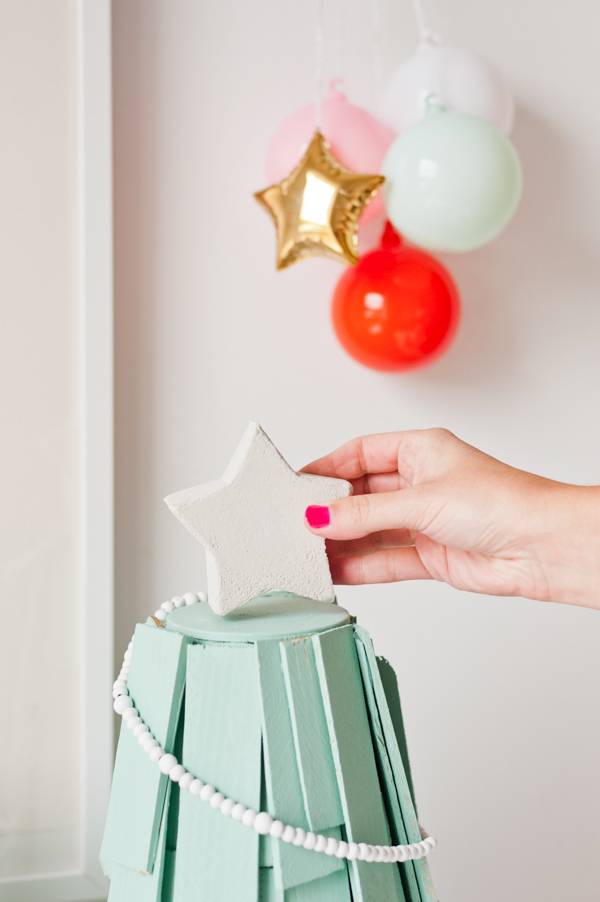
Brittni made an adorable table-top wooden shim tree project!
Materials
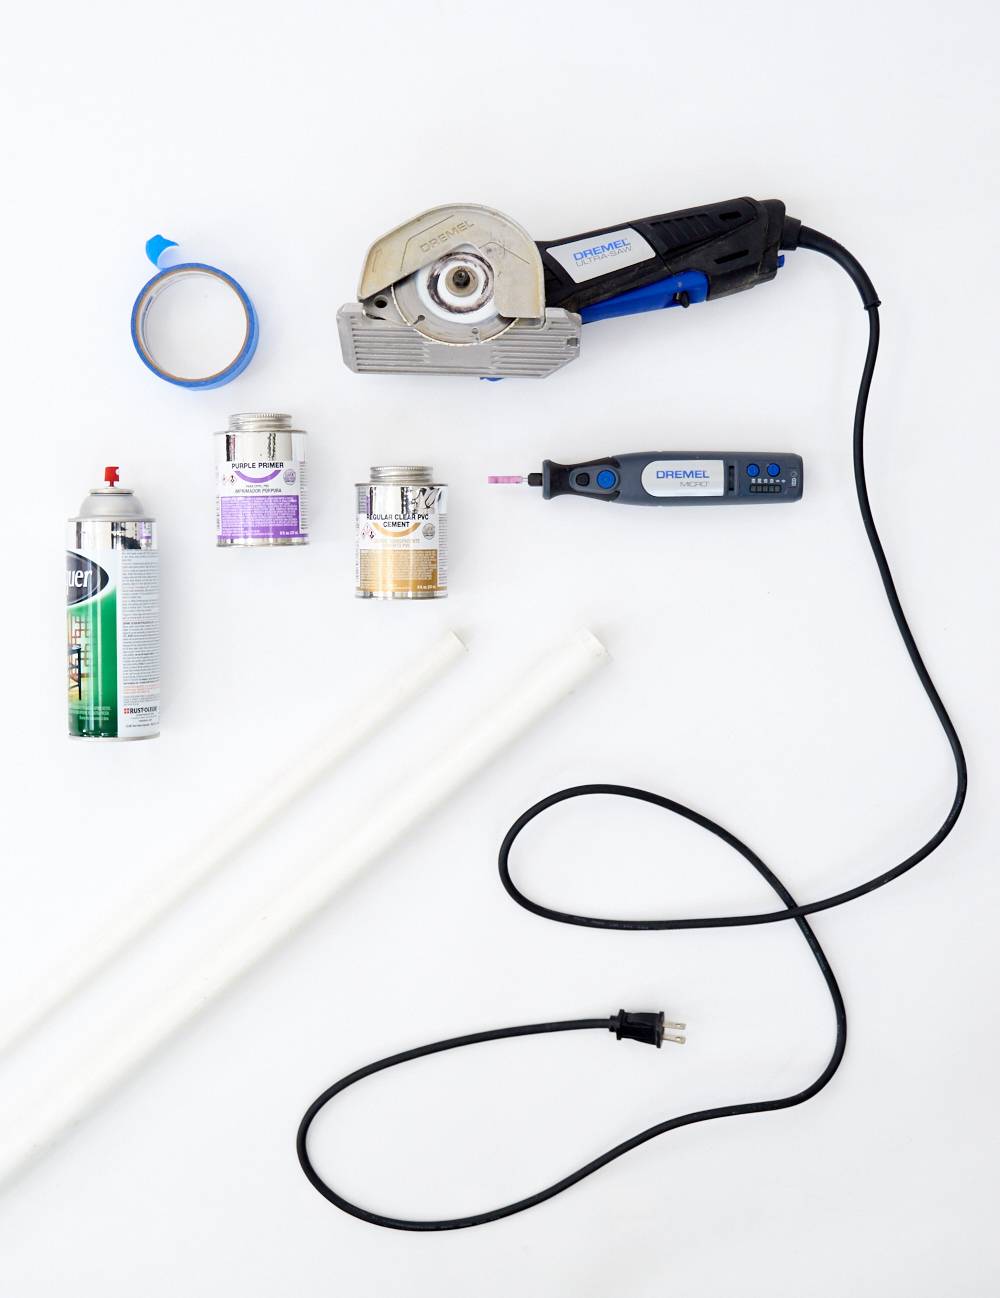
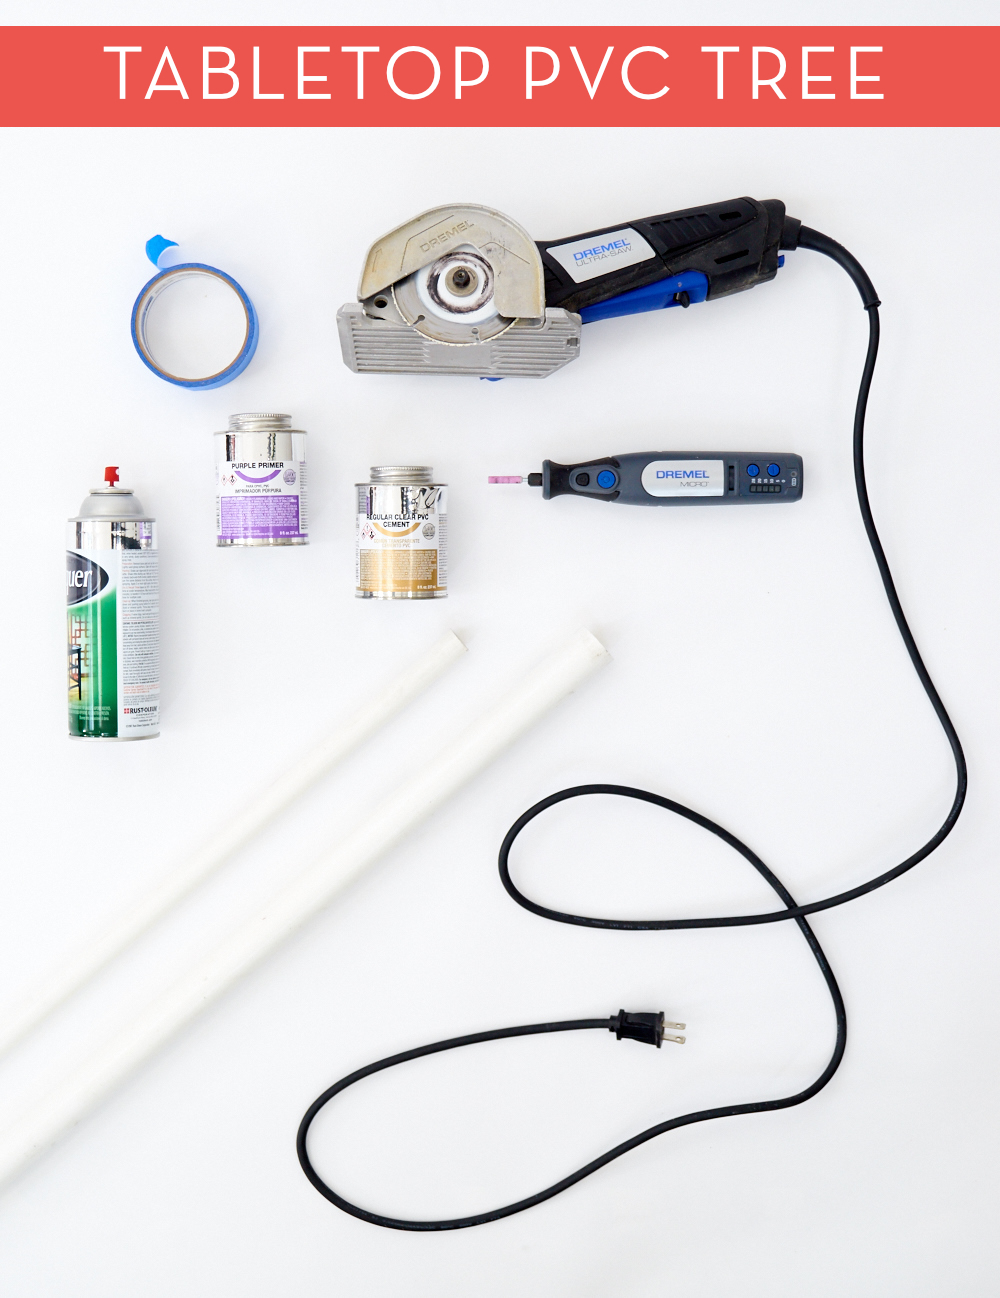
- PVC pipes in a variety of different diameters (ranging from 1″ – 4″)
- PVC primer and adhesive (you can use E6000 in lieu of the primer and paste, but the traditional PVC adhesive bonds quickly)
- Spray paint
- Painter’s tape
- Dremel Saw-Max
- Dremel Micro rotary tool
- (Optional, but super fun) Dremel 3D Idea Builder
Step
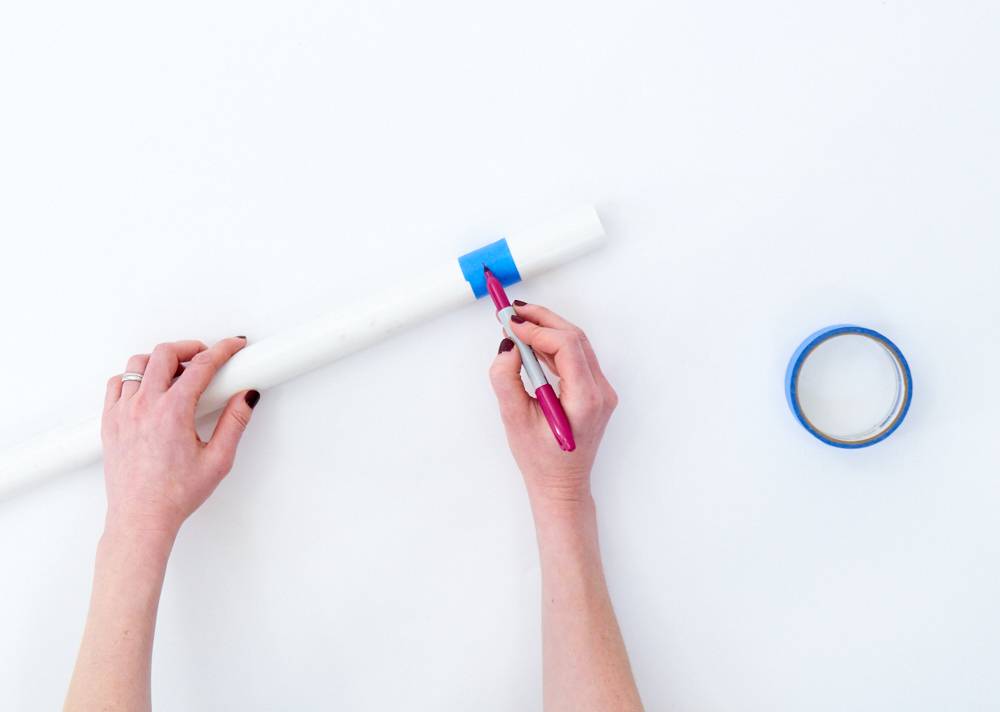
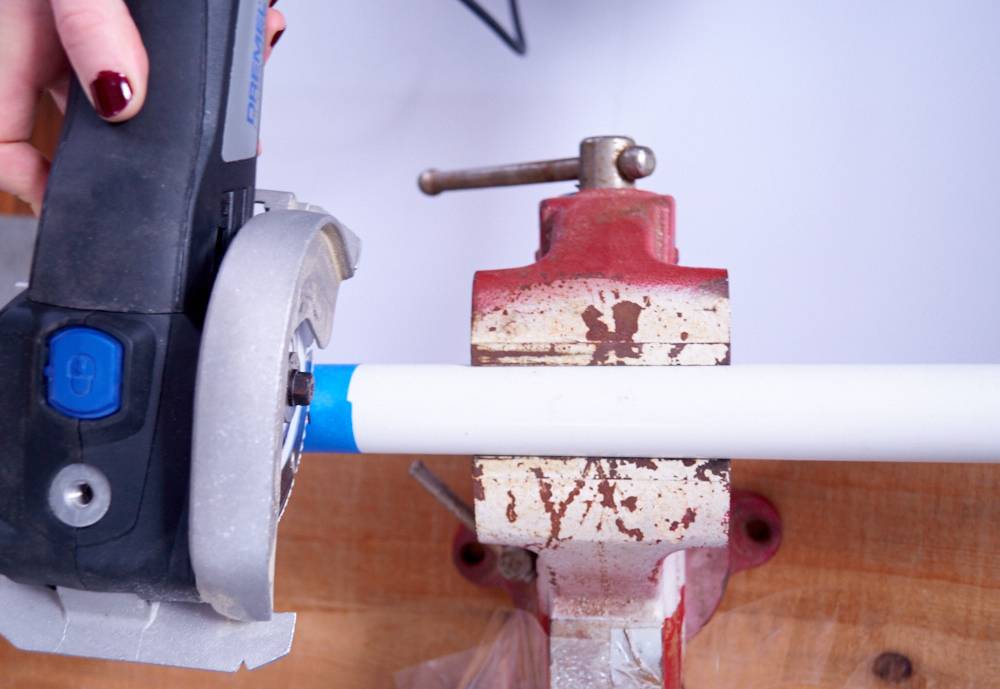
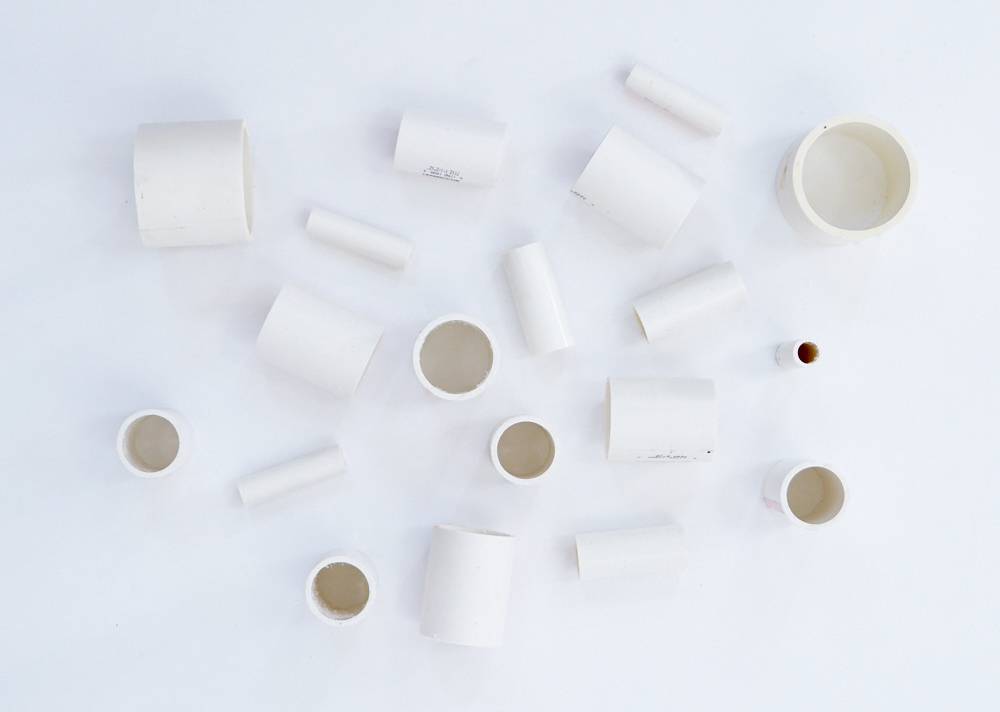
Begin by cutting your PVC pipes into uniform lengths (we chose 3″)
Using a Dremel Saw-Max, cut the piping. Note: For some diameters, the blade won’t cut all the way through the PVC, so you’ll have to rotate it as you cut. Make sure to use appropriate safety gear, as PVC can splinter or shatter in some cases (safety goggles and a dust mask are a must).
Step
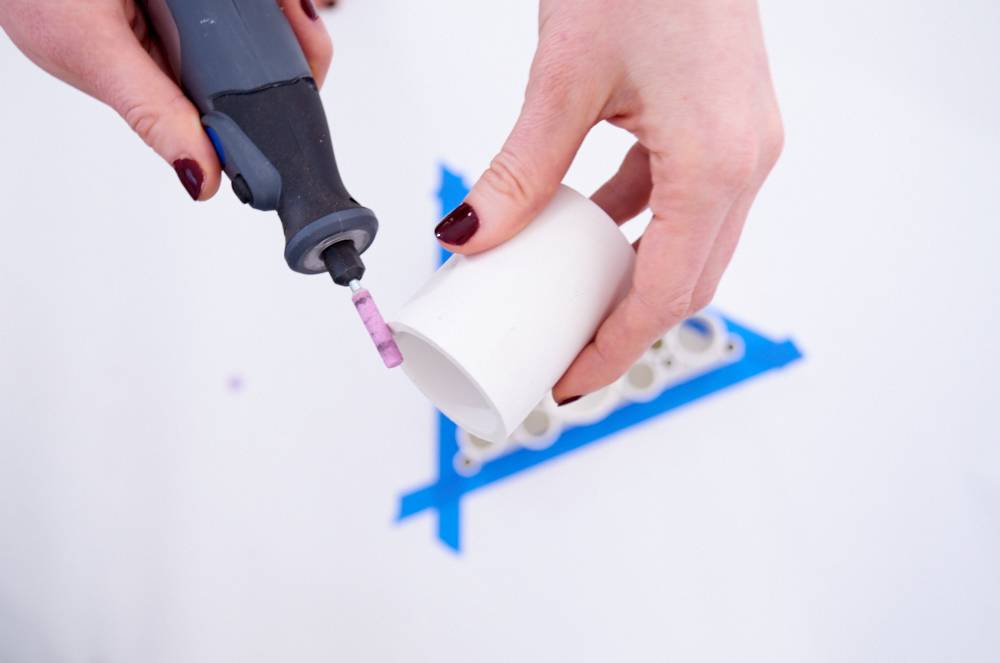
Once your PVC is cut, sand the edges smooth with a Dremel rotary tool.
Step
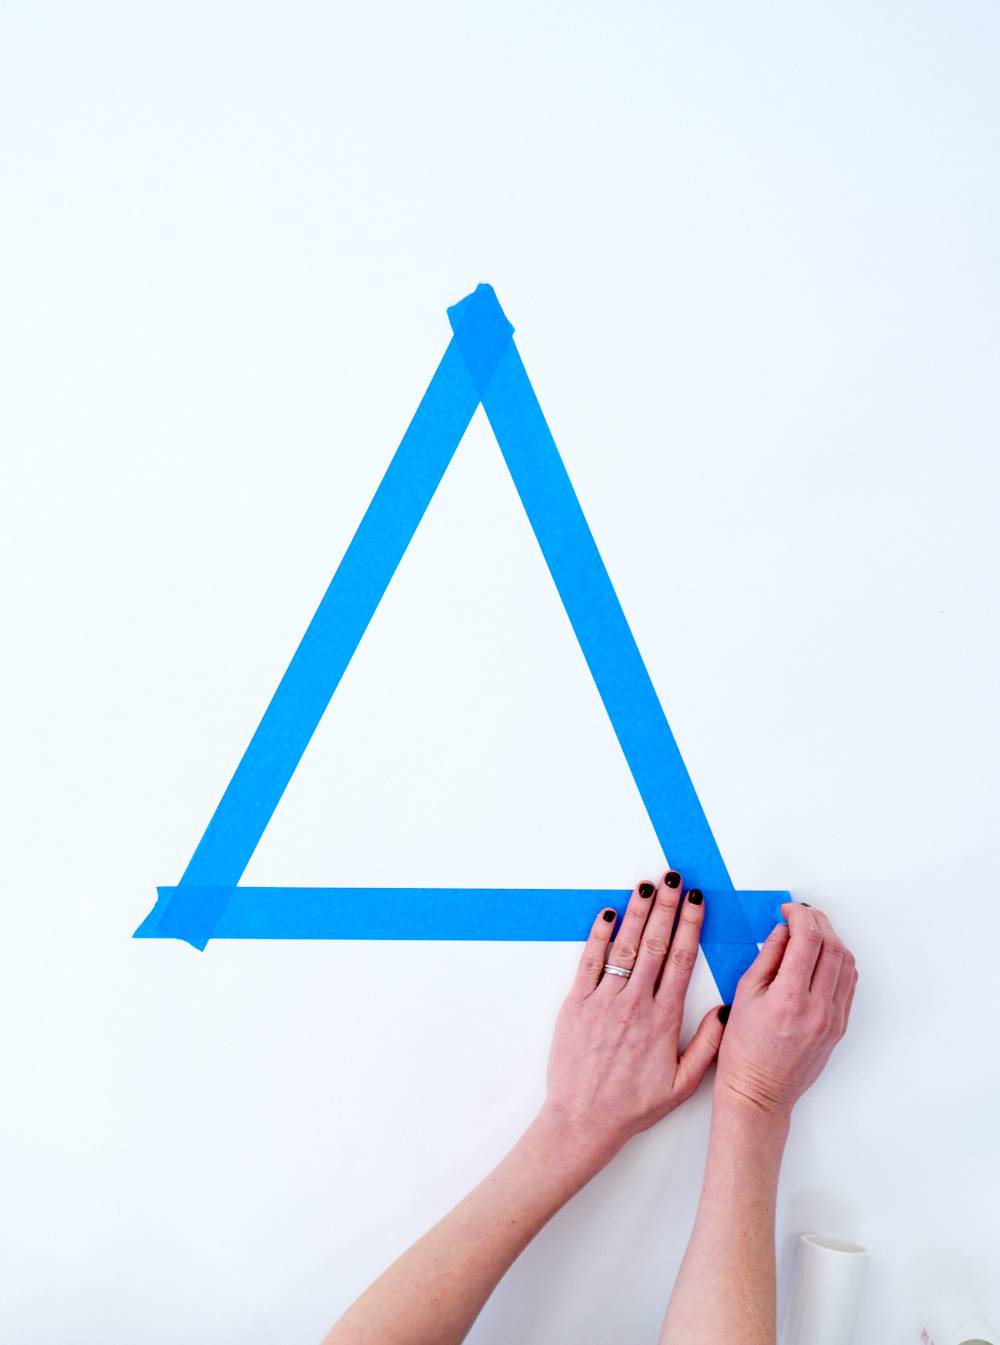
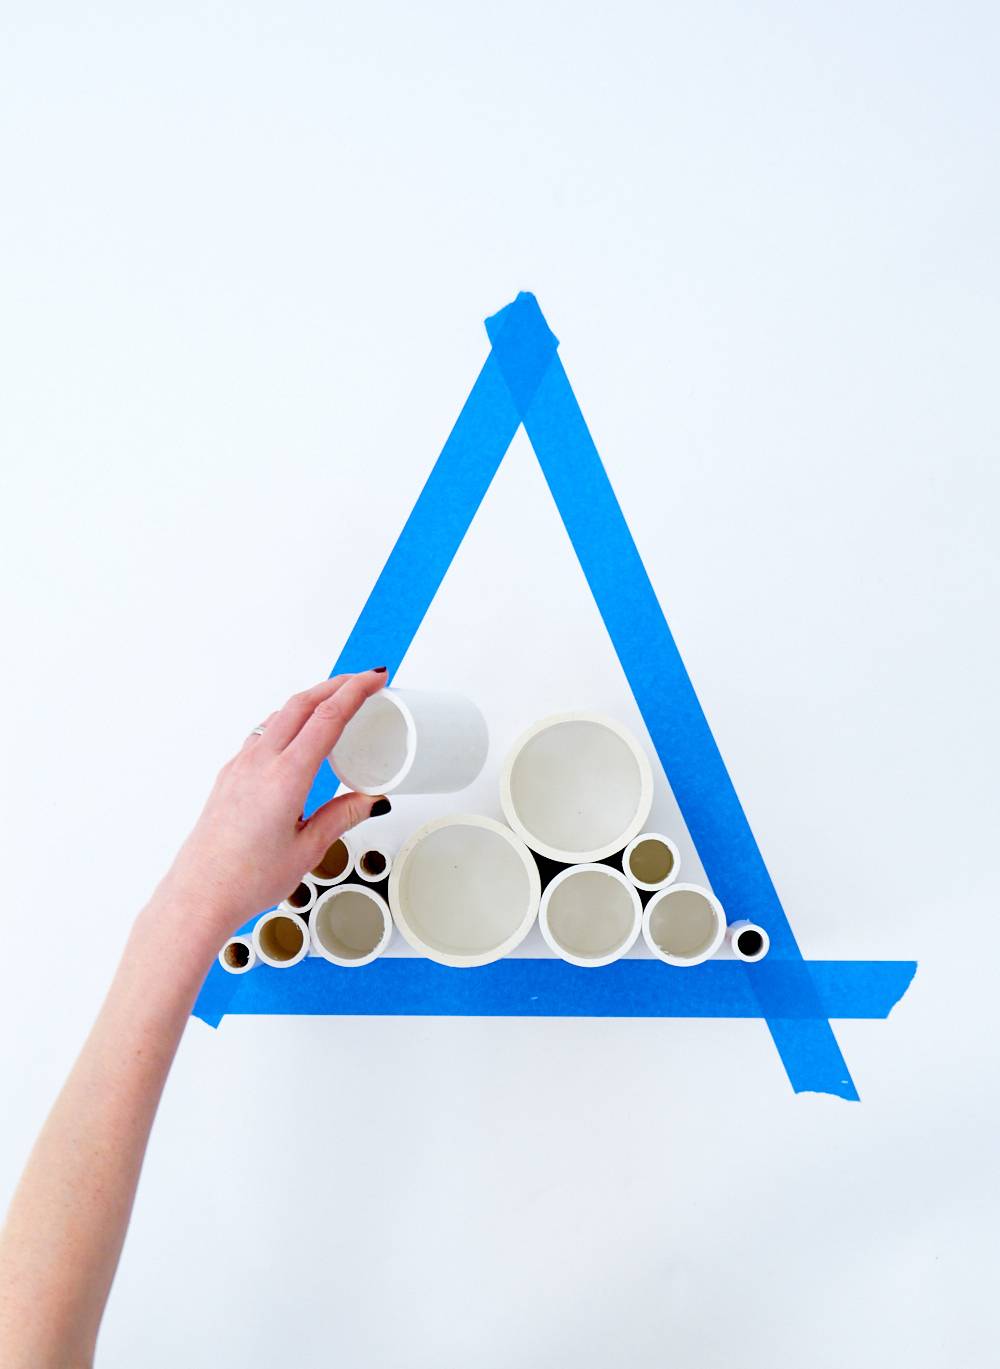
Using painter’s tape, create a tree shape template and place the PVC rounds inside the outline. We liked a semi-random arrangment, but you could also try something very uniform and orderly. Make it your own!
Step
Using your clear PVC cement, begin gluing the circles together. We started off using purple primer, which we discovered was overkill. For a non-plumbing application like this, the primer isn’t really necessary.
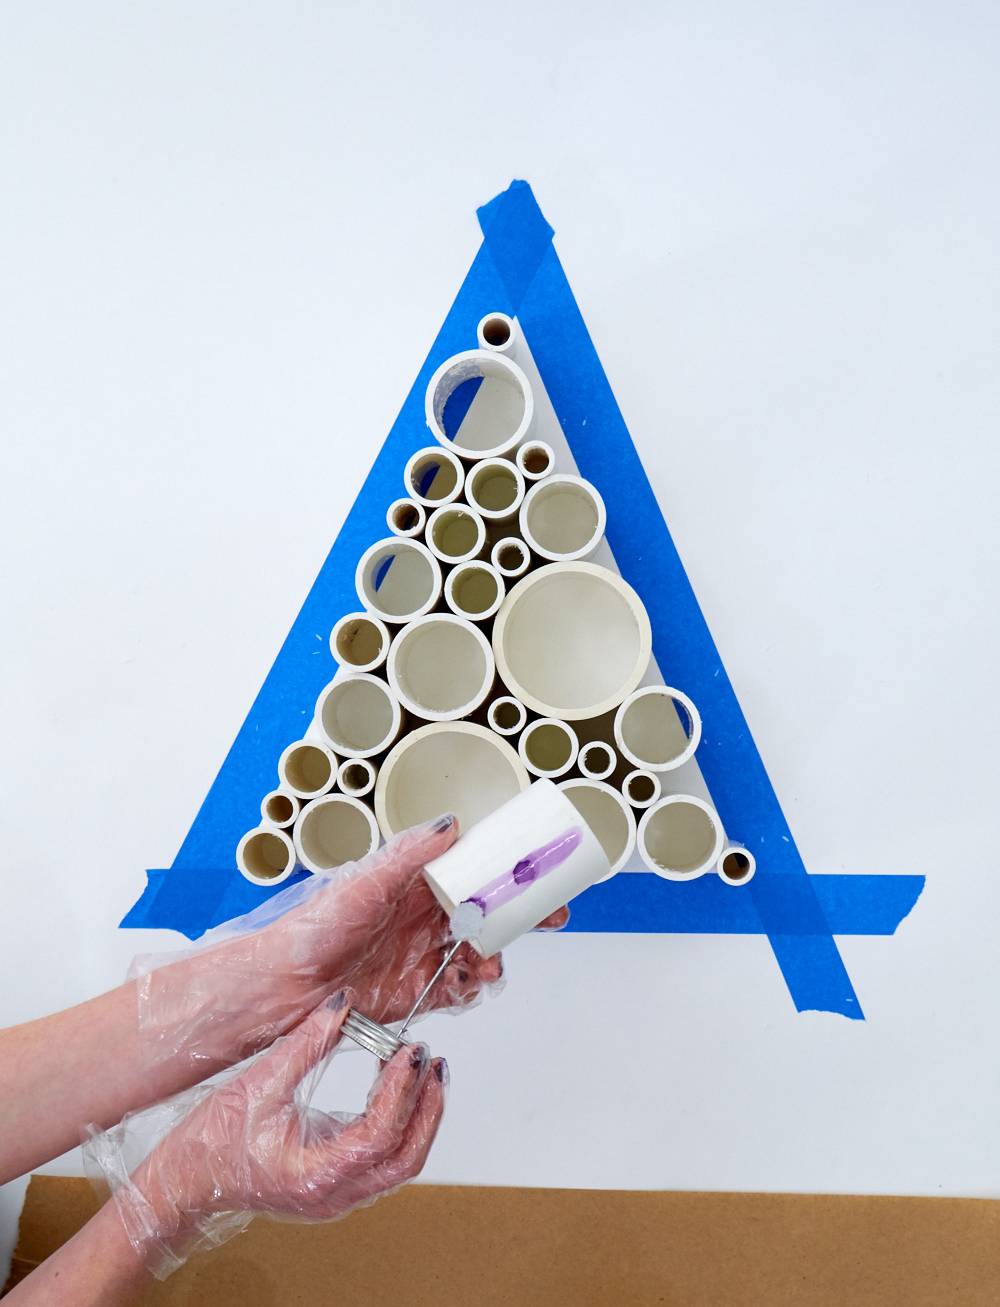
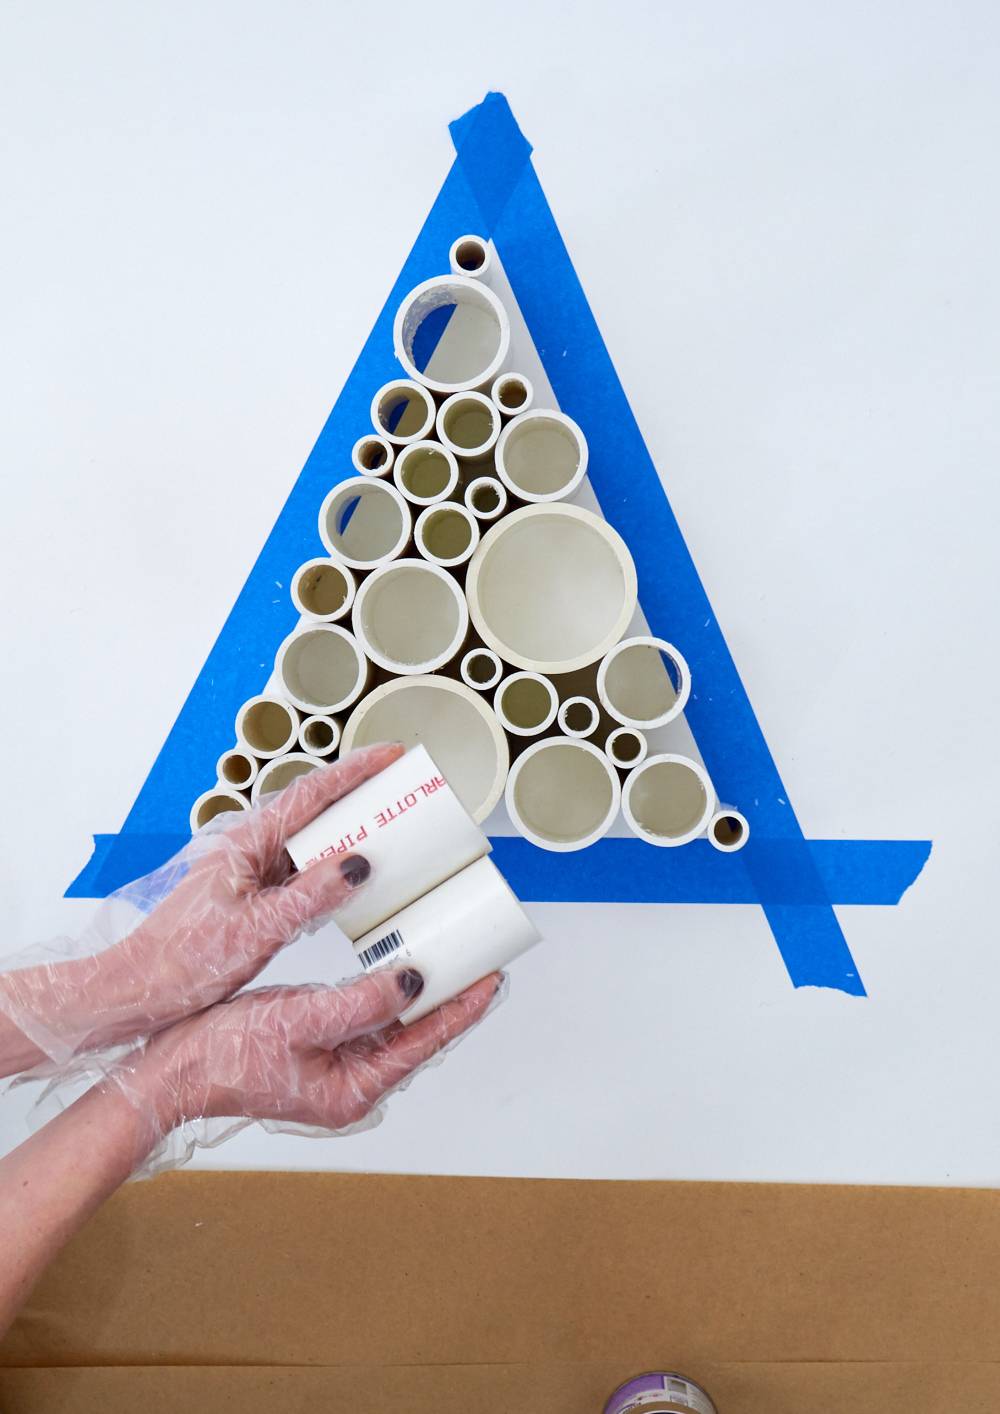
Once assembled, let your tree dry for an hour.
Step
Spray-paint your tree. We used a white lacquer paint to cover the lettering and imperfections on the pipe sections.
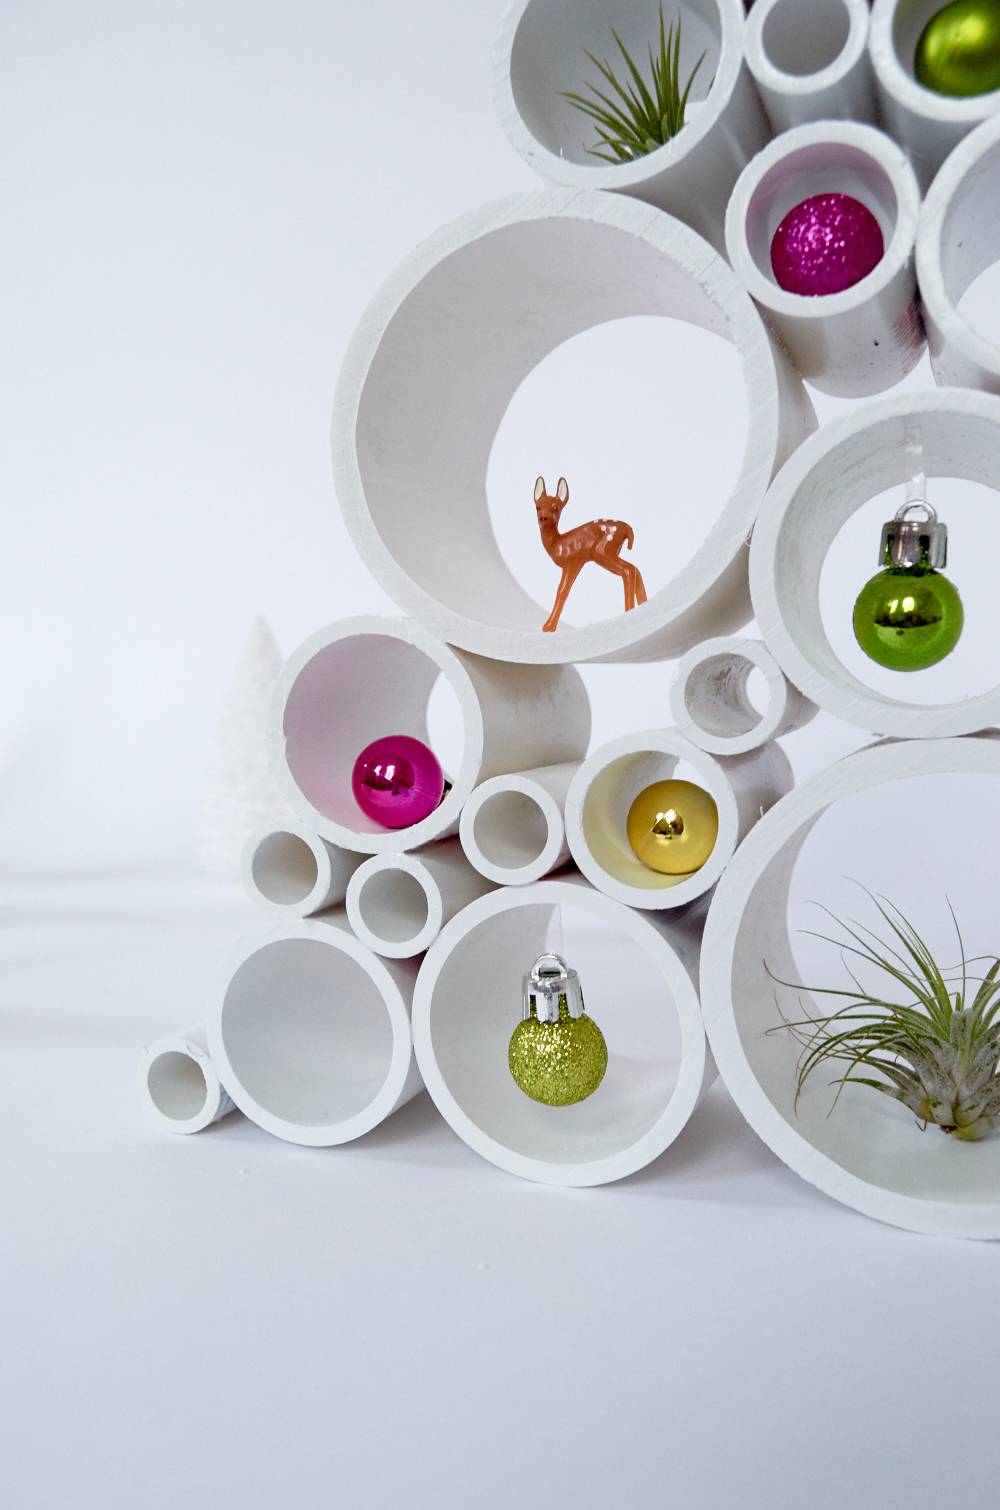

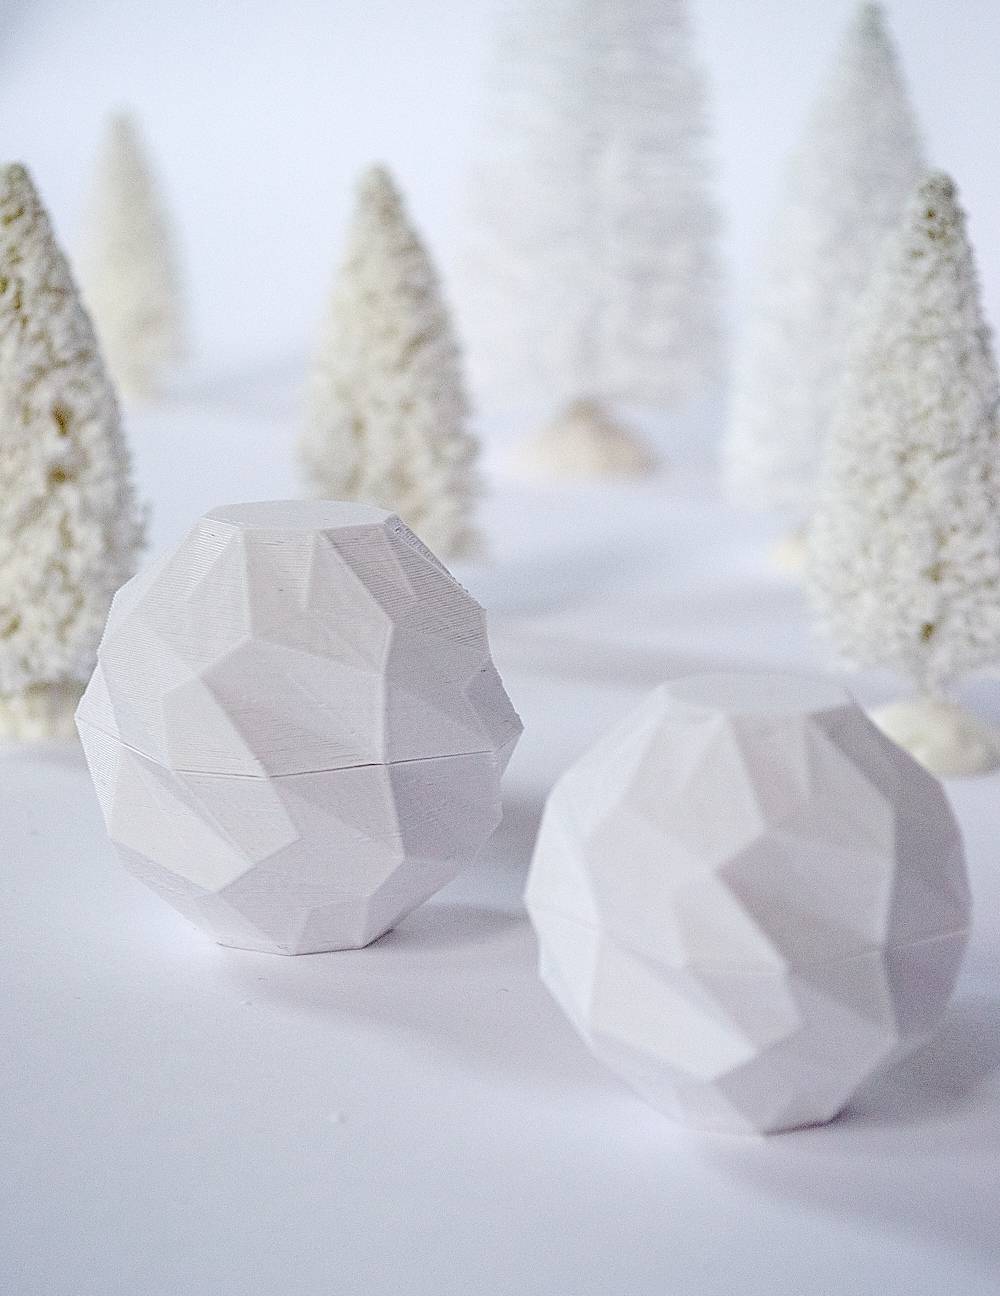
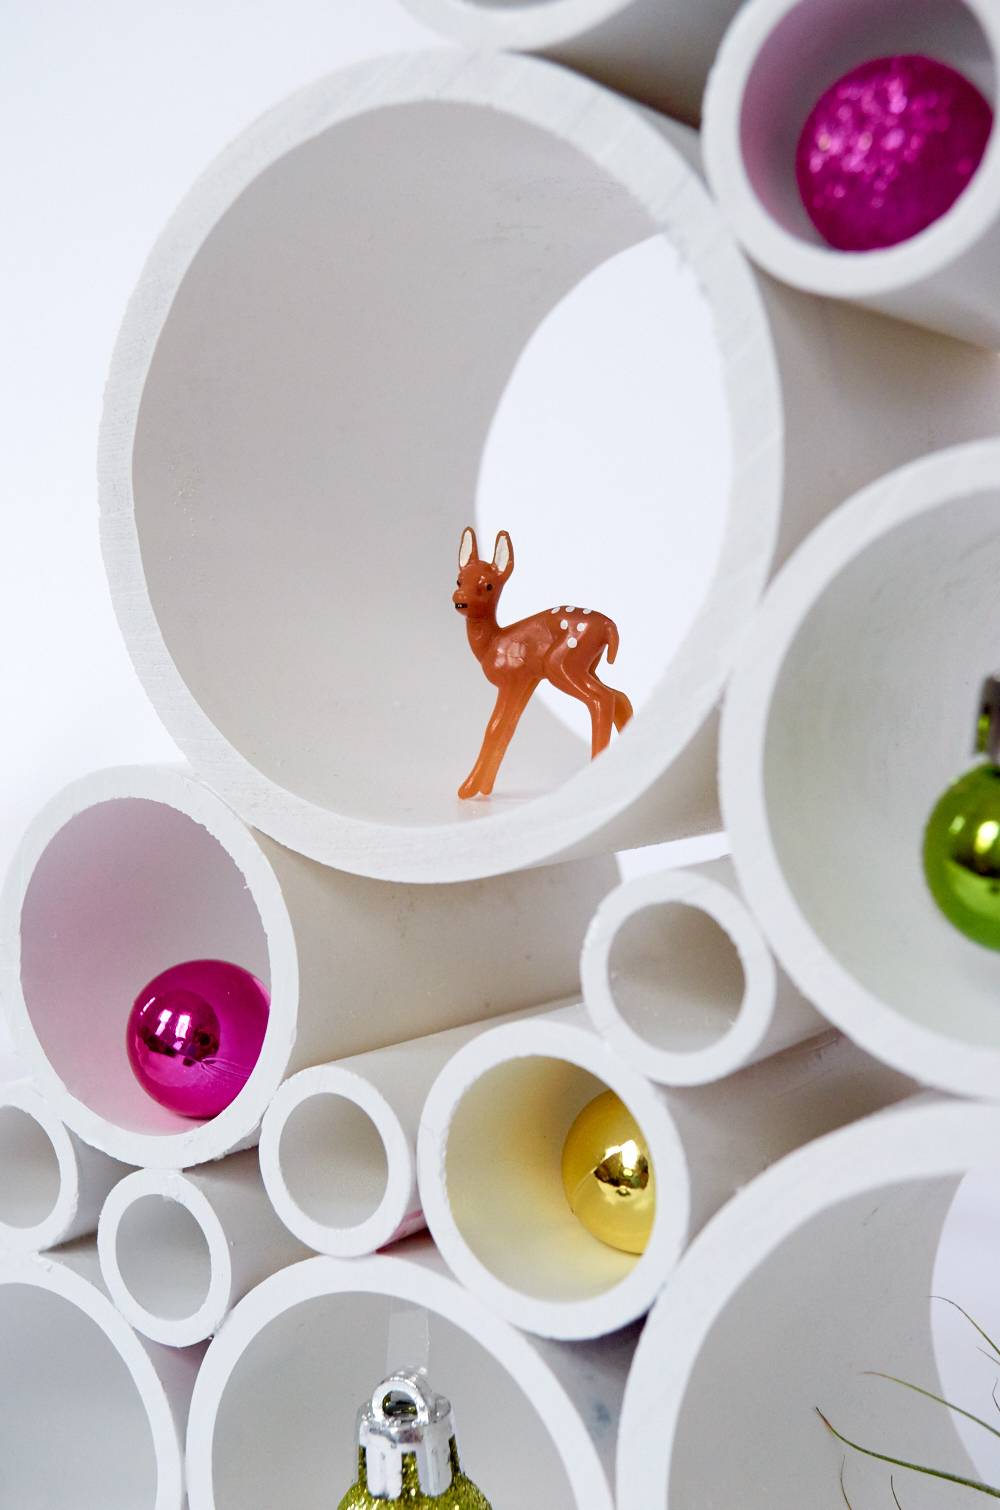
Now, fill your new tabletop tree’s circles up with goodies! Dremel was cool enough to let us try out their new 3D printer, the Idea Builder. It was super easy to use, and we printed out those little geometric snow balls you see in the photo (each one took about 45 minutes to print). 3D printing is awesome, and we can’t wait to incorporate it into some more projects.


This post was sponsored by Dremel. All words, opinions, and photos are mine alone. Thank you for supporting the brands that support Curbly.
