We are big on lighting in our home. It’s a necessity, sure, but that doesn’t mean it has to be dull. We’re always keen on creating our own lighting when we get the chance, and it’s a great way to add personality. Many might think dealing with electricity and wiring is too complicated or even expensive, but this DIY pendant light project is so simple to make and minimal in design, anyone can do it. Did I mention this light only costs about $25?
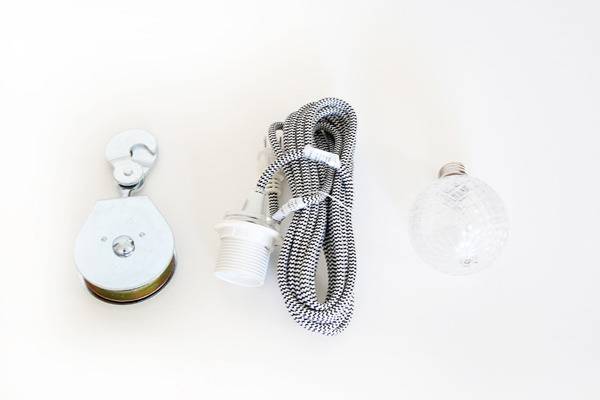
Materials
- Lamp cord set
- Crystal bulb
- Pulley
- Leather
- Scissors
- Hot glue gun
Instructions
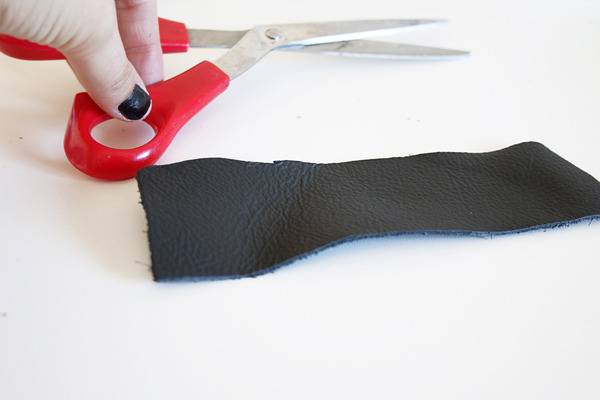
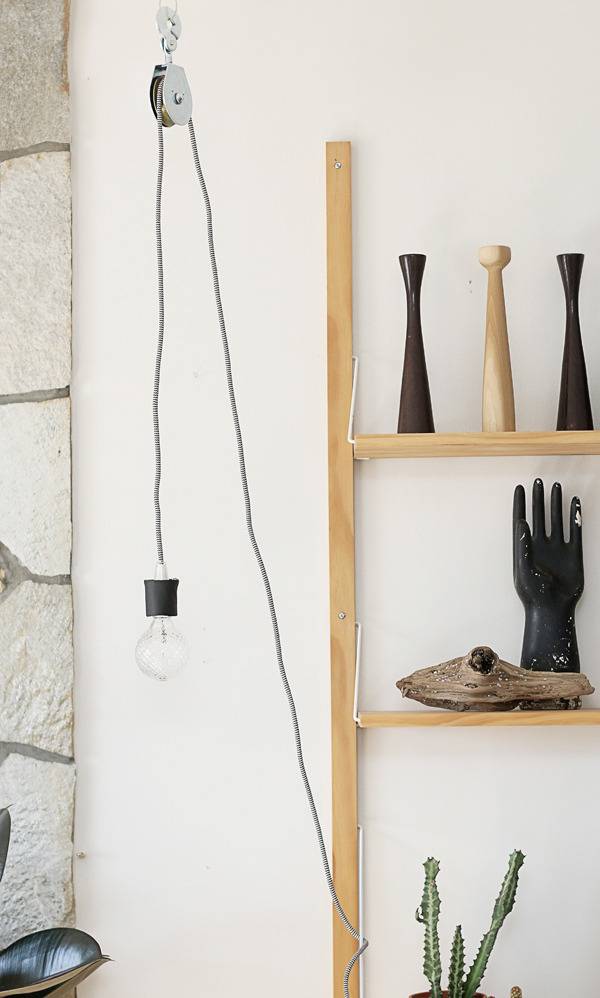
1. The cord was intended for a shade, so you will have the icky socket showing. Simply cut a strip of leather that will fit around the circumference of the socket.
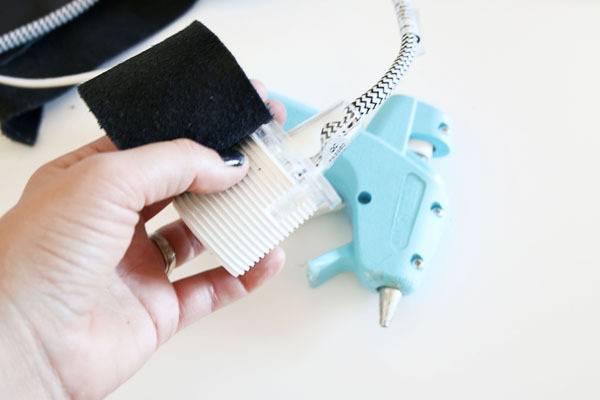
2. Hot glue your leather to the socket area a little bit at a time. You don’t need to use a ton of glue, just enough so the the leather and plastic stick securely.
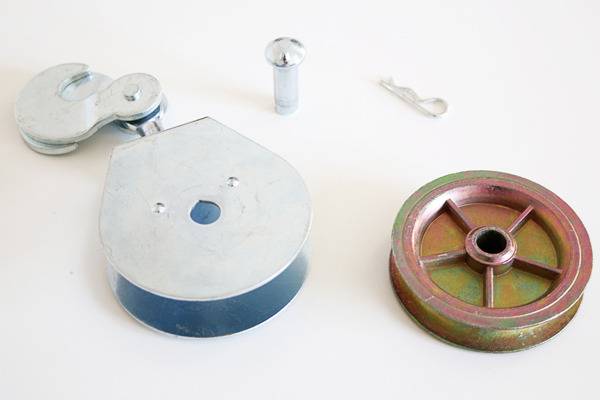
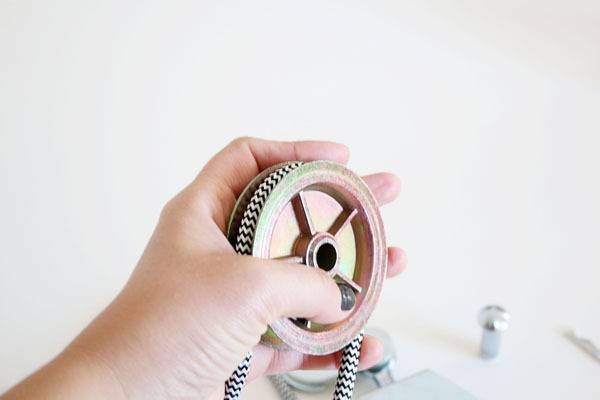
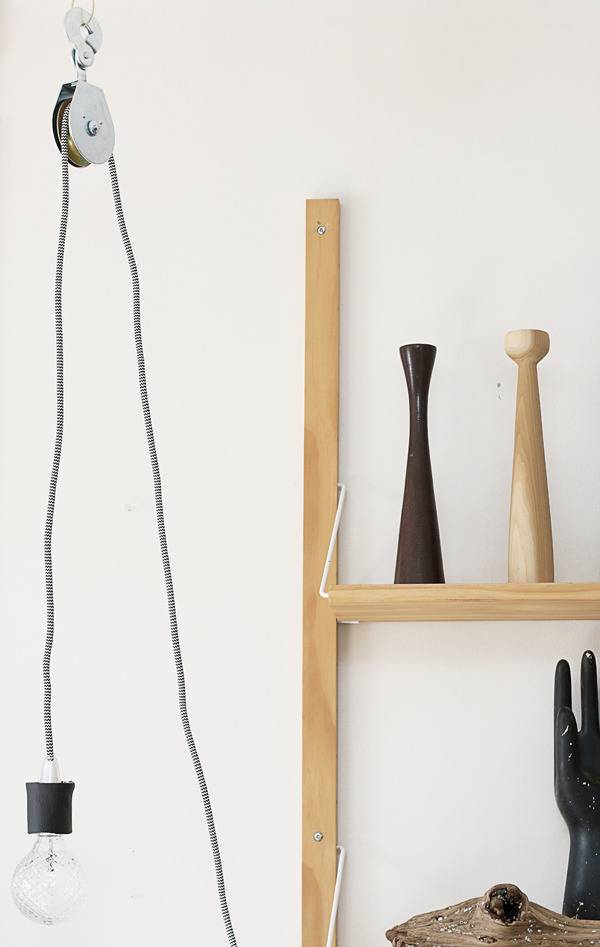
3. Remove the pin from the pulley and release the wheel. Place the cord in the groove of the wheel.
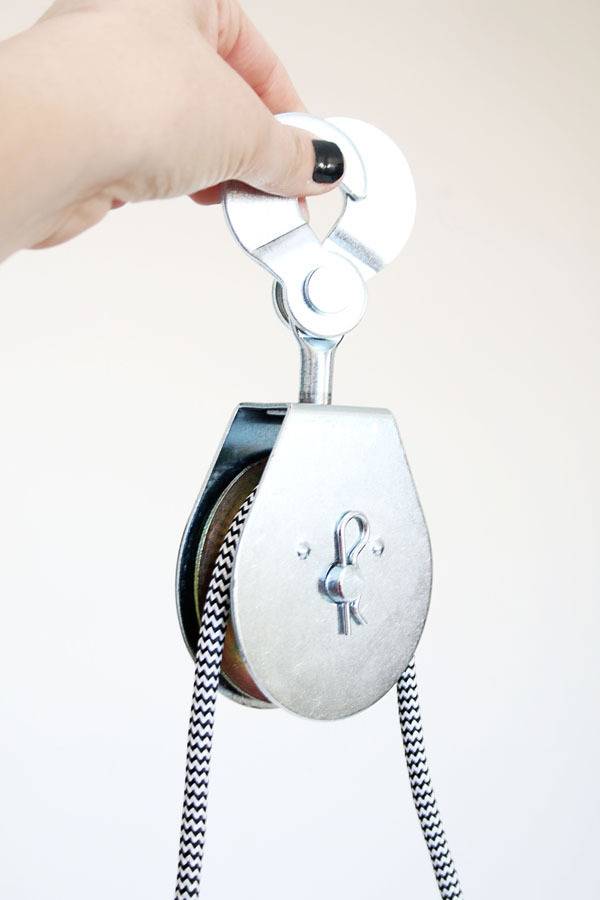
4. Place the pin back onto the pulley.
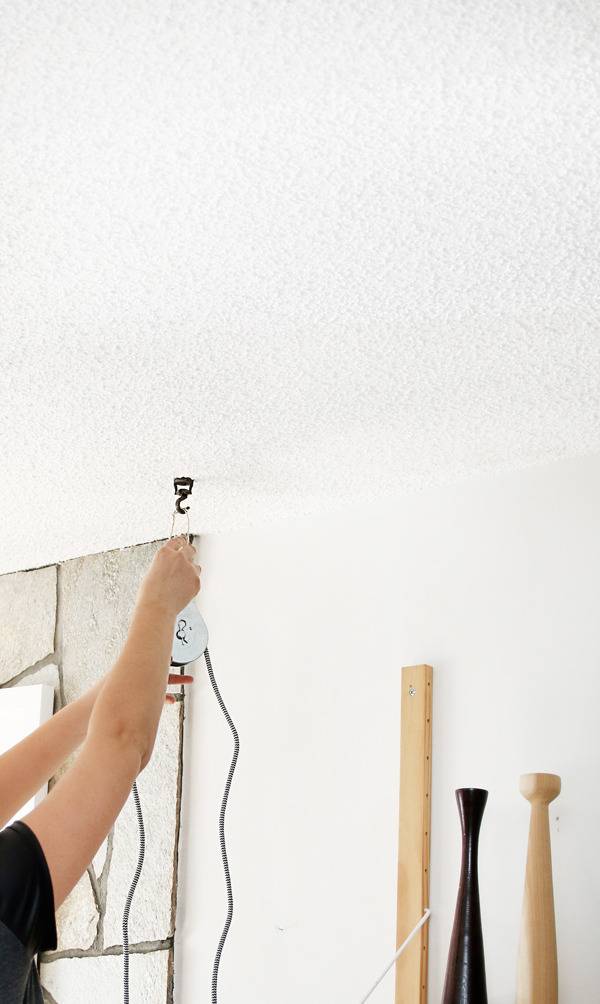
5. To hang, simply hook it to an eye hook on your ceiling. Our eye hook was a bit too small, so we attached the pulley to a wire and then the wire to our eye hook.
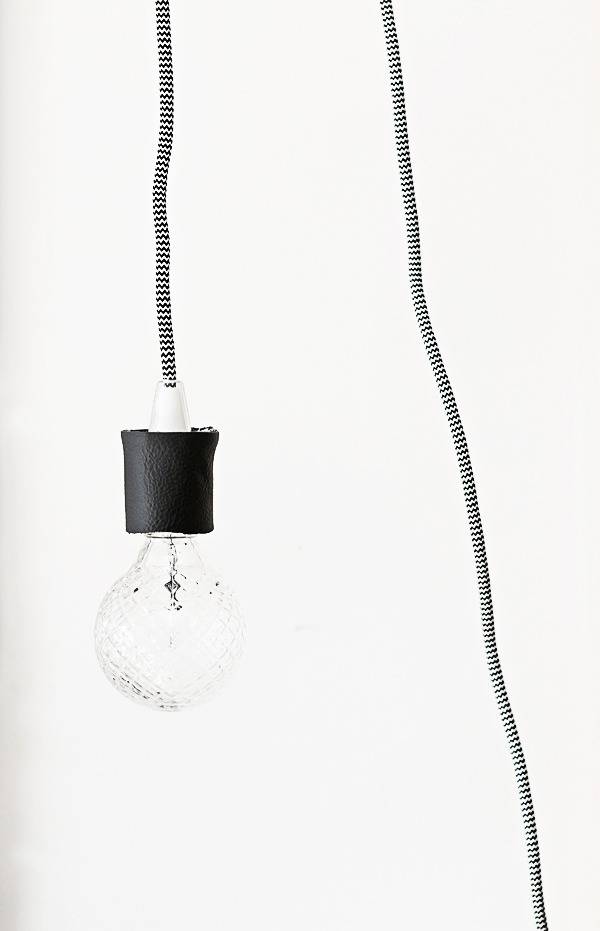
6. Place your bulb into the socket, adjust as necessary and enjoy!
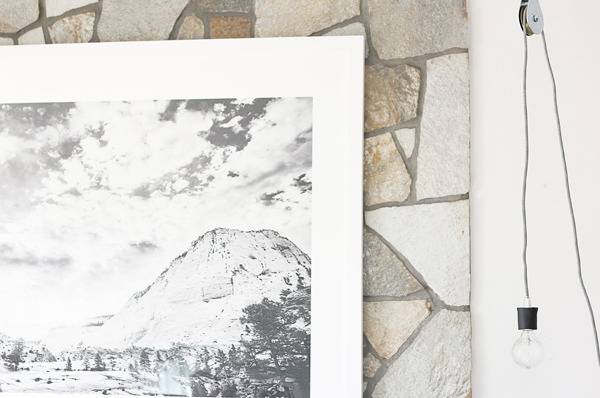
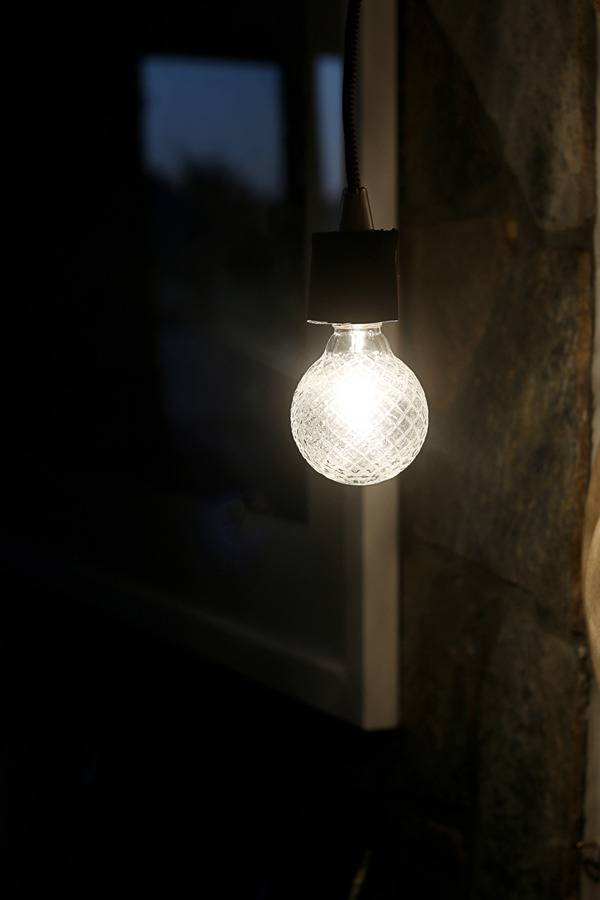
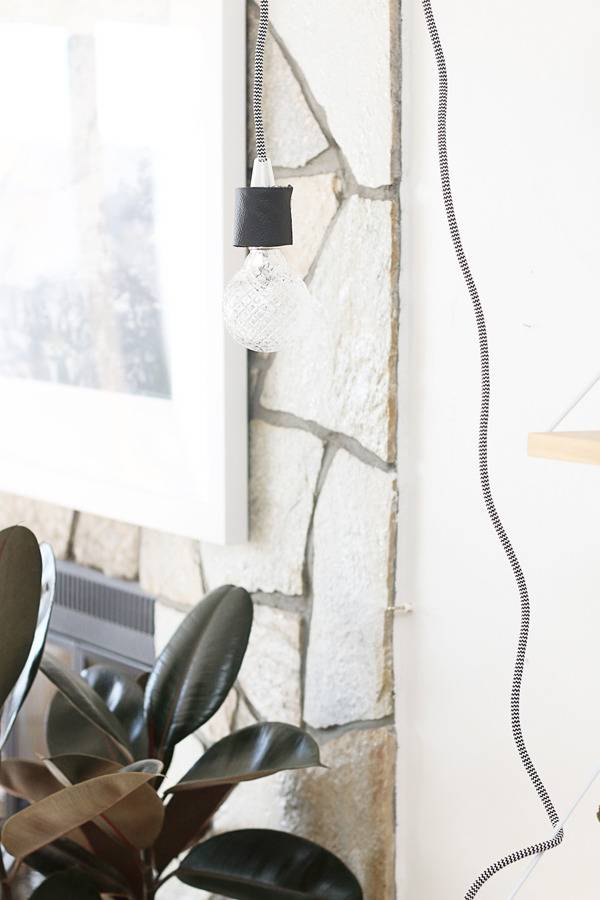
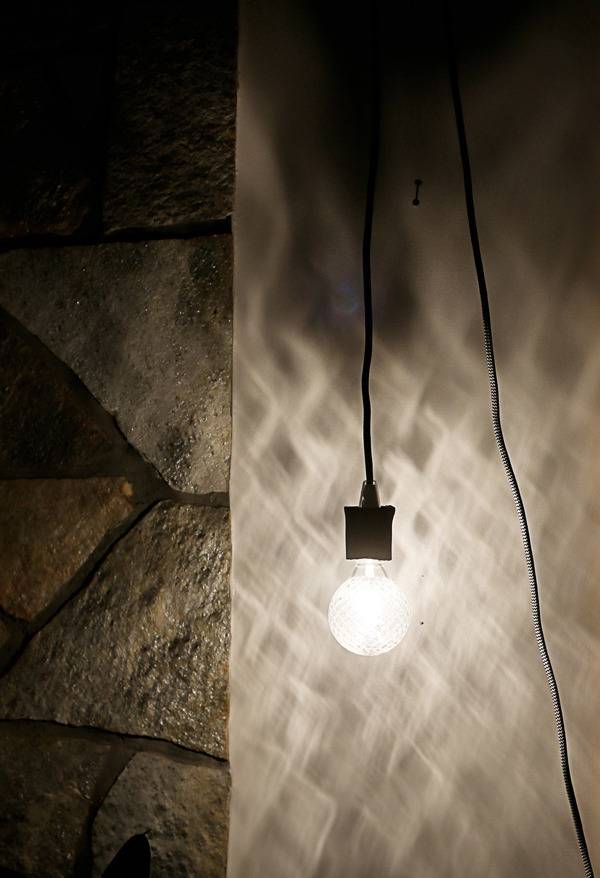
The minimal design allows the light to fit into the rest of the room seamlessly. It isn’t too loud, but it still has enough personality to catch your eye! The pulley allows me to adjust the height of my light, so if I’m working at my desk, it’s easy to lower. If I want to brighten up more space, I can easily pull the light higher up and so on. The crystal bulb also gives the overall light a unique look – especially at night when the mesmerizing shadow hits the walls!

Love this one! Beautiful job, Lidy.
Yay! Thanks Chris, I’m so happy you like it 🙂
XOXO
Where did you get the pulley from?
Hi Carol,
I got the pulley from Lowes, but you can find them at most hardware stores!
XO, Lidy