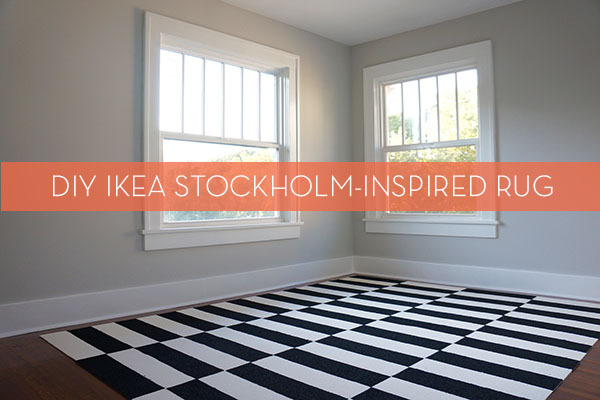
I have always really loved the Ikea Stockholm rug. I know, so does everyone, but there is a reason why. It is a classic and it can fit in any type of room. My guest bedroom needed the 8×10 size but I wanted the 5X7 price or cheaper. I randomly saw an advertisement for my local carpet warehouse saying they had carpet tile for $1.25 a sq/ft. What? I decided to check it out the next day and found materials to make this knock-off Ikea Stockholm rug.
Did you know most local carpet warehouses carry commercial grade-B carpet tiles? Well, I didn’t…but I do now. Who knew what you could find if you looked past the massive rolls and rolls of discount carpet. While I dream of ordering a carpet tile rug from Flor, their carpet tile rugs can get expensive fast. In comparison, the commercial grade tiles were 24×24 inch rubber-backed tiles for $3.50 a tile. This is pennies compared to $14+ of the higher-end version. These commercial grade tiles were thicker and softer to walk on than a flat weave rug. The employees showed me a rug in their break room that was well trafficked and I was sold on the durability. That day I realized I could make my Stockholm dreams come true for around $100. Here is what I needed:
Materials:
- For an 8 x 10 rug I needed twenty 24 x 24in. tiles. I bought a few extra of each color just in case.
- A box cutting knife with extra blades.
- A straight edge. I grabbed a 6 x 24in. wood-look tile from Lowes. It was sturdy, straight and was only $2. Since the tile was 6 inches wide, I could make three cuts (4 pieces) out of one tile without measuring. Less work = awesome.
- A couple of old boxes for cutting surface protection.
- Gorilla Tape (or you could use Duck tape)
Step-by-Step:
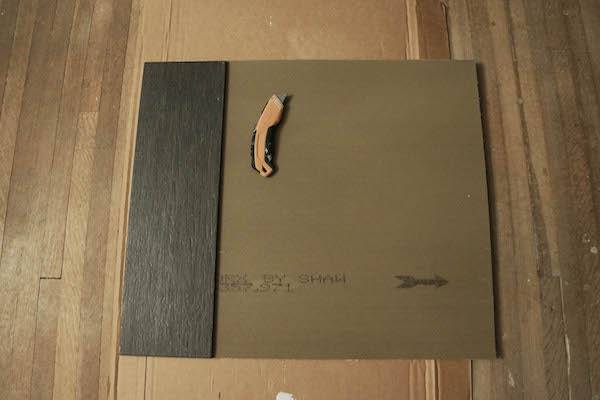
1. Place your tiles face down on a solid surface. Use a broken-down box (or two) to protect the surface.
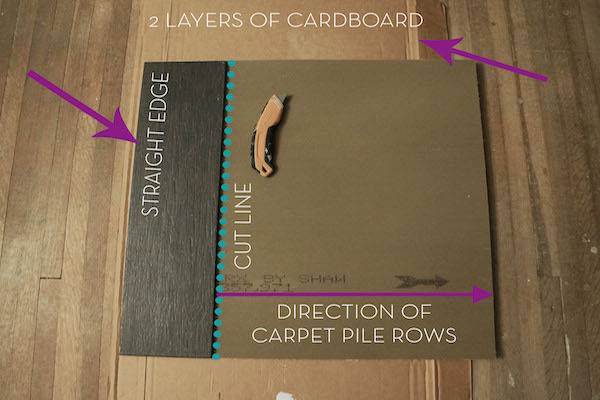
2. The “pile” of a carpet tile is manufactured in little rows. You want to make sure you cut perpendicular to the rows of pile. This is an important step because if you cut the carpet tile parallel to the rows, your carpet pile will pull apart. This will result in bare spots on the edges of your cut tile. If you cut perpendicular to the rows of carpet pile, the cut tile will stay together without pulls or bare spots.
3. Place your straight edge on the back of the carpet tile, perpendicular to the rows of carpet pile, and hold it down firmly. I did this on the floor so I used my knee, my hand, and my body weight.
4. Using the guide to make a straight cut, start at the top. Score the rubber backing with one full swipe. Don’t stop in the middle.
5. Without moving the straight-edge guide, cut the tile by starting on the edge and going from top to bottom through the score. Don’t stop in the middle of the cut. If your blade is sharp this will be the only cut you do. If you need to, fold the tile at the cut and gently cut the areas of rubber that are still attached. If this happens you might need some scissors to trim up the edge of the carpet. Again, this will be avoided if the blade is sharp. Change your blade every 5-6 cuts. I would encourage you to buy a extra tile for the purpose of making practice cuts. This allows you to give yourself grace, know how long your blade stays sharp, and the opportunity to learn from your mistakes. It took me about 3 cuts to get in my groove, which was only one tile.
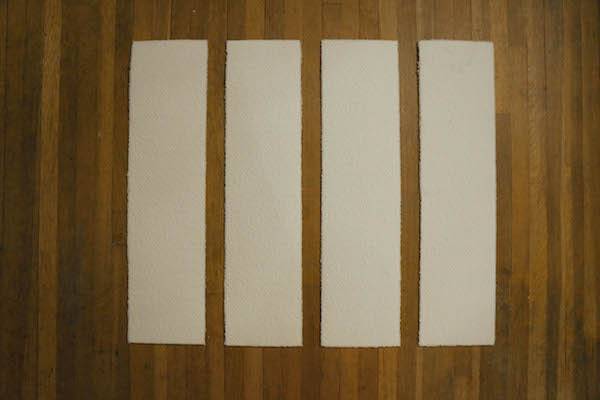
6. When you are all done you will have 80 (or more with extras) of 6 x 24in. carpet tiles. The cutting process took me about 2.5 hours including some much needed back breaks.
7. To put the rug together, first move any furniture out of the way. It is better to build the rug in place rather than to try to move it.
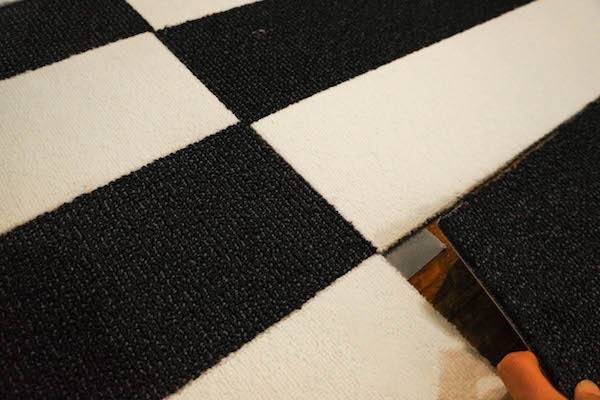
8. Attach four carpet tiles where they meet at the corners with a piece of Gorilla Tape. I think I went overboard with the Gorilla tape. With every connection you make, the rubber-backed rug gets stronger and immovable. Duck Tape should work just fine. You could also order these Dots from Flor.
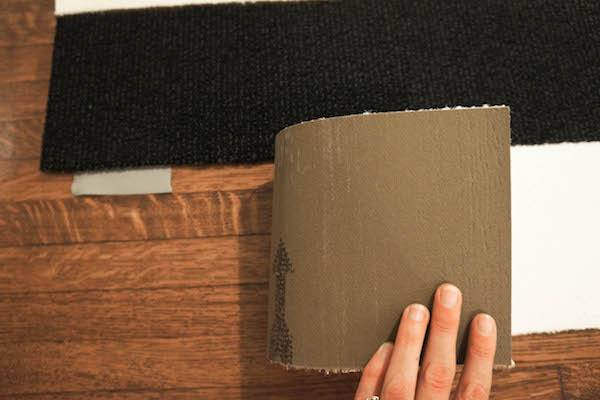
9. To strengthen the edges of the rug, I connected the end pieces together at the edge.
Here is how it turned out:
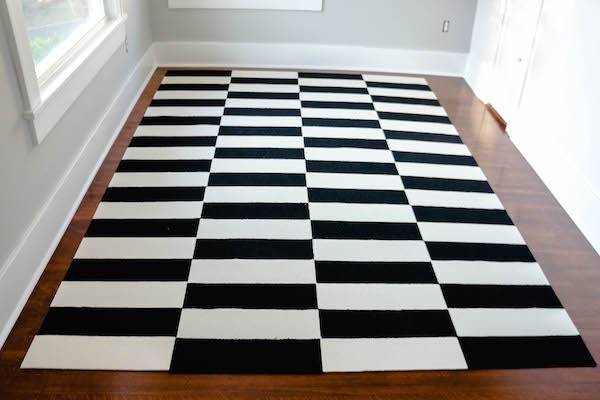
I love it for so many reasons. The biggest reason was the price. The white tile was actually on sale. I paid $80.00 for the tiles (including extras), and $25.00 for supplies. This 8 x 10 rug was a total of $105! The inspiration version is $299.00. I also saved a little extra money because I didn’t need a rug pad.
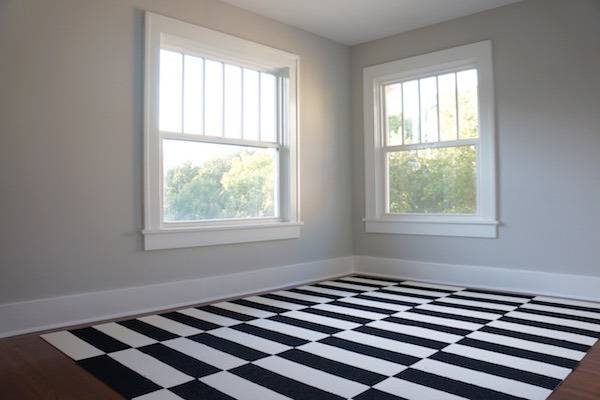
I am always hesitant to DIY rugs because of the amount of effort and the lack of durability. Cutting is the longest part of this rug DIY but its not tedious or too time consuming. After almost a year of use, I can truly say this rug is durable. It is also interchangeable. If a tile is dirty I can take it out and clean it. I also kept the extras so I could switch out a tile if it gets ruined. I can even switch out a highly trafficked tile with one hidden underneath the furniture. Finally, this rug is not plush but it is more soft than it’s flat weave store-bought version.
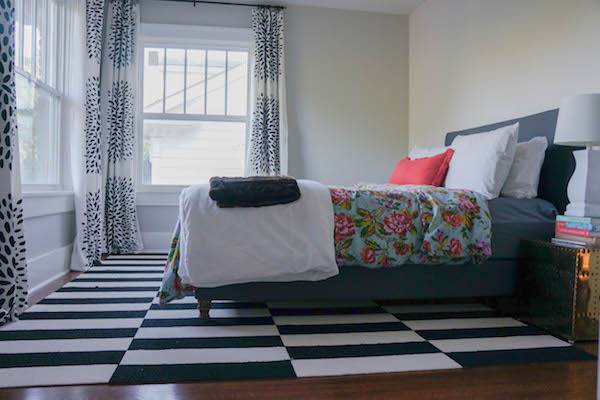
Not up for cutting tile? Using the same tiles, I could have easily…in less than an hour…installed a black and white rug striped rug like this one without one cut. If they don’t have black and white, other options are tone-on-tone stripes or borders. Go check and see if your local carpet outlet or warehouse has some tiles in stock. On another note, If you are reading this post I am guessing you are considering DIYing a rug? If so, check out this post and this post from Curbly.
This is amazing!!!! Looks great in the room!!!
Where did you purchase the carpet tiles. I’ve checked at a number of carpet stores and they do not carry solid colored tiles. Thanks Susan
This is cool because you could use any colors you want, so the possibilities are endless. If you’re feeling especially creative you could even make some sort of the design in the rug, but you’d probably need to use square tiles to do that.
Thanks Jennifer.
This rug looks absolutely unique & stylish! Thanks for sharing this awesome tutorial with us!
Thanks for sharing. I’ve connected really long runners with adhesive carpet tape, but I like your method and might give it a try for my living room.
Love the RUG!! Will probably try it. But Those CURTAINS!!!! They are amazing
@raymondsmith Thank you!
Hi, this is a really clever idea! I have the ikea stockholm rug. I love your curtains – what fabric is that and where did you purchase them? Thanks!