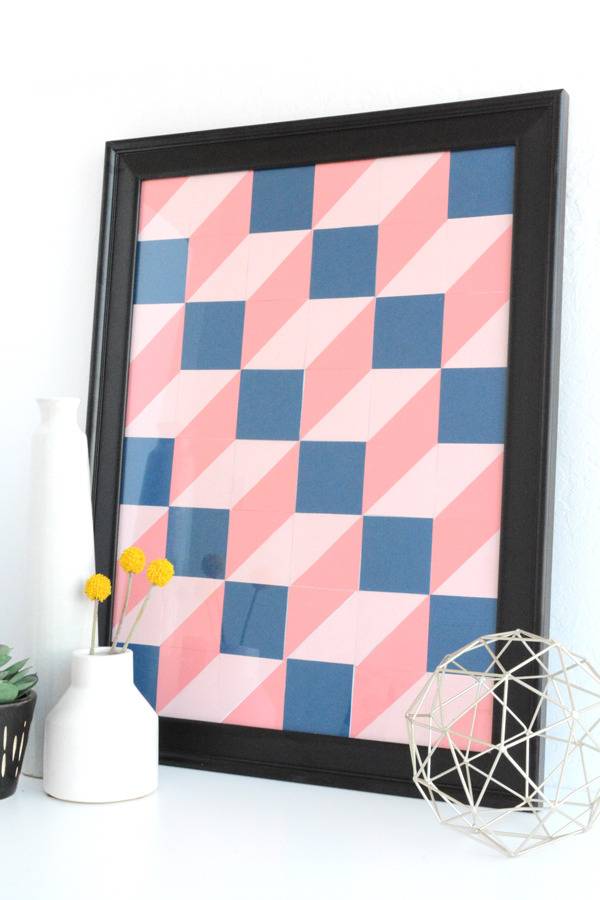
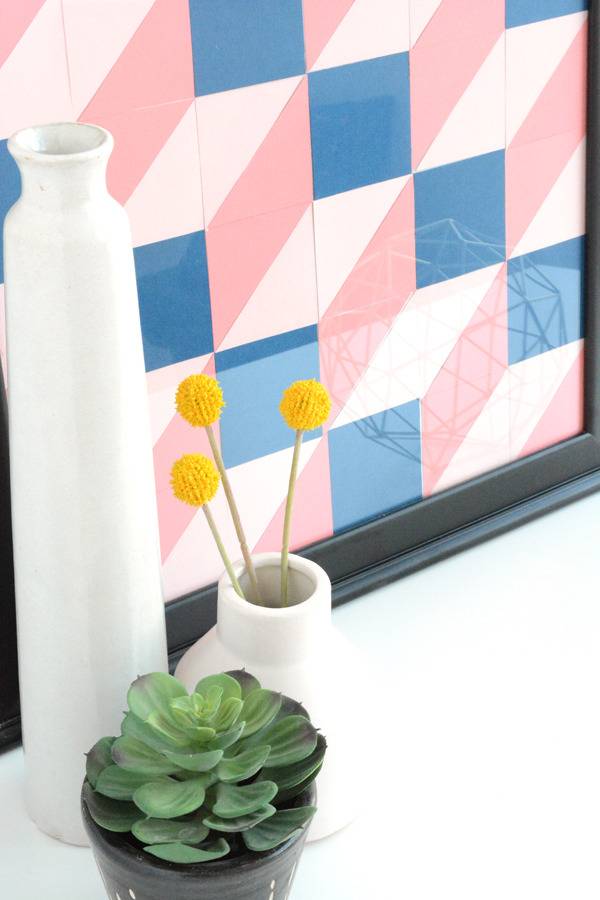
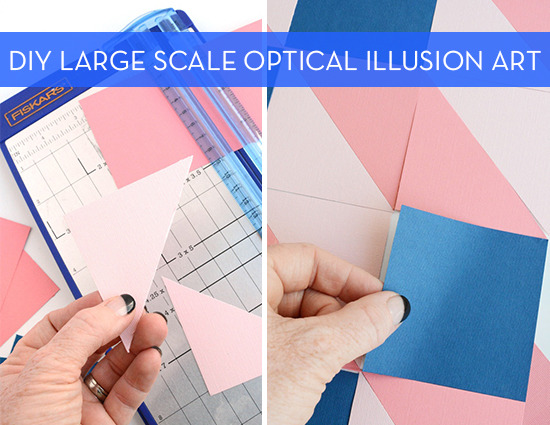
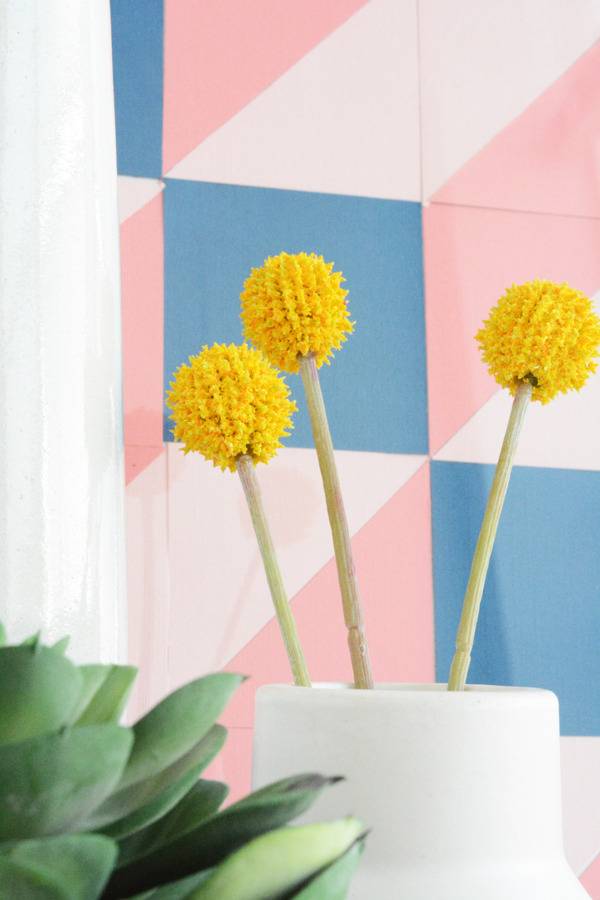
I love adding large-scale statement pieces to my home, especially when it comes to art. It instantly upgrades the space and pulls together a room effortlessly. So, when I spotted this gorgeous rug at Anthropologie, I decided I’d recreate the pattern in the form of a budget-friendly, large-scale art print. All you’ll need is a large frame and a few sheets of colored card stock.
Materials:
- 6 sheets of 12×12″ colored cardstock (2 sheets each of 3 colors)
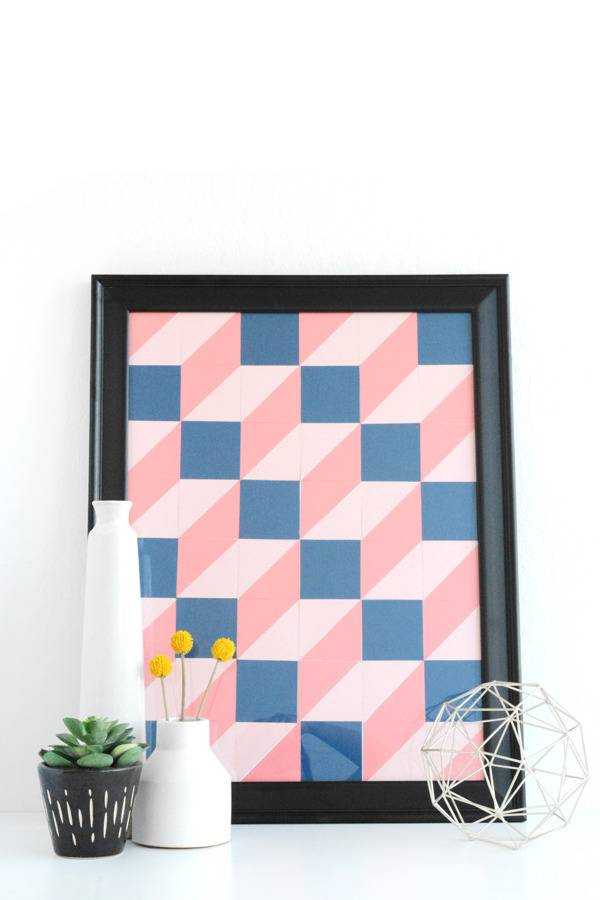
- a paper cutter
- double sided tape
- a large frame (mine is 18×24)
Instructions:
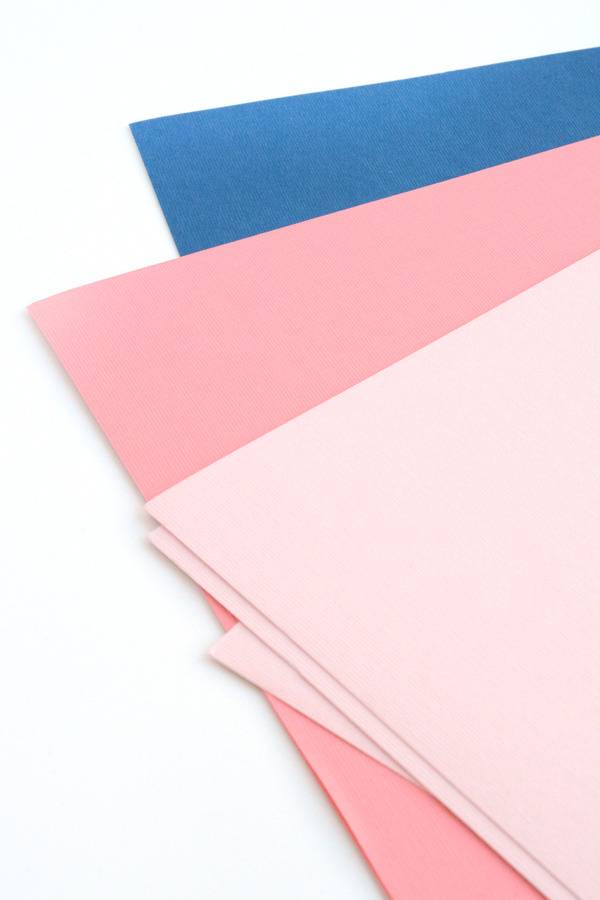
1. Start by choosing three colors of card stock. The pattern works best is the squares are one color and then all the triangles are another color, but is two shades of that same color.
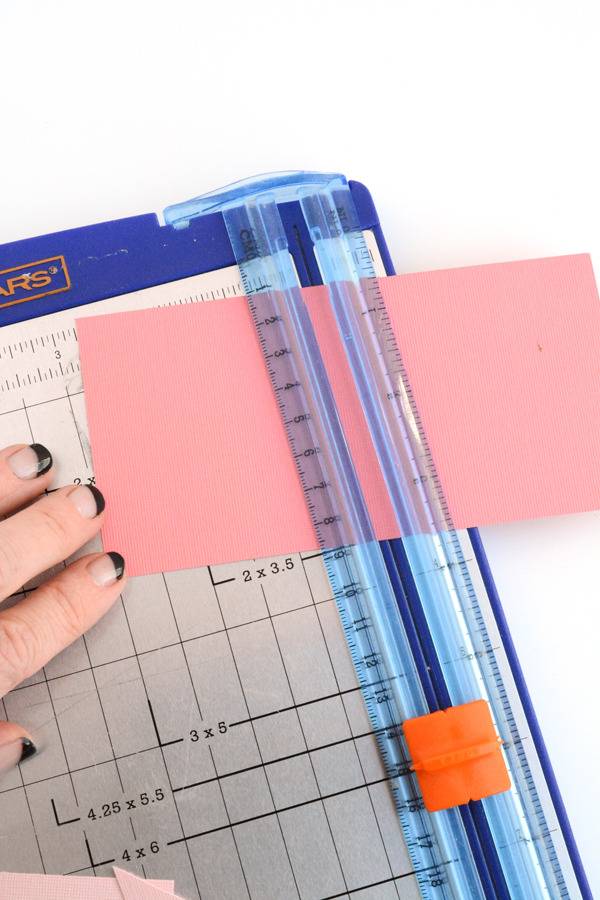
2. Using a paper cutter, cut 3″ squares out of the three colors of paper. Depending on the size of your frame, you will probably need about a sheet and a half of card stock. For an 18×24″ frame, I used about a sheet and a half of card stock.
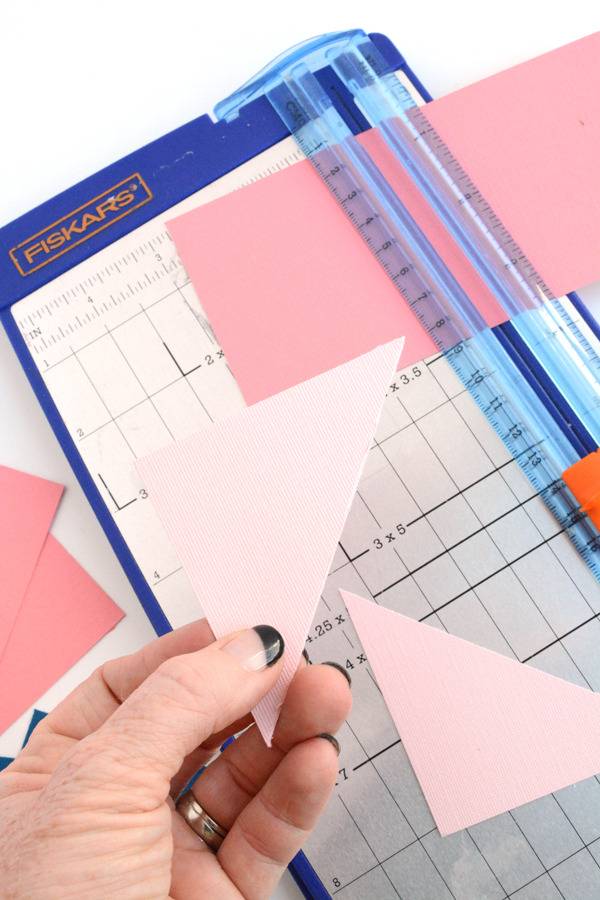
3. Then cut the two shades of the same color all diagonally to make triangles. For my piece the blue all stayed as squares, but I cut the pink all into triangles.
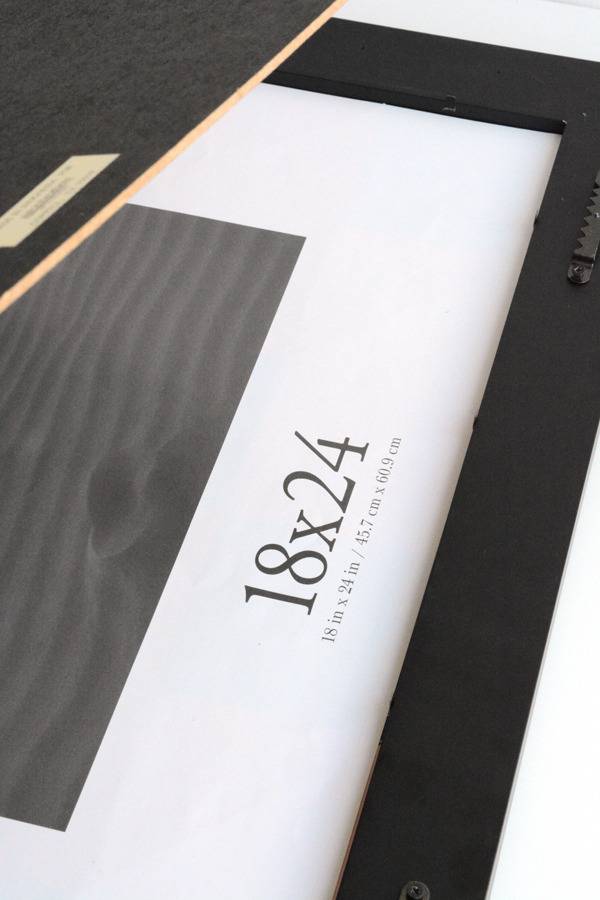
4. Remove the paper insert that comes with the frame. You will use this as the backdrop for your piece. Because it fits the frame perfectly, you can adhere all the shapes in their pattern to this piece of paper.
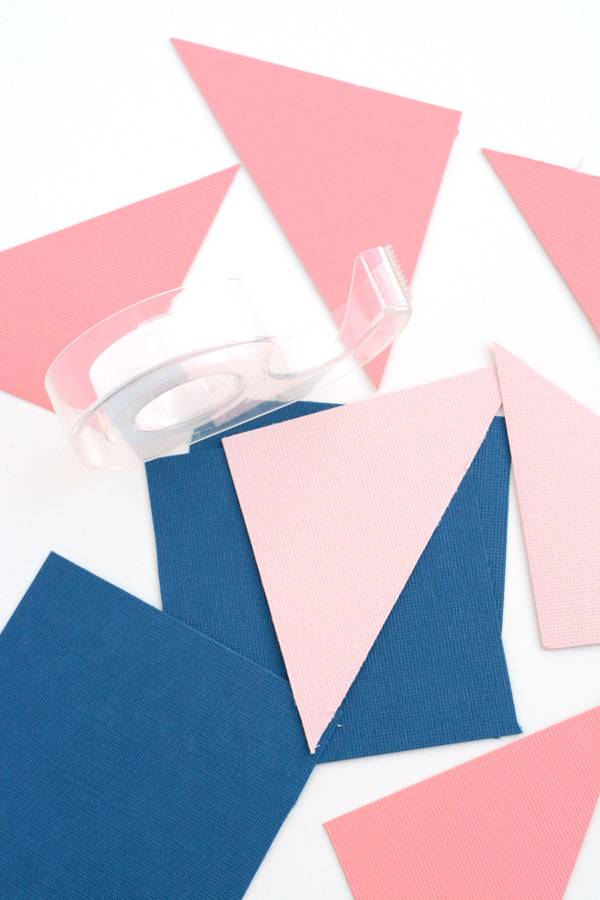
5. Using glue dots or double sided tape, stick each piece of card stock to the paper insert. Just one small amount of tape in the middle of the shape is fine. When the piece is placed behind the glass in the frame, the won’t move or shift.
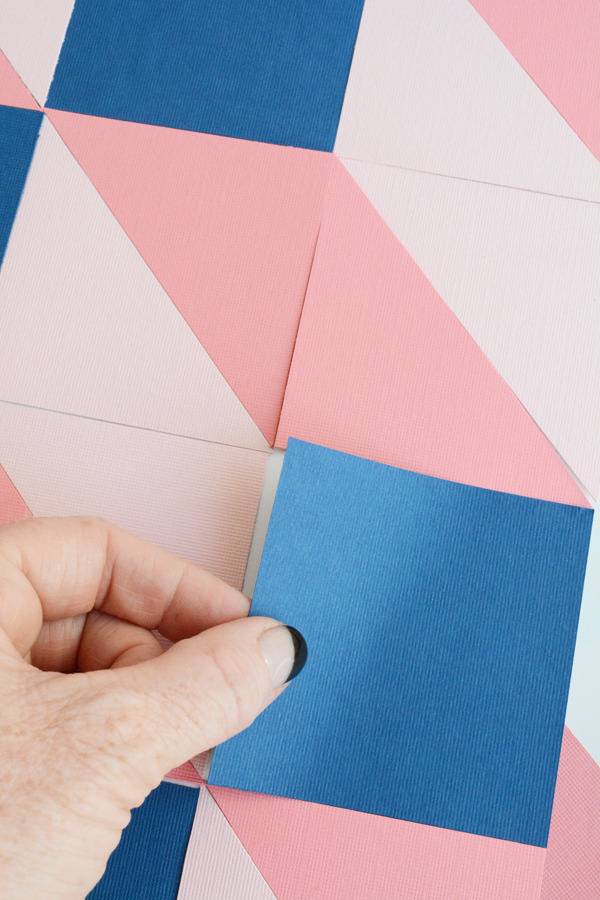
6. Work in rows started at the bottom of the piece and moving upward. You can draw lines every 3 inches to make sure you keep your shapes straight. In all honesty, I didn’t and I think my pieces looks quite straight.
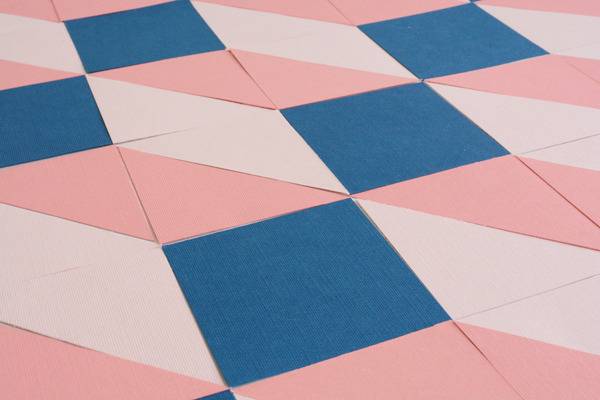
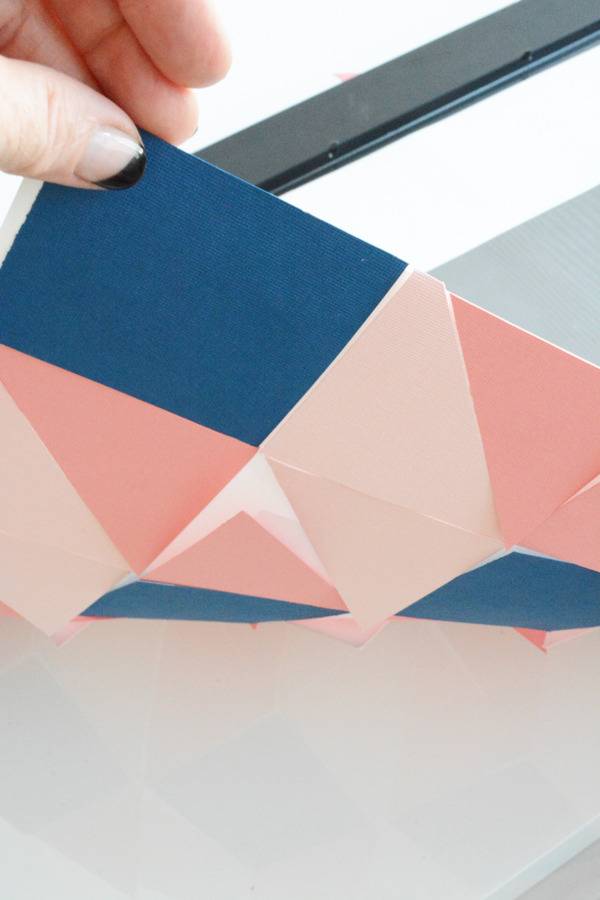
7. When all the shapes are adhered to the paper insert, place the piece in the frame and you are done!
