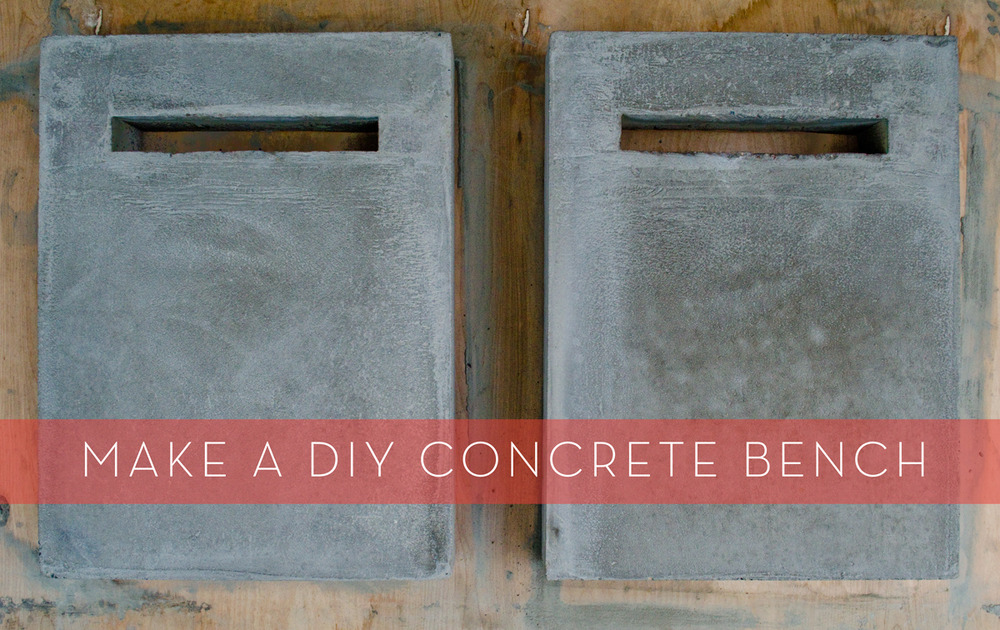
Lately I’ve had benches on the mind; they’re sort of like the grandfather of all seating furniture. I mean, when you think about it, almost anything’s a bench, if you just find a way to sit on it. So I started looking for DIY bench ideas to try. Specifically, I wanted something of the concrete-and-wood variety, with a sleek profile and a sturdy frame. Read on to hear all about it.
Folks have been making benches since caveman times (I mean, I assume that’s true … right?). They’re handy pieces of furniture. And because they’re casual and functional, they’re pretty easy to DIY.
Bruno and I been interested in dabbling with concrete for a while now, and after much thinking and Pinterest-browsing, we decided to build a simple bench out of concrete and good old fashioned cedar.
The result was a simple, sleek bench that’s super-sturdy and useful. Here’s the step-by-step we followed:
Materials:
- 3 – 80-lb. bags of Quikrete® Countertop Mix
- 1 – 2″x10″ cedar board (cedar naturally resists rot and mold, and is perfect for use outdoors)
- 1 – 2’x4′ sheet of melamine (from the closet shelving aisle)
- 3 – 1x4x8 finished MDF boards
- Angle grinder & sanding pads – (optional) to smooth/polish your concrete
Note: We teamed up with Quikrete® on this project, so we wanted to try out their countertop concrete mix, which has an additive that lets the mixed concrete flow and consolidate better at a lower water-to-cement ratio. It’s great for, duh, countertops, but also any other concrete project where you want a really nice finish.

Step-by-Step:
1. Create molds out of melamine to make the concrete bench legs. We wanted our bench legs to be 17″x23″ rectangles with a 3″x11″ void left open for the cedar board to sit in.
Here’s how Bruno laid our our forms (your bench might vary, but the idea is the same):

A few things to remember about about making concrete forms:
- Make sure you use melamine (or a similarly coated material). The smooth, impermeable coating makes it easier to pull the forms away from the concrete later on
- Don’t make the inside of the mold the way Bruno did (pictured above)! If you do, you’ll just be encasing the melamine in concrete! Instead, make the inside rectangles as little boxes, with four sides and a little space in the middle. Or you can user rigid foam for the bench cut-outs; it’s easier to remove.
- We used a Kreg Jig and coarse-threaded screws to put the forms together. You could also use a nail gun and 18-gauge nails.
Once the form is assembled, make sure to seal all the seams with latex caulk (you need your form to be watertight so none of the concrete mix runs out).
2. Mix your concrete. Since we weren’t using huge quantities, we opted to hand-mix our concrete in a wheelbarrow. Start by pouring the bag into the wheelbarrow, then create a trough in the middle of the dry mix. Then pour the water in (follow the directions on the bag to figure out how much water you need).
Mix thoroughly with a shovel or hoe until the mix has the consistency of thick, lumpy oatmeal. Don’t over-mix it and don’t add too much water! This is where you could also add liquid cement (to the mixing water) for a decorative touch.
Please! Wear gloves, goggles, and a mask when doing this. You don’t want to get this stuff all over your skin, in your eyes, or in your lungs.
3. Spray your forms with a concrete release agent (or some Pam cooking oil). Then pour the concrete. Well, not so much ‘pour’ as ‘lump’ it into the form. Starting in a corner, fill up the molds with concrete. Make sure you really push it into all the corners and narrow areas.
4. Use a power tool (or a rubber mallet) to vibrate the form. This will help get some of the air bubbles out of the concrete. We used a reciprocating saw (with no blade inserted, of course), but a hand sander would also work fine.
5. Screed the concrete. Take a scrap 2×4 (or other straight, sturdy board) and pull it over the form to remove the extra material. This is really more of a ‘sawing’ motion than a pure ‘pulling’ motion. You’ll need to move the screed board back and forth (side-to-side) while you pull it along the length of the form.
6. Let the concrete set until the ‘bleed’ (excess water) is re-absorbed. Once the water is gone and the material is quite stiff (a firm thumb press should leave only a 1/4″ impression), you can start finishing it. Float the concrete using an aluminum or magnesium trowel. This takes a little practice using a gentle touch.
7. Let the concrete cure for at least 24 hours. Then remove the forms. If all went well, they should pop off pretty easily.
At this point, you can choose whether you want to polish/grind the concrete any further. If you do want to, an angle grinder fitter with a series of concrete polishing pads is a good way to go. If you dry-polish, make sure you have really good ventilation (don’t do it indoors). Wet polishing will keep down the dust, but gets also pretty messy. Concrete dust is not good for you, so be sure to use appropriate safety precautions.
8. Cut your cedar plank to the desired length. We made ours 5-ft. long.
9. Lightly sand and oil the wood. Then slide your cedar plank into the concrete bases. Ours was a tight fit and a rubber mallet was helpful during this step.
Take a seat on your new bench and admire your handiwork!
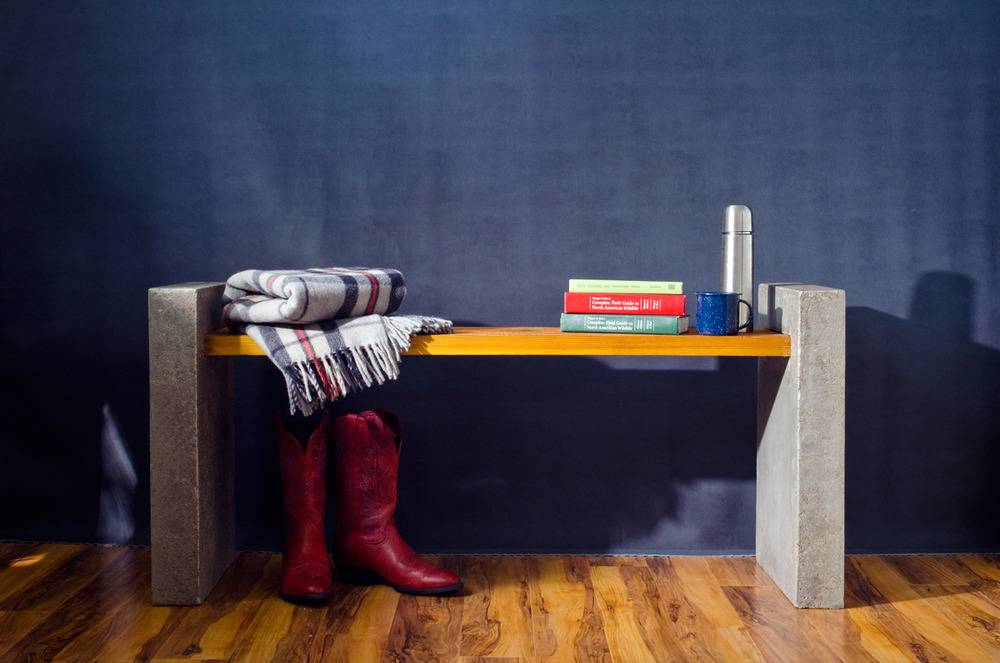
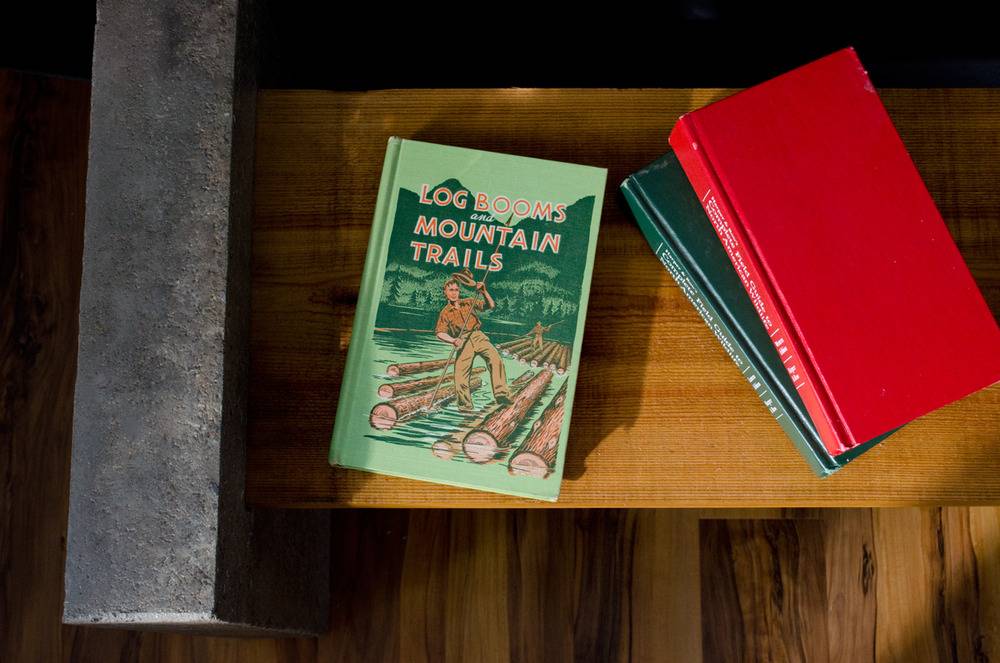
Here are a few more shots of our bench in action:
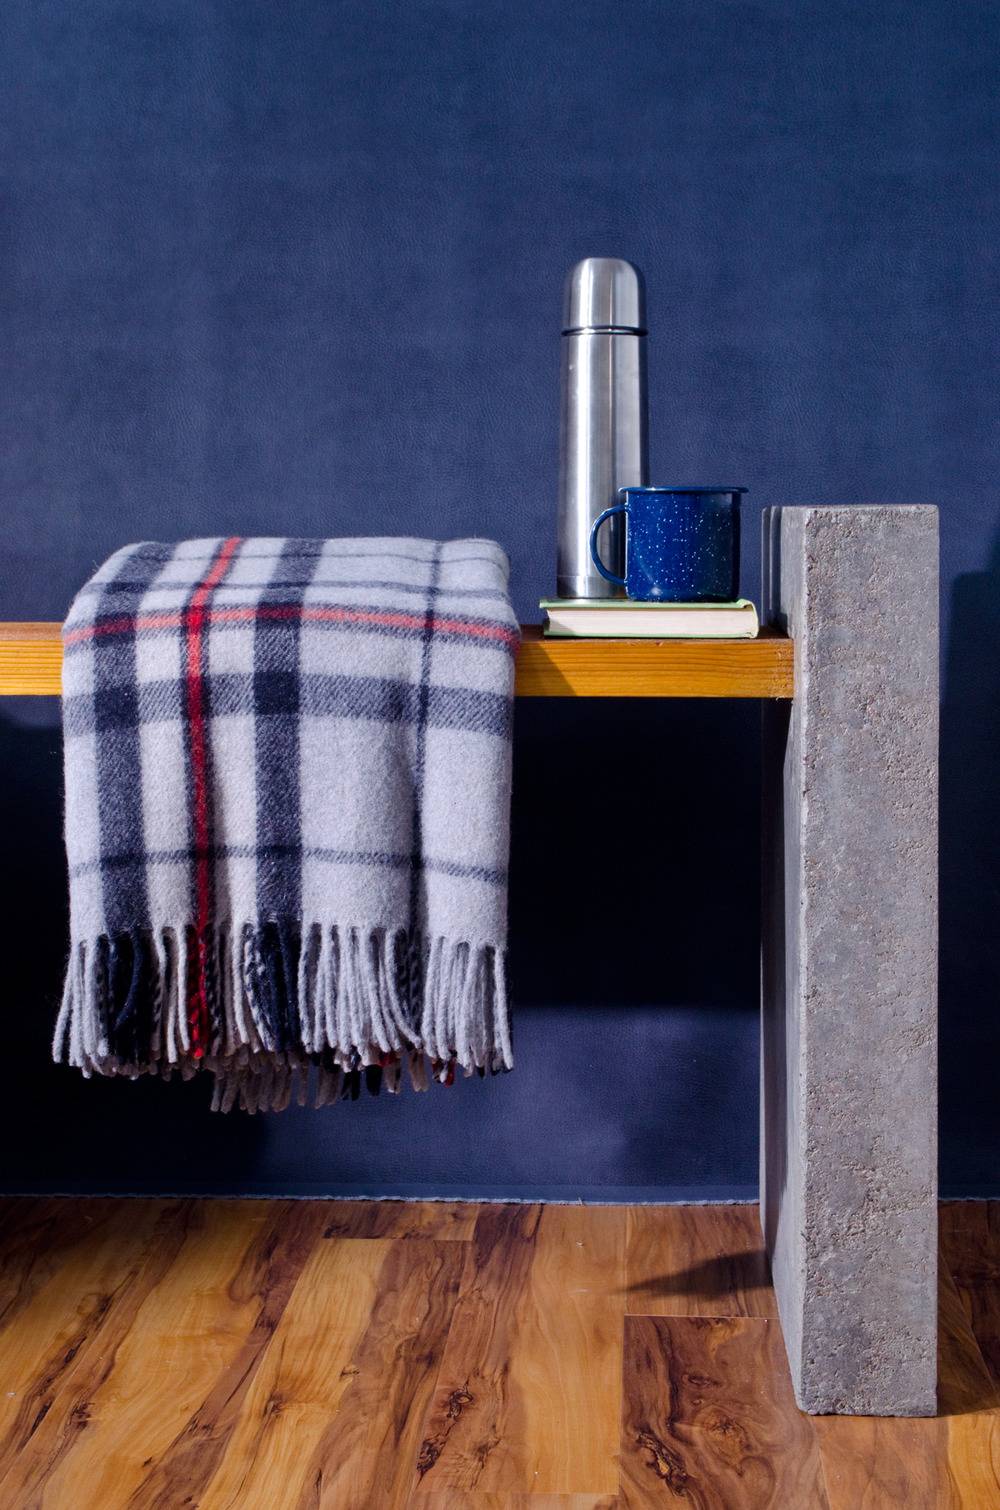
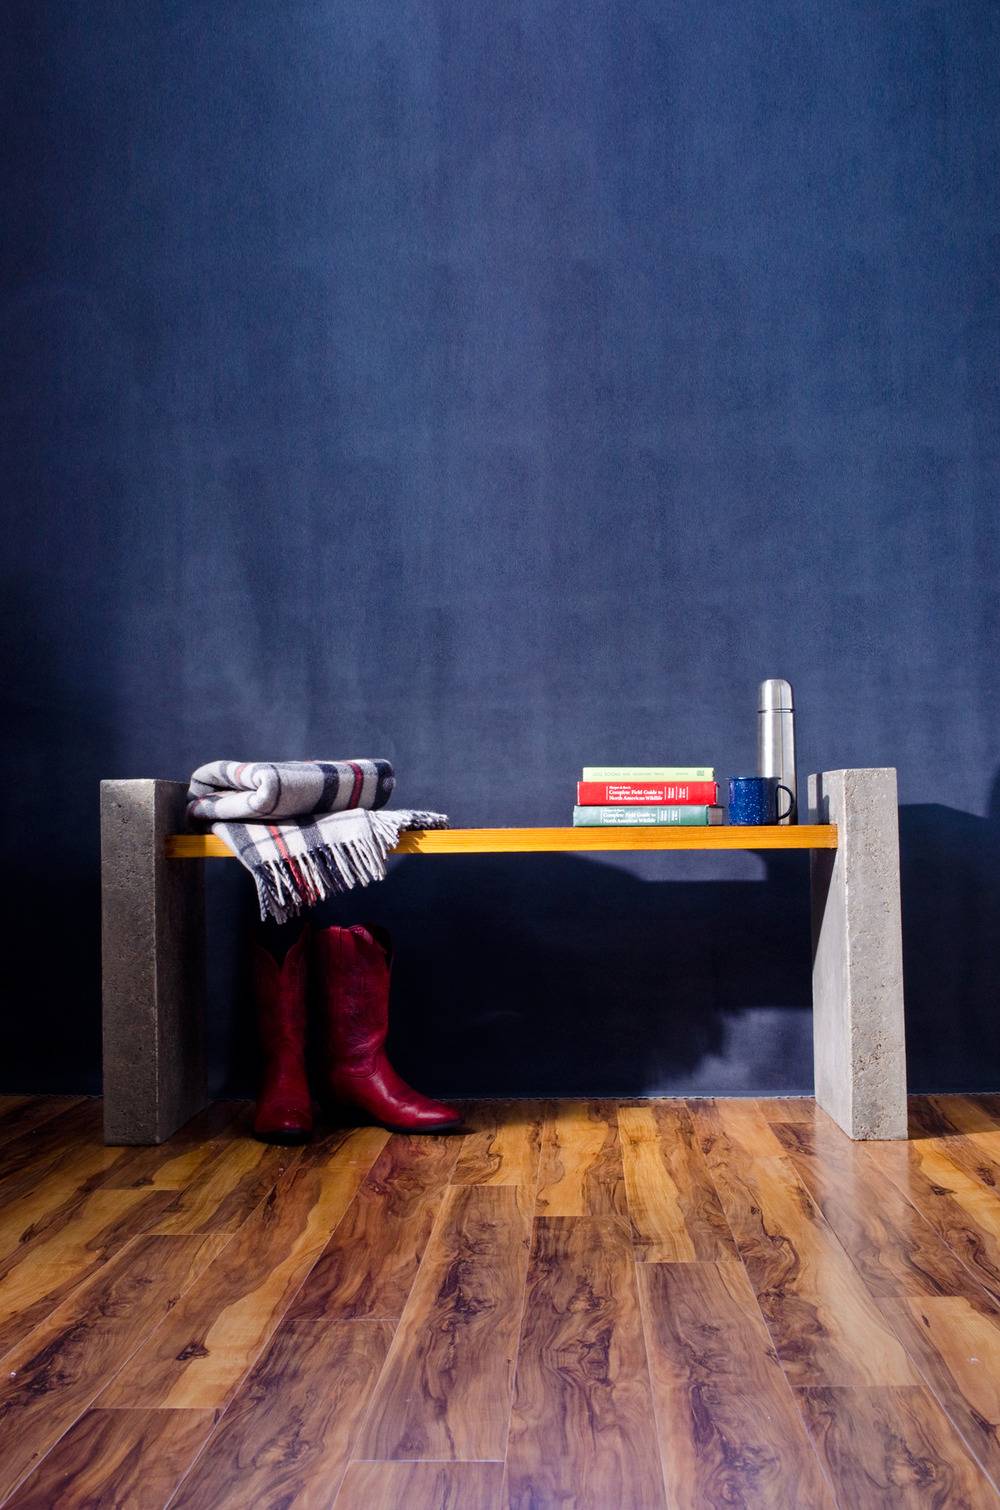
For those curious, the wool blanket is by Edinburgh!
We partnered with Quikrete to create this bench. All opinions, words, and images are mine alone. Thanks for supporting the brands that support Curbly!
