If you follow us on Instagram (and you should!), you’re privy to the hints we’ve been dropping about our new Curbly Headquarters in Minneapolis (the word ‘headquarters’ sounds so commanding; I’m sticking with it). After sharing a co-working space for the last few years, we finally decided it was time to rent a space of our own and we’re very excited to share it with you in a few weeks.
Amid the new coats of paint, the recovered chairs, and the IKEA-hacked furniture, we’ve been working on some smaller projects that will make the new office our own. We teamed up with Minwax to create a desk organizer that brings just the right amount of woodsy beauty and OCD organization to my desktop. Read on to see how we did it!
You don’t need a ton of woodworking skills or tools to make this project come together. We used a router for some of the trickier stuff, but you could easily forego those steps and do the whole project with a drill and a jigsaw.
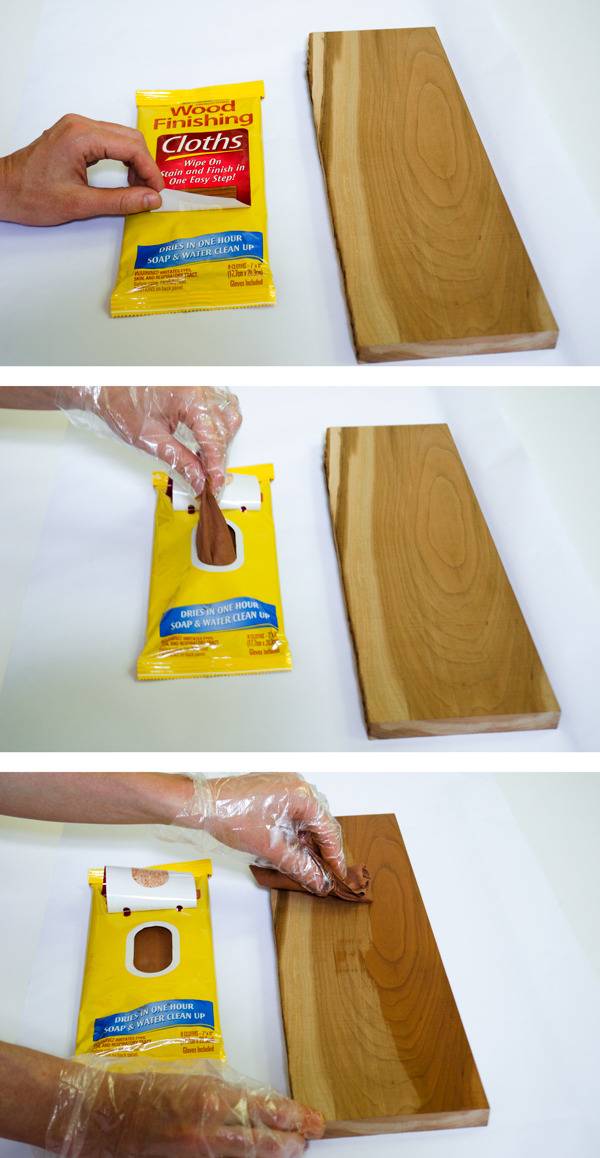
We loved using the Minwax Wood Finishing Cloths to apply a one-step stain and finish to our project. For a small DIY like this, they’re perfect: 1-hour dry-time, soap-and-water cleanup, and plastic gloves are even included in the package.
Here’s the step-by-step…
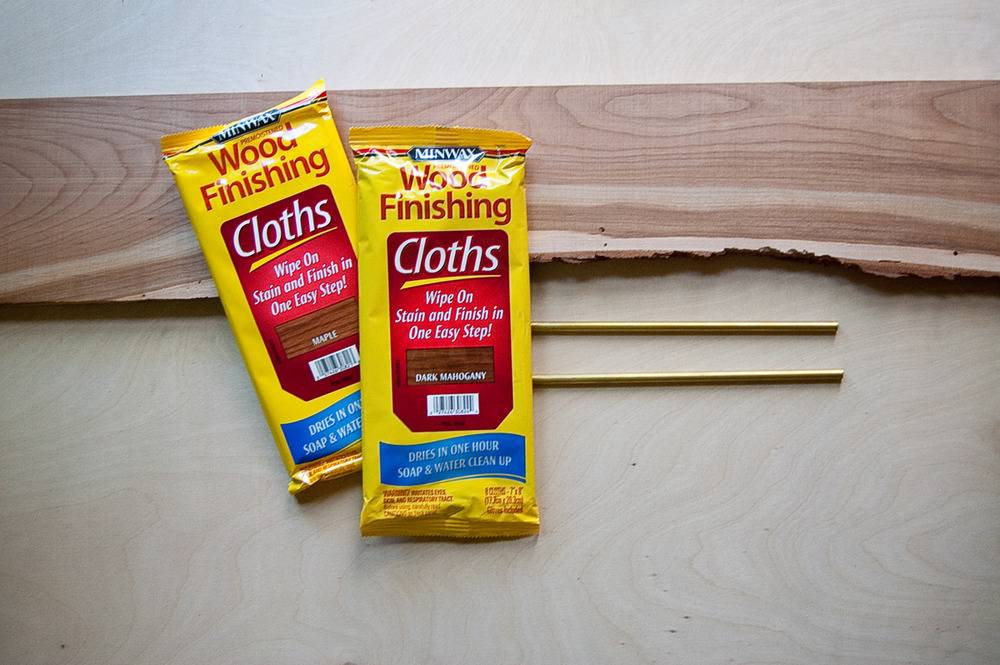
Supplies:
- A stunning piece of wood (1×6 is a good dimension). Hit your local woodworking shop or lumber yard, and look for some cherry, walnut, or ash. If they have lumbar with a live edge on one side, grab it!
- Minwax Wood Finishing Cloths (we chose the Maple color)
- Brass tubing (1/4 inch)
- A drill with a 1/2-inch bit (check this roundup for bit suggestions, and this one for drills to buy)
- A jigsaw (this one’s good)
- A router with a bowl bit (optional)
Step-by-Step:
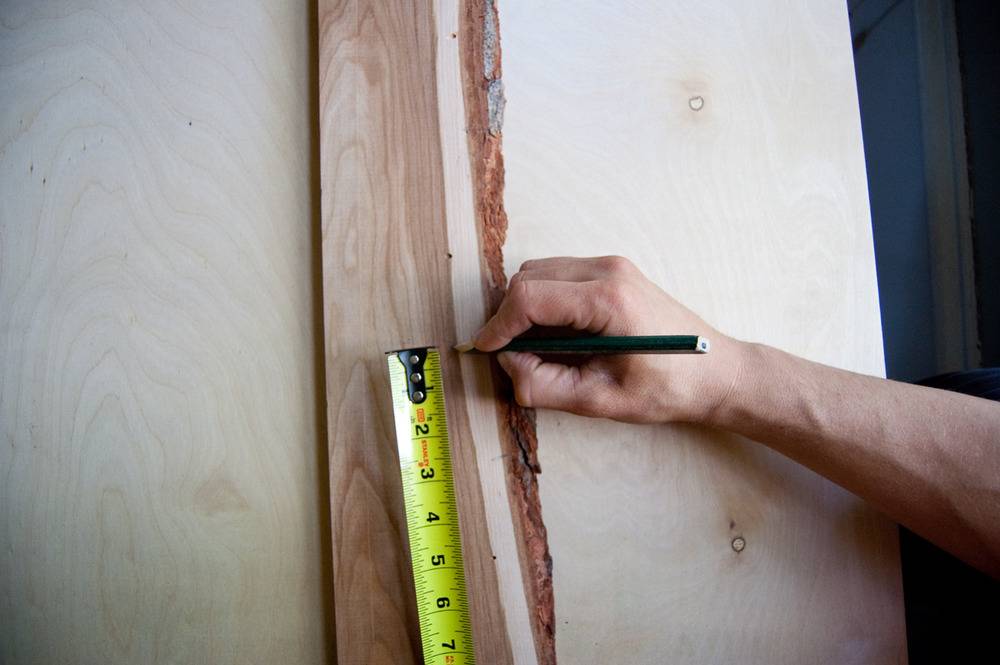
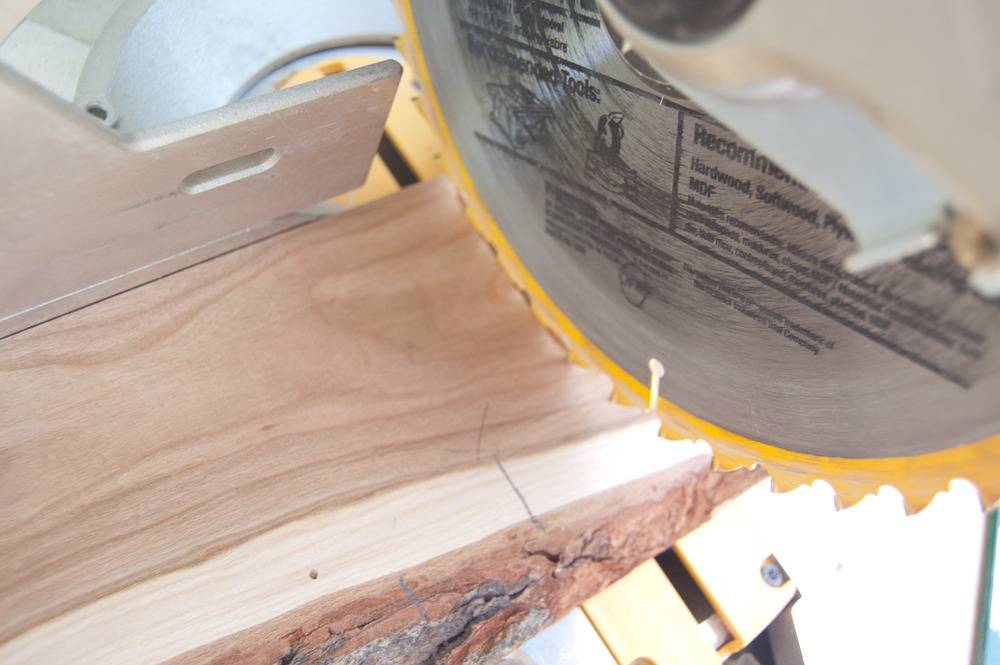
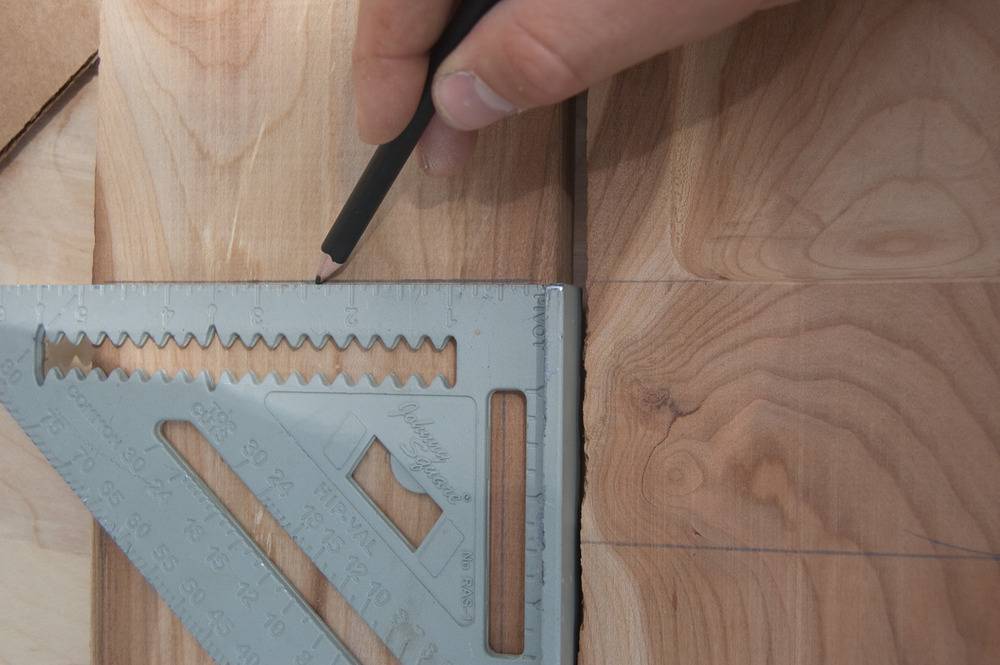
1. Figure out how wide you want your organizer to be. This will depend on how much stuff you want to put in it! In my case, 14 inches felt about right (we mocked it up in cardboard first to make sure). Measure twice, mark the cut line in pencil with a speed square (or a ruler) and make the cut (we used a miter saw, but a jigsaw works too).
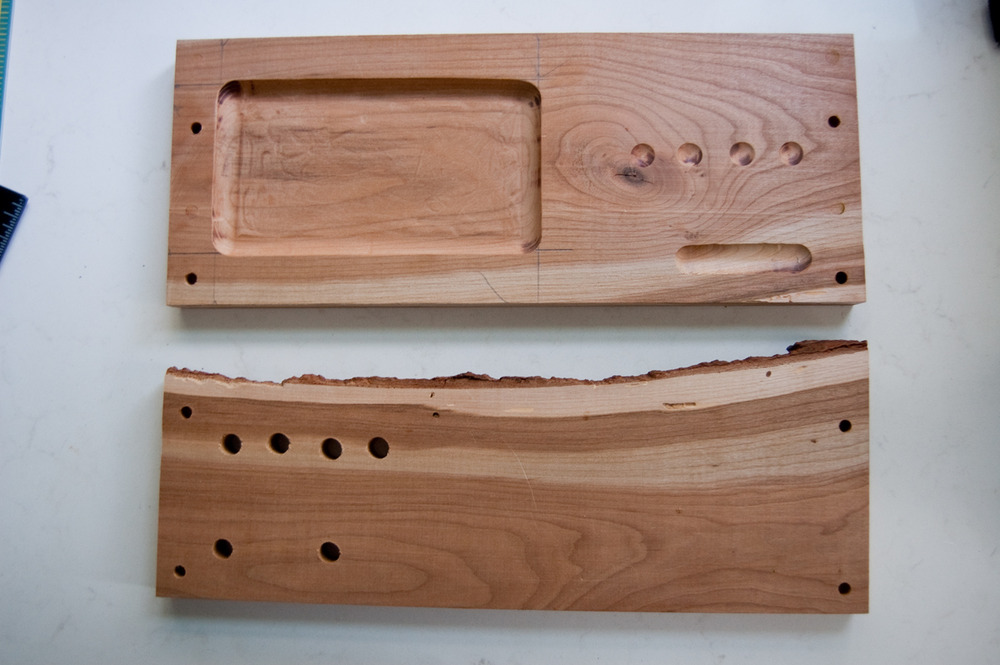
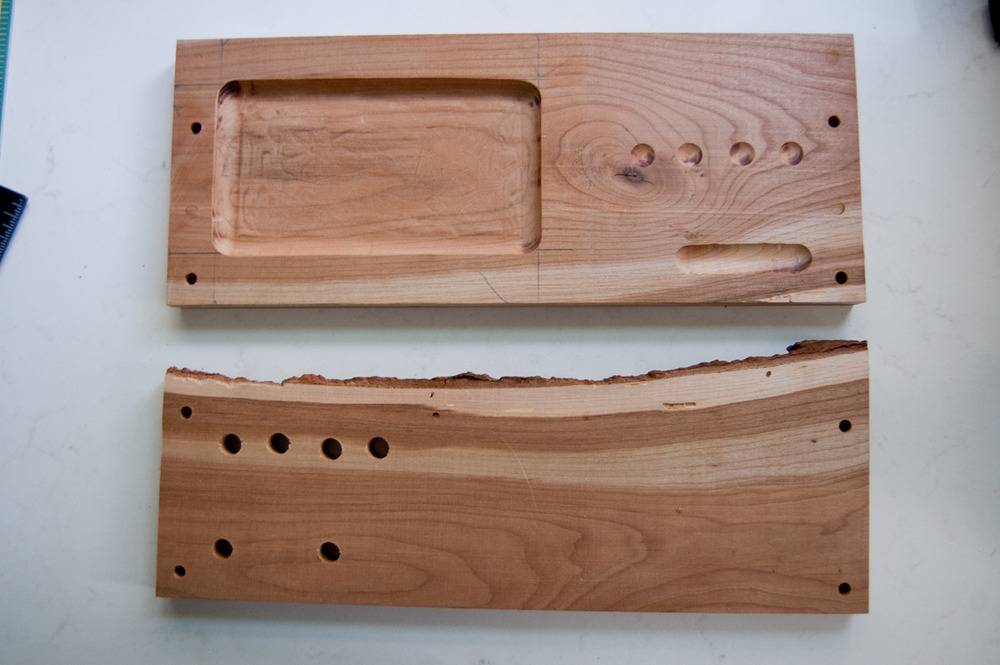
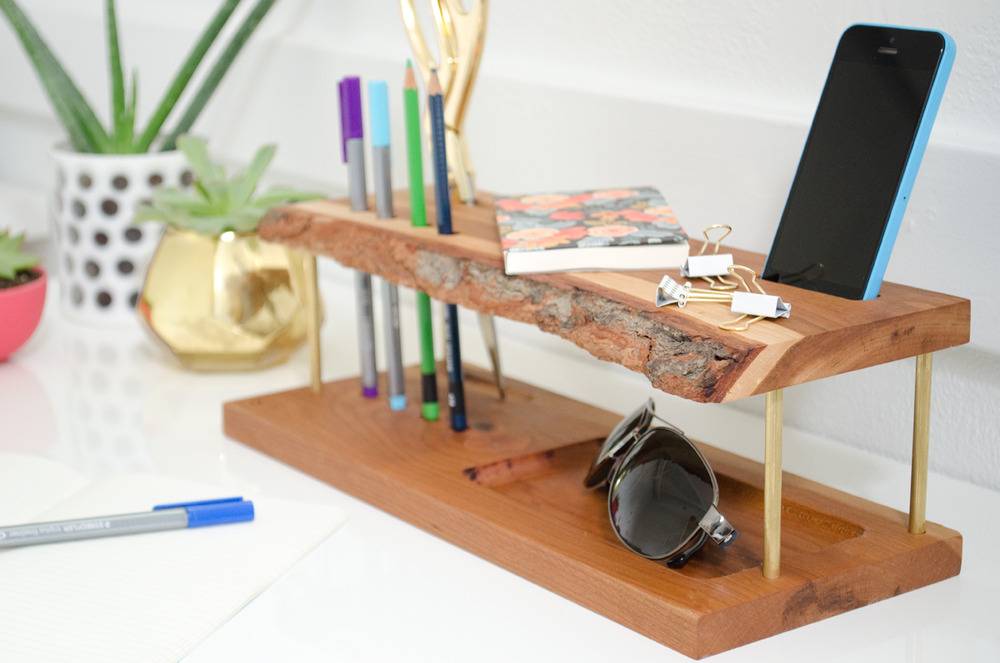
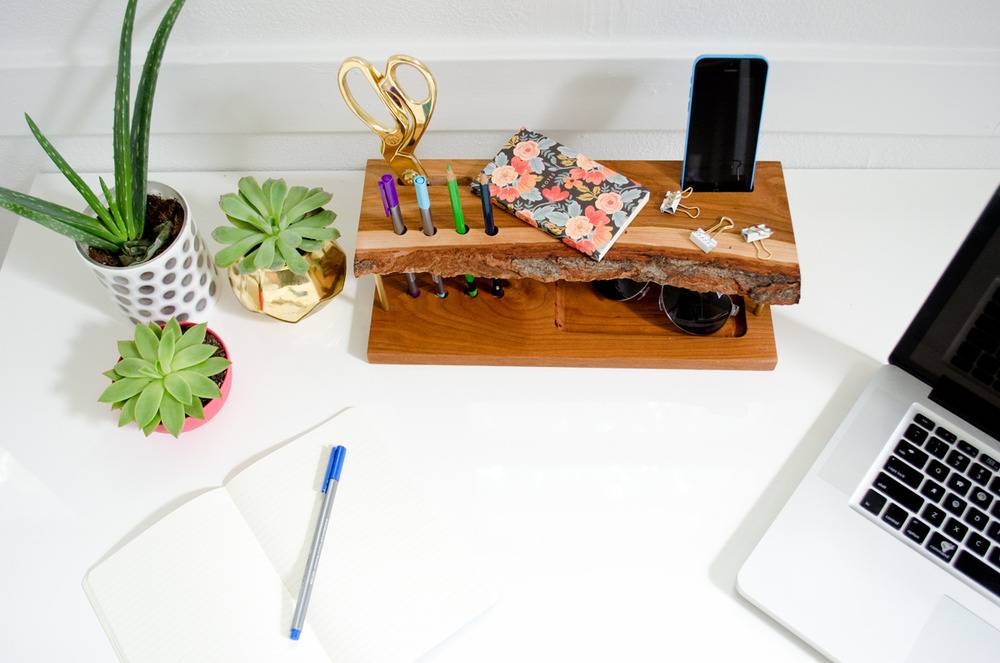
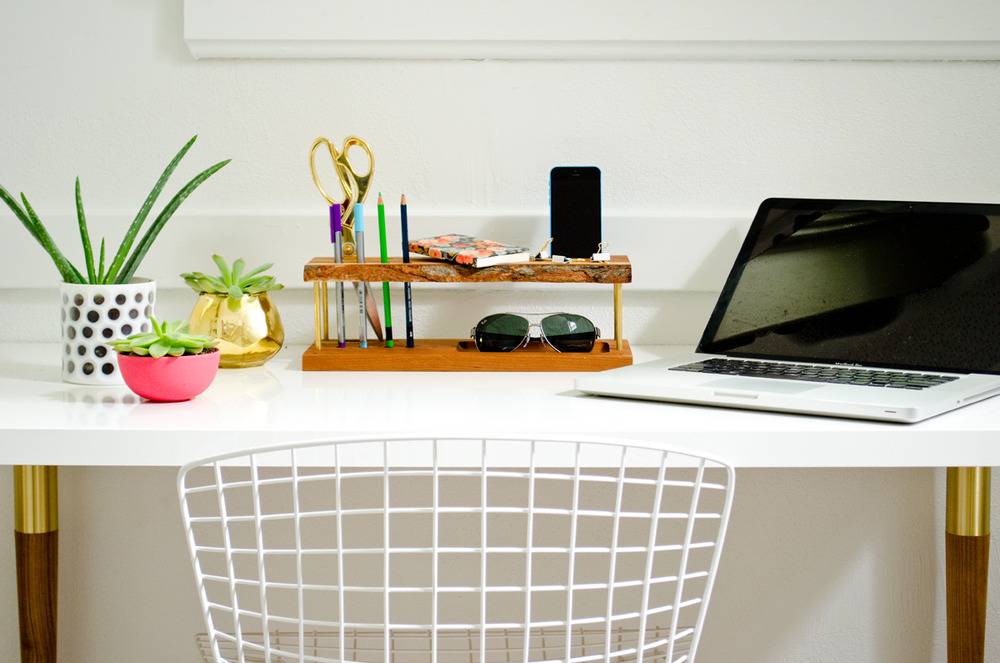
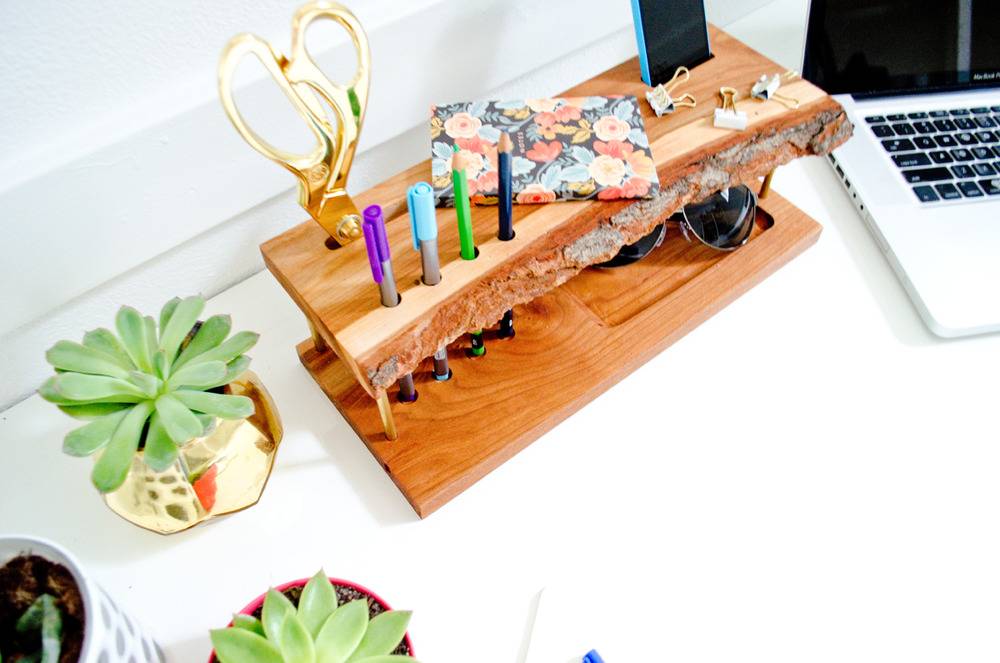
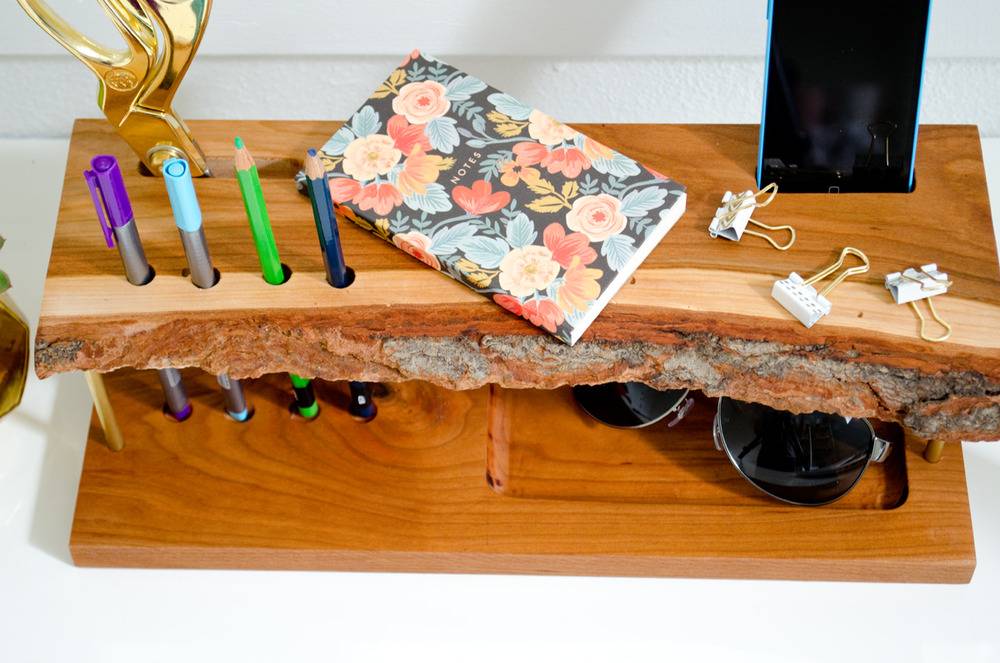
2. Next, you’ll want to lay out all the organizer holes on your wood. We opted for a few pencil slots, one wide slot for scissors and the like, a slot for a phone, and a little tray for sunglasses/keys. There are no rules here, just try to balance the empty space and make things even and consistent.
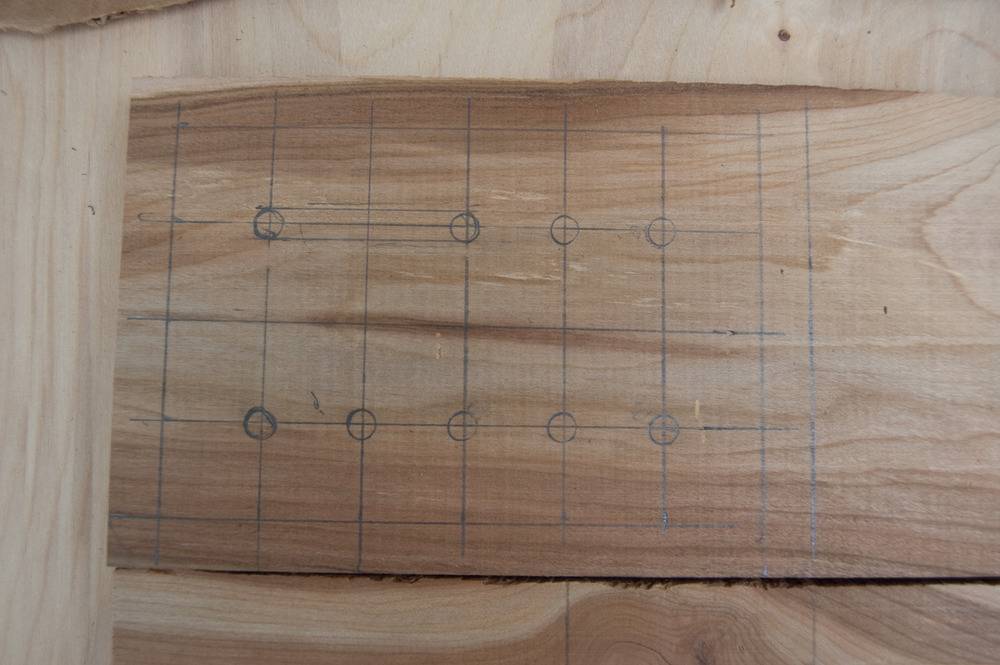
3. (Optional) Next, we used a router with a bowl bit to cut out some little receivers for the pen and pencil slots. This isn’t really necessary, but it keeps things from slipping around. We also routed out a tray for sunglasses (using a guide to keep our lines straight and make a nice rectangle). This takes some practice, so if you go for it, we suggest a few trial runs on scrap wood first.
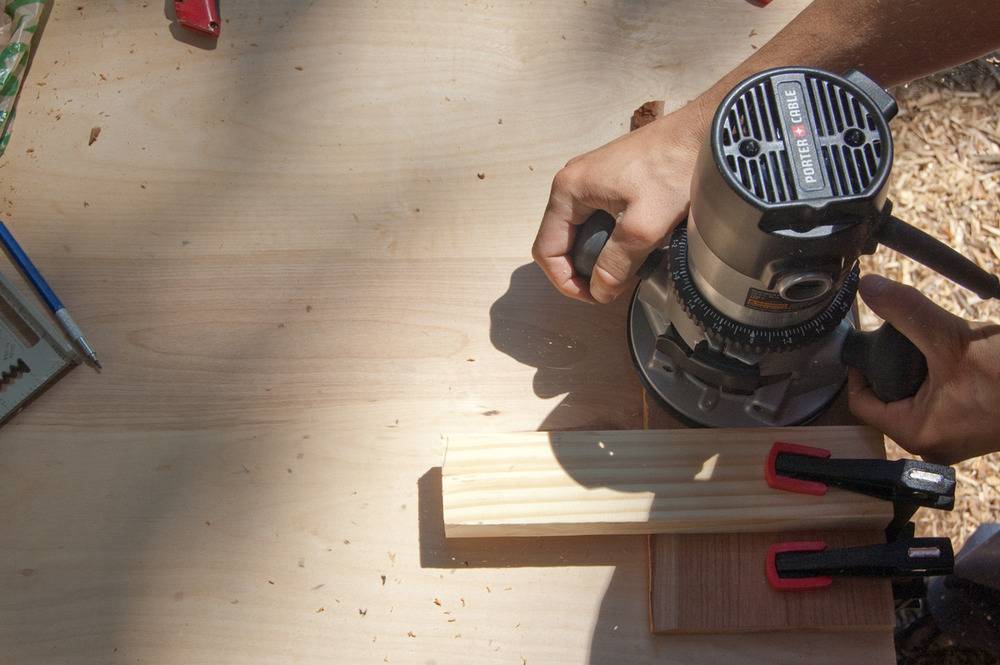
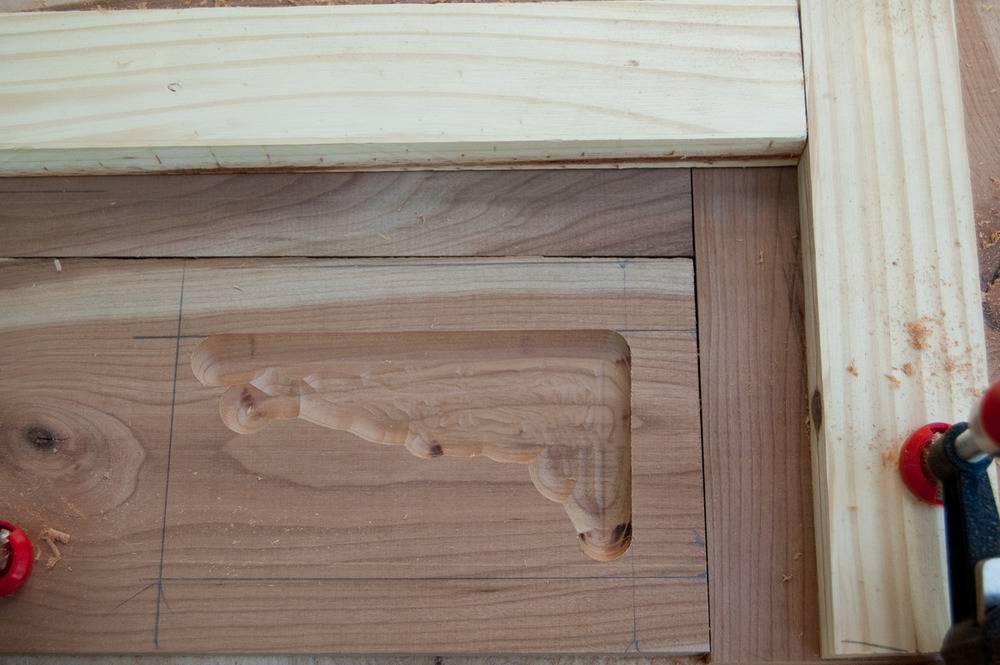
(We also used our router with a plunge bit to cut out a stopped slot for my phone. Easy to do if you have a router, but again, practice first!)
4. Time to drill the holes in the top piece of wood! Any time you want to drill a clean, finished hole in wood, you’ll want to have a piece of scrap over the entry and exit (this stops the bit from blowing out the fibers of the wood when it goes in and out of the material).
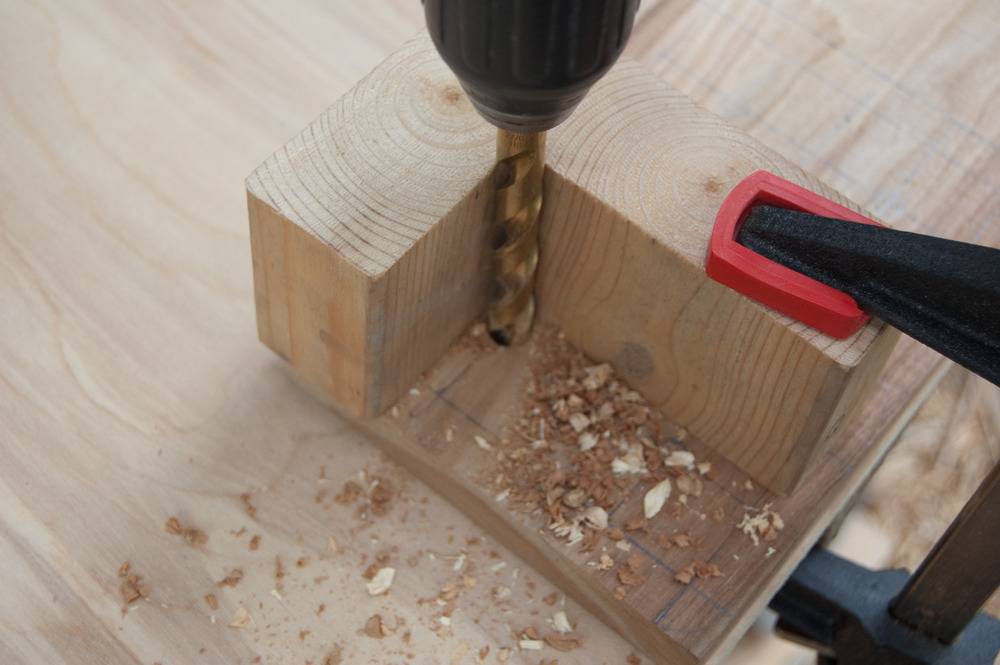
Another tip for drilling nice, vertical holes by hand (i.e. without a drill press) is to whip up a simple little jig (as pictured).
After the pencil/pen holes were drilled, we put four stopped holes on the top of the bottom piece, and the bottom of the top piece. These holes were the receivers for the brass tubing that held the project together. To drill stopped holes at a consistent depth, create a drill stop by wrapping tape around your bit, as shown.
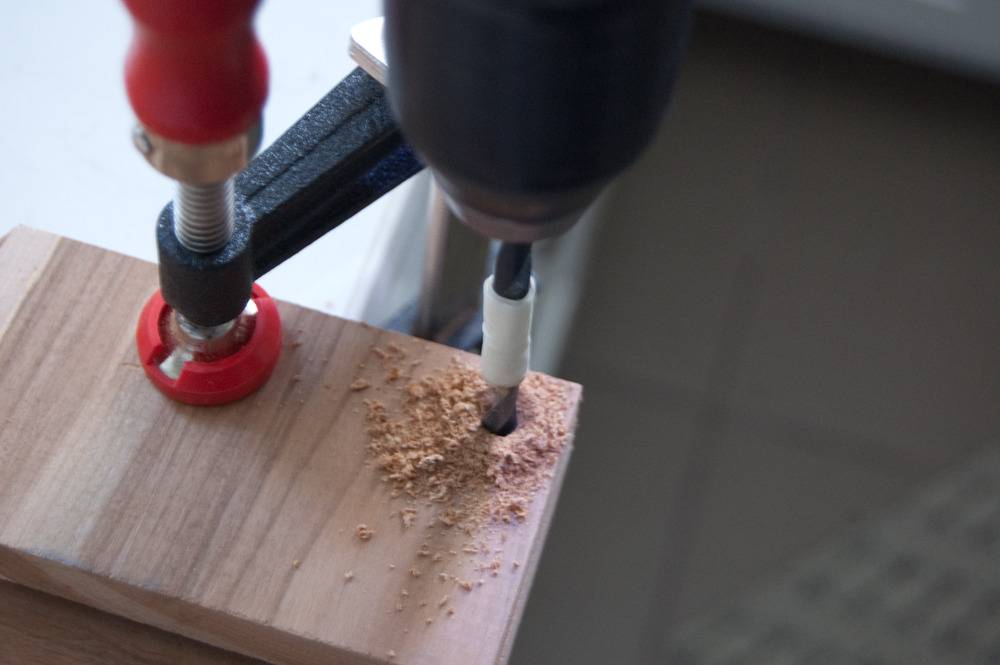
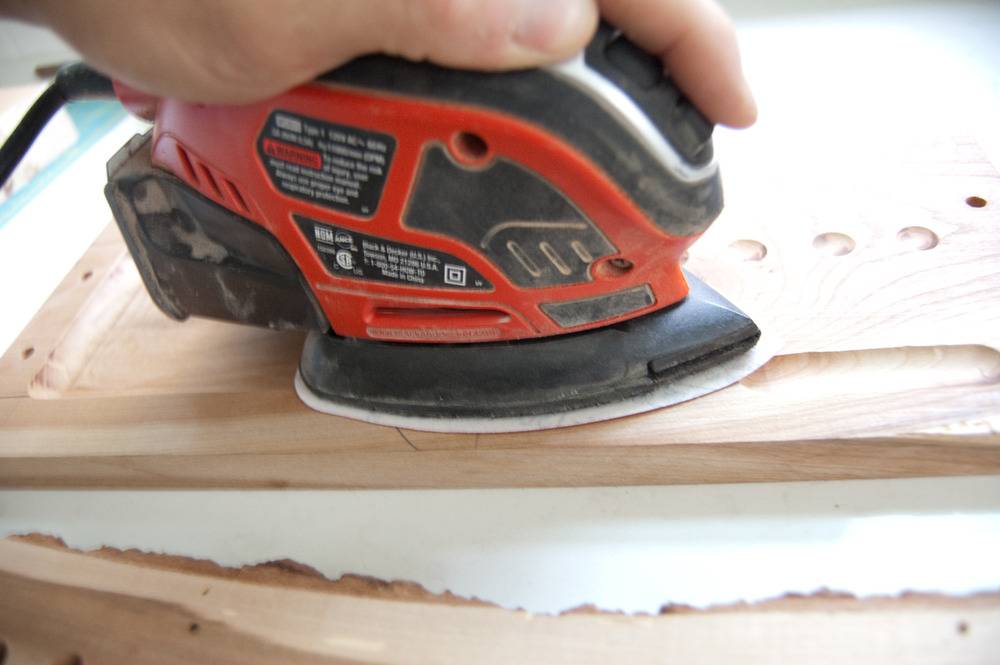
5. With all the holes and trays drilled, it’s time to sand the whole piece down.
6. We tested a few different shades on a piece of scrap wood. We settled on the Maple color.
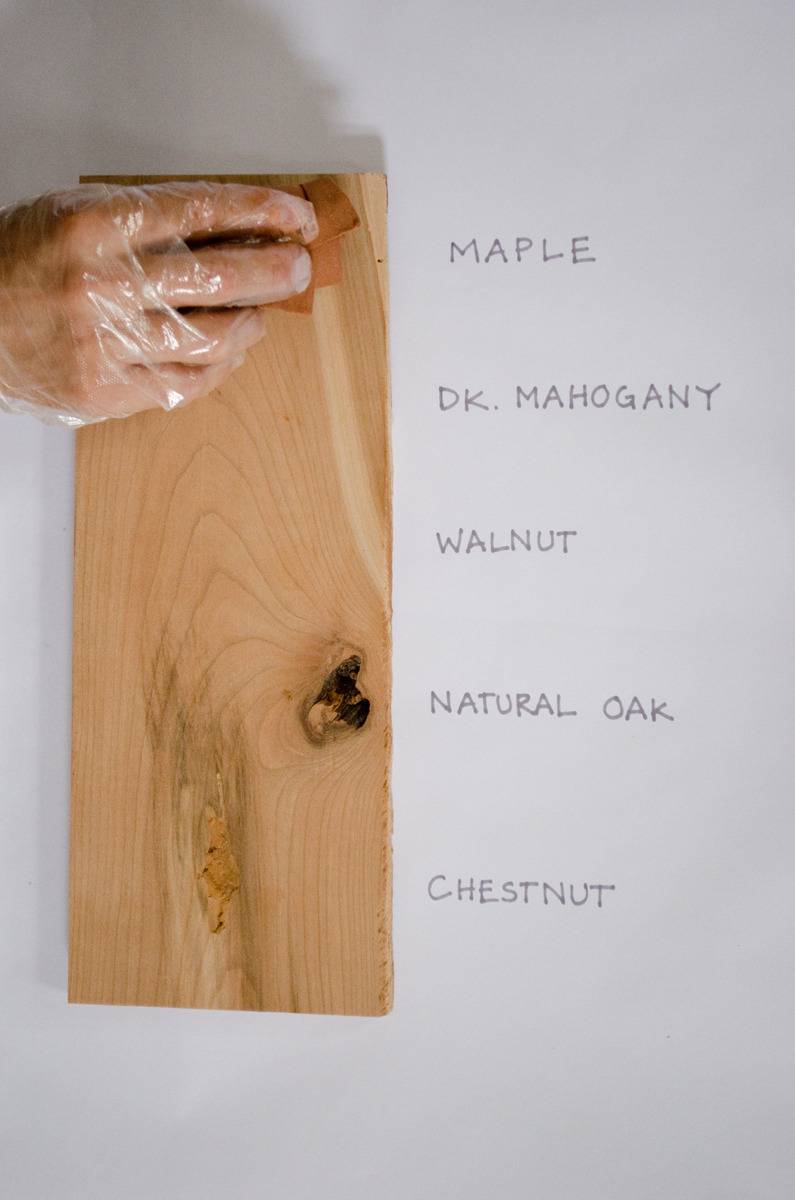
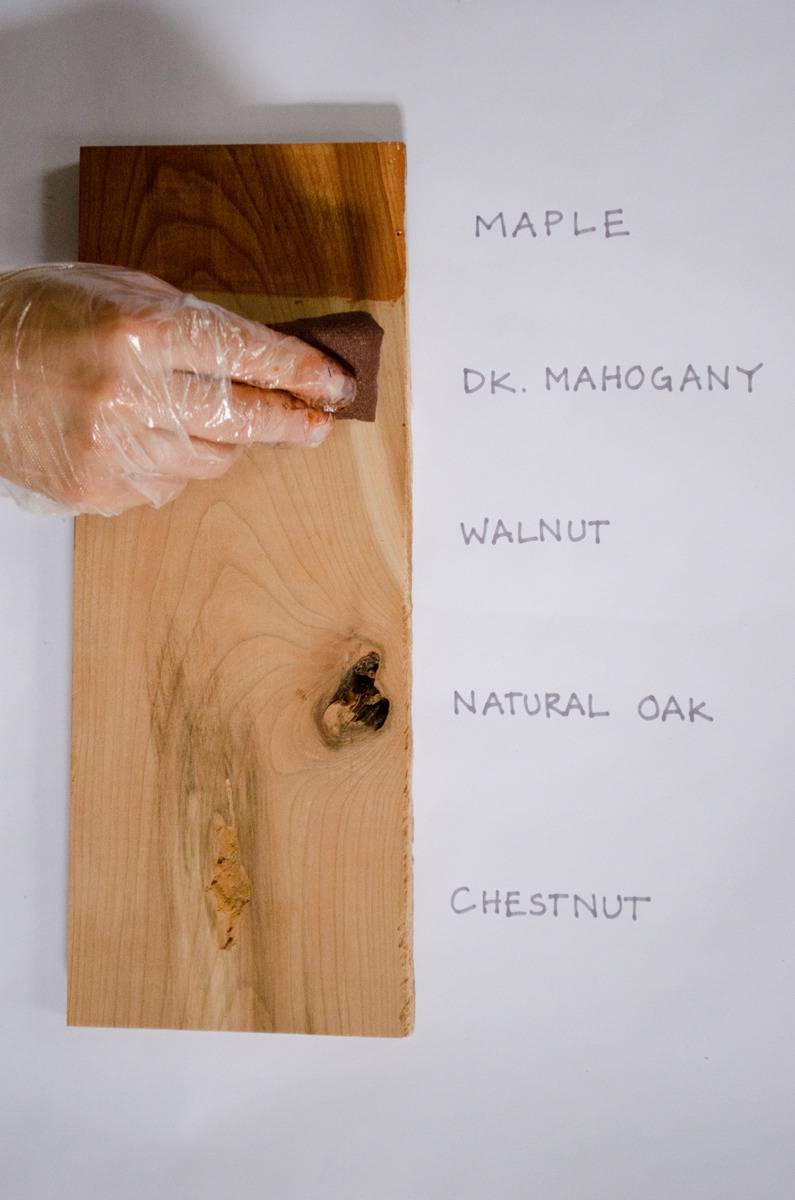
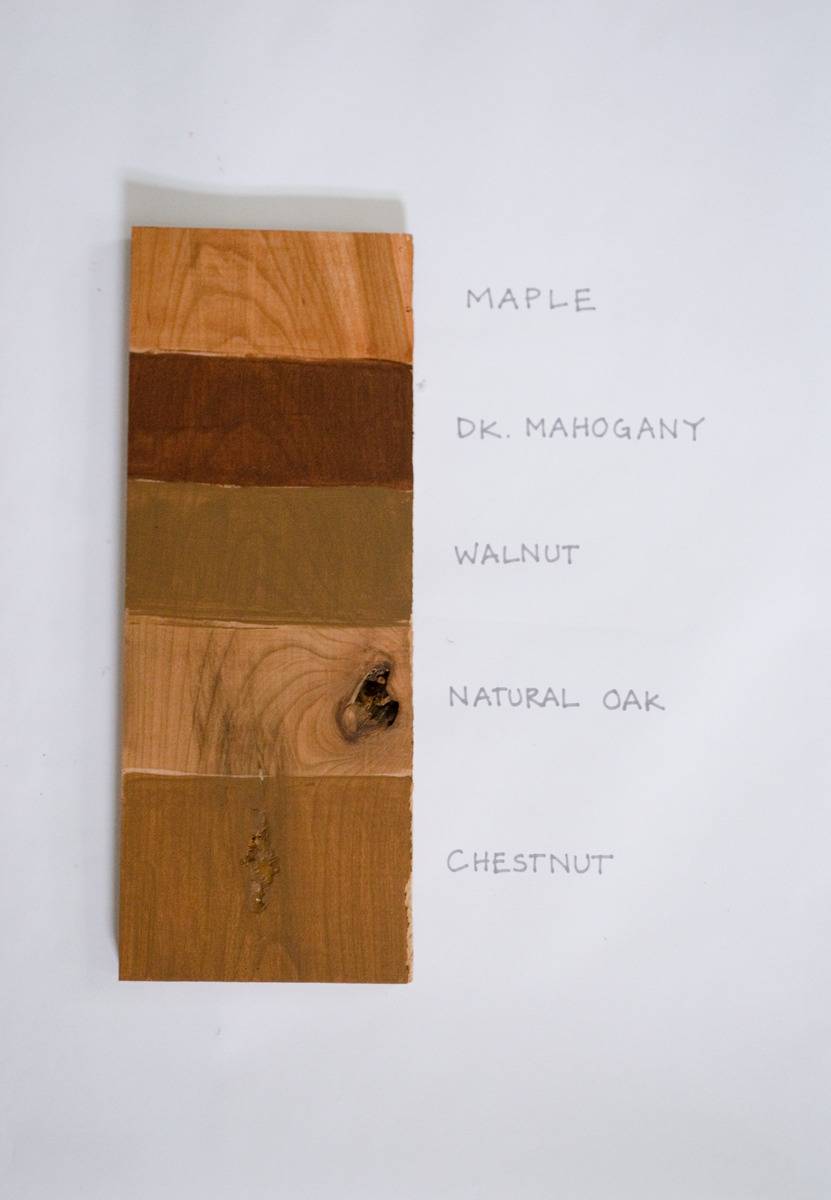
7. The Minwax Wood Finishing Cloths make wood finishing projects like this really easy with minimal clean up. The cloths come in bags that open up like baby wipes (NOT BABY WIPES THOUGH! DON’T USE THEM THAT WAY!). You just put on the gloves (they’re included) and grab a pre-moistened cloth, and get to work. In about an hour the stain and finish is dry and ready for another coat (if desired – we liked how our project looked after one coat).
A really nice thing is that the Wood Finishing Cloths include wood stain and polyurethane protection in one step, so you don’t need to add a clear coat after you stain your wood.
8. Finally, put the top and bottom together by inserting the brass tubes into the stopped holes. You could use super glue or epoxy to hold them in there, but honestly, ours felt quite sturdy without any adhesive.
I’m in love with this little organizer. Just have a look at it from all of these angles!

What do you think of this organizer? Do you have any good DIY desk organization ideas? Let me know in the comments!
We partnered with Minwax to create this project. All words, images, and opinions are mine alone. Thanks for supporting the brands that support Curbly!
