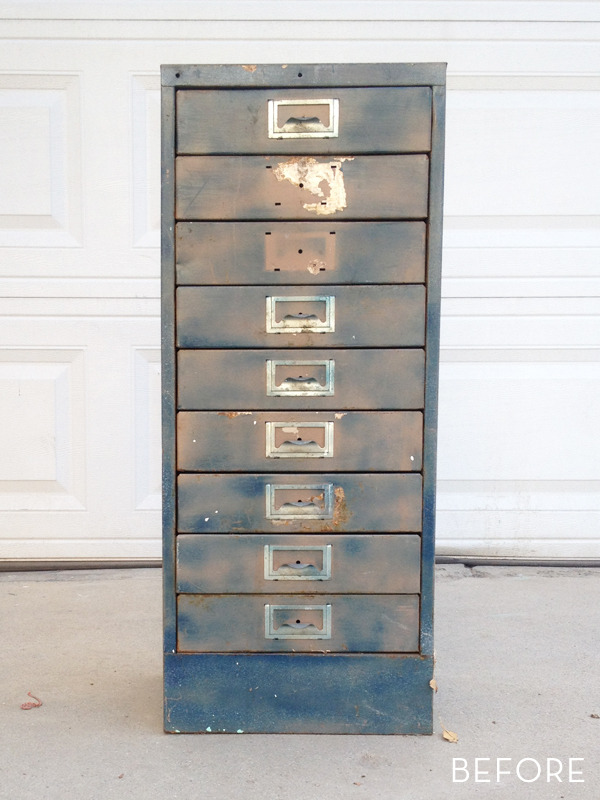
Okay, confession time. I have a lot of random junk in my garage. I love to thrift, so when I come across furniture that has “potential”, I buy it and save it for a rainy day. This ugly little metal drawer cabinet has been in my garage for a couple years now collecting dust. I bought it at the Pasadena Flea Market and paid about $20 for it. It was very rusty and had a lot of holes and chipped layers of paint.
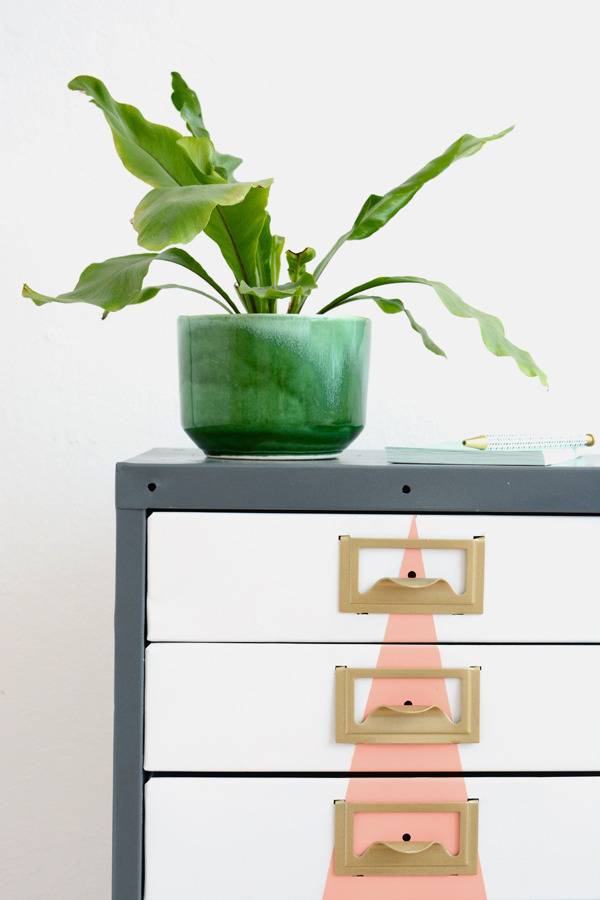
This is one of those pieces that could have been painted and spruced up in some many fun ways, that I had a hard time deciding what to do with it. I decided it needed a modern makeover and some wheels to make it even more functional.
Here’s what you’ll need:
- sand paper or a power sander
- tack cloth
- spray primer
- spray Paint in white, grey, gold and peach
- white felt
- 4 small wheels
- power drill
- self-tapping or self-drilling screws (#8 3/4″)
- blue painter’s tape
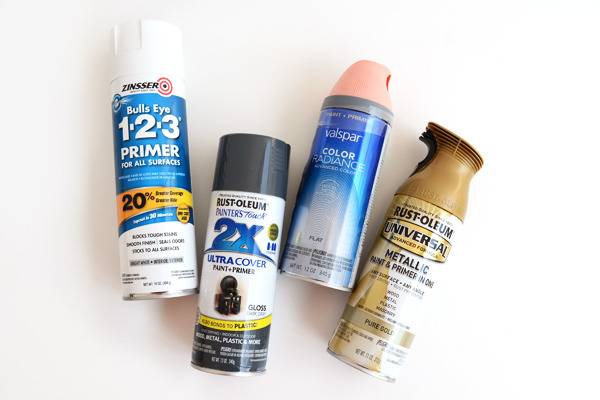
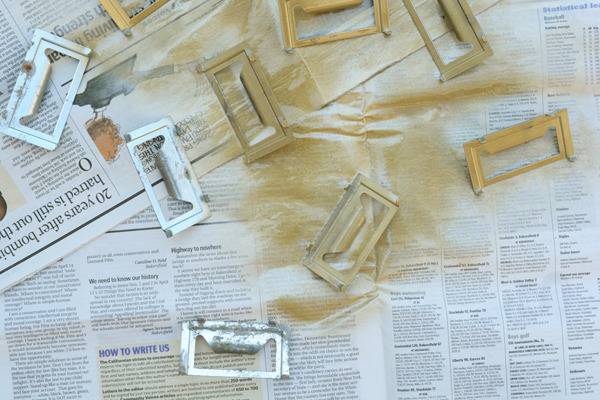
Start by removing all the drawers and hardware and clean the surfaces well. I decided to paint the hardware a metallic gold for a mid century vibe. Metallic paint seems to take the longest to dry, so I painted these pieces first.
This is the most important step. Sand, sand and sand a little more. I used an power sander to make the job go a little faster. But starting with a well sanded surface is really important for making sure the paint will adhere properly.
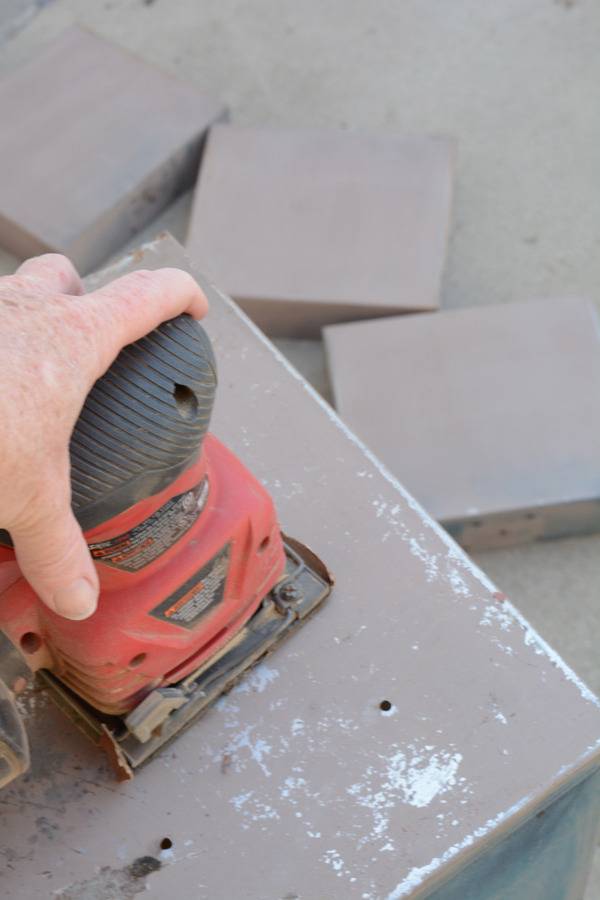
When all the rusty spot and chipped paint are sanded well, wipe down the whole piece with a tack cloth, it picks up all the fine dust particles so that the paint will go on smoothly. Next, I sprayed all the pieces with the spray primer and allowed them to dry for about 30 mins. This gives you a nice clean base to start with. The primer covers rust and makes sure the colors you paint on are true.

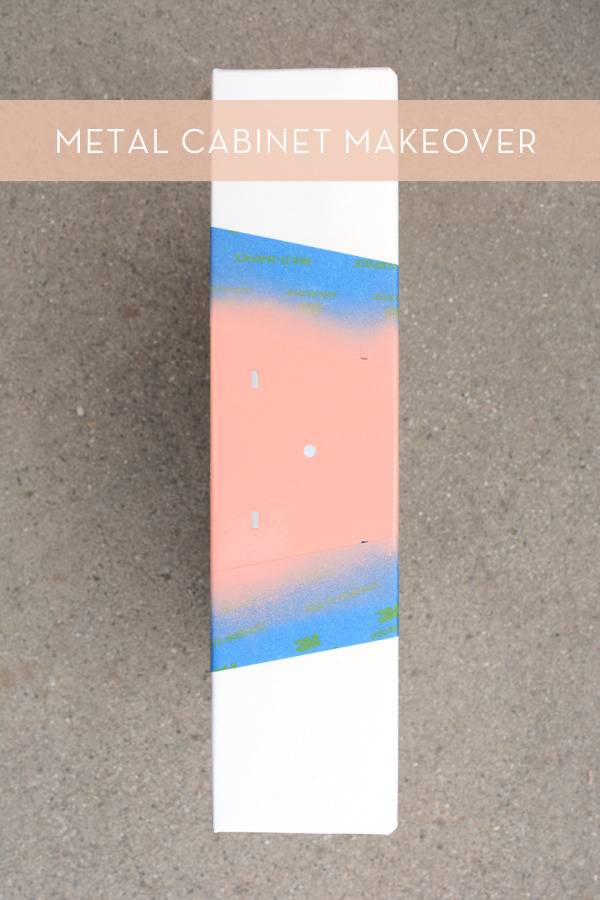
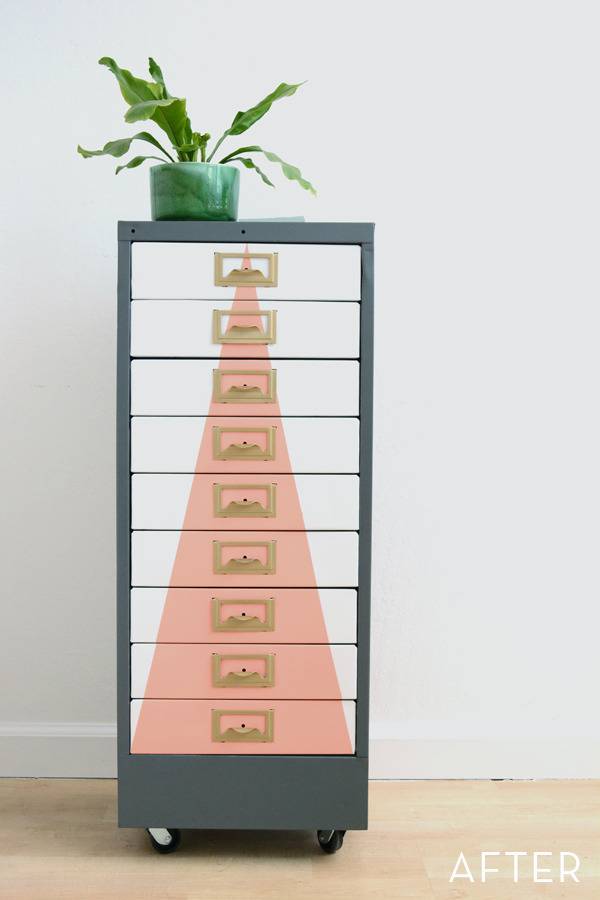
I then painted all the drawers white and the outside frame dark grey. When everything was dry, I put the drawers back in and taped off the triangle shape. I simply started at the top in the middle and angled down to the two bottom corners. I took a pencil and traced along that taped line.
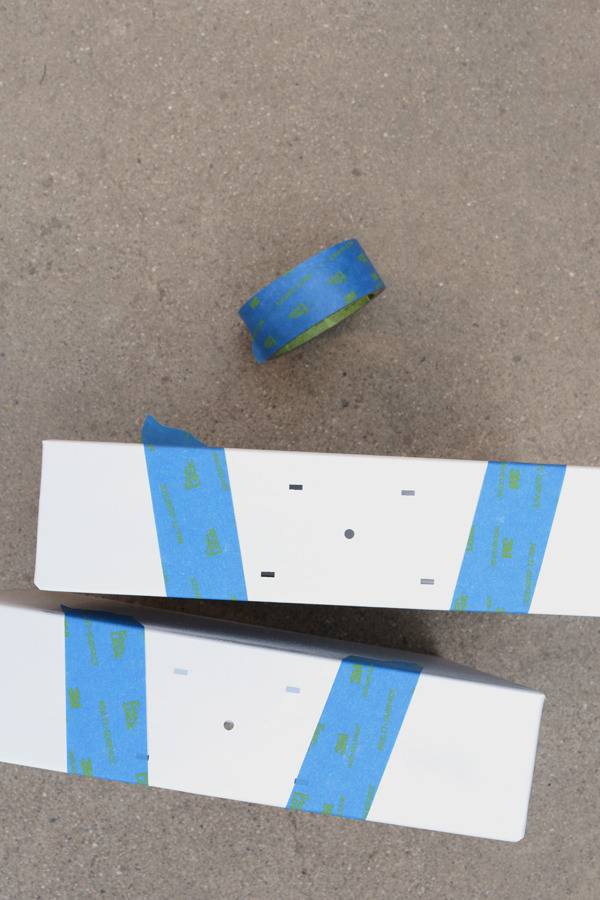
Then I removed the tape and all the drawers and re-taped all the drawers individually.
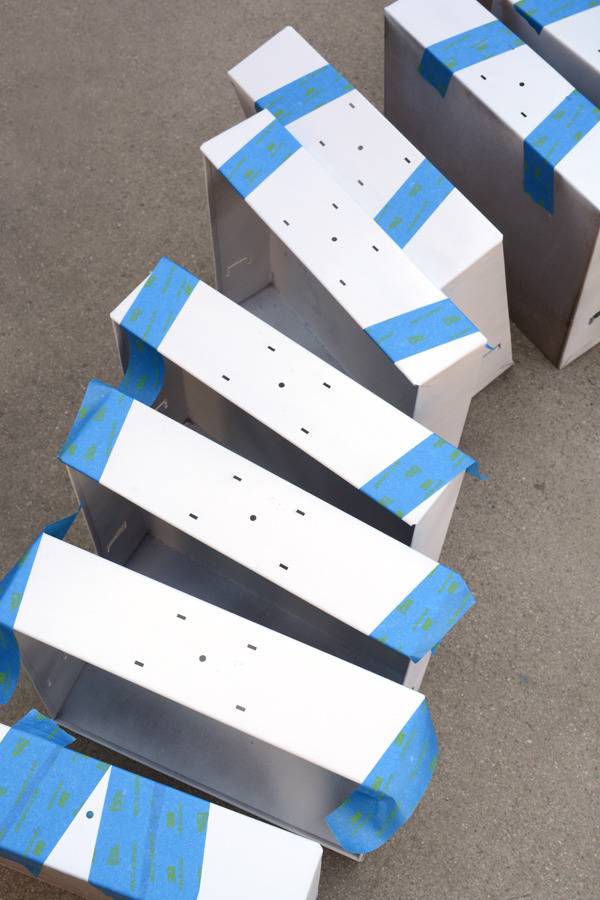
And then I sprayed each of the drawers with the peach colored paint in between my tape lines.
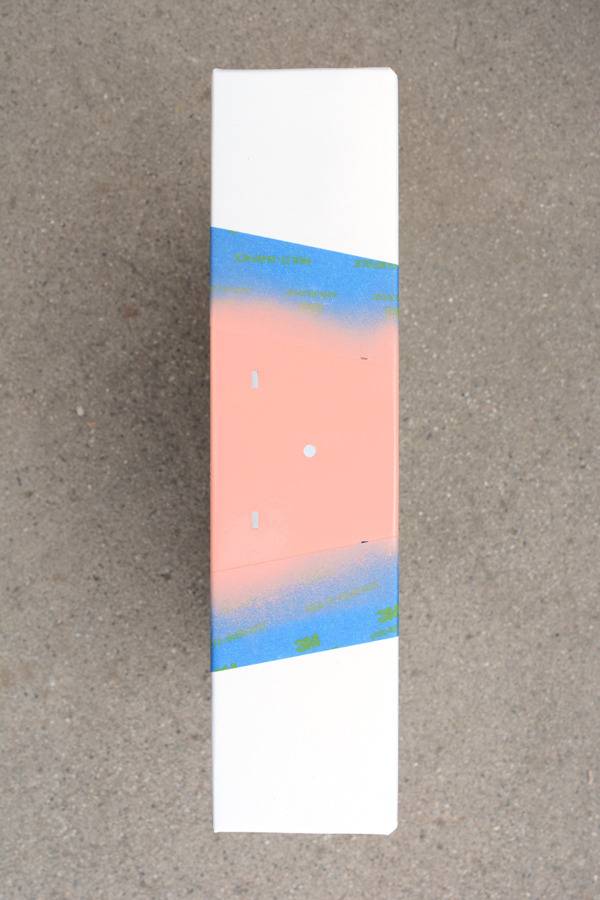
When the paint is completely dry, remove the tape and you can replace the hardware.
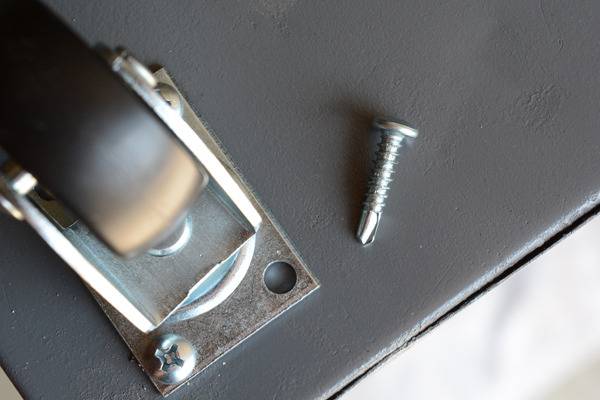
The final step is to add wheels to the bottom of the cabinet. I used self-tapping screws for this. These screws are like magic. With just a power drill, you can drill directly into the metal and it self-drills (no pre-drilling or washers and nuts needed).
And here’s what you’ve been waiting for, the AFTER!
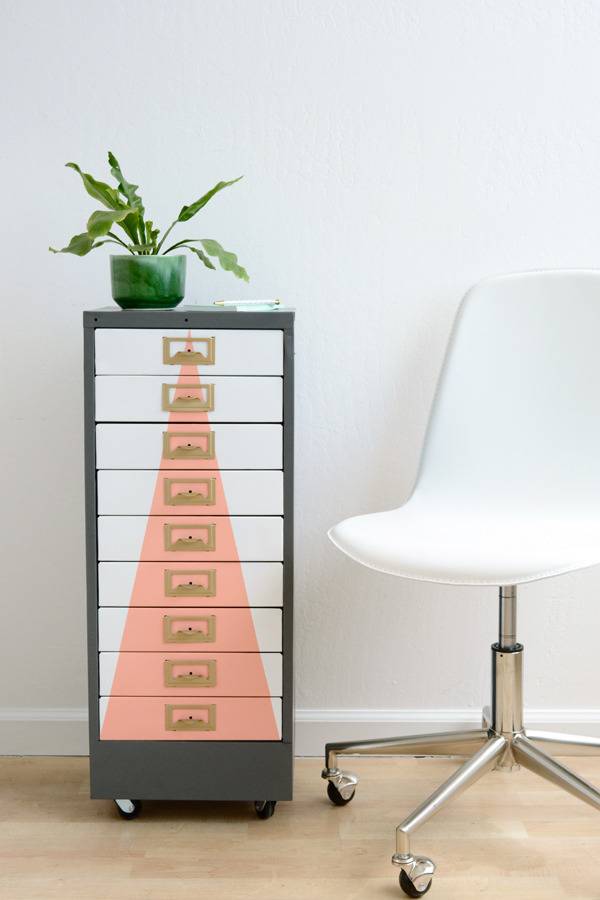
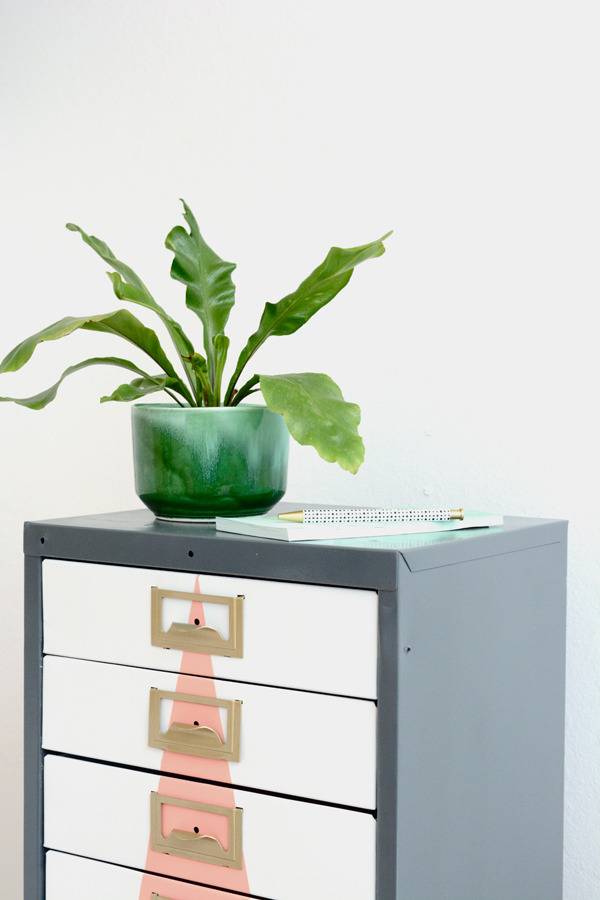
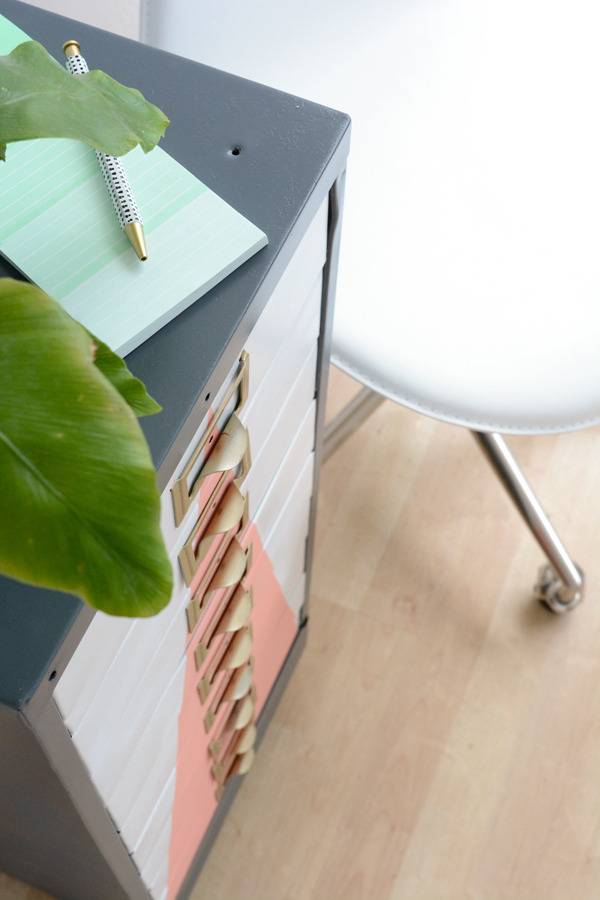
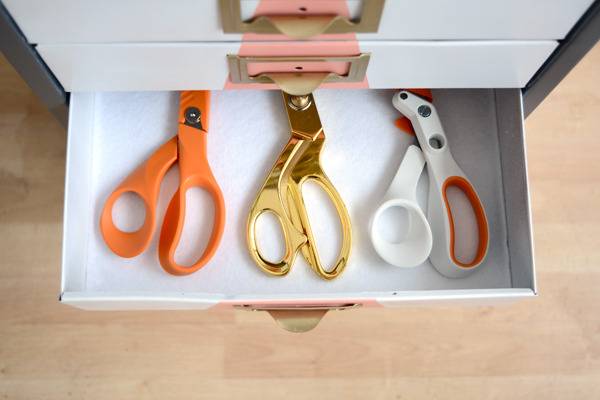
And the final touch was I cut felt squares to fit each drawer. It gives all my favorite craft supplies a soft spot to land.
So, let’s be honest with each other, do you have junk stored in your garage and basement in need of a makeover? Why not a modern paint job to bring back to life a tired, old piece?
I LOVE THIS!!!
awesome!
Looks awesome, great job Jeran! I have a filling cabinet that needs a makeover so I might give this a try 🙂
What was the white felt for?
Drawer liner under the scissors
Fabulous … well done!
How did you remove the hardware? I have the same cabinet but can’t get the hardware off.
I have the same cabinet that I am making into my nail art cart. What are the size of the wheels you added on the bottom and how far in did you attach them? Thank you for the inspiration. I will post my version of your design in a few days.
Very well done!! Just acquired an old rusty metal cabinet at a yard sale. Your restoration process is helpful. Look forward to your next post!