I’d been looking for a creative way to store my large collection of costume jewelry for ages. But I had many criteria… it had to fit all of my jewelry yet be appropriate for a small space, have a clean, contemporary sort of feel, and it couldn’t be too expensive either. And I finally found it. At IKEA. Read on to check out my ultimate jewelry storage solution.
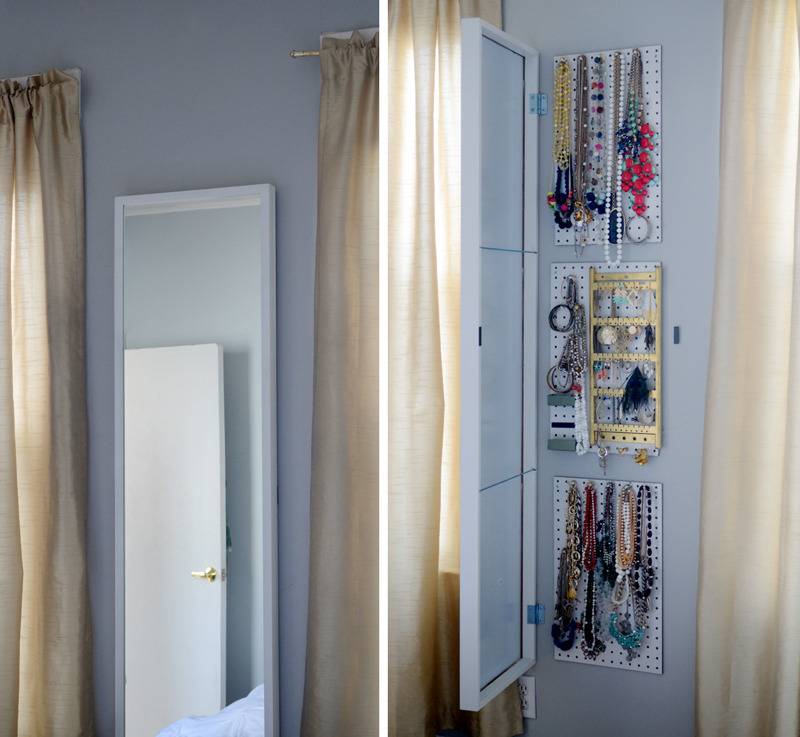
The Stave mirror from IKEA is the key. The Stave is designed to be a 3-way mirror, so it comes with hinges (you don’t have to buy all three mirrors though, don’t worry). There is space behind the mirror which creates the perfect spot for your jewelry to hide. I can’t take credit for the idea itself, I ran across it on The Girl On The Go. I did make some changes to my version, however; the major difference is that I used pegboard for mine. And I wanted to create a full tutorial for you so you could recreate this in your own home. And you totally should if your jewelry needs organizing; I am completely obsessed with mine.
First, you’ll need to brave your nearest IKEA store to buy the Stave mirror:
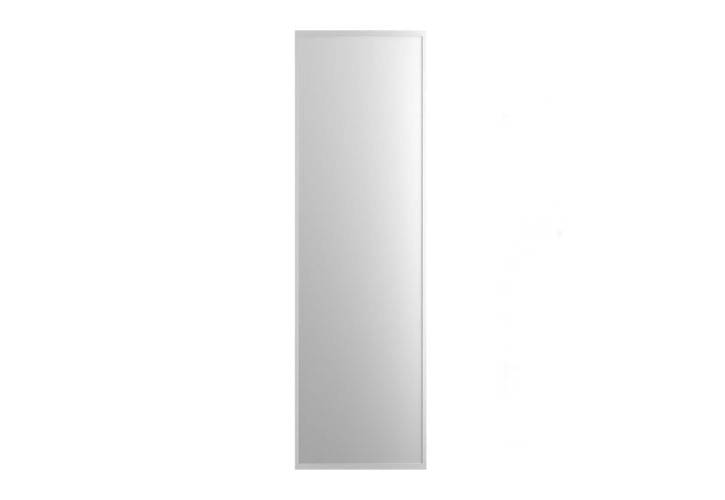
I bought the 15″ wide one in white. On the way home, stop at your local home improvement store and pick up the rest of your materials:
– Box of screws and plastic drywall anchors
– 3 pieces of pegboard, each size 13×19″
– Electric drill with a variety of drill and screw bits
– Hot glue gun
– Heavy duty adhesive magnets
– Small earring organizer (optional)
I had my pegboard cut for me right at Home Depot, so there is no sawing necessary for this project.

1. If you won’t be mounting the Stave mirror on a stud, you’ll want to use long screws with drywall anchors. Choose the size that fits best inside of the hinges that come with the Stave.

2. Remove the extra hardware from the Stave, shown above. Then attach the mirror using the screws and anchors you just picked out. It’s helpful to have someone else there to hold the mirror up (trust me).

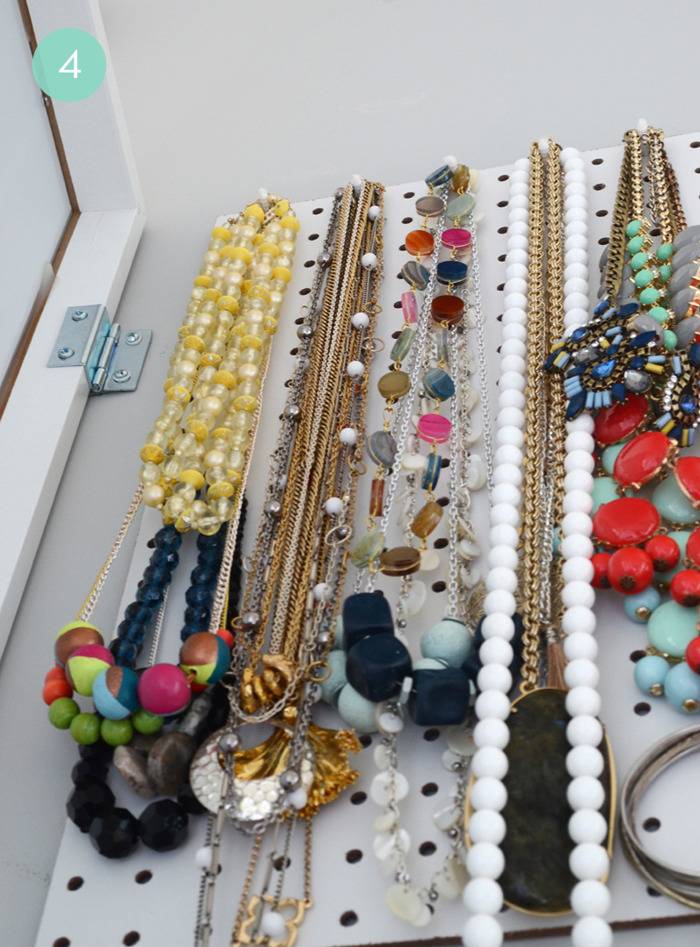
3. Now, here comes the trick. Regular pegboard hooks are too deep to fit behind the mirror (it wouldn’t close) so I used more drywall anchors! Pick a size that fits snugly in the pegboard holes. You’ll need to insert them before you attach the boards to the wall, so make sure you plan out how many you’ll need and how high to put them. For example, if you have lots of bracelets, you might want to put a few more anchors lower down on the board.
4. Once you’ve placed your anchors on all three boards, hang them on the wall using screws in the top corners of each. Be sure to mark the edges of the mirror and measure in from there so the boards are centered within each of the rectangular areas (the Stave has two metal support bars in the back, which is why you need three separate pieces of pegboard instead of one big one. See the photo at the top of the page).
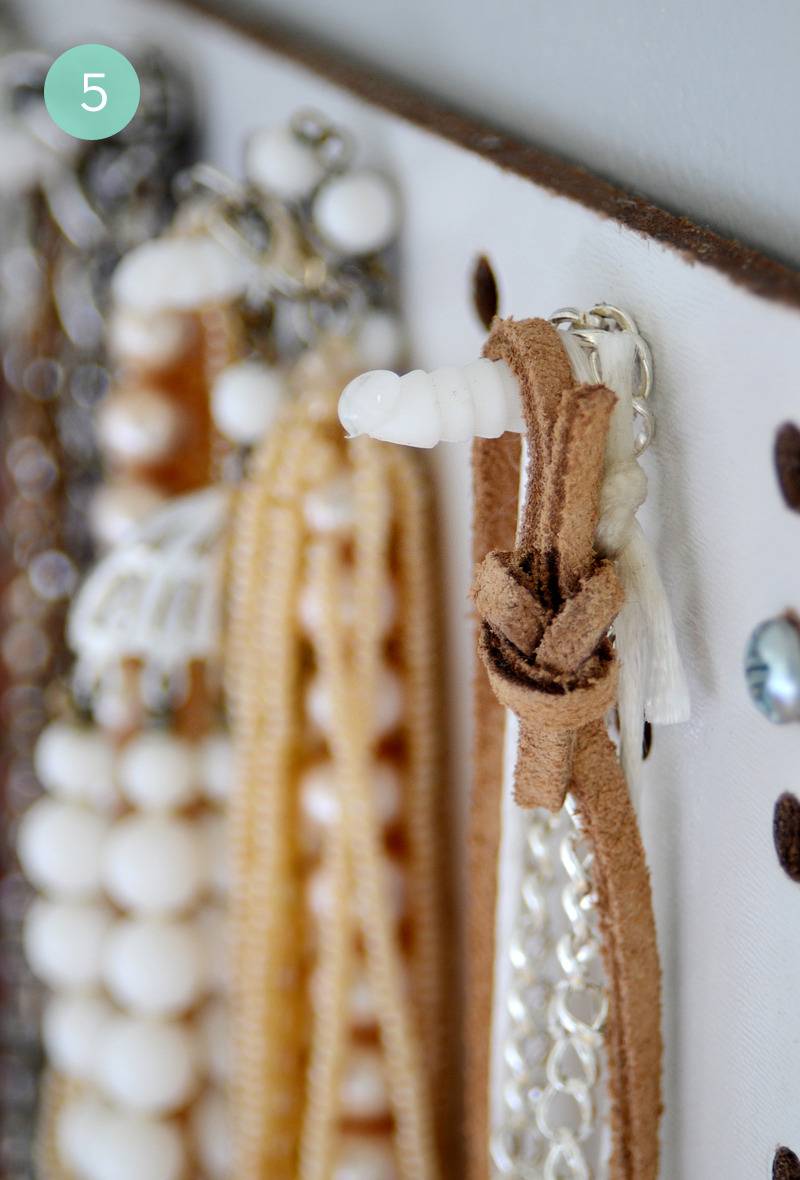
5. I found that some of my thicker beaded necklaces and bracelets slipped off the white anchors, so you’ll probably want to put a little dab of hot glue on the top of each one. I also had a little earring organizer that fit perfectly, so I screwed it to one side of the middle pegboard.
6. (Not pictured) Attach heavy duty adhesive magnets to the edge of the mirror that’s not hinged, otherwise it will swing open a bit.
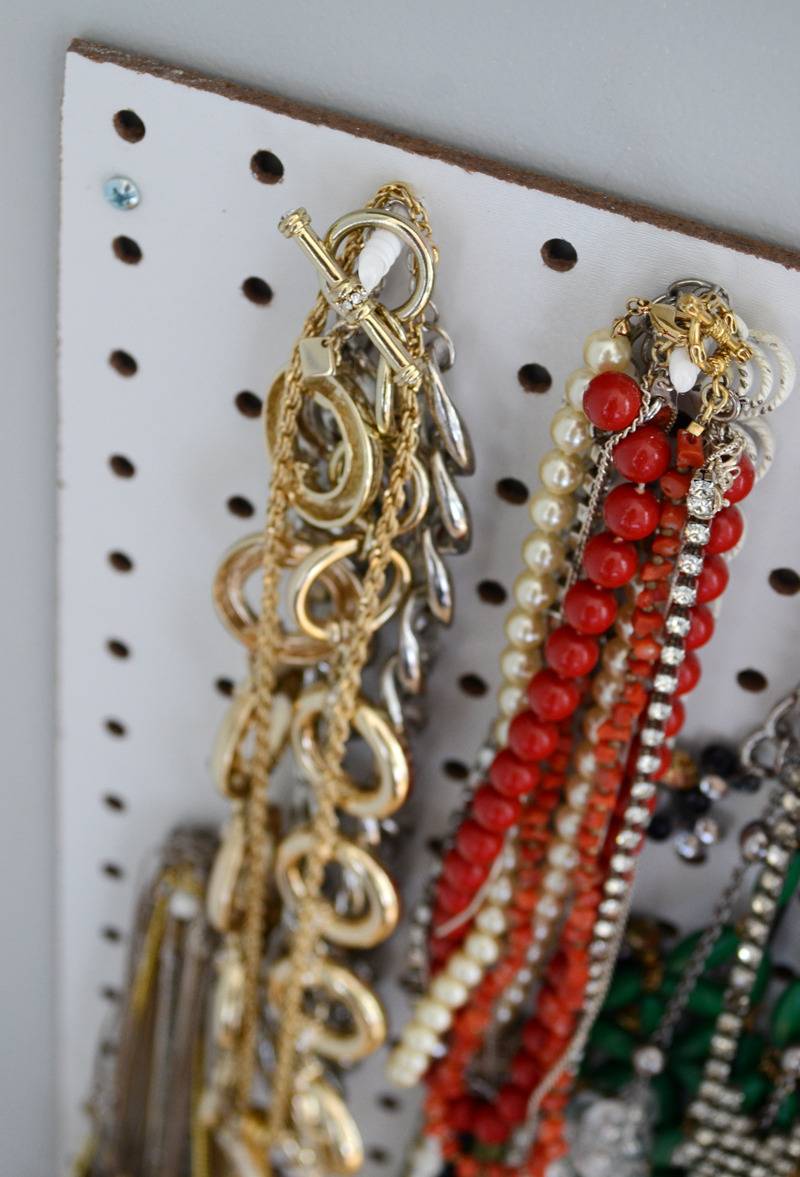
Now go fill up your new jewelry storage unit! I love that it looks so clean and organized when it’s closed, but then has so much storage on the inside. And plus, what’s handier than having a mirror right there so you can find the perfect necklace for your outfit?
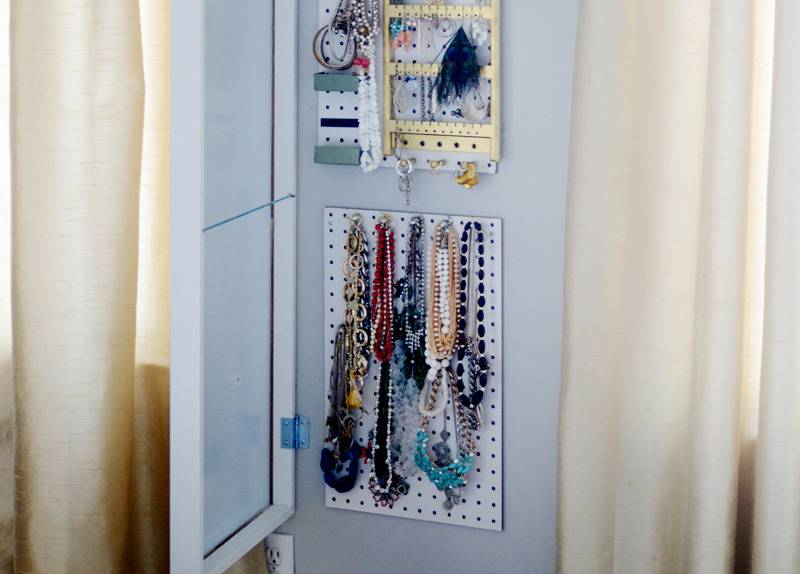
I can’t tell you how much more organized my bedroom is now that I don’t have different piles of jewelry in every corner. I’ve had it up for a couple of weeks, and it still makes me happy every time I open it up to pick out a pair of earrings.
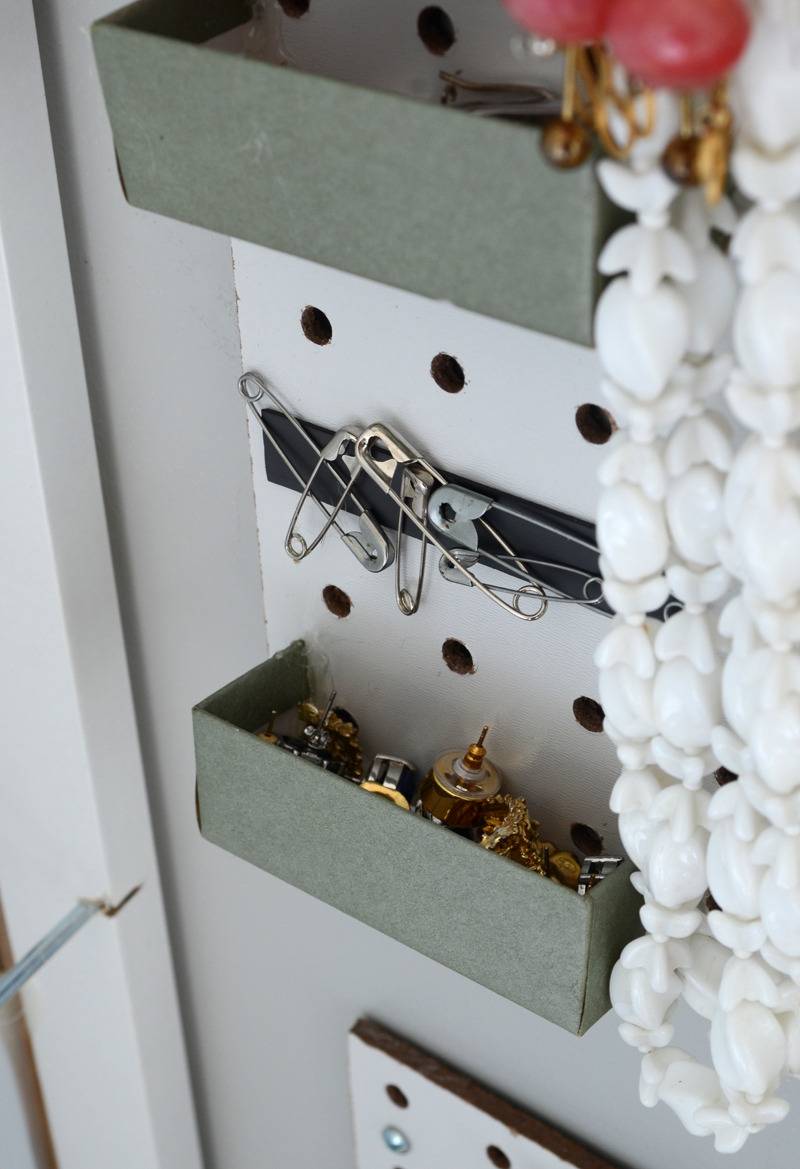
I wanted a place for stud earrings, so I cut a little gift box in half and used hot glue to attach them to the board. I’m also always searching for safety pins, so I put a small magnet in between the boxes to keep them easily accessible.
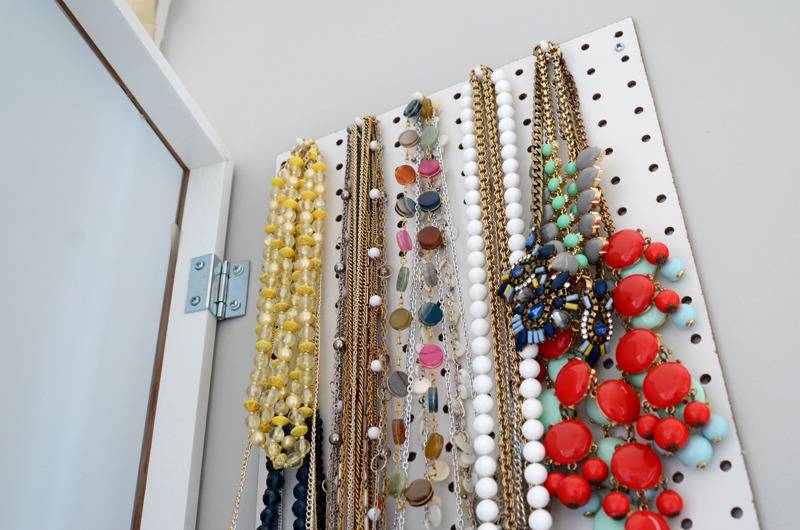
Another benefit is that everything hangs, so gravity helps to keep things untangled and orderly. It will save you a whole lot of time and frustration. And the best part? You can see your whole collection, rather than wearing the same few pieces over and over again out of convenience. I found necklaces that I didn’t even know I had!
Good luck with this hack everyone, I hope yours makes you as happy as mine does!
This a fantastic idea! It will hold a lot of jewelry. I’m thinking that instead of the white plastic anchors, I might use bolts (of the correct size for the holes) and nuts with the pegboard. That way, the bolt heads will keep the necklaces from sliding off.
Thanks Jeanne, glad you like it! Great idea to use nuts and bolts 🙂
Nicely Done! Where did you get your earring holder?
I’ve been drooling over this all year, got the mirror this past summer, & we JUST now put it up. 😉 But I’m finding that I can’t put the really thick necklaces (or bracelets) on the boards or else we can’t shut it. Did anyone have any trouble with that? If so, what did you to to fix it? We’re thinking of adding something the hinges to get them to stick out more & therefore bring the mirror out further away from the wall. Ideas? Comments?? 🙂
Looks like a good idea, but would it stay dust free?
Thanks!
I found an easier way. IKEA Skadis pegboard fits inside the back of the Nissedal mirror perfectly. Skadis hook strip fits in the pegboard. No cutting or saw required for the project!
Hey Tracy! Thanks so much for the tip! We love easy hacks.