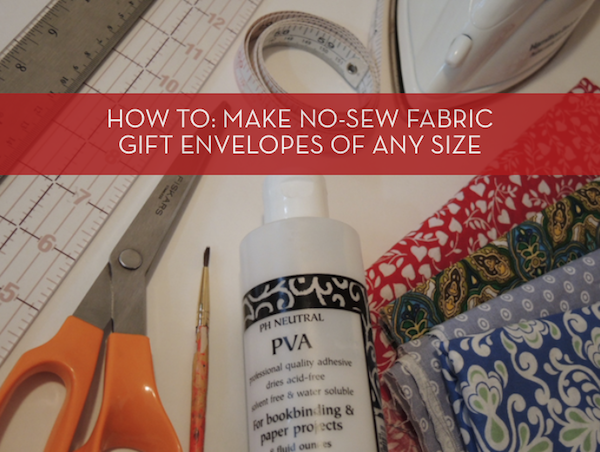
DIY MavenWhy fabric gift envelopes? Because they’re fun and easy to make and anything slim and flat can fit into them. Folded scarves, ties, gift cards, photographs, a DVD, stuff like that. In this tutorial I’m not going to give specific measurements. That’s not because I’m trying to be difficult but because you can make the envelopes of any size using whatever you want to put into them as a template. Easy peasy! To get started, let’s go over the materials you’ll need to make them.
- fabric of the quilting/calico variety (this is a great way to use up stash!)
- poster board (one standard sheet will make dozens and dozens of gift card holders, for example)
- scissors
- glue, I used a combo of PVA and a hot glue gun and glue stick
- an old, small paint brush to apply PVA
- pencil
- an iron and ironing board, not necessary but recommended
- a measuring device of your choice but not necessary
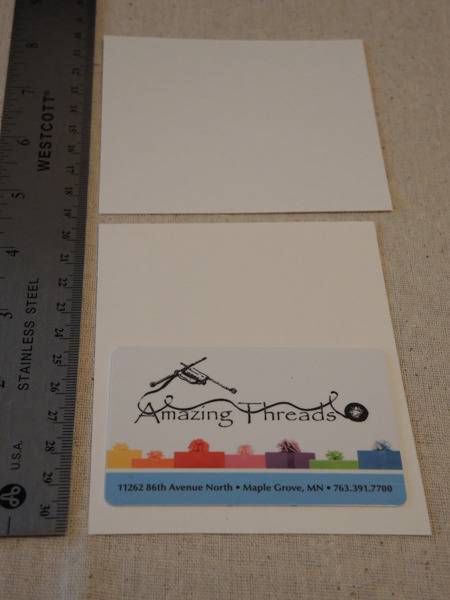
Step 1: Lay the thing you want to wrap on to the poster board. Mark and cut a piece of poster board double the height and about a quarter of an inch wider than the thing.
Then, cut another piece of poster board about a quarter of an inch wider than the last piece of poster board you just cut and about 2/3 the height. See below for visual elucidation of these wordy sentences. (This is one of those tutorials that take longer to explain than to do, trust me.)
 DIY Maven
NOTE: From here on out, the same technique applies to both pieces of poster board!
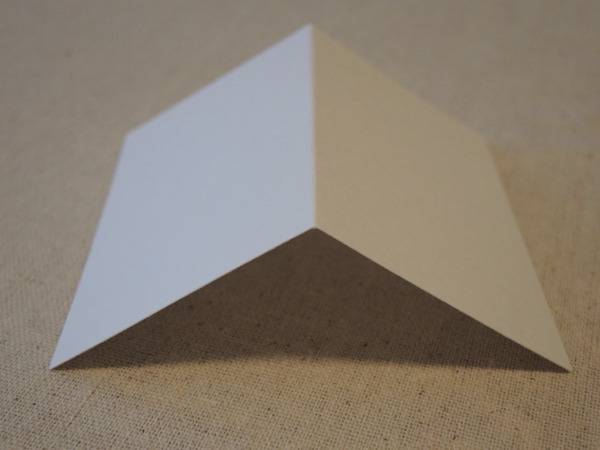
Step 2: Grab one of the pieces of poster board and fold it in half the long way.
 DIY Maven
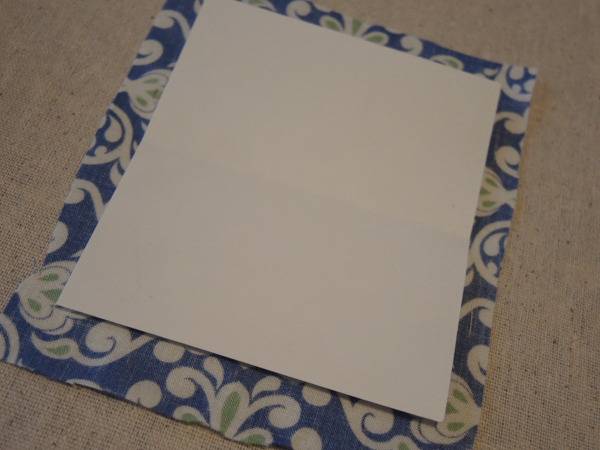
Step 3: Unfold the poster board (valley fold facing up) and use it as a template to cut a piece of fabric about 1/2 larger on all sides.
 DIY Maven
NOTE: Before we start gluing I need to mention when and when not to use hot glue. I used PVA on this particular envelope, but you could easily use hot glue except for the final glue-step as hot glue would have been tricky. (You’ll see what I mean shortly.) Also, if you don’t have PVA, you could use Elmer’s or even Mod Podge.
Step 3: Apply glue to the edge of one of the long ends of the poster board.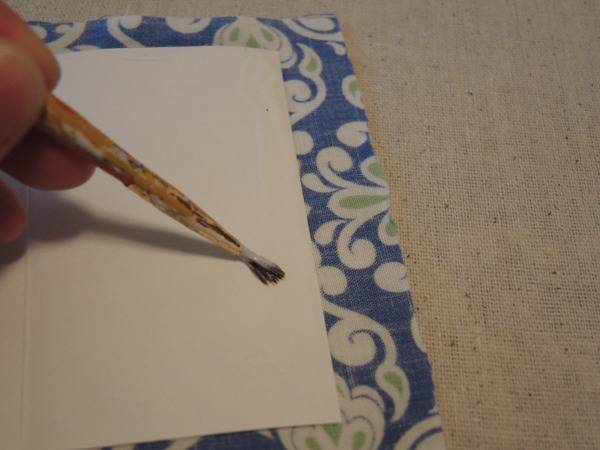 DIY Maven
Step 4: Fold down to glue into place.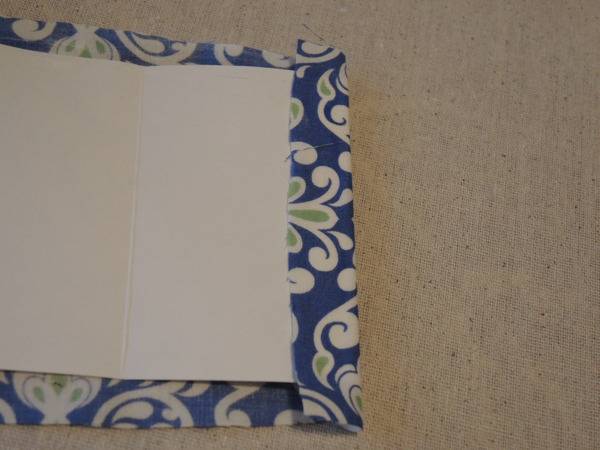 DIY Maven
Step 5: Re-fold the poster board up.
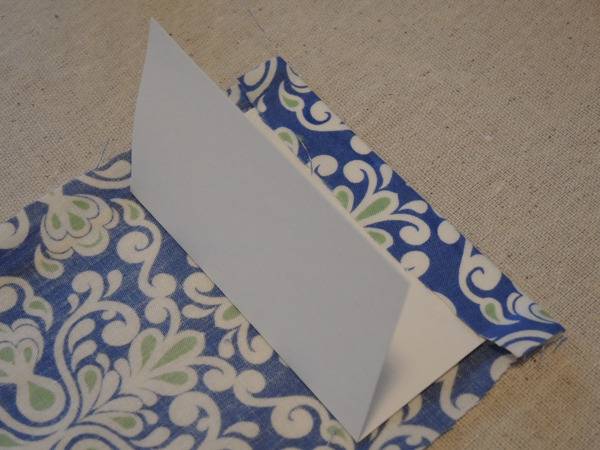 DIY Maven
Step 6: Apply glue all along the right and left edges of the fabric.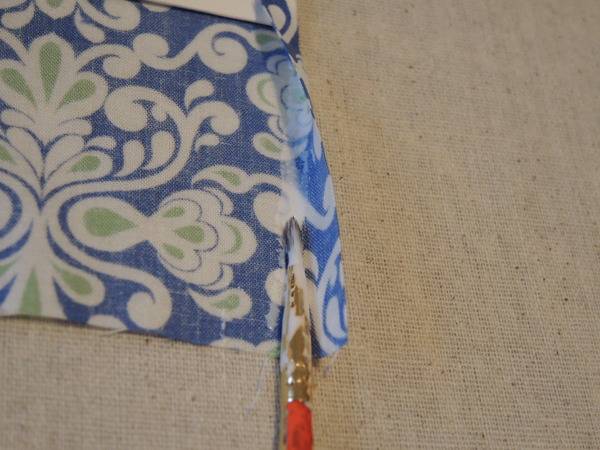 DIY Maven
Step 7: Then fold the edges in to glue.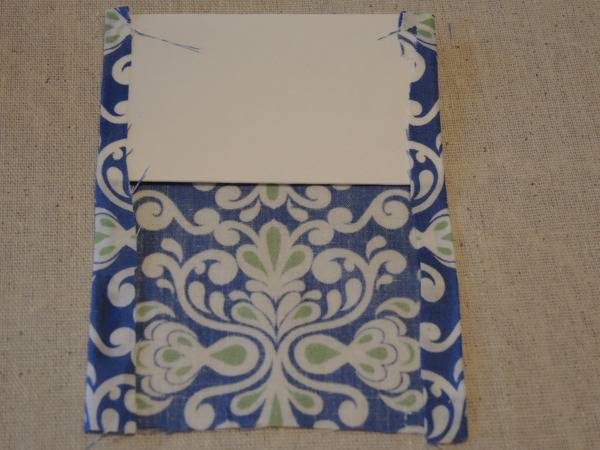 DIY Maven
Step 8: Fold the fabric up to the fold in the poster board. Here, I used a dry, hot iron to make everything flat. (I didn’t wait until my glue dried, and it worked just fine. I even used the iron when I used the hot glue–still fine.)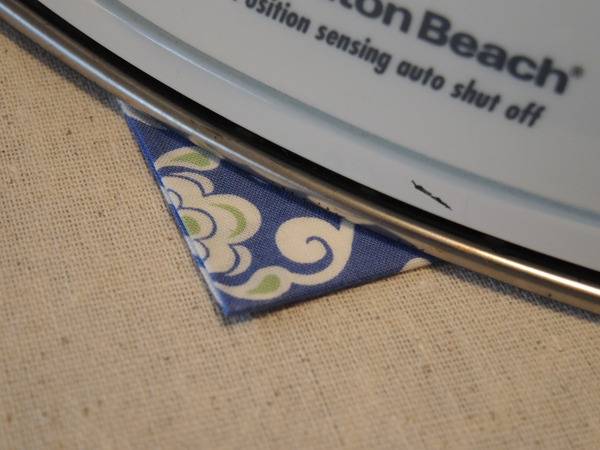 DIY Maven
Step 9: Unfold fabric, apply glue to the folded-in edges of the fabric. Then fold the fabric back up and press to glue into place. (Three derivations of ‘fold’ in one one step, if you’re counting.)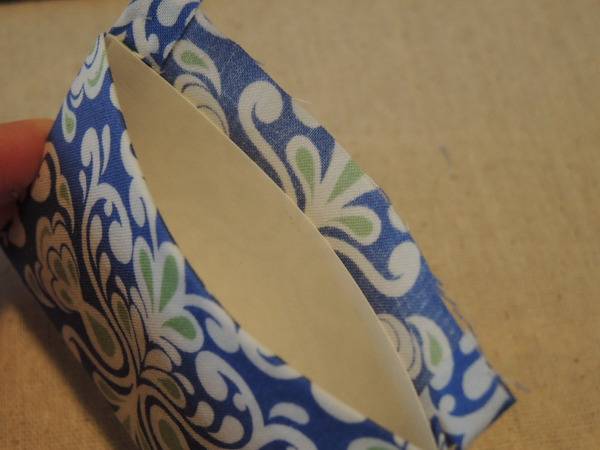 DIY Maven
Step 10: Glue/tuck the last edge inside the envelope. Below is what the inside of the poster board should look like when you’re done. This is also the step where I would HIGHLY suggest NOT using hot glue as it’s tricky to get the gun inside there. 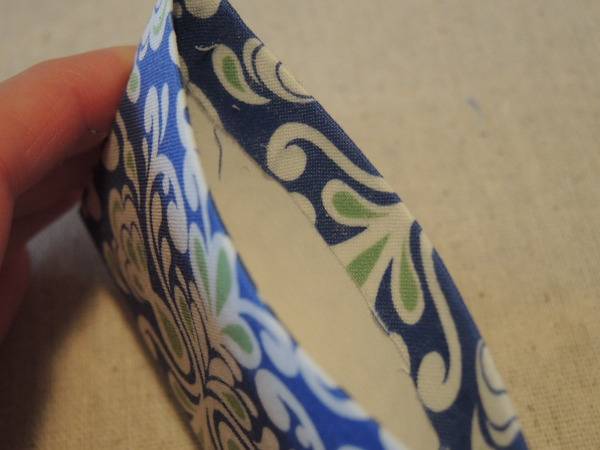 DIY Maven
And below is what the bottom of the envelope looks like finished. Perfect fit for my gift card! This is also the end of the step-by-step instructions, because now we’ll grab the other piece of poster board we cut and repeat the process highlighted above.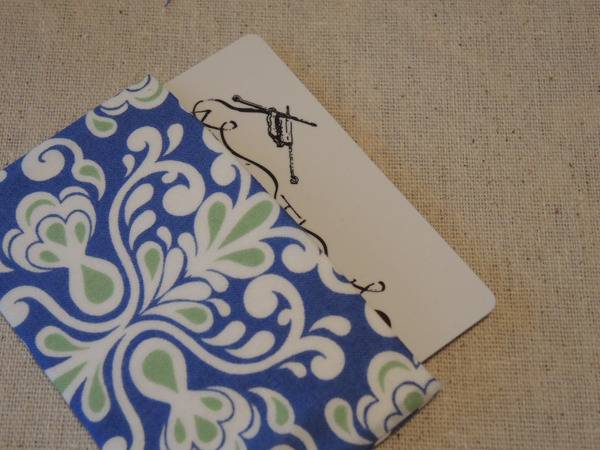 DIY Maven
See? Top done!
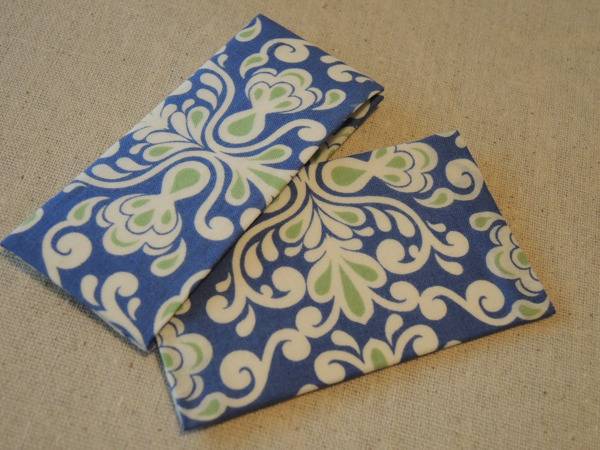 DIY Maven
And they fit together perfectly. What’s cool about these envelopes is that the fabric creates friction, so the tops stay on.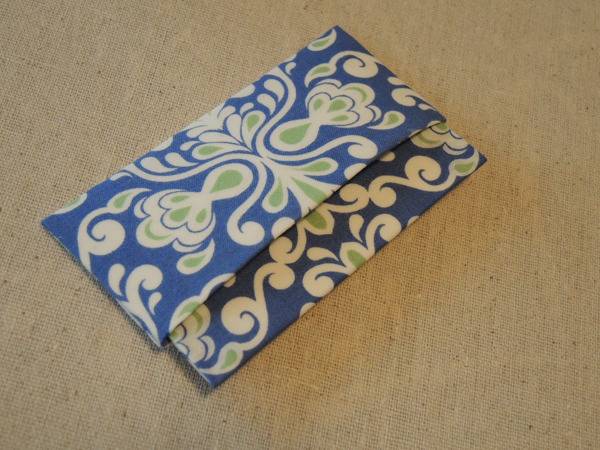 DIY Maven
To prove that you can use just about anything flat as a template, I made some envelopes for a friend of mine who is giving reprints of old family photographs as Christmas gifts. She didn’t want to present them in plain old manilas, so I offered my services.
Again, I started with a template. In this case an 8″ x 10″ I had on hand. I should mention here that if your intention is wrapping things of larger dimension, you might want to find a heavier weight poster board. Also, if the thing is a bit thicker, you’ll want to add a bit of ease around the edges so your envelope can ‘poof’ out.
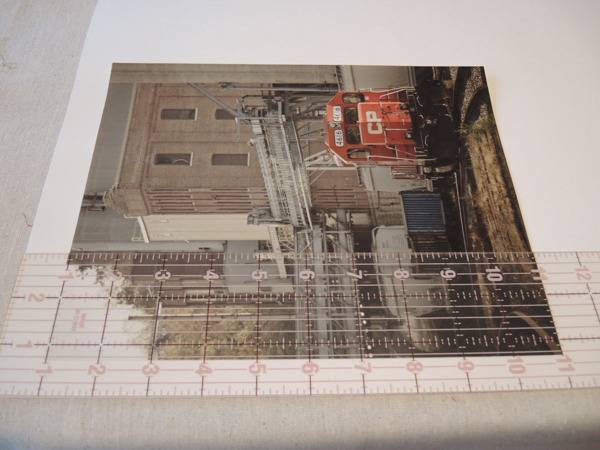 DIY Maven
Here is the big envelope I made next to the little gift-card one: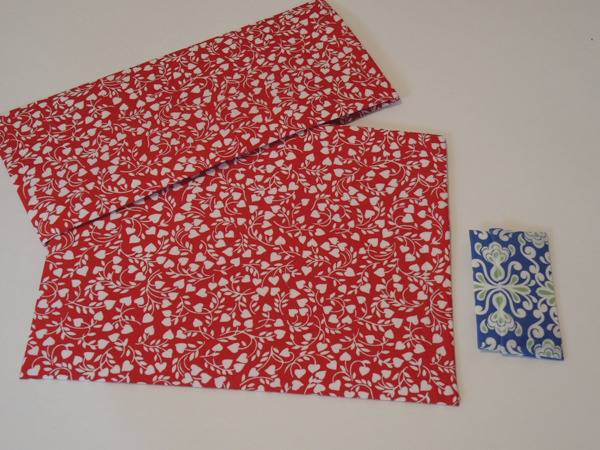 DIY Maven
I thought they were pretty cute as is, but embellishing is always fun, so that’s what I did. Using my hot glue gun, I grabbed bits and bobs I had on hand and had some fun.
Using grosgrain, silk flowers, and little pom poms:
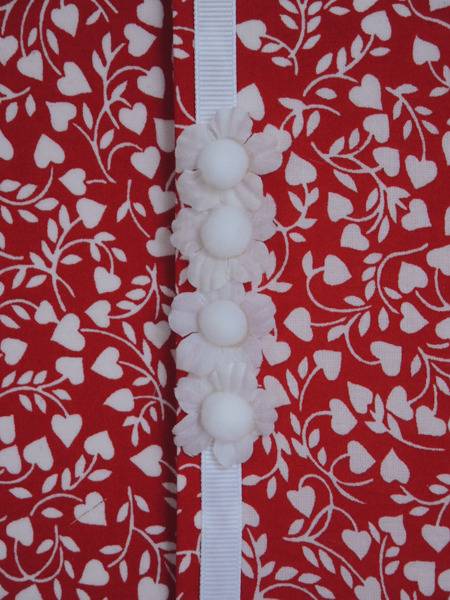 DIY Maven
More grosgrain, tiny rick-rack, and a little square rhinestone: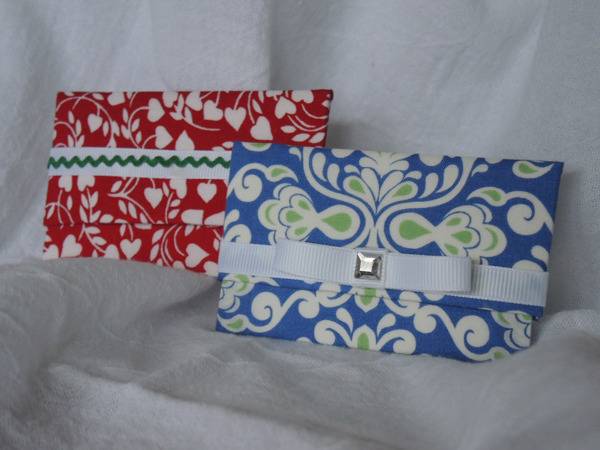 DIY Maven
Tulle and a sparkly pom pom that I found in my gift-wrapping supplies:
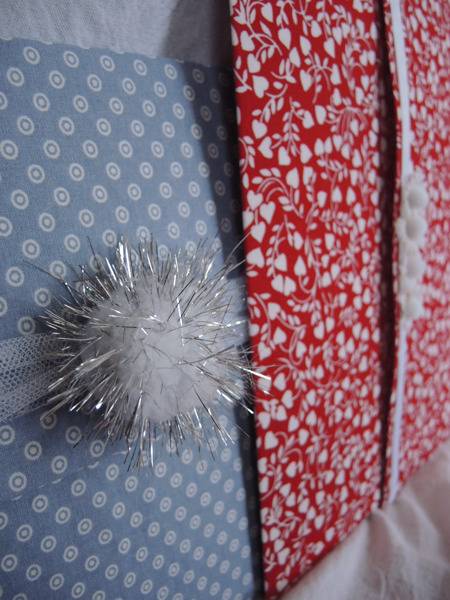 DIY Maven
And there they are, my fabric gift envelopes. Hope you like them!
