Now that chillier weather has hit Portland, I’ve become a bit obsessed with candles. There’s just something about them that makes any home cozy. And don’t even get me started on those fall scents! To mix things up this season (from my traditional metallic ways), I decided to go rustic and make a few candle holders out of wood.
What you’ll need:
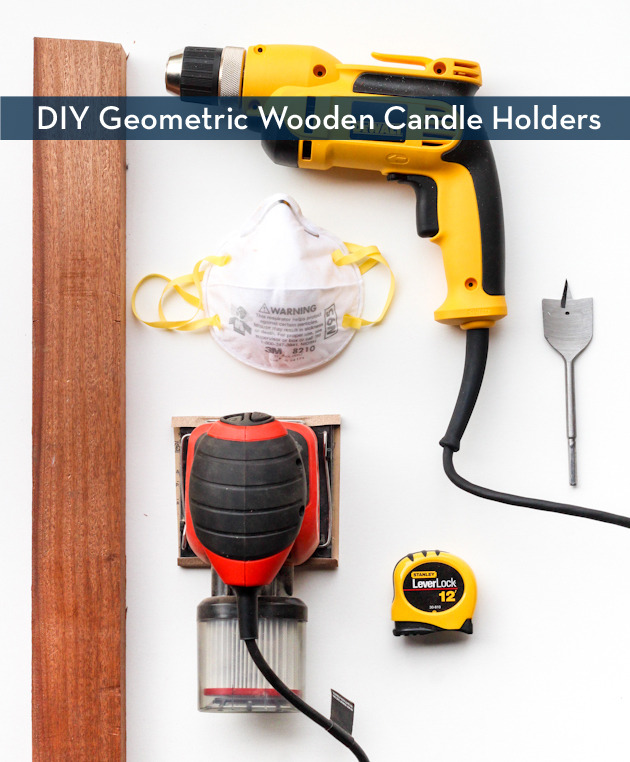
– Wood (about 1.5″ thick)
– Saw
– Drill with 1 1/2″ spade bit
– Sander/sandpaper
– Protective gear (mask, glasses, gloves)
– Pencil
*On the off chance this needs to be said, please always use caution when using power tools (protective gear is a must!).

Use a straight edge and pencil to mark where you’d like to make your cuts. These will be your guidelines so take the time to get them right.
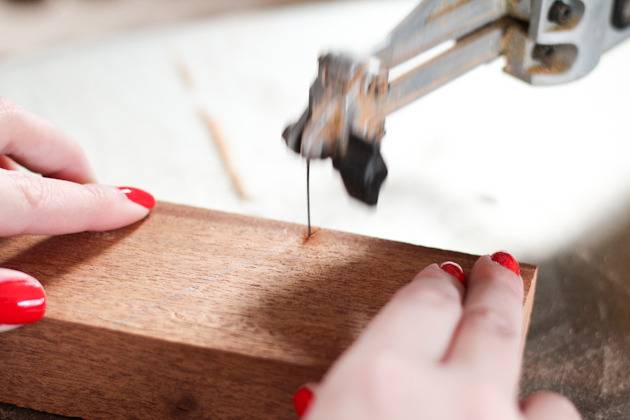
Cut your wood. You can use just about any saw (a handsaw will work just fine, but it may take more time), as long as the blade can handle the thickness of your wood.
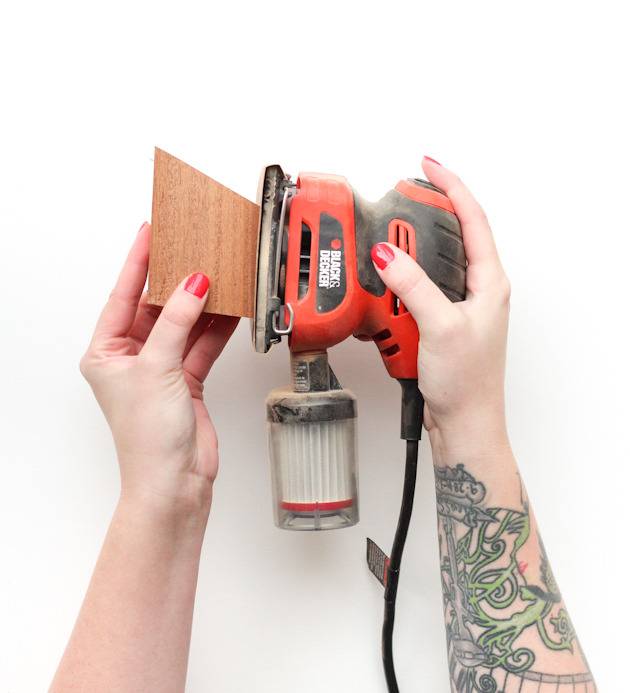
Sand your pieces until smooth.

Trace your votive on the wood to ensure you get the placement correct.
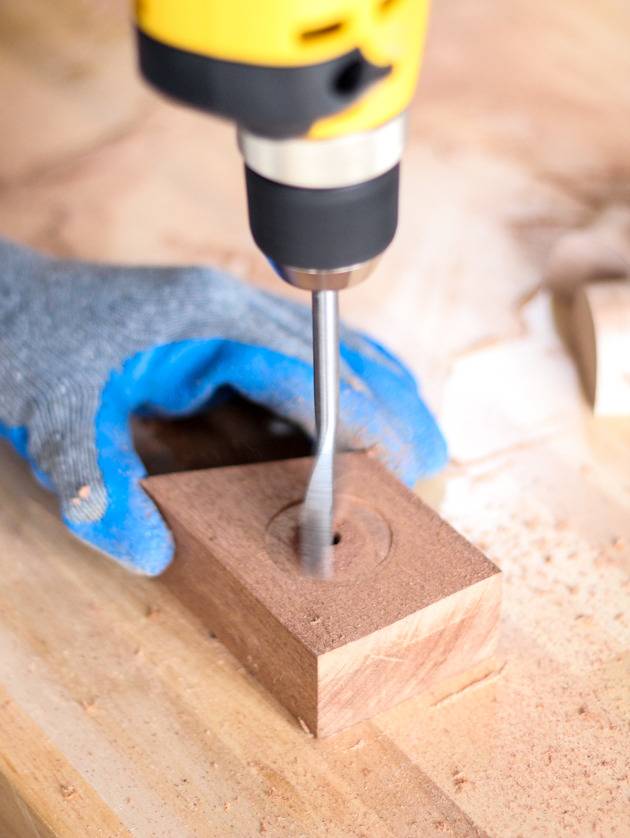
Place your spade bit directly in the center of your outline and drill. If you’ve never used a spade bit before, you may want to clamp the wood in place and use two hands on the drill as it can jerk.
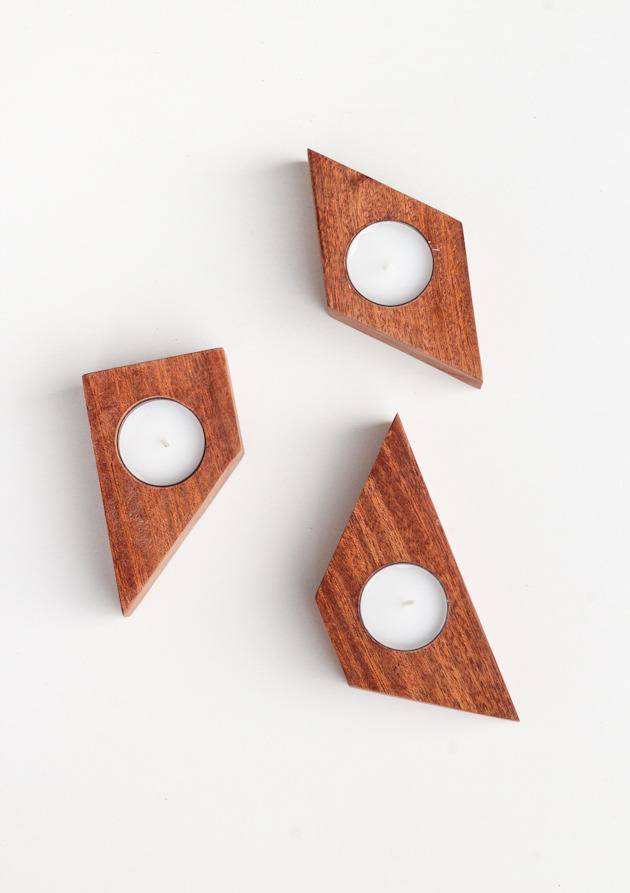
If you want to apply a finish, please make sure that it is non-flammable. Look for a natural wax or oil, but again, please double check that it’s non-flammable! You could also use flameless candles.
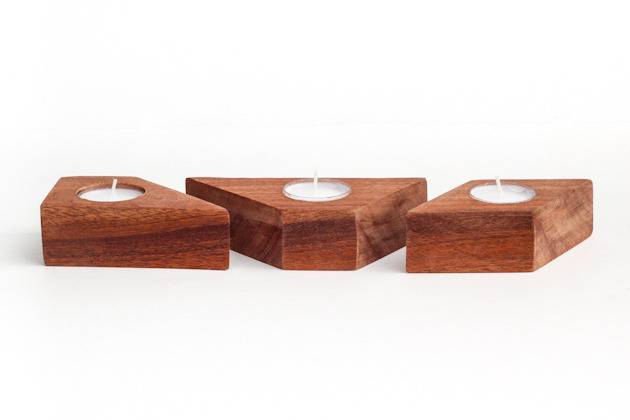
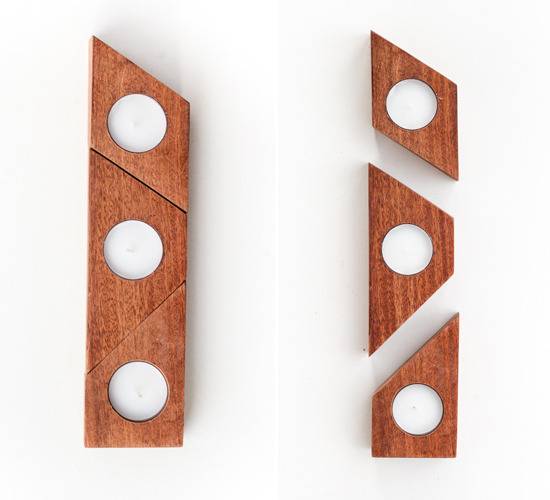
What I love most about this is that the pieces can be pushed together to make one unit that’s great for a long centerpiece, or used individually around the home!
What shapes would you make?
Might want to mention in the list of items that you’ll need a saw …
Oh my goodness, duh! Thanks for the catch E!
Love these DIY candle holders… so easy to make and very on-trend! Pinning!
Cuanto mide cada uno de los candelabros.? ( largo de cada lado)-