Halloween is behind us, Thanksgiving is upon us, and Christmas is less than 6 weeks away! While it may still be too early to deck all the halls, now is the perfect time to start thinking about some simple, beautiful holiday DIYs to try this winter.
The undisputed queen of beautiful holiday decor is Martha Stewart, and we’ve partnered with her team to complete easy, festive DIY projects that anyone can do.
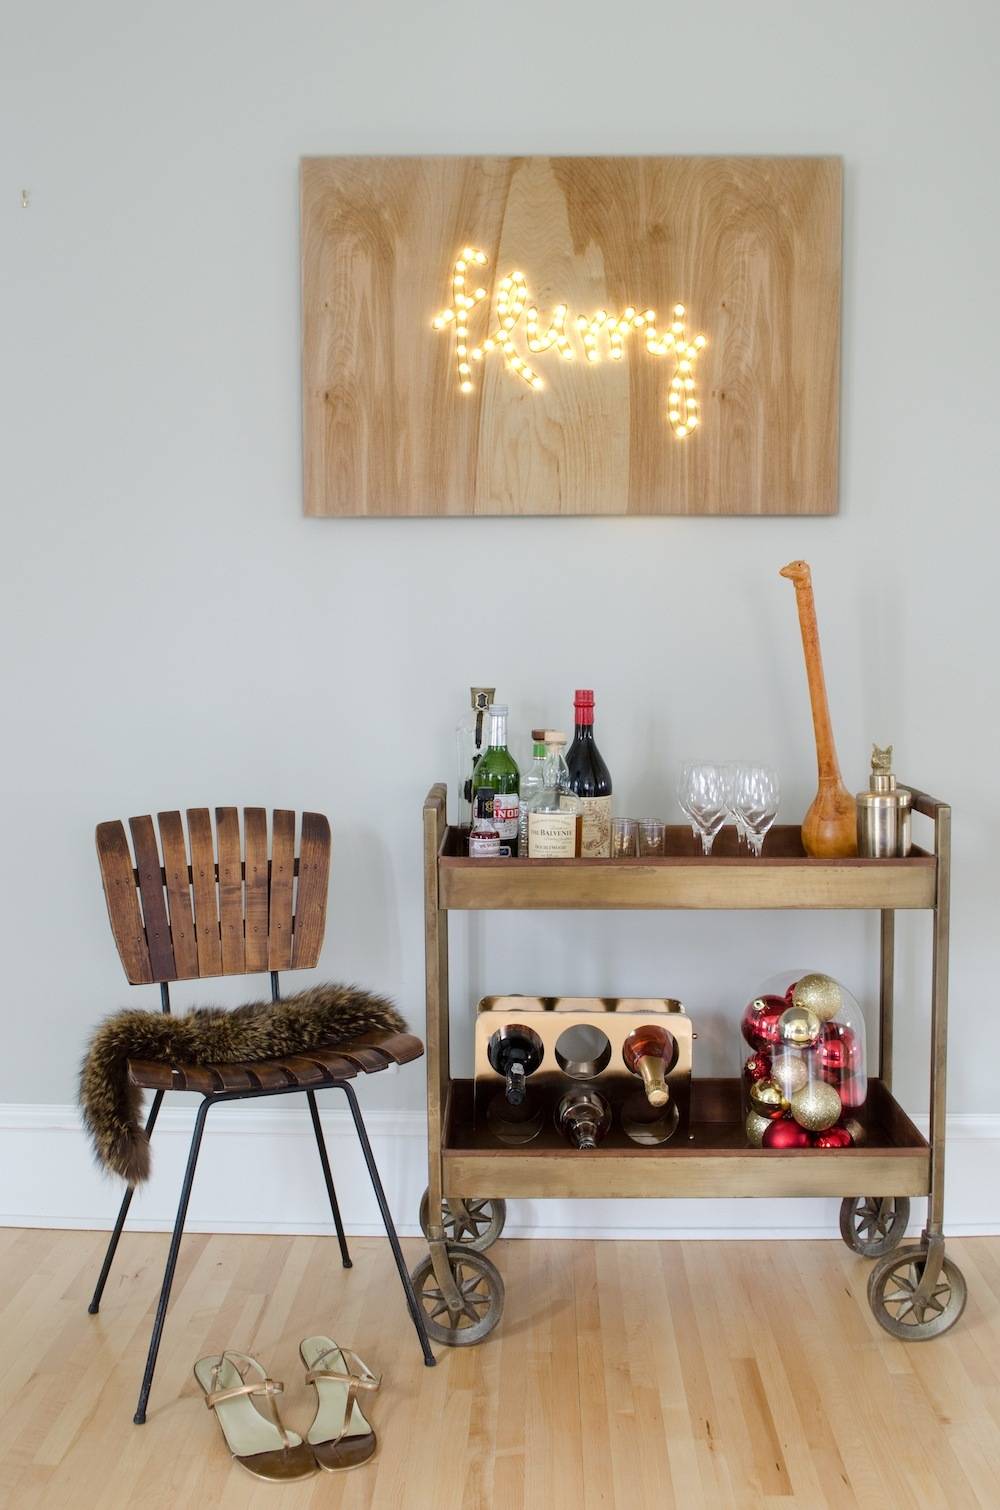
We created two projects using products from the Martha Stewart line at The Home Depot. Our first project is a lighted sign. There are three festive light designs available to print out (Joy, Peace, and Noel), but we decided to create our own word and template because we wanted something that captured the holidays in our house. We chose the word “flurry” because of it’s perfect double meaning (a tiled template for “flurry” is available for download here!). There are several holiday how-to projects with easy to follow videos – check them out here!
To create a sign of your own, you’ll need the following materials:
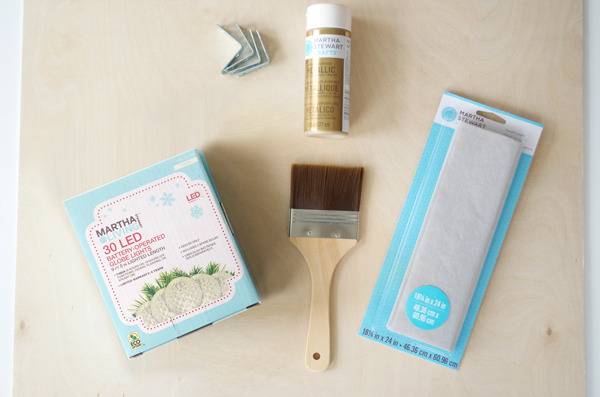
- Plywood – We used a 2’x3′ (1/2 inch depth) piece of plywood that we cut in the store.
- Globe Lights – 3 strands of the 50 LED set, available in stores (Or, 5 strands of the 30 LED set, available online): Martha Stewart Living Battery Operated LED Globe Lights
- “Flurry” Word Template
- Transfer paper + Ball point pen
- Tape
- Drill
- 27/64th Drill bit (this size bit will allow your lights to fit )
- Sand paper – Medium grain
- Acrylic Paint
- Paintbrush
- Brackets and Additional Wood – If you’d like to create a frame to hide the string lights on the back of your sign, we recommend using boards that are 3″ deep by 1/2″ wide.
Here’s the step-by-step:
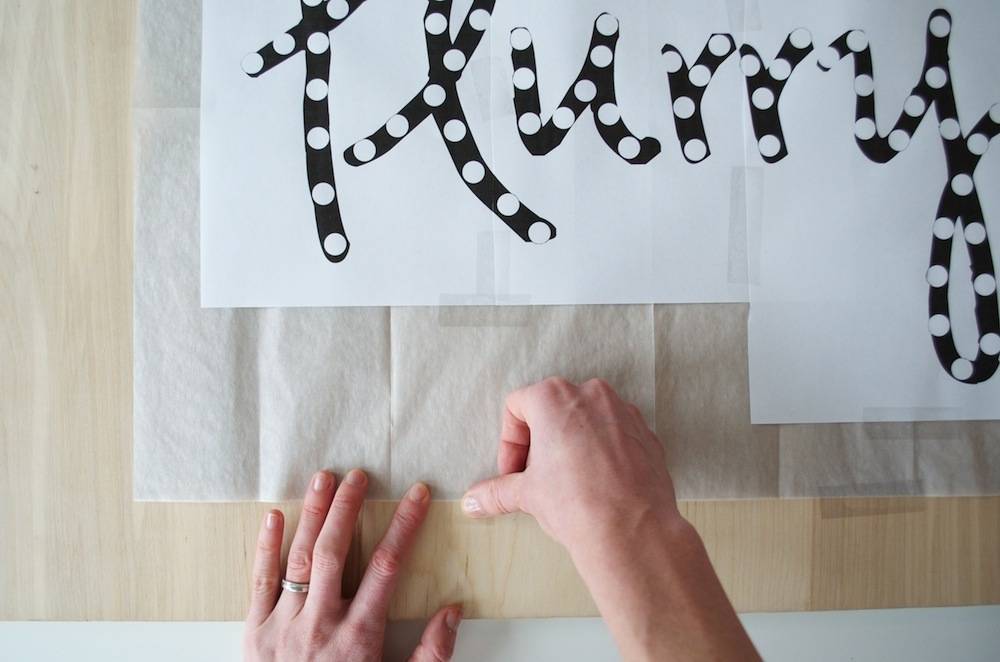
Attach your transfer paper to your board and tile your word over it.
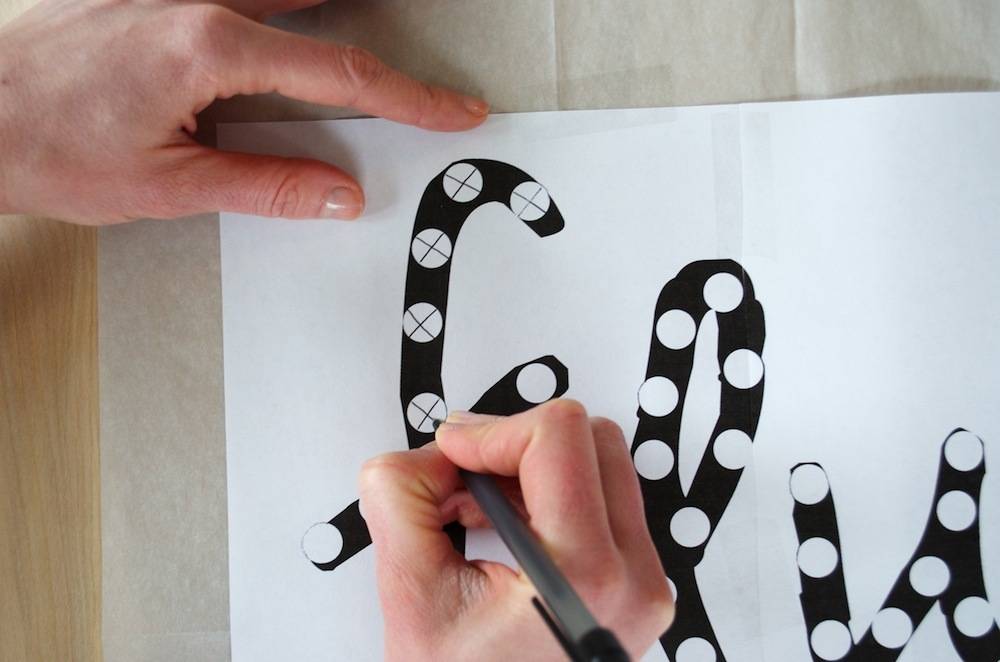
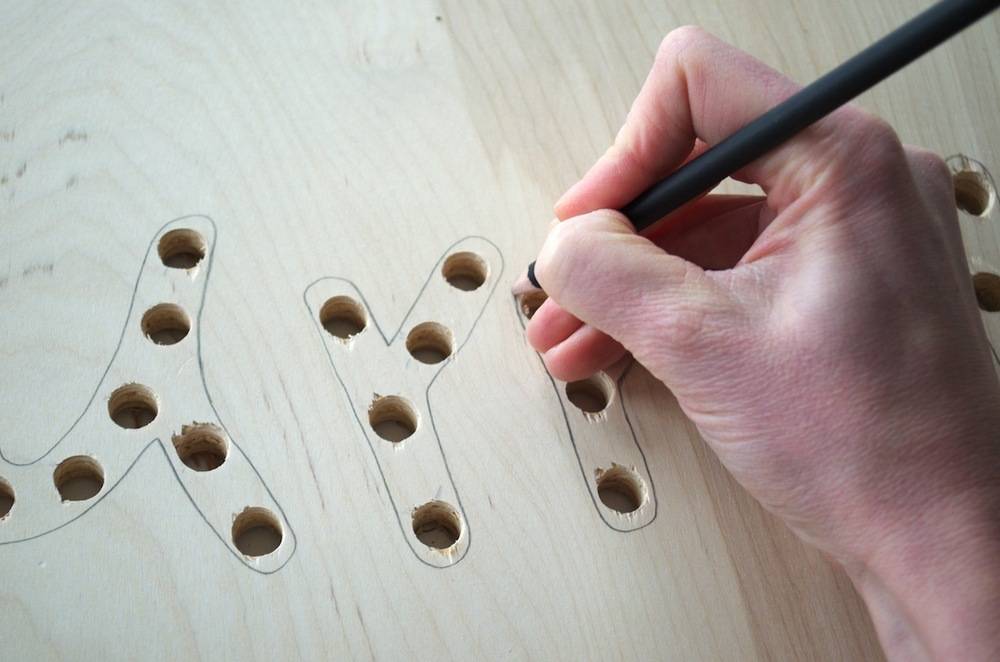
Mark each dot of your word with an X to help guide your drill holes.
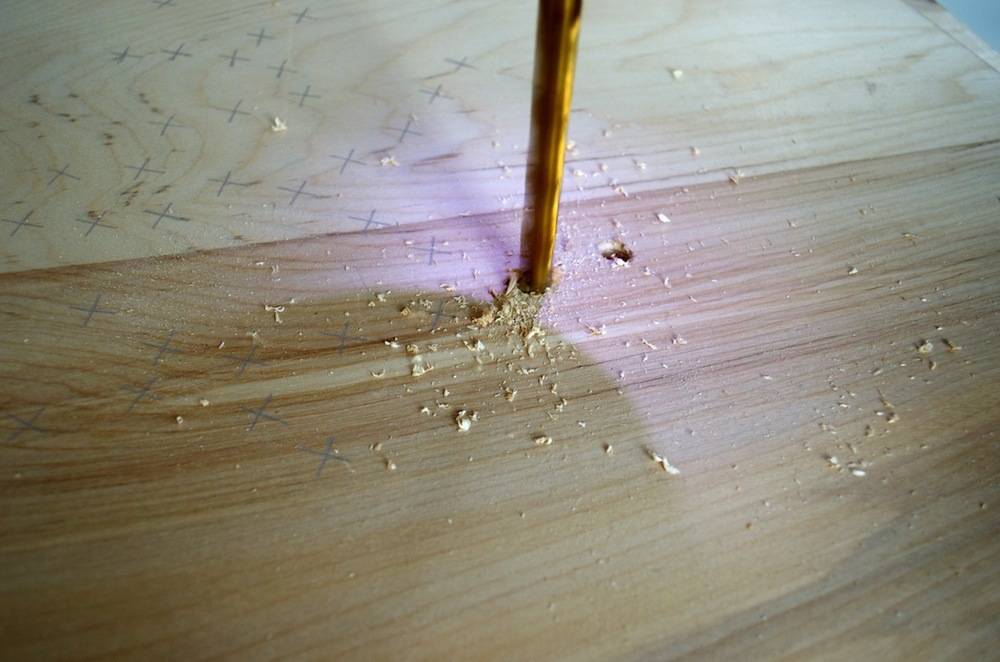
Drill through each hole and sand the rough edges of the holes with a medium-grain sand paper.
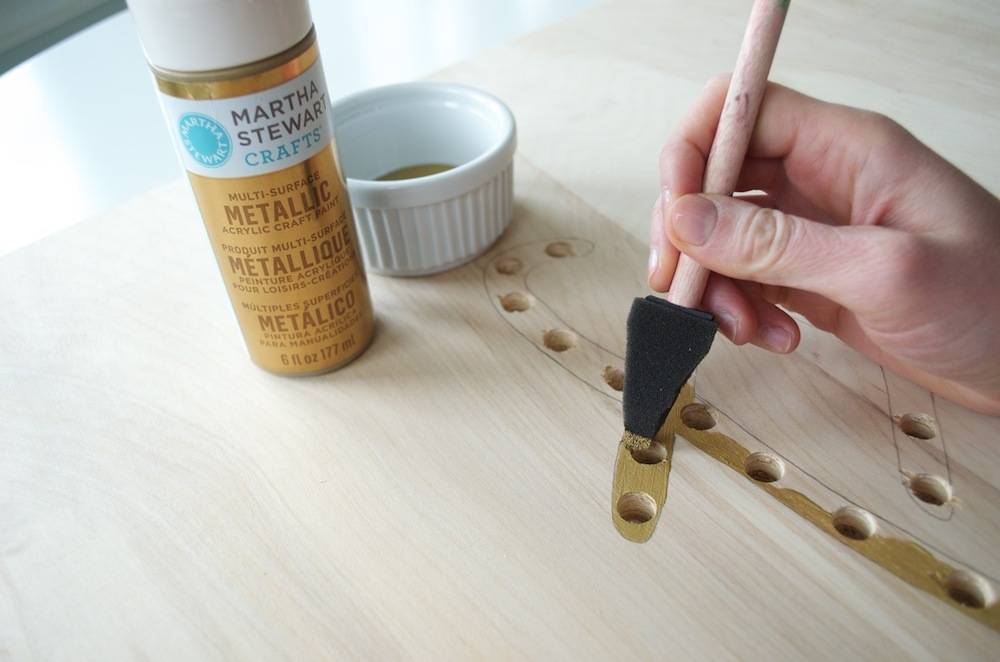
Outline your word with a pencil and paint.
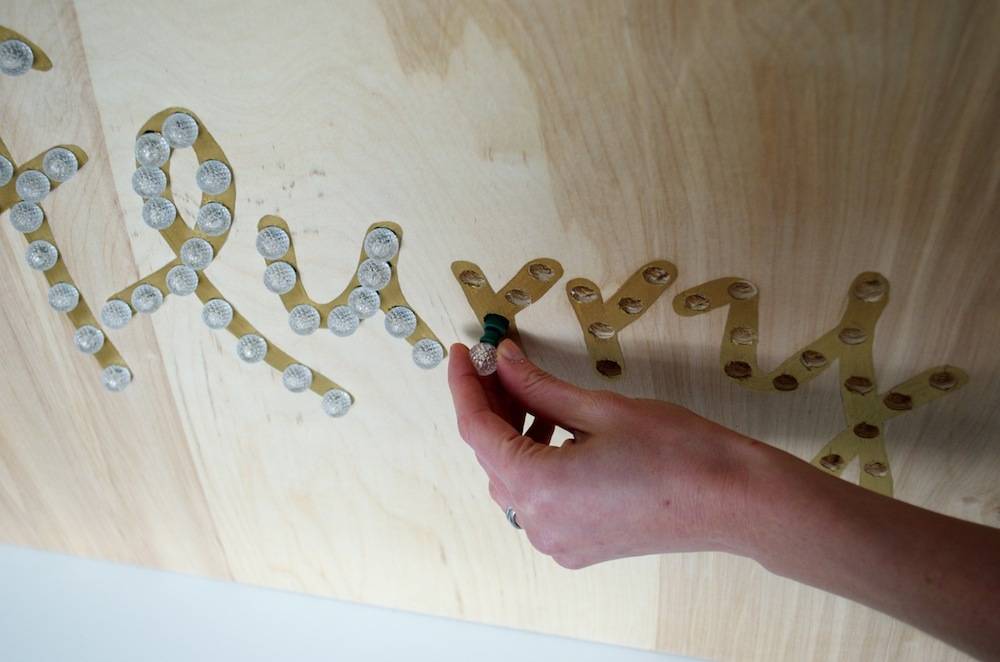
Feed lights through the holes on your sign. Remove each bulb from the light strand and reattach the globe to hold the light in place.
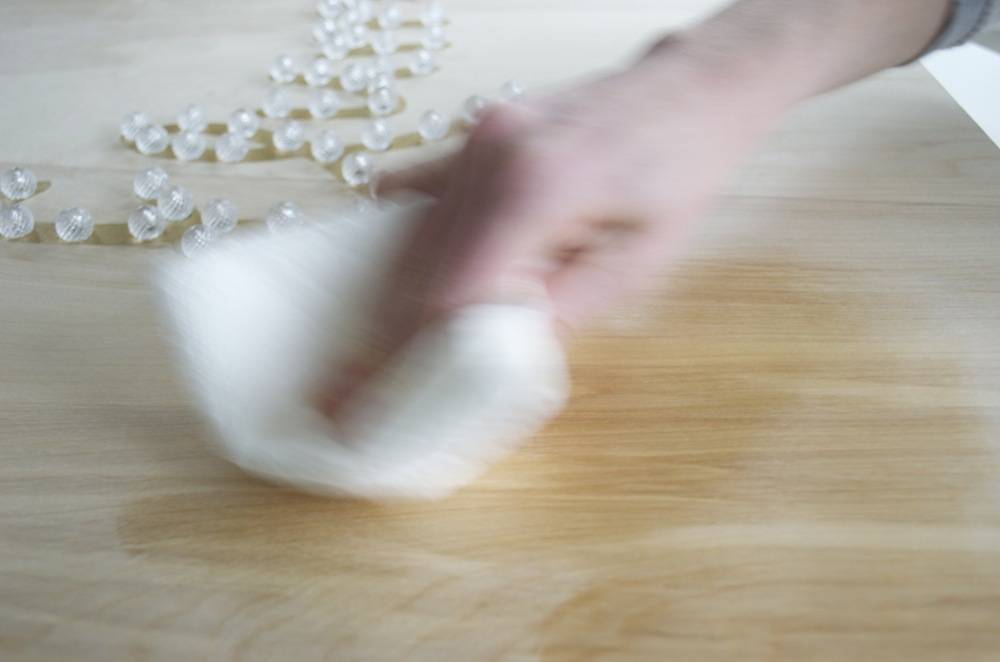
Rub a coat of danish wood oil all over your plywood (to protect the wood and highlight the grain of the wood).
Optional: Add a 3″ frame to the sides of your board to hide the cords.
Attach hanger to the back of the board, take a step back, and enjoy!
I partnered with Martha Stewart Living Omnimedia, Inc. for this holiday series. All words, opinions, and experiences are my own.
your sign is lovely, we tried to make Martha Stewart Holiday Lighted Sign Project, (there is a video on home depot/Martha Stewart) we used plywood we had but bought all the required lights, did everything as instructed, and used the correct drill bit but when we tried to insert the light thru the back of the hole as instructed in the video the hole was too small and the green part of would not fit, we managed to get one in after much work but the lights themselves were too small for the hole and you could see the space around hole, it was not covered by the light bulb as she showed on her video. Removing 150 lights was not as easy as she showed in her video…do you know how we can contact her to find out what we are doing wrong if anything…lots of work and no completed sign
Hi Mary, I’m not sure what happened in your case, but if the hole tolerance is too tight, you could certainly try drilling it out a little bigger. I found on a couple of our holes that were tight, that I could snap off the little green tab on the side of the light, and that allowed it to pass through without trouble. Good luck!