From designated dumping ground to serene, Scandinavian-inspired retreat, this master bedroom and bath combo recently underwent a seriously stylish makeover. See how a whole lot of elbow grease and some cleverly thrifty design choices transformed this space in this month’s Makeover Tour below!
Name: Karin Newstrom and Jeff Hansen
About: Karin Newstrom is a Minneapolis-based photographer (www.karinnewstrom.com) who lives with her husband Jeff and three adopted, scruffy dogs. Karin and Jeff have fully embraced home ownership and the DIY mentality by completely ripping apart their first home and slowly putting it back together.
Project: Master bedroom/bathroom
Budget: Small!
 Karin Newstrom
  Karin Newstrom
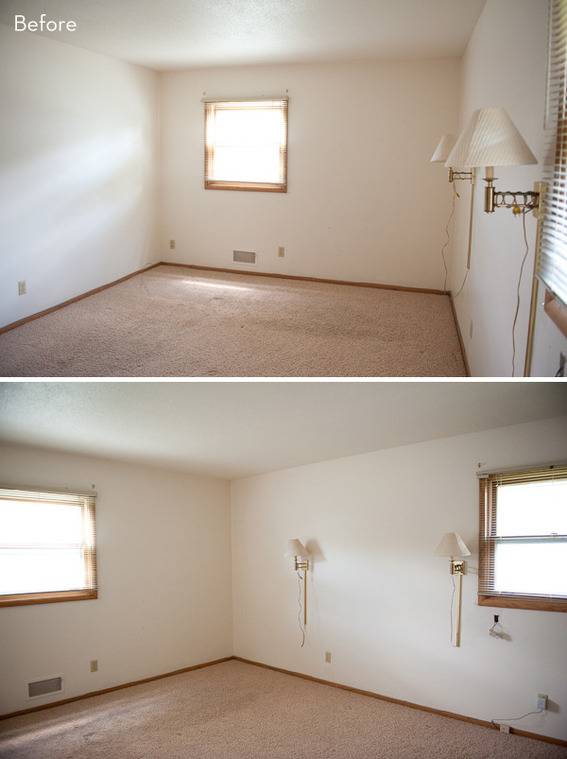
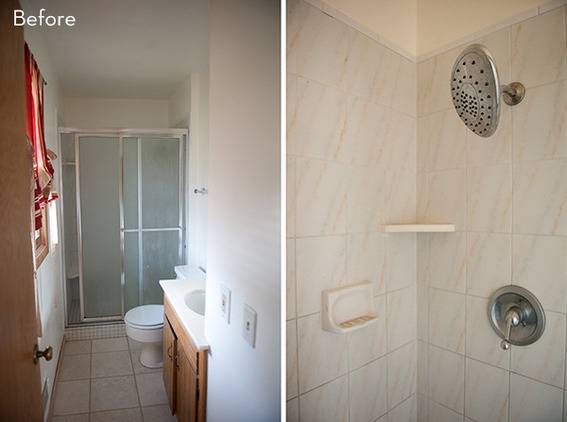
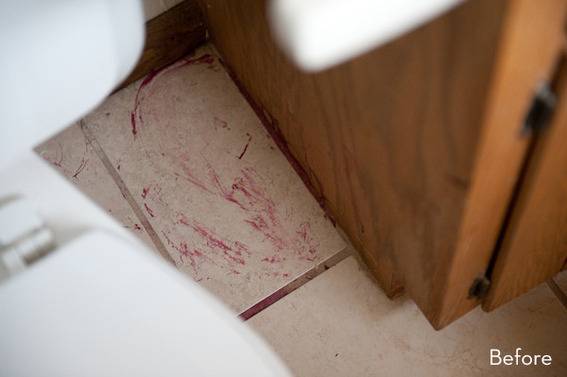
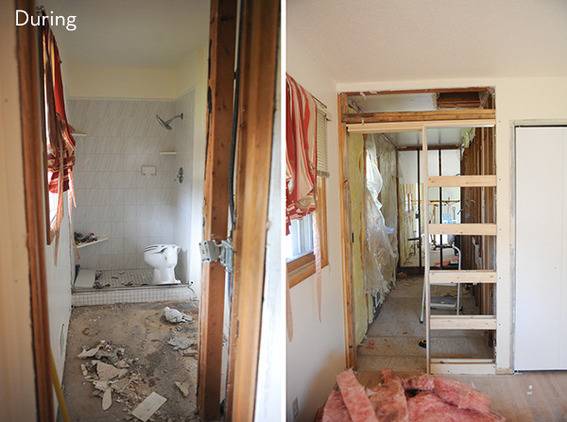
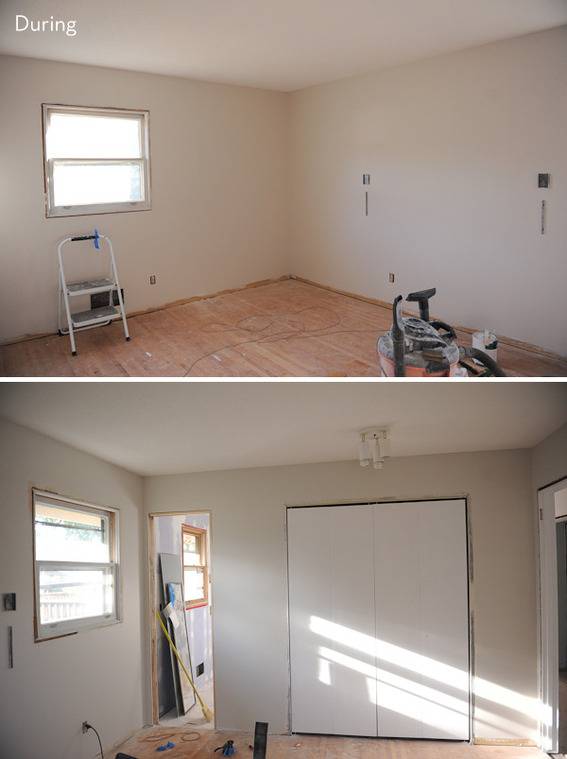
 Tell us a bit about this space and what inspired you to tackle a makeover! The day we closed on our house, we began ripping up carpets and general demolition. Since we had the privilege of having more than one bathroom with this house, we demo-ed the master bath quite early in the process and it sat unfinished for a long time. It definitely needed to be redone! There were cracked tiles covered in spilled nail polish, rotten floorboards, leaky plumbing, and the space was TINY. The bedroom was a much easier fix that was purely cosmetic – removing the nasty carpet, refinishing the original wood floor (which we hired out), painting, trim, and moving the light fixture (which, for some reason, was right in front of the closet).
 Karin Newstrom
  Karin Newstrom
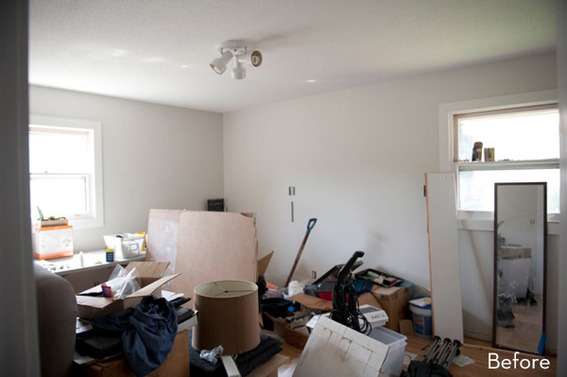
 Since we considered these “extra” spaces while the rest of the house was under major construction, we used the bedroom for storage while working on our kitchen/main level. The bedroom was filled with tools, boxes in need of unpacking, building materials, and lots of drywall dust that looked very “Hoarders-esque” until the beginning of 2014, when I made it my resolution to get this room in shape!
 Karin Newstrom
 Karin Newstrom
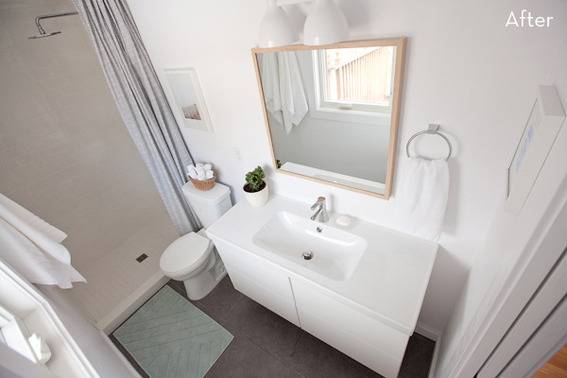
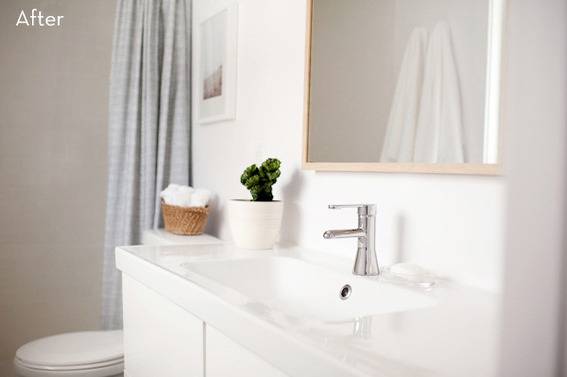
 Did you start with a clear vision for this room or did the design evolve over time? What elements did you simply have to have? For the bathroom, almost every choice was made to help the room feel larger. I knew I wanted large format floor tile (less grout to clean!), a floating vanity to make the room feel larger, and lots of white. Even the toilet was picked for having the smallest footprint of the choices available locally. The vanity, from Ikea, had a couple extra benefits – because of the drain design, we avoided having to shift any of the wall plumbing and also got extra storage with the almost full-depth drawers on top compared to a traditional vanity.
 Karin Newstrom
  Karin Newstrom
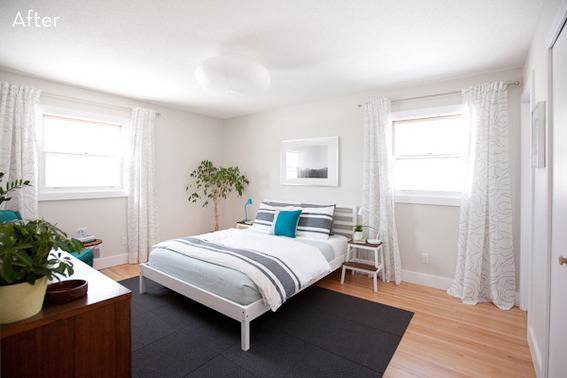
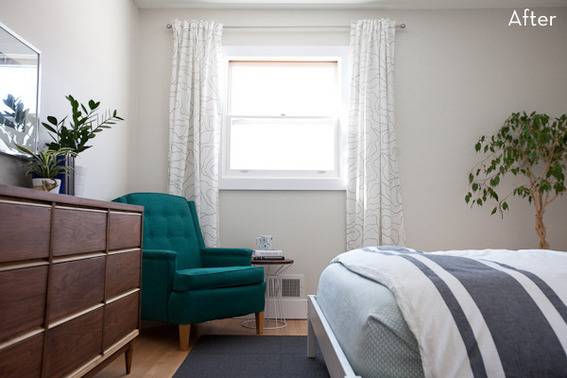
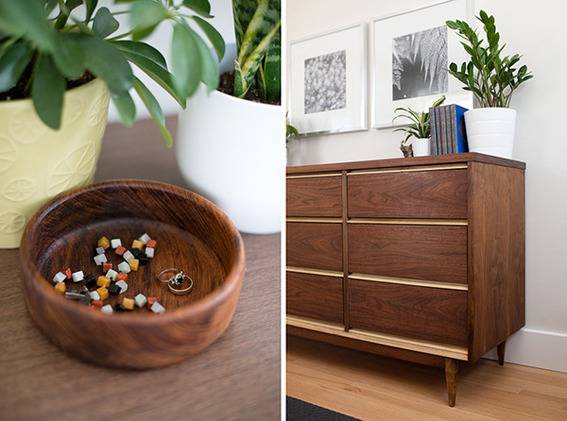
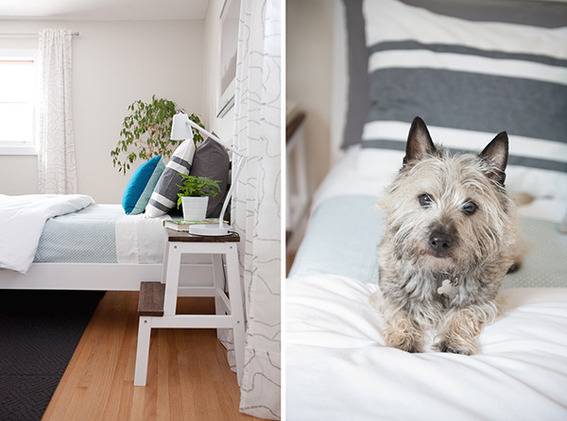
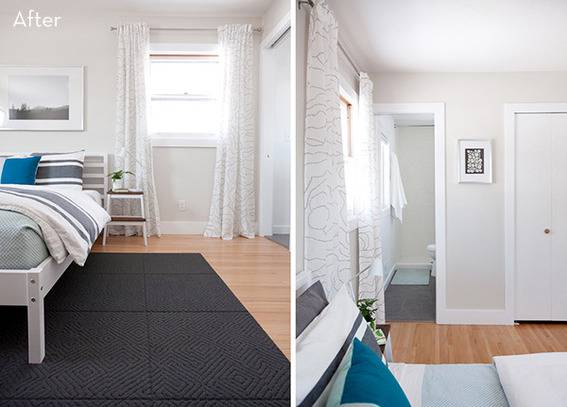
 The bedroom evolved as time went along around the central theme of “thrifty.” The dresser is a Craigslist find, the bed and nightstands are from Ikea, I DIY-ed the walnut table top for the table base from Target on clearnace, and reupholstered the chair (which I got for $5 at a thrift store). I was searching for lamps for next to the bed and found these at a local store that sells discarded design prototypes from major retailers – they didn’t match each other color-wise, but coordinated with the room and were a steal!
 Karin Newstrom
  Karin Newstrom
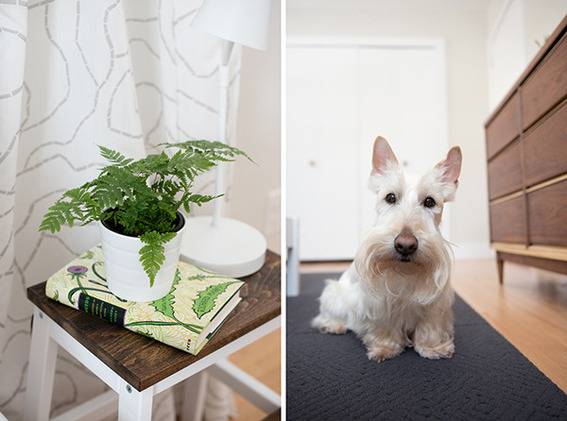
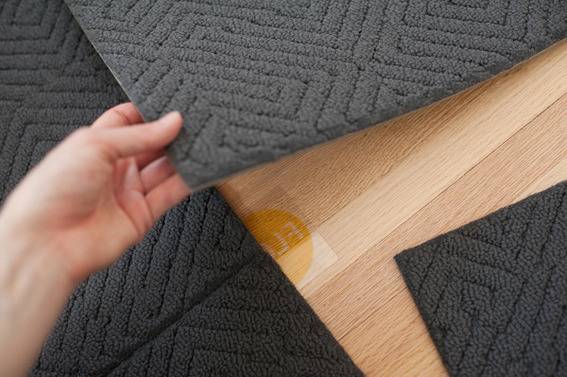
 I knew right from the beginning that a rug from FLOR was the only way to go for us – we have three dogs of our own and frequently have a rescue foster dog as well. The ability to clean individual tiles (or replace them if necessary) is the perfect solution for pet owners, plus having the option to reconfigure the rug if desired or needed is so handy. Jeff and I were so thrilled to partner with FLOR for this remodel. We visited the FLOR showroom in Minneapolis and worked with one of their fabulous designers, Stephanie E.
 Karin Newstrom
  Karin Newstrom
We had a difficult time deciding, but eventually chose Point of View in slate because we loved how cushy it is and the graphic texture. FLOR is also made with renewable and recycled materials; plus, if you ever need to discard your FLOR rug, they will cover shipping and recycle them for you! They are super easy to install – once the tiles are positioned in the room where you like them, just lift up the corners and stick them together with the included adhesive FLOR dots.
 Karin Newstrom
 Karin Newstrom
 What were your main sources for design inspiration? Clean, modern, minimalist spaces with Scandinavian and Mid-Century Modern influences tend to speak to me the most.
 Karin Newstrom
 Any setbacks, hiccups, or unexpected design dilemmas? How did you solve them? Tell us the dirty secrets! The bathroom subfloor was in very poor condition – it was rotted in several places, but there was construction adhesive between parts of the subfloor and the joists, making it very time consuming to remove. I thought using large 12×24 bathroom floor tiles would make the tiling process go quickly, but those big tiles are very difficult to lay flat (which wasn’t helped by the fact it was my first time tiling a floor). The bathroom also lacked an exhaust fan, so we installed one – I spent some quality time in the cramped, hot attic fishing for the wires… not fun! Thankfully my dad is very handy and patient, so he helped us enormously throughout the project (especially with the plumbing!).
 Karin Newstrom
 After I hung the vanity initially in the corner of the bathroom, I realized that once the pocket door casing was installed it would block the drawers from opening all the way… oops! Luckily there was enough room to scoot the vanity away from door a few inches!
 Karin Newstrom
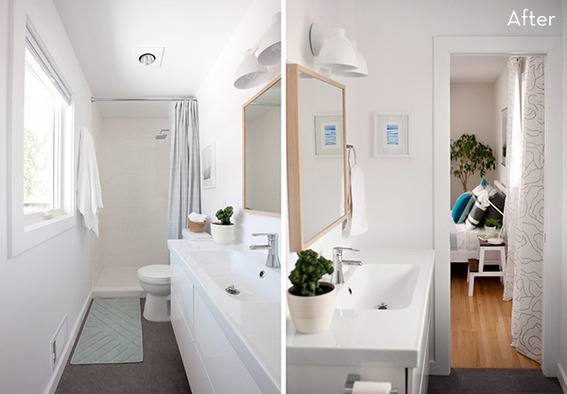
What is your favorite new feature of this space? For the bathroom, we stole some space from the closet to make it slightly larger and replaced the door with a pocket door – both made a huge difference, especially since the bathroom is just over 4 feet wide. For the bedroom I love how bright and calming the space feels to me. Although not an enormous space, this bedroom is so much larger than we had been used to with renting and we’ve never had a master bathroom, so just having this space all to ourselves is a wonderful and luxurious feeling!
 Karin Newstrom
 Your proudest DIY moment? These rooms had a lot of personal firsts – tiling a floor, tiling a shower, reupholstering a chair, and stripping/refinishing a dresser. The walnut Mid-Century dresser was painted black (very poorly!), but with a lot of time and patience I was able to strip the paint and restore the original wood. And I had difficulty finding an extra-long shower curtain, so I made this one from an XL twin sheet.
 Karin Newstrom
 Any advice for others about to start on their own room makeover? Our renovation style has been to piece things together as we go… I don’t recommend that. I like to see how one aspect looks before deciding what else should go in the room, but having all the pieces/finishes selected, ordered, and on hand when you begin makes everything go so much more quickly. I am such a slow decision maker that I like to ruminate on one design choice for a painfully long amount of time before moving on to the next.
 Karin Newstrom
 What’s next for you? Any other makeovers or exciting DIY projects on your list? We are just finishing up a complete basement gut and remodel that is my new photography studio with a new half bath. I hope to share that soon!
Thanks Karin!
See more of Karin’s photography, home projects, and animal adventures on her site karinnewstrom.com. Also, be sure to check out the Makeover Tour of her amazing Scandinavian-inspired kitchen renovation!
Do you have a Makeover Tour you’d love to share on Curbly? Let us know by sending an email to tips@curbly.com!
Bonus: For those interested, Karin has kindly provided a source list for her bedroom and bathroom makeovers!
Bathroom:
- Floor tile, shower tile, towel ring: Lowes
- Vanity, faucet, mirror, picture frames: Ikea
- Shower head: Vero, by Delta
- Toilet: Prelude, by Delta
- Wall sconce: West Elm
- Basket, bath mat: Target
- Plant: Euphorbia cactus
- Watercolor art: DIY
Bedroom:
- Bed, nightstands, frames, curtains, duvet, frames, overhead light: Ikea
- Bedspread, colorblocked pillow, curtain rods, side table base: Target
- Rug: Point of View in slate by FLOR
- Print: No-me Illustration and Design
- Photographs: from our road trip of the West coast
- Dresser, chair, lamps, teak bowl: thrift stores
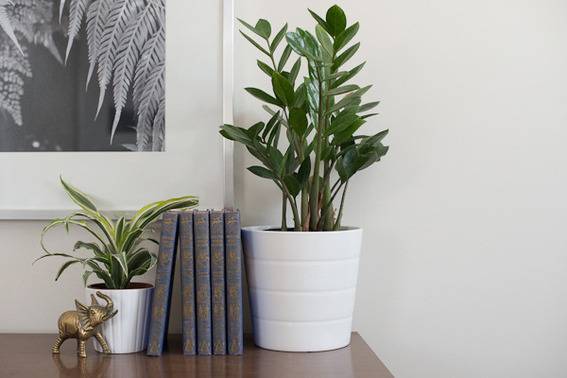
- Brass elephant: found hidden in our basement a few months after we bought the house
- Wall color: Silver Drop by Behr
- Dogs: Ajax (Cairn terrier) and Scotties Barney, Henry, and foster dog Lincoln (on chair) 🙂
Disclosure: FLOR provided Karin Newstrom carpet tiles for use in this makeover. All views and opinions are hers alone.
Hi Aubrey! The color of the blanket is “mint ash” and it is from Target. 🙂
GREAT JOB!!! YOU HELPED ME TO IDENTIFY A STYLE I LIKE AND WILL USE. YOUR PETS LOVE THE CAMERA!!!