Hey Everyone! Here are the detailed plans for the Jet pack project. Keep in mind that this is just the way I did it. You an always tweak things to suit your movie needs and of course improve my design. If you do make a cool jet pack or figure out an improvement let us know. We might even feature you in our special monthly podcast.
Check our our website at www.indymogul.com and also subscribe on iTunes. If you want to see this made in action, watch our video below.
Shopping List
- An old rigid frame backpack. (I got mine at a flee market for $7 dollars.)
- A fire extinguisher. (Only needed if you want the blast off smoke)
- A green screen. (check out the Quick Tip at the end of Episode #1)
- Spray Paint (Whatever colors you want! I used flat black, chrome and primer gray)
- Some epoxy.
- Nuts and bolt. (Check the junk drawer in the kitchen.)
- F.A.A. flight permission.
- 45 degree PVC joint (1/2” diameter) (Only needed if you want the blast off smoke)
- 1.90 degree PVC joint (1 ¼” diameter) (Only needed if you want the blast off smoke)
- ½” rubber grommet. (Only needed if you want the blast off smoke)
- A bunch of plastic junk! (This is where the real creativity comes in. Go to a Junk store or garage sale and just look for stuff that might look good as jet pack parts.)
Here’s what I used…
- 2 cardboard tubes
- A plastic paper tray (that sits on a desk)
- A plastic paper tray (that mounts to the wall)
- An old cartridge from a slide projector. 2 plastic file dividers. (kind of look like bookends)
- 2 plastic hide-a-key compartments with hinged tops. (I mounted the other junk to this so I could lift up the shell and have access to the fire extinguisher.)
- Some wire mesh I got at an art store.
- A “danger flammable liquid” sticker I got from my friend who works at my local hardware store. (Thanks Elizabeth!)
Building the Prop
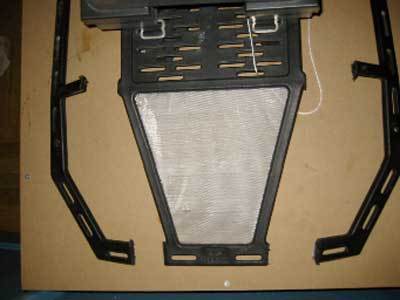
Building this prop is not rocket science, even though you’re building a “jet pack”. Sorry folks, I save all the best jokes for the show. Chances are you’re not going to find the exact backpack I did, and your “plastic junk” is probably going to be a bit different too. So keep in mind these plans are just the way I put mine together. The bottom line, we want this thing to look cool. The first thing I did was cut a part off the frame of my pack. I wanted it to be more streamline, so I cut off these pieces with a rotary tool.
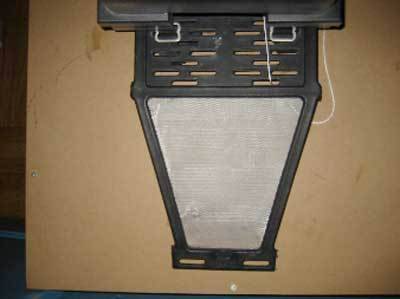
Next I screwed the Hide-a-key boxes to the top of the frame. Making sure to leave enough room in between to fit the fire extinguisher. These little boxes are very sturdy and have hinged tops.
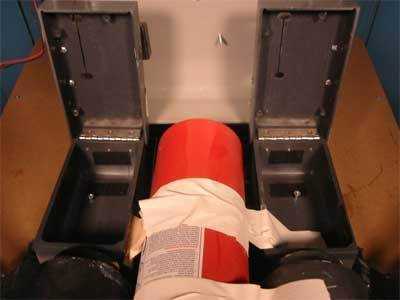
Next I took the tabletop paper tray, flipped it upside down and mounted it to the hinged boxes. Now we have a nifty way to hide the “guts” of our jet pack
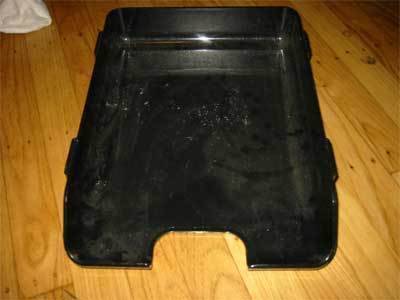
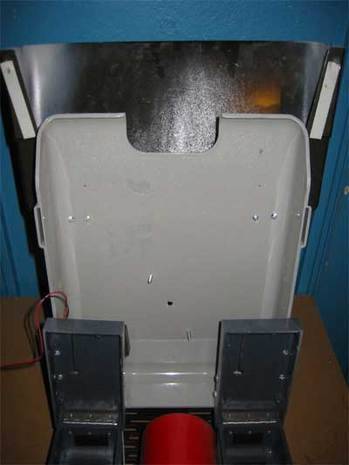
After that I mounted the other paper tray (wall mountable) and the slide cartridge to the first paper tray. In both cases I just stacked the various parts in different places and decided , “yes, that looks the coolest!” and started drilling holes and adding epoxy.
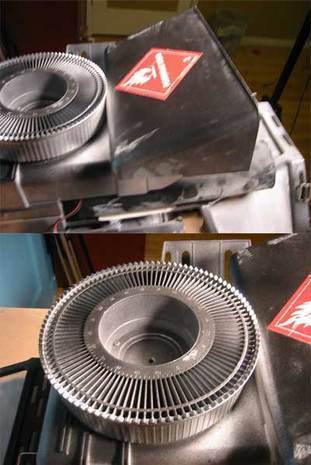
Next comes the wings! These plastic file dividers were a great find. I saw them and instantly thought “JETPACK WINGS!” All I did was epoxy them to the side of the backpack frame.
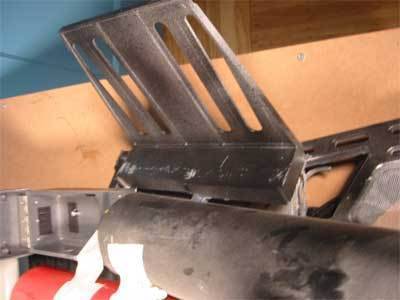
Now our jet pack is ready for paint. I debated painting the whole thing flat white, giving it that futuristic/space look, but decided on an aged metal look. You can see a time lapse of the paint job during Episode #1, but basically I used one coat of primer, one coat of chrome, then a patchy coat of flat black to tone down the shiny-ness.
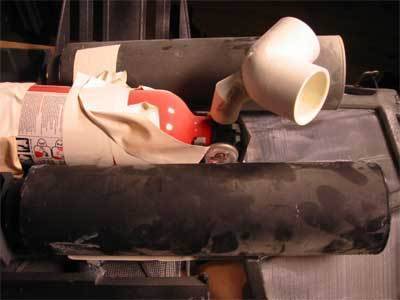
I then added 2 cardboard tubes, which I painted black, to the inside of the jet pack They look like fuel tanks and help hide the fire extinguisher when the cover is closed
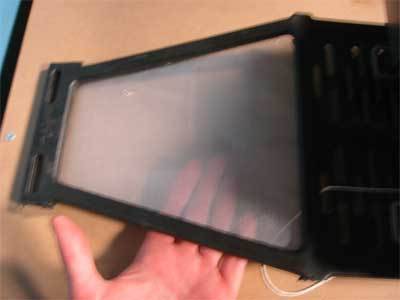
Lastly, I added some steel mesh I had laying around (from a previous project) to part of the frame using a hot glue gun.
The Fire Extinguisher.
As you probably saw on the show, my first exhaust system failed. Below are the details on the simplified set up. It consists of two PVC joints and a rubber grommet. Using a rotary tool, cut a hole at the back of the larger PVC joint just big enough to fit one end of the smaller PVC joint into. Epoxy the two joints together to create your sweet exhaust system. Lastly epoxy the rubber grommet to the other end of your small joint. This should fit snuggly on your fire extinguisher. nozzle. You may have to trim it with your rotary tool to fit whatever brand of fire extinguisher. you buy.
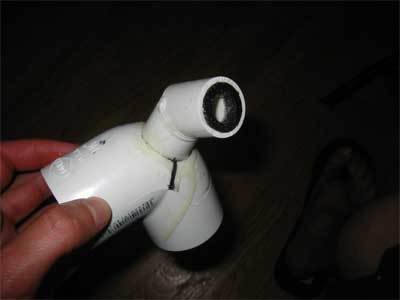
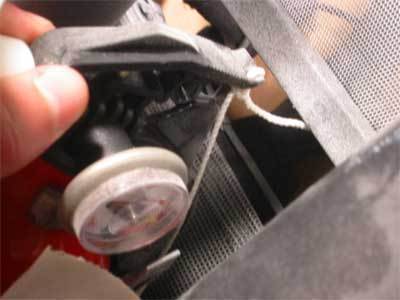
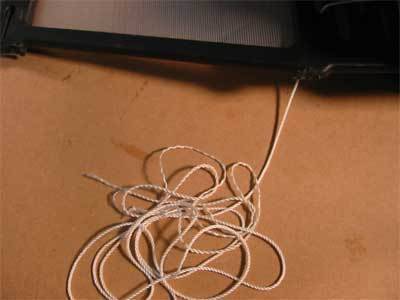
Once your fire extinguisher is taped into place you’ll need a way to trigger it. After searching through old NASA blueprints I came up with this ingenious trigger system…a long string!
The Magic of Flight
Now I’m not going to go into detail on how to use a green screen, chroma key, key frames, etc. You might be using a different editing program as me and there are people much smarter then myself who have posted tutorials. So here are some links!
Believe it or not, I didn’t use Motion or After Effects on the Jet pack episode. The rocket effects I found on this great website by Detonation Films.
They have a bunch of FREE stock footage of explosions, rocket exhaust and other cool stuff. They even have tutorials on how to use them with your NLE.
The only other program I used was Photoshop to make a tiny Chris that blasts off the ground and edit some of the backgrounds. A big part of completing this effect is using Final Cut Pro (or Premiere) to animate element you have edited in Photoshop. Here is a good tutorial on animating using FCP and Photoshop.
Good Luck and please post any questions or comments!
-Erik
