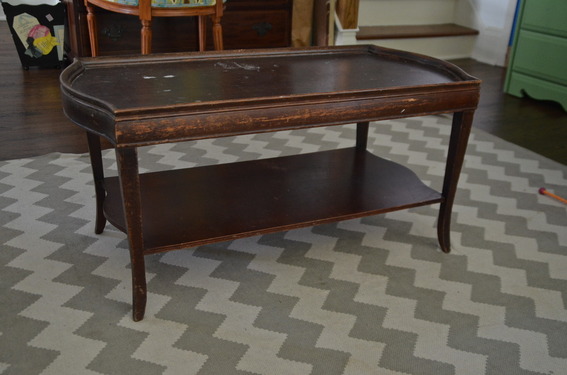
A couple of months ago, I stumbled into this warehouse of discarded furniture and I grabbed this beat up, run down, wobbly and barely held together coffee table. $10 give or take. Great purchase, right? What…you don’t see the potential? Well, it took me awhile too, but I got there eventually.
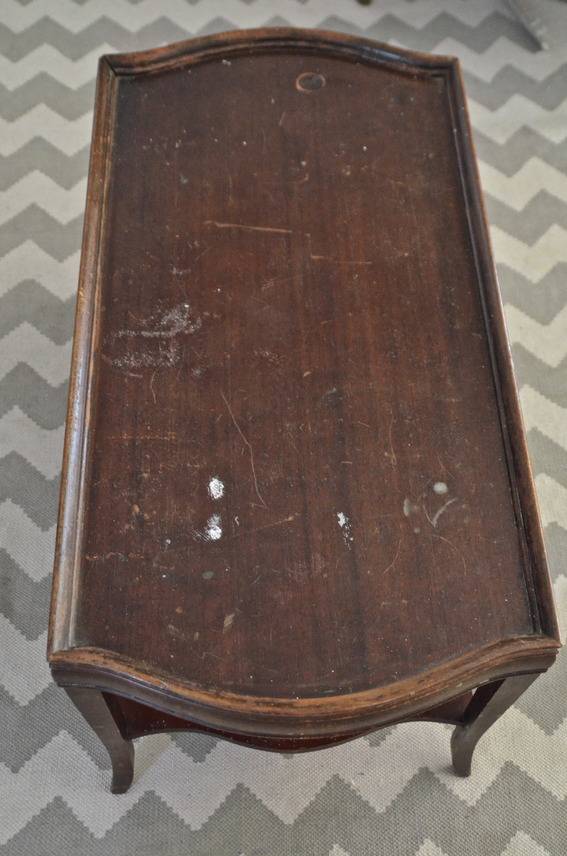
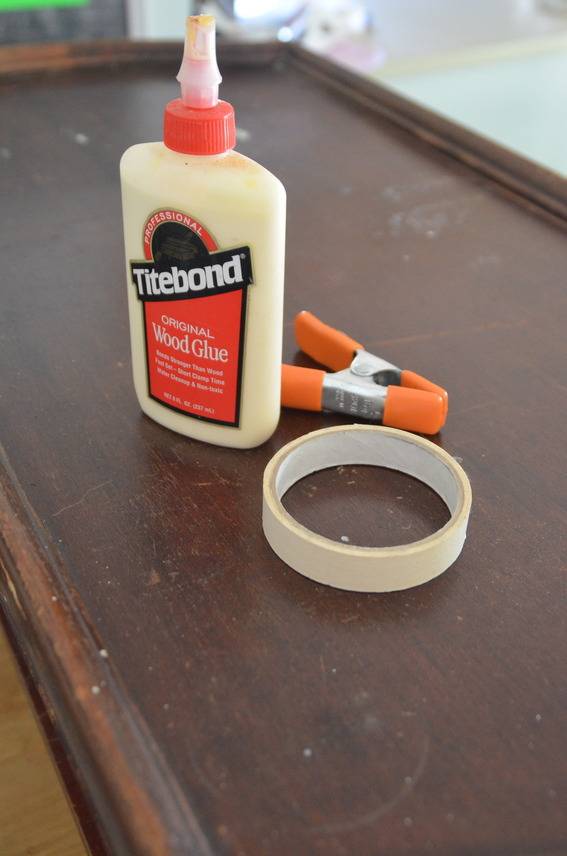
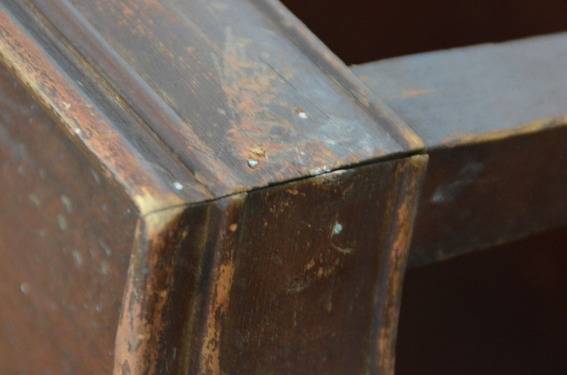
The first step was to sturdy this bad boy up. I used some tack nails to hold the corners back together and reinforced the whole thing with some careful wood gluing. I knew I was going to add a new topper to the whole thing, so that would help stabilize any left over little wobbles.
What I loved about this shabby shaky table was the height, the simple lines, the shelf, and most importantly… the shape of the table top. Not too intricate, but not a plain Jane rectangle either. (I love the name Jane, btw… if my last name weren’t Smith, I’d have used Jane two kids ago.)
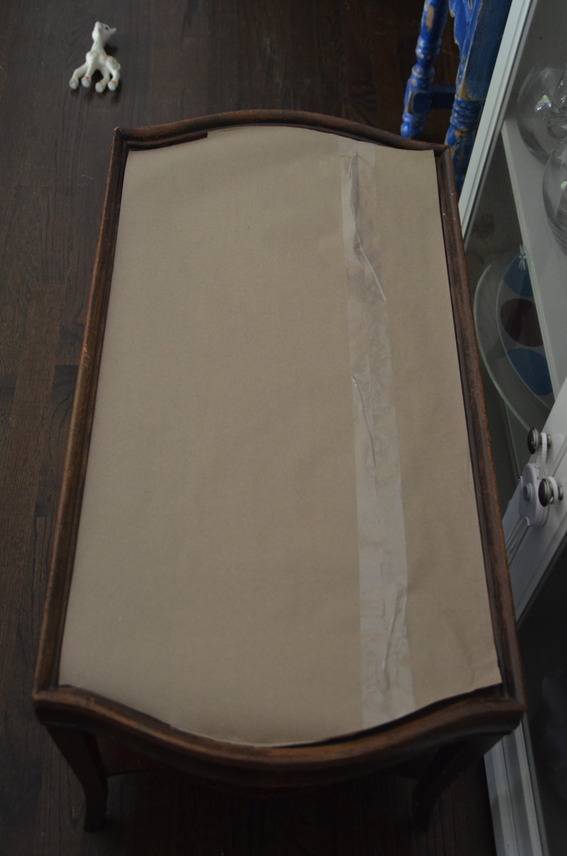
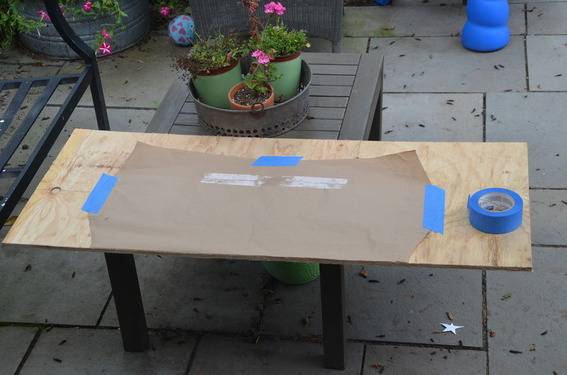
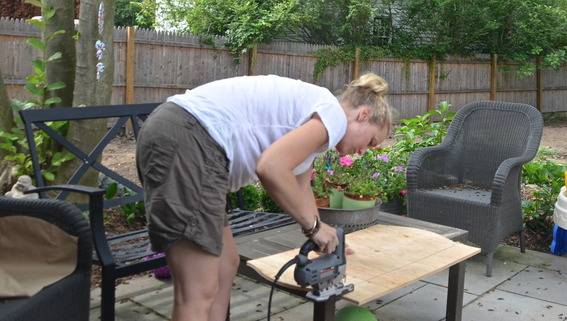
I used some craft paper to trace the shape of the table top and then used this template to cut out my 1/2″ plywood (a leftover from our construction site…).
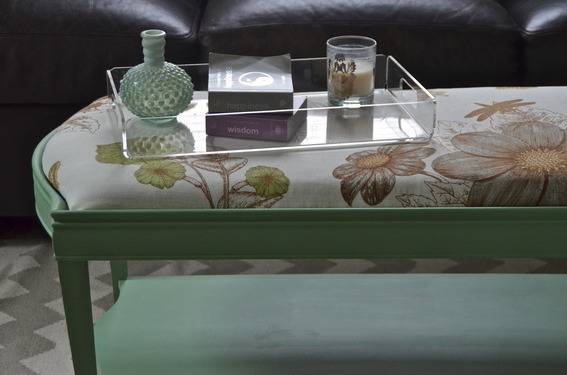
Onto the fun part. I wanted to make this table into an ottoman. I love an ottoman. They’re soft and cozy, and serve two purposes as extra seating OR still a coffee table with a tray set on top.
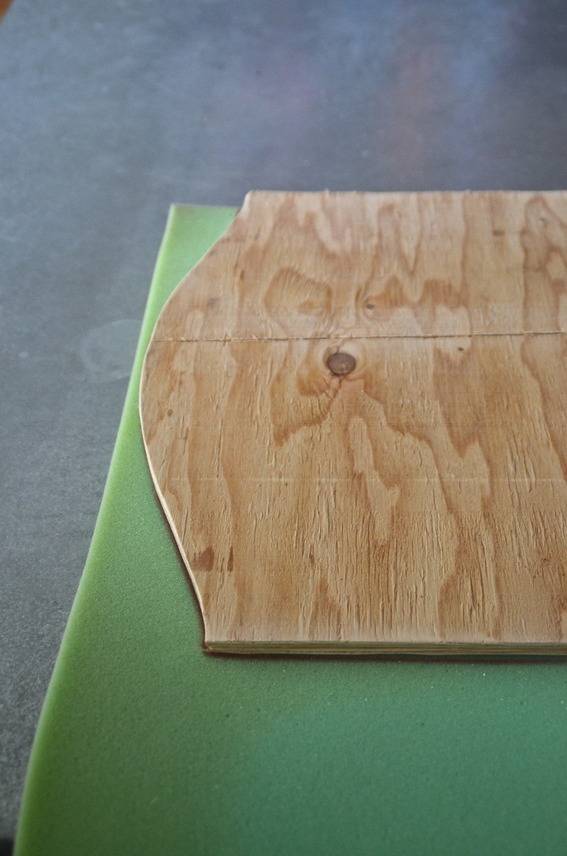
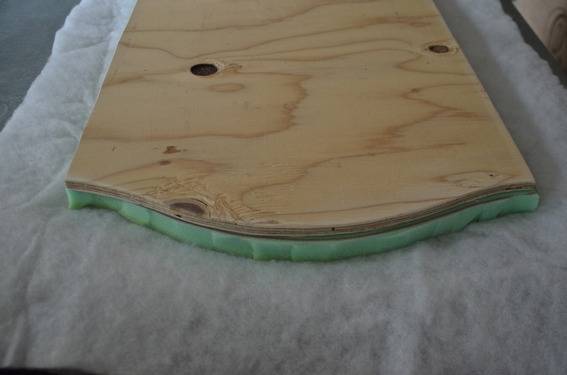
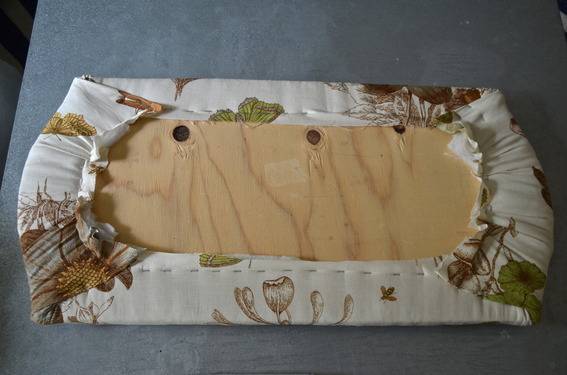
Remember that paper template and the plywood cutout I made? Well that’s not just for stability, it’s mostly for our upholstered topper. I used a 1 1/2″ foam, but this is more an aesthetic decision than anything else. I placed the plywood on the foam and traced around. I happen to have an electric carving knife, but scissors or an exacto knife will work too. Cut out your foam and use a little spray adhesive to keep it from wiggling around on your plywood.
Wrap the whole shebang with batting to soften the wood edges and use a staple gun to secure underneath. (I swear by my PowerShot…) Treat the corners like you would when wrapping a present.
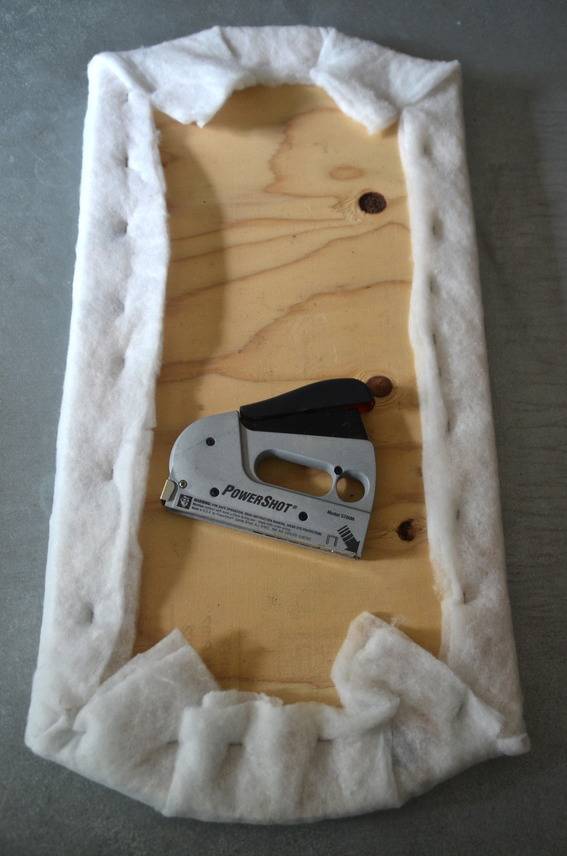
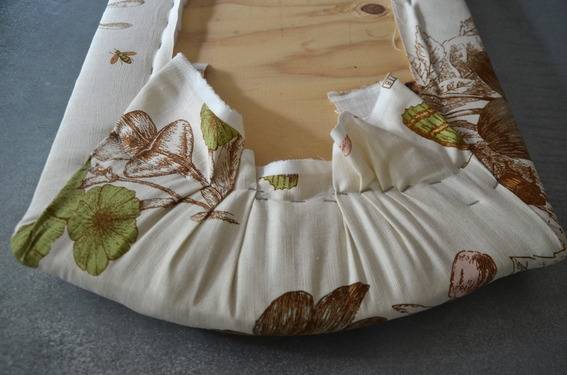
Now repeat this step with your fabric. You don’t want fabric that’s too thin as the staples might not hold, but heavy duty fabric can get sort of cumbersome when trying to affix your cushion to the table. So think like Goldilocks and looks for something not too thick, not too thin… but just right.
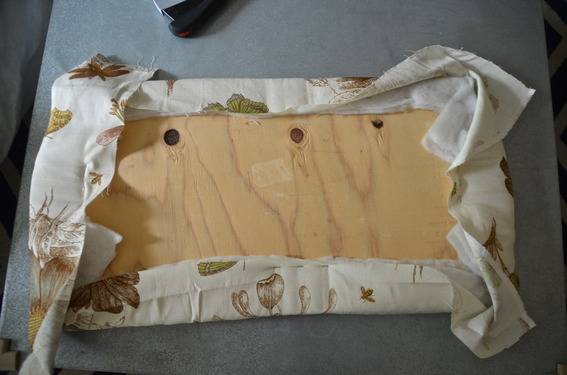
When I upholster anything, I start in the middle of each edge and make sure the fabric is pulled taught. Then, I work outward going back and forth from side to side to ensure that the fabric is tight and even all around. If you’re working with a patterned fabric, make sure the pattern is centered and level… as you pull tight and staple, make sure the pattern is aligned and straight. Trim any excess fabric.
This table was stained and varnished and dainty. I didn’t love the idea of grinding it down with my sander in order to use a latex paint. Which is a fancy way of saying I got lazy and reached for my magical Annie Sloan chalk paint. No priming, no prepping necessary. Other than a quick pass with my magic eraser to remove the caked on grime from the warehouse.
I have 3 cans of Annie Sloan on hand, and decided to mix the Antibes Green with the Paris Grey to give it some color without being quite so bold and bright (not that there’s ANYthing wrong with a little burst of color).
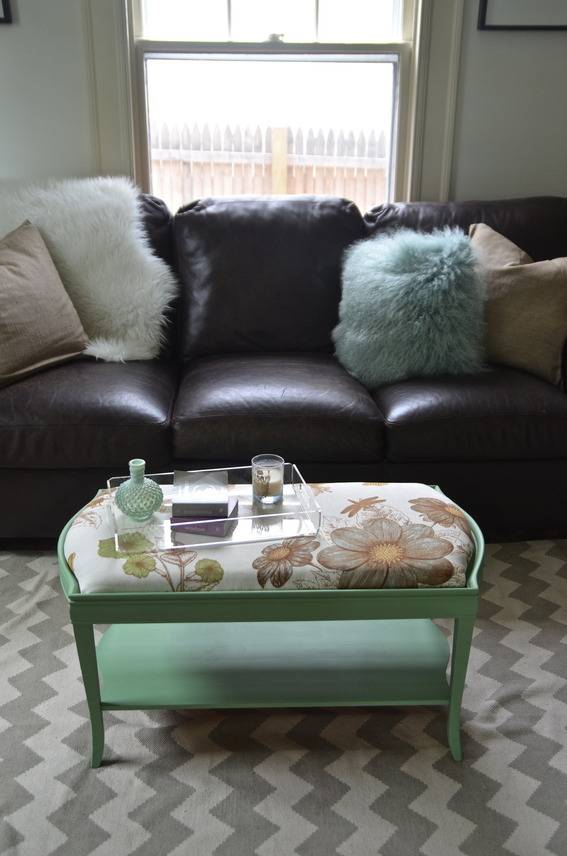
So now I have a beautifully painted table and a cozy new upholstered top, and all that needs to be done is to put these two pieces together. I used 4 screws on the underside of the table rather than adhesive so that I can easily reupholster the top down the line if I want a change of pace.
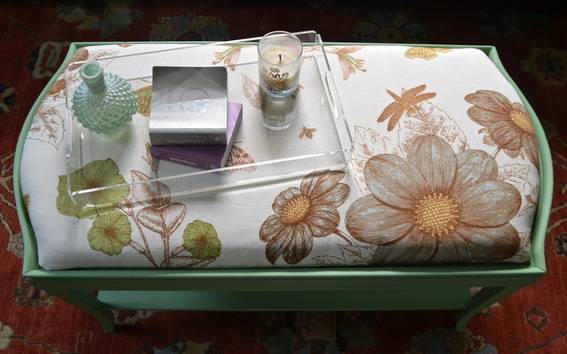
Who said you can’t teach a beat up old table new tricks?!?
?
xo
Charlotte
 More about Charlotte from Ciburbanity: “My family and I left the glorious urban chaos of New York City for the quiet dust-free Connecticut suburbs in 2012. As much as I miss the city, this new suburban life allows me the space (and craft stores) to get my DIY on! You can read more about us here!”
