I do as much as I can to stay paperless in my office. With online bill pay, shared online documents, lots of apps and software, and a general goal of wasting less, I can get pretty close, save for my trusty notebook and craft supplies. I’ve even moved my multi-tiered tray off my desk to create more working room.
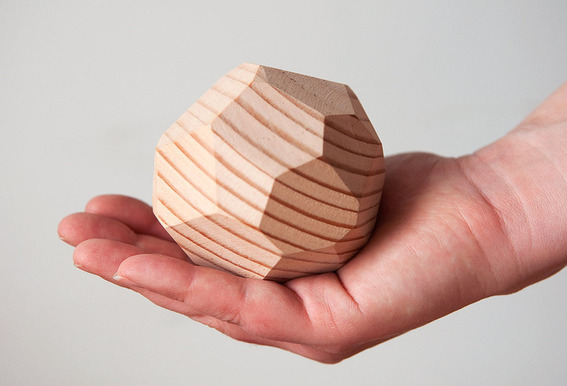
But, no matter how I try, there’s always a small pile of 8 1/2×11″s that I just can’t seem to shake. And without an inbox/outbox setup, they just won’t stay still. So, I decided I needed a paperweight. You know, to weigh down actual papers. Of course, I didn’t want to buy something when I’ve all kinds of heavy things just lying around, and I wanted it to be something attractive to inspire me as I work. So, I came up with a modern faceted wood design that’s all the rage in 2013, and cost me less than a $1.00 to make.
No need for a paperweight? No worries, these make great little decorative objects to adorn your shelves, or dresser (I made three). Drill a hole, and you’ve got a rustic modern candle stick. Drill smaller holes, and it’s a way to organize your pens and pencils. Tie a string around it, juggle it, paint it gold…whatever you like. It’s totally one of those “I don’t know what this is, but I like it” pieces.
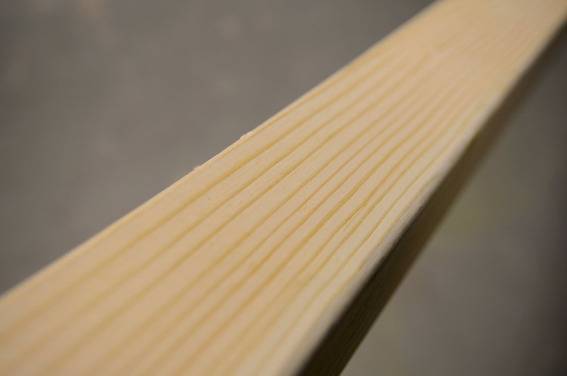
To make this project, I chose a fir 4×4 I had in my basement. These are very inexpensive at the home center, and I like the thick, contrast-y grain pattern that shows up differently on each of the facets. Plus, it’s a soft wood that makes it easier to remove the material, making quicker work of this sort of project.
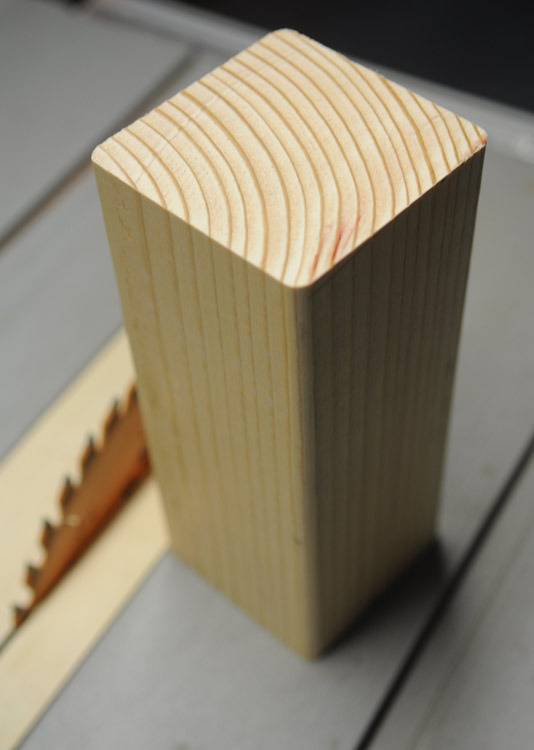
A 4×4 is actually 3 1/2 x 3 1/2″, so I cut a 8″ length to experiment on. In later versions, I learned that 5″ is plenty to keep my hands safe and still manipulate the wood as necessary.
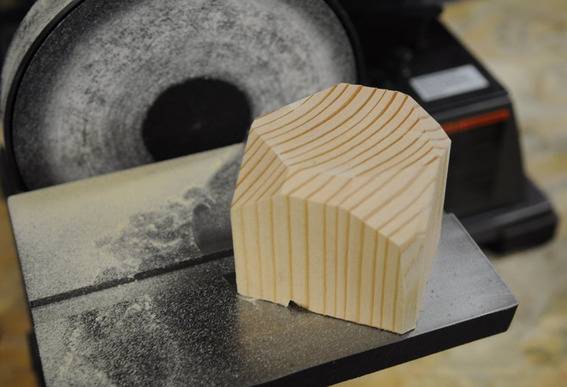
To remove the waste material to create the facets, I tried nearly every saw I have: the band saw, the table saw, the compound miter saw, even a hand tool, but I just couldn’t figure out a way to get all those complex random angles while keeping my hands away from the spinning saw blade. So, on an off-chance, I thought, “what if i didn’t cut them away, but sanded them?” And, it totally worked. This technique allows you to use the sandpaper as a more of a sculpting tool than a sizing tool, which is exactly what this kind of project requires.
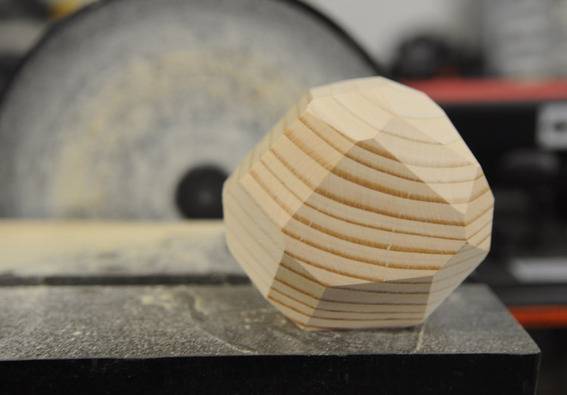
The ideal tool for this is a stationary combination belt and disk sander, which stays put while you move the workpiece towards it. They’re not super expensive (around $100-150), and mine has paid for itself hundreds of times, since I do more small crafting projects than big furniture builds. If you work with wood, they’re well worth the investment. But, this project could be accomplished with a belt or random-orbit sander clamped to a bench, or with some 100-grit sandpaper and block. It’ll take a bit longer, but the fir is so soft, you could make one in the time it takes to watch a movie.
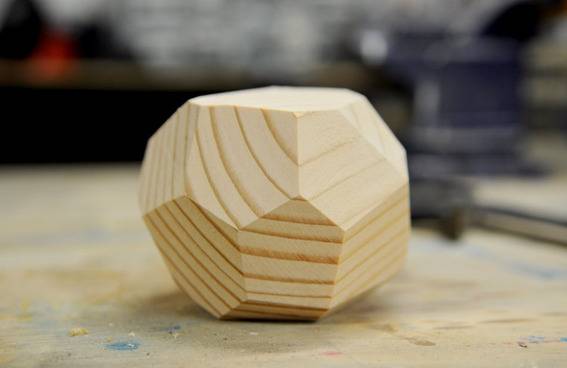
As far as technique goes, there really isn’t one. Each plane and facet should be random, so just continually alternate sides and spin the piece on all axes and remove a little at a time. I found I liked five- or six-sided facets rather than triangular or square. More of a soccer ball than a diamond, if you will.
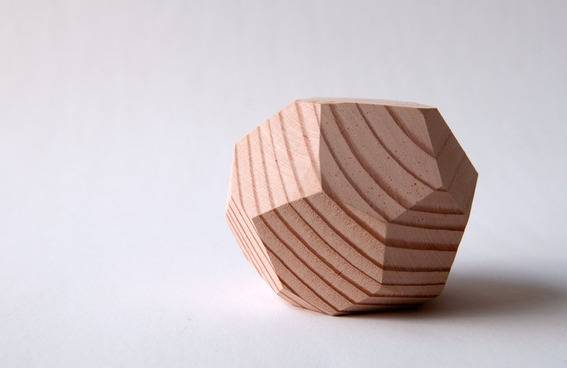
When you’ve created a shape you like, you can clean up the faces with some 220-grit sandpaper. Place the paper on a flat surface and move the wood rather than the other-way-around. This will prevent rounding over the edges, keeping everything nice and geometric.
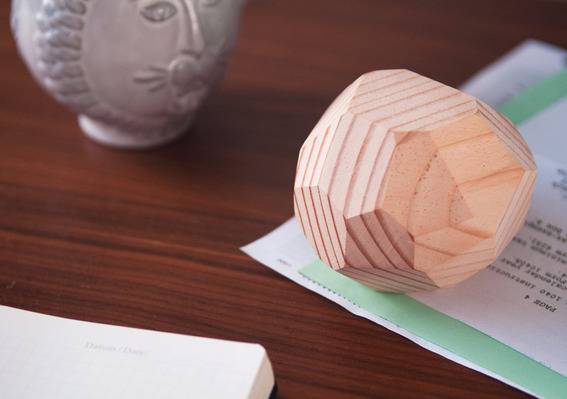
I like the natural matte wood tones, so I choose not to apply any finish. But, you can stain yours, do a rubbed oil finish, paint a few random facets, paint the whole thing, clear coat it. Do what you wish. These are so inexpensive to make, you can have fun experiment.
