The Project: Finishing up some leftover painting jobs in the Curbly House. After two months living in the house, we decided it was finally time to get the fireplace and stairs painted.
The Story: While the Curbly house was under construction, we had free reign to make a mess, paint whatever and whenever we wanted, and generally run wild. That’s because no one was living in the house, and we knew we’d be doing a thorough (i.e. obsessive) clean up job before anyone moved in.
But now that we’re here (including our two kids), DIY projects require a little more care. I wanted to finish up painting the stairwell risers (they had been half-sprayed during the remodel, and looked ridiculous). Usually, any good painting project begins with surface preparation. Since the risers were varnished wood, that would mean sanding/scuffing the surface to give the paint a better substrate to adhere to.

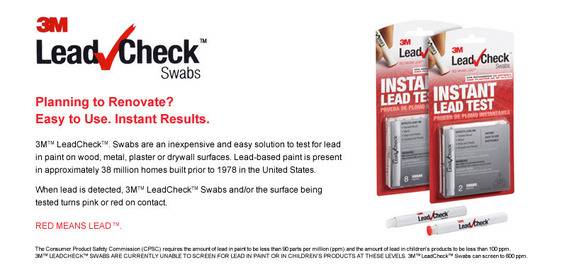
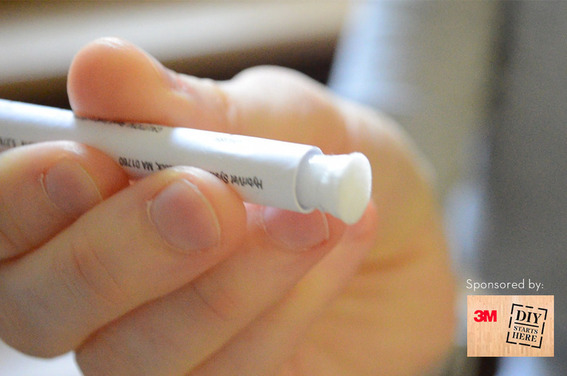
The Lesson Learned: A quick test is worth a lot of peace of mind. We grabbed a 3M LeadCheck Swab and followed to directions to test the stairs before we started sanding. Sure enough, the varnish contained lead, which means sanding it would have released a bunch of nasty lead-contaminated dust. So we decided to just skip the sanding step altogether. A good coat of primer and latex enamel will encapsulate the lead-contaminated material, and as long as no one tries to scrape, sand, or chew on the risers, it won’t be a problem.
