The process usually goes like this: you’re careful with your measurements, make dead-on accurate cuts, properly attach and glue everything together, sand it as smooth as glass, and then … you screw everything up on the finish.
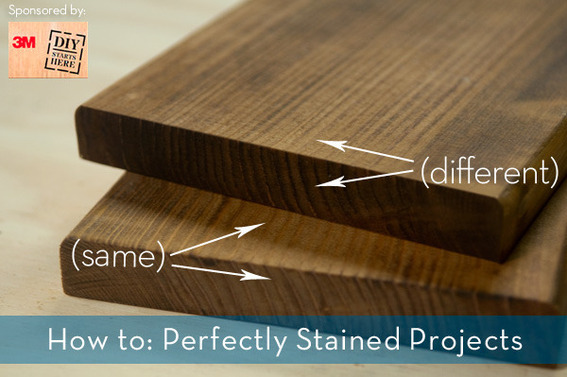
If you’ve ever built or refinished something made of wood, you’ve probably experienced this headache: the end grain turns out much darker than the side grain.
Even if you’re not staining and only use an oil or clear finish, this sneaky little problem turns up in every project. Because of wood’s unique structure, the end grain is a collection of the xylum, or the tube-like structures that move liquid up and down the tree. Because the xylum are open on the end grain, it soaks up liquid much faster; good for the tree, but bad for woodworking projects.
Fortunately, there’s an extra step you can take to get much more even tones across the project. And like with many things related to woodworking, it involves:

Sandpaper!
Sandpaper doesn’t actually make things smoother, it makes them uniformly rough. So, the idea is to make the uniform roughness of the end grain a little smaller than that of the side grain, to compensate for the open structure of the fibers.
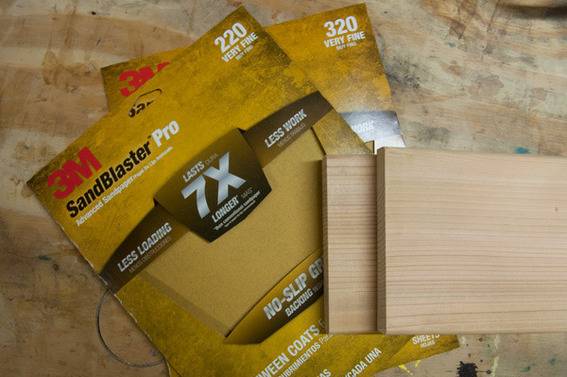
So, if you sand your side grain to 150, sand the end grain to 220. If you sand the side grain to 220, sand the end to 320, and so forth.
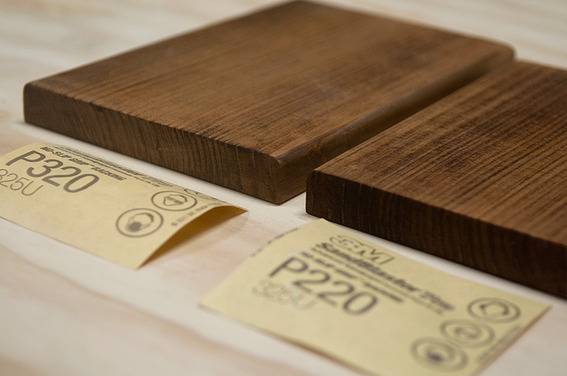
Here’s a closeup of two test lengths of cedar, a softer wood that absorbs a lot of finish.

On the right, I sanded the entire length with 3M SandBlaster Pro 220-grit sandpaper, including the end grain. But on the left, the side grain is sanded to 220, whereas the end grain is sanded to 320. Note how much more even the tone of the wood is across the project.
It’s an extra step, but it’s an easy one, and takes little time to accomplish. But it’s well worth the extra effort – once I discovered this trick, I use it on every piece of wood I cut!
![]()
Content and/or other value provided by our partner, 3M DIY.


There’s a lot more science to woodworking than people give it credit for. This is one of those tips that stays with you. Thanks.
Thanks!!
Good information neighbor. Thanks.