
This week I’m sharing a series of DIY projects using ribbon from the nice folks at Midori Ribbon. You can check out the first three projects here. A today, I’m embellishing a chevron pillow cover with beautiful pink ribbon!
Supplies:
- One yard of Bossa Nova Dupioni Silk ribbon
- fabric (I used this chevron-print fabric)
- pillow insert
- ruler
- needle and thread
How To:
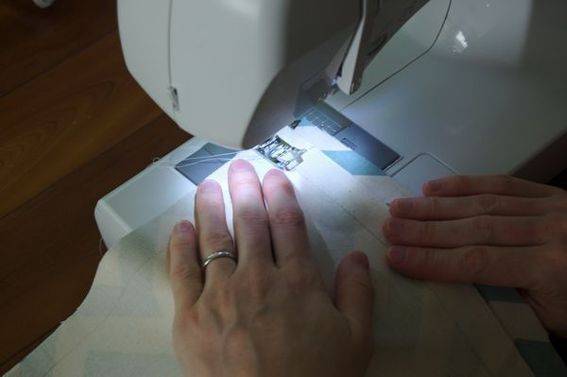
- Step 1: Create a pillow cover using the fabric of your choice. I followed this tutorial from Sparkle Power!
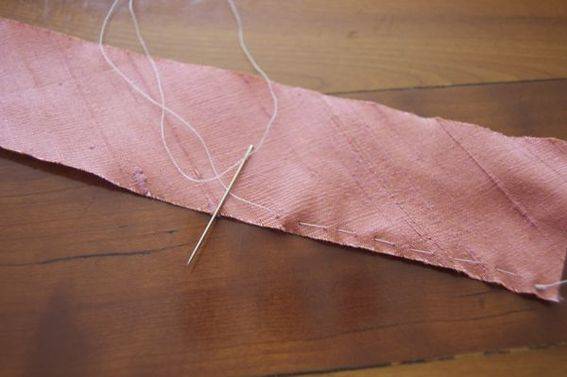
- Step 2: Using a needle and thread, and approximately 12 inches of ribbon, create ribbon rosettes by doing the following:
– Using your needle and thread, create stitches about a 1/4 of an inch about the base of your ribbon.
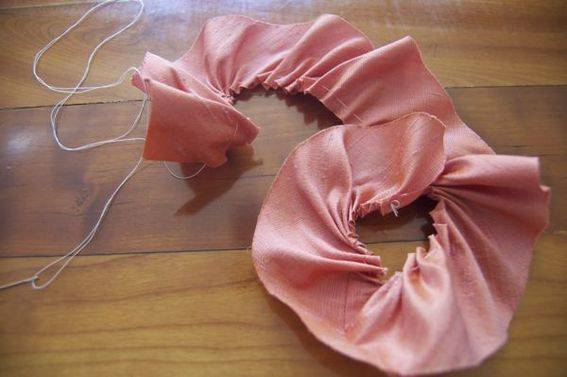
– Cinch ribbon together, keeping the needle threaded. Roll the ribbon inward to create a rosette shape. Once the rosette is in place, use your needle and thread to hold it together.
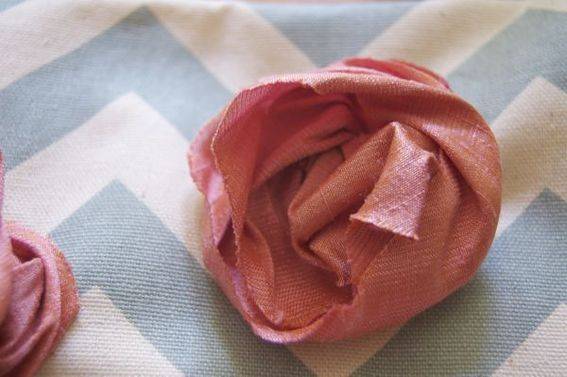
- Attach rosette to pillow cover using a needle and thread.
- Repeat the above steps to create as many rosettes as you like.
- Step 3: Insert pillow form into cover.
Check back tomorrow for another cool DIY project using ribbon to add color and texture to an everyday item! And don’t forget to follow me on Pinterest (my ribbon board is here).
Thanks to Midori Ribbon for sponsoring this post. All opinions are my own.