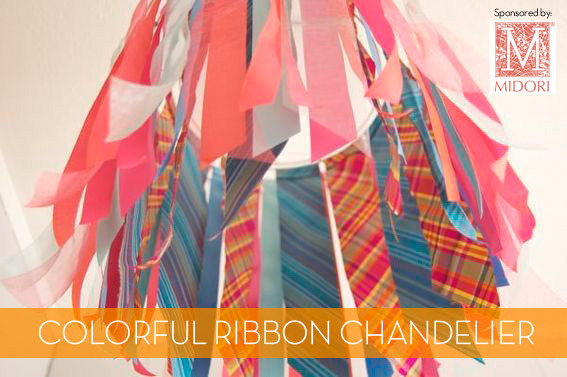
All this week I’m doing a series of DIY projects with colorful ribbon. Today I’m sharing an easy DIY I made for my daughter’s closet. Read on to find out how to make this fun, colorful pendant lamp!
The lights in all our closets consist of bare exposed bulbs, with nothing more; they’re plain-jane. I wanted to create something with a touch of whimsy for Ayla’s closet, because even at 3-years-old, she spends quite a bit of time in there, changing clothes, planning outfits, and reading. Using a wreath frame, spray paint, and several lovely ribbons from Midori Ribbon, I created a mini chandelier that has been the perfect addition to Ayla’s closet. Here are the details:
Supplies:
- Several strips of ribbon. I used the following ribbon from Midori:
– Gala Dupioni (color: sea) *This silk dupioni ribbon is stunning beyond belief!
– Gala Dupioni (color: gerbera)
– French Double-Faced Satin (colors: peony, maize, aquamarine, neptune)
– Organdy (colors: watermelon and robin’s egg blue)
– Luster (color: lily) - wire wreath frame
- chopstick
- hot glue gun and sticks
- wood burner or soldering iron (optional)
- ruler
- rotary cutter and mat or scissors (I preferred the rotary cutter and mat over scissors, because cutting multiple strands of ribbon was a breeze)
- Spray paint
How To:
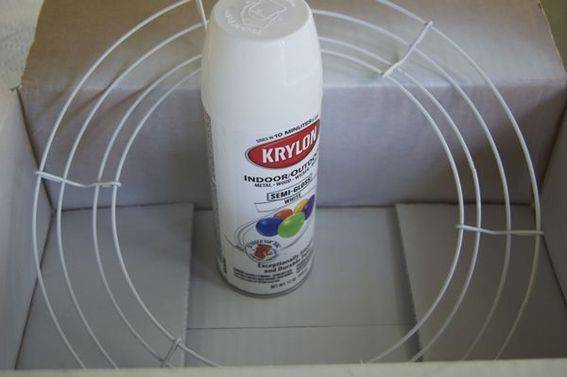
- Step 1 (Optional): Spray paint your wreath frame. My frame was forest green, so I painted it white.
- Step 2: Select and cut ribbon for each tier of the wreath frame (my frame had three tiers). You have a lot of creative freedom here … your ribbon can be placed in patterns or randomly, and you can do varying lengths and cuts at the end of the ribbon, or keep the lengths standard for a more tailored look. To keep everything looking clean, I opted for a more tailored look and went with a separate pattern for each tier, and a diagonal cut at the base of each ribbon.
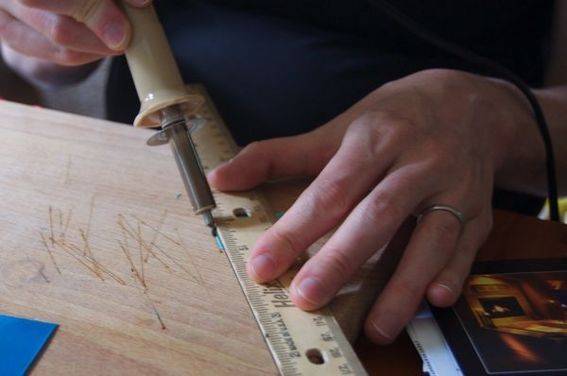
- Step 3: Using a wood cutting detailer, I went over the end of each piece of ribbon to keep it from unraveling. Note: This will not work with silk or organdy ribbon.
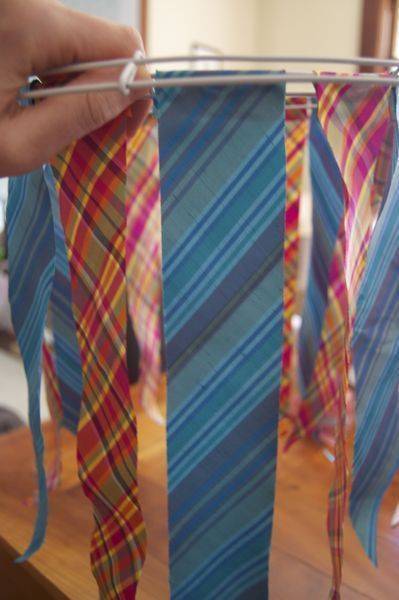
- Step 3: Attach ribbon to wreath frame with hot glue. Again, I used a chopstick to help prevent burned fingertips. For this chandelier, I attached the Silk Dupioni ribbon on the inner-most tier. On the middle tier, I used the Double-Face Satin, and on the outer-most tier, I used the Organdy and Luster ribbons.
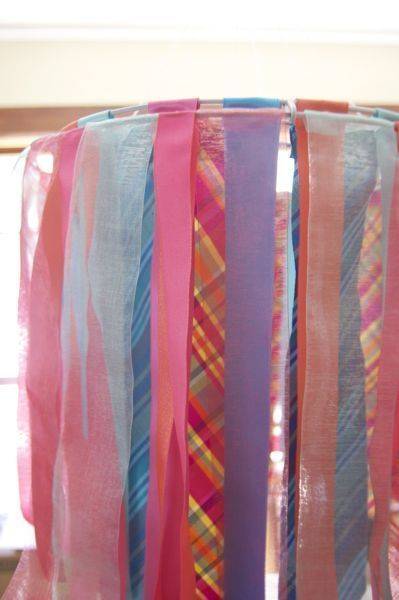
- Step 4: Using string and ceiling hooks (I used these) attach the chandelier around the light bulb.
Check back tomorrow for another cool DIY project using ribbon to add color and texture to an everyday item! And don’t forget to follow me on Pinterest (my ribbon board is here).
Thanks to Midori Ribbon for sponsoring this post. All opinions are my own.
