As the story goes, there were a bunch of decision-makers sitting around a board room table at General Electric one afternoon in the 50’s. Aware that home design was welcoming the “great room,” one of the fellows suggested the company start making kitchen appliances in the current trendy colors in the design world to match the living areas, since that is what his wife would want.
And so they did.
According to my great-grandpa, the fellow with the colored appliance idea was himself. Which of course means that my great-grandmother had great design ideas.
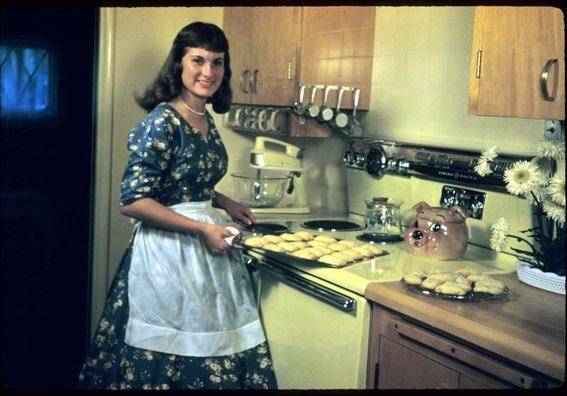
Being part of the brains of it all meant that my great-grandparents always had the latest and greatest appliances, like in this photo of my great-aunt Kathy showing off the yellow-gold double-oven for a GE product ad.
I have no explanations for the pig head, though.
To pay homage to a great time period for design as well as my family, I wanted to create a simple project for my home that echoed some of the flavors of this photo: baking, lots of wood tones, and a nostalgic overtone. Something to make me think of my great-grandmother making something yummy in her pretty double oven! And since I am usually… less successful in the kitchen, it needed to be something I’d actually use.
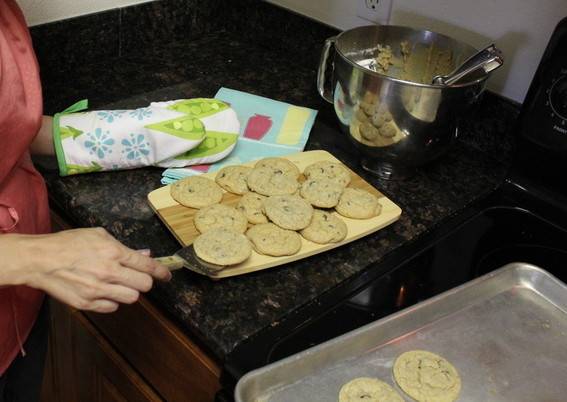
Do you like cookies?
I like cookies. Chocolate chip, plain and simple, to be more specific.
Cookies are something I’ve actually mastered (okay, so I don’t ruin them regularly). My only complaint is I don’t have room for my cooling rack on my counters while I bake, so I decided to make a new one. In this case, it became a cooling board.
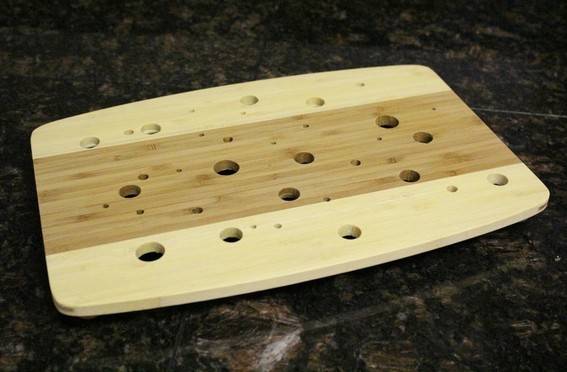
Can it get more simple than that? Small, so it is easy to store, and much more attractive than the bulky metal piece I was previously using.
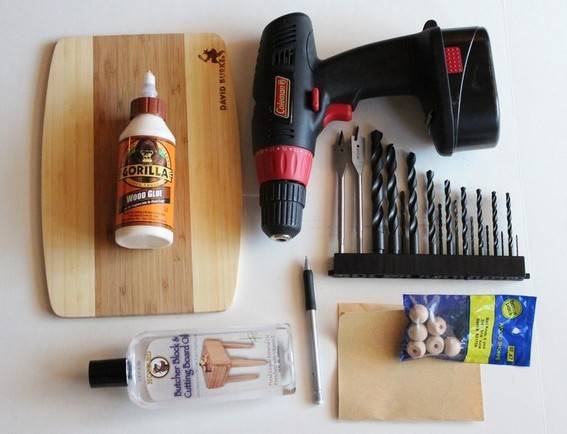
To make my cooling board, I needed:
- Wooden cutting board in size of choice
- Drill and drill bits of varying sizes
- Pencil
- Sandpaper
- Mineral Oil
- Wood Glue
- Wooden ball knobs (found at hobby stores)
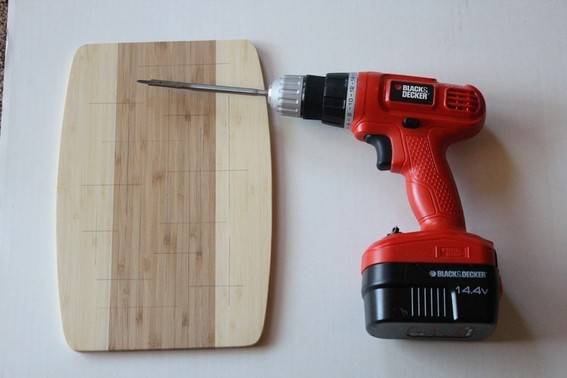
First, I drew a design on the board so that if lines were actually between the holes, it would resemble an Eames textile (I could have matching drink glasses, if I wanted!).
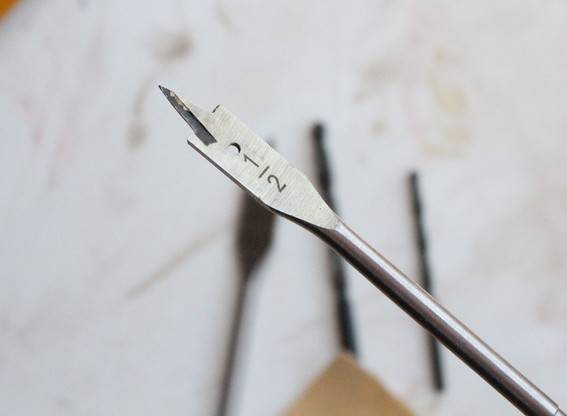
Then, I got out my 5/8″ and 1/2″ drill bits and started going at the board. Once I had a good number of large holes, I started filling it in with smaller and smaller drill bit sizes.
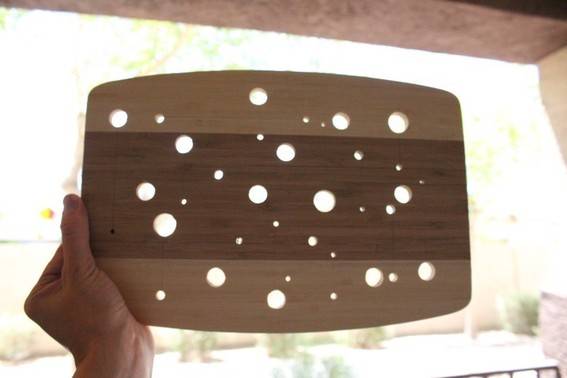
In the end, it looked a lot like Swiss cheese! After using the board several times, I would suggest adding even more large holes than I have here for better ventilation.
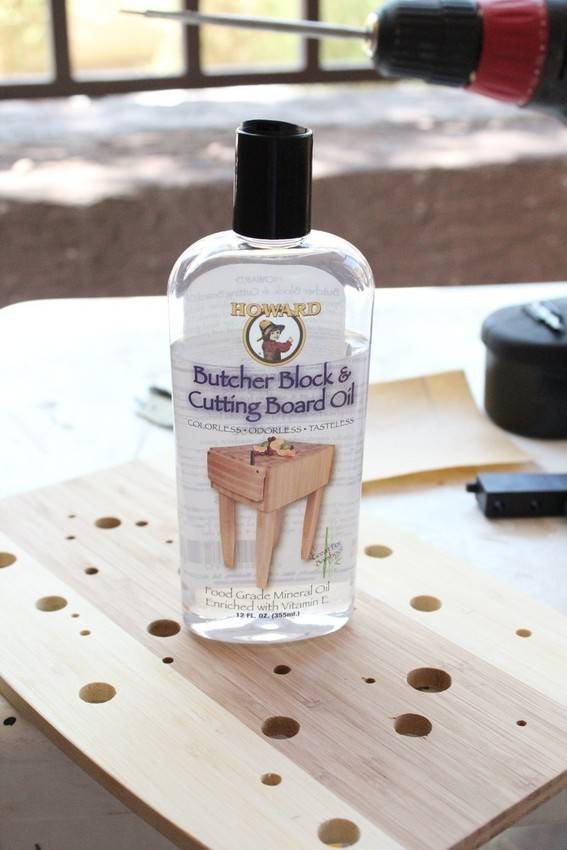
In order for the board to be completely ready for my chocolate chip goodness, I needed to make the holes I just drilled food-ready, just in case. Mineral Oil is a natural oil, and is food safe. This is also great for spiffy-ing up your butcher block!
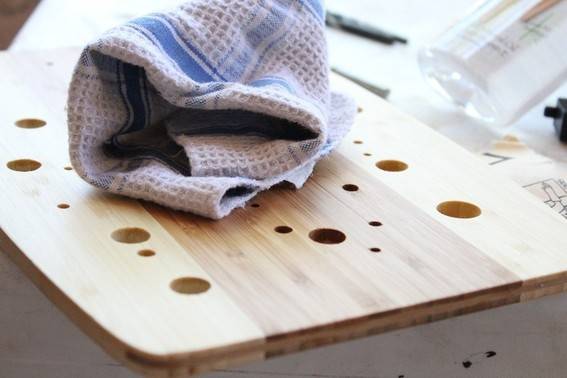
With a rag, I drizzled oil in and around the holes, and rubbed the oil into the board.
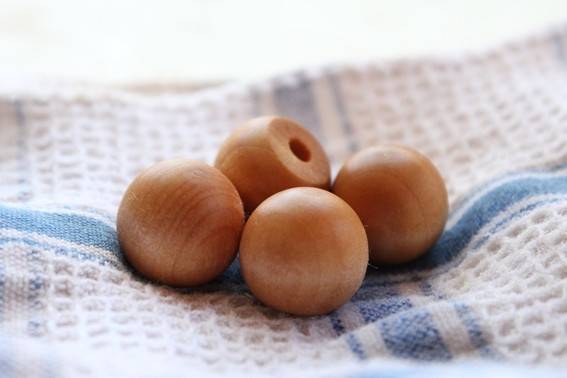
Next, I oiled the ball knobs.
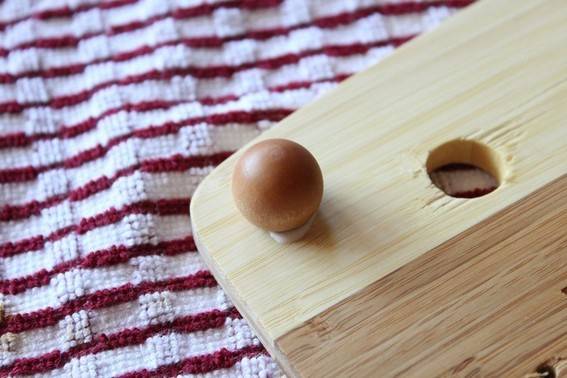
Once the ball knobs were dry, I simply glued them to the base of the board so it would be raised above the counter.
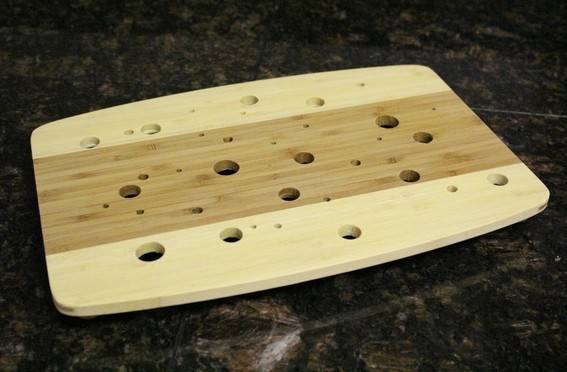
And, done. I use it for my cookies, my husband uses it when he bakes bread (yes, you read right. My husband bakes bread.) and just slices it right on the cooling board.
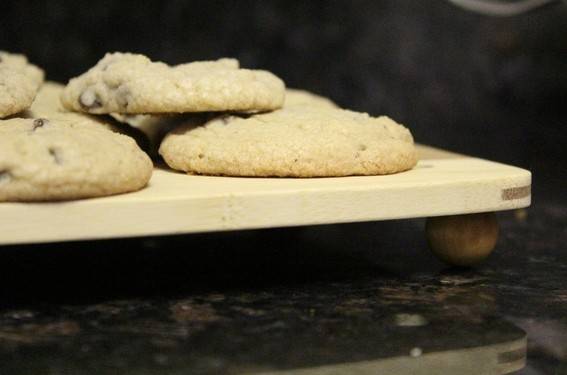
So, after using my much less adorable GE oven, I have a little taste of what life might have been like for my great-grandmother back in the good ol’ 1950’s.
Without the weird pig head.
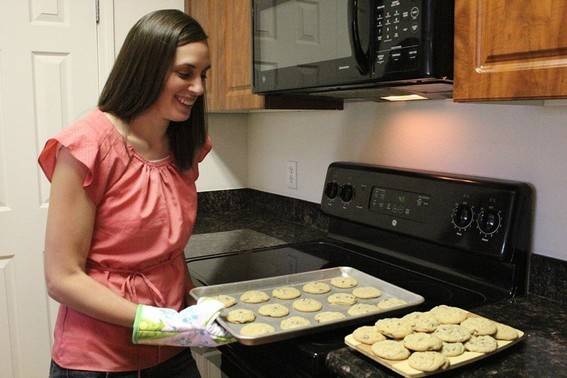
So, while I love the great-room aspect, and subsequently colored appliances, of post-war design, there are lots of great design changes during that era. What was your favorite part of the mid-century movement?
